vim /etc/yum.repos.d/gitlab-ce.repo
复制以下内容:
[gitlab-ce]
name=Gitlab CE Repository
baseurl=https://mirrors.tuna.tsinghua.edu.cn/gitlab-ce/yum/el$releasever/
gpgcheck=0
enabled=1
sudo yum makecache
3、安装GitLab社区版
sudo yum install gitlab-ce #自动安装最新版
sudo yum install gitlab-ce-x.x.x #安装指定版本
--启动
sudo gitlab-ctl reconfigure
sudo gitlab-ctl start
---本机访问 gitlab程序的ip 我安装在局域网 192.168.1.100 默认使用端口80
http://192.168.1.100
----------------修改默认启动端口
vim /etc/gitlab/gitlab.rb # 修改默认的配置文件
把这个external_url 'http://gitlab.example.com' 改成
external_url 'http://localhost:9000'
sudo gitlab-ctl stop
sudo gitlab-ctl reconfigure
sudo gitlab-ctl start
访问
http://192.168.1.100:9000
sudo gitlab-ctl start # 启动所有 gitlab 组件;
sudo gitlab-ctl stop # 停止所有 gitlab 组件;
sudo gitlab-ctl restart # 重启所有 gitlab 组件;
sudo gitlab-ctl status # 查看服务状态;
sudo gitlab-ctl reconfigure # 启动服务;
sudo vim /etc/gitlab/gitlab.rb # 修改默认的配置文件;
gitlab-rake gitlab:check SANITIZE=true --trace # 检查gitlab;
sudo gitlab-ctl tail # 查看日志;
-------------------原分享地址 https://www.cnblogs.com/weifeng1463/p/7714492.html
4: 修改git仓库路径
默认Git repositories in /var/opt/gitlab/git-data
--步骤
sudo gitlab-ctl stop
sudo rsync -av /var/opt/gitlab/git-data/repositories /new-path/git-data/
sudo gitlab-ctl reconfigure
sudo ls //new-path/git-data/
sudo gitlab-ctl start
5:查看系统版本
cat /etc/issue
6:添加用户以及添加项目和分享用户
---添加用户
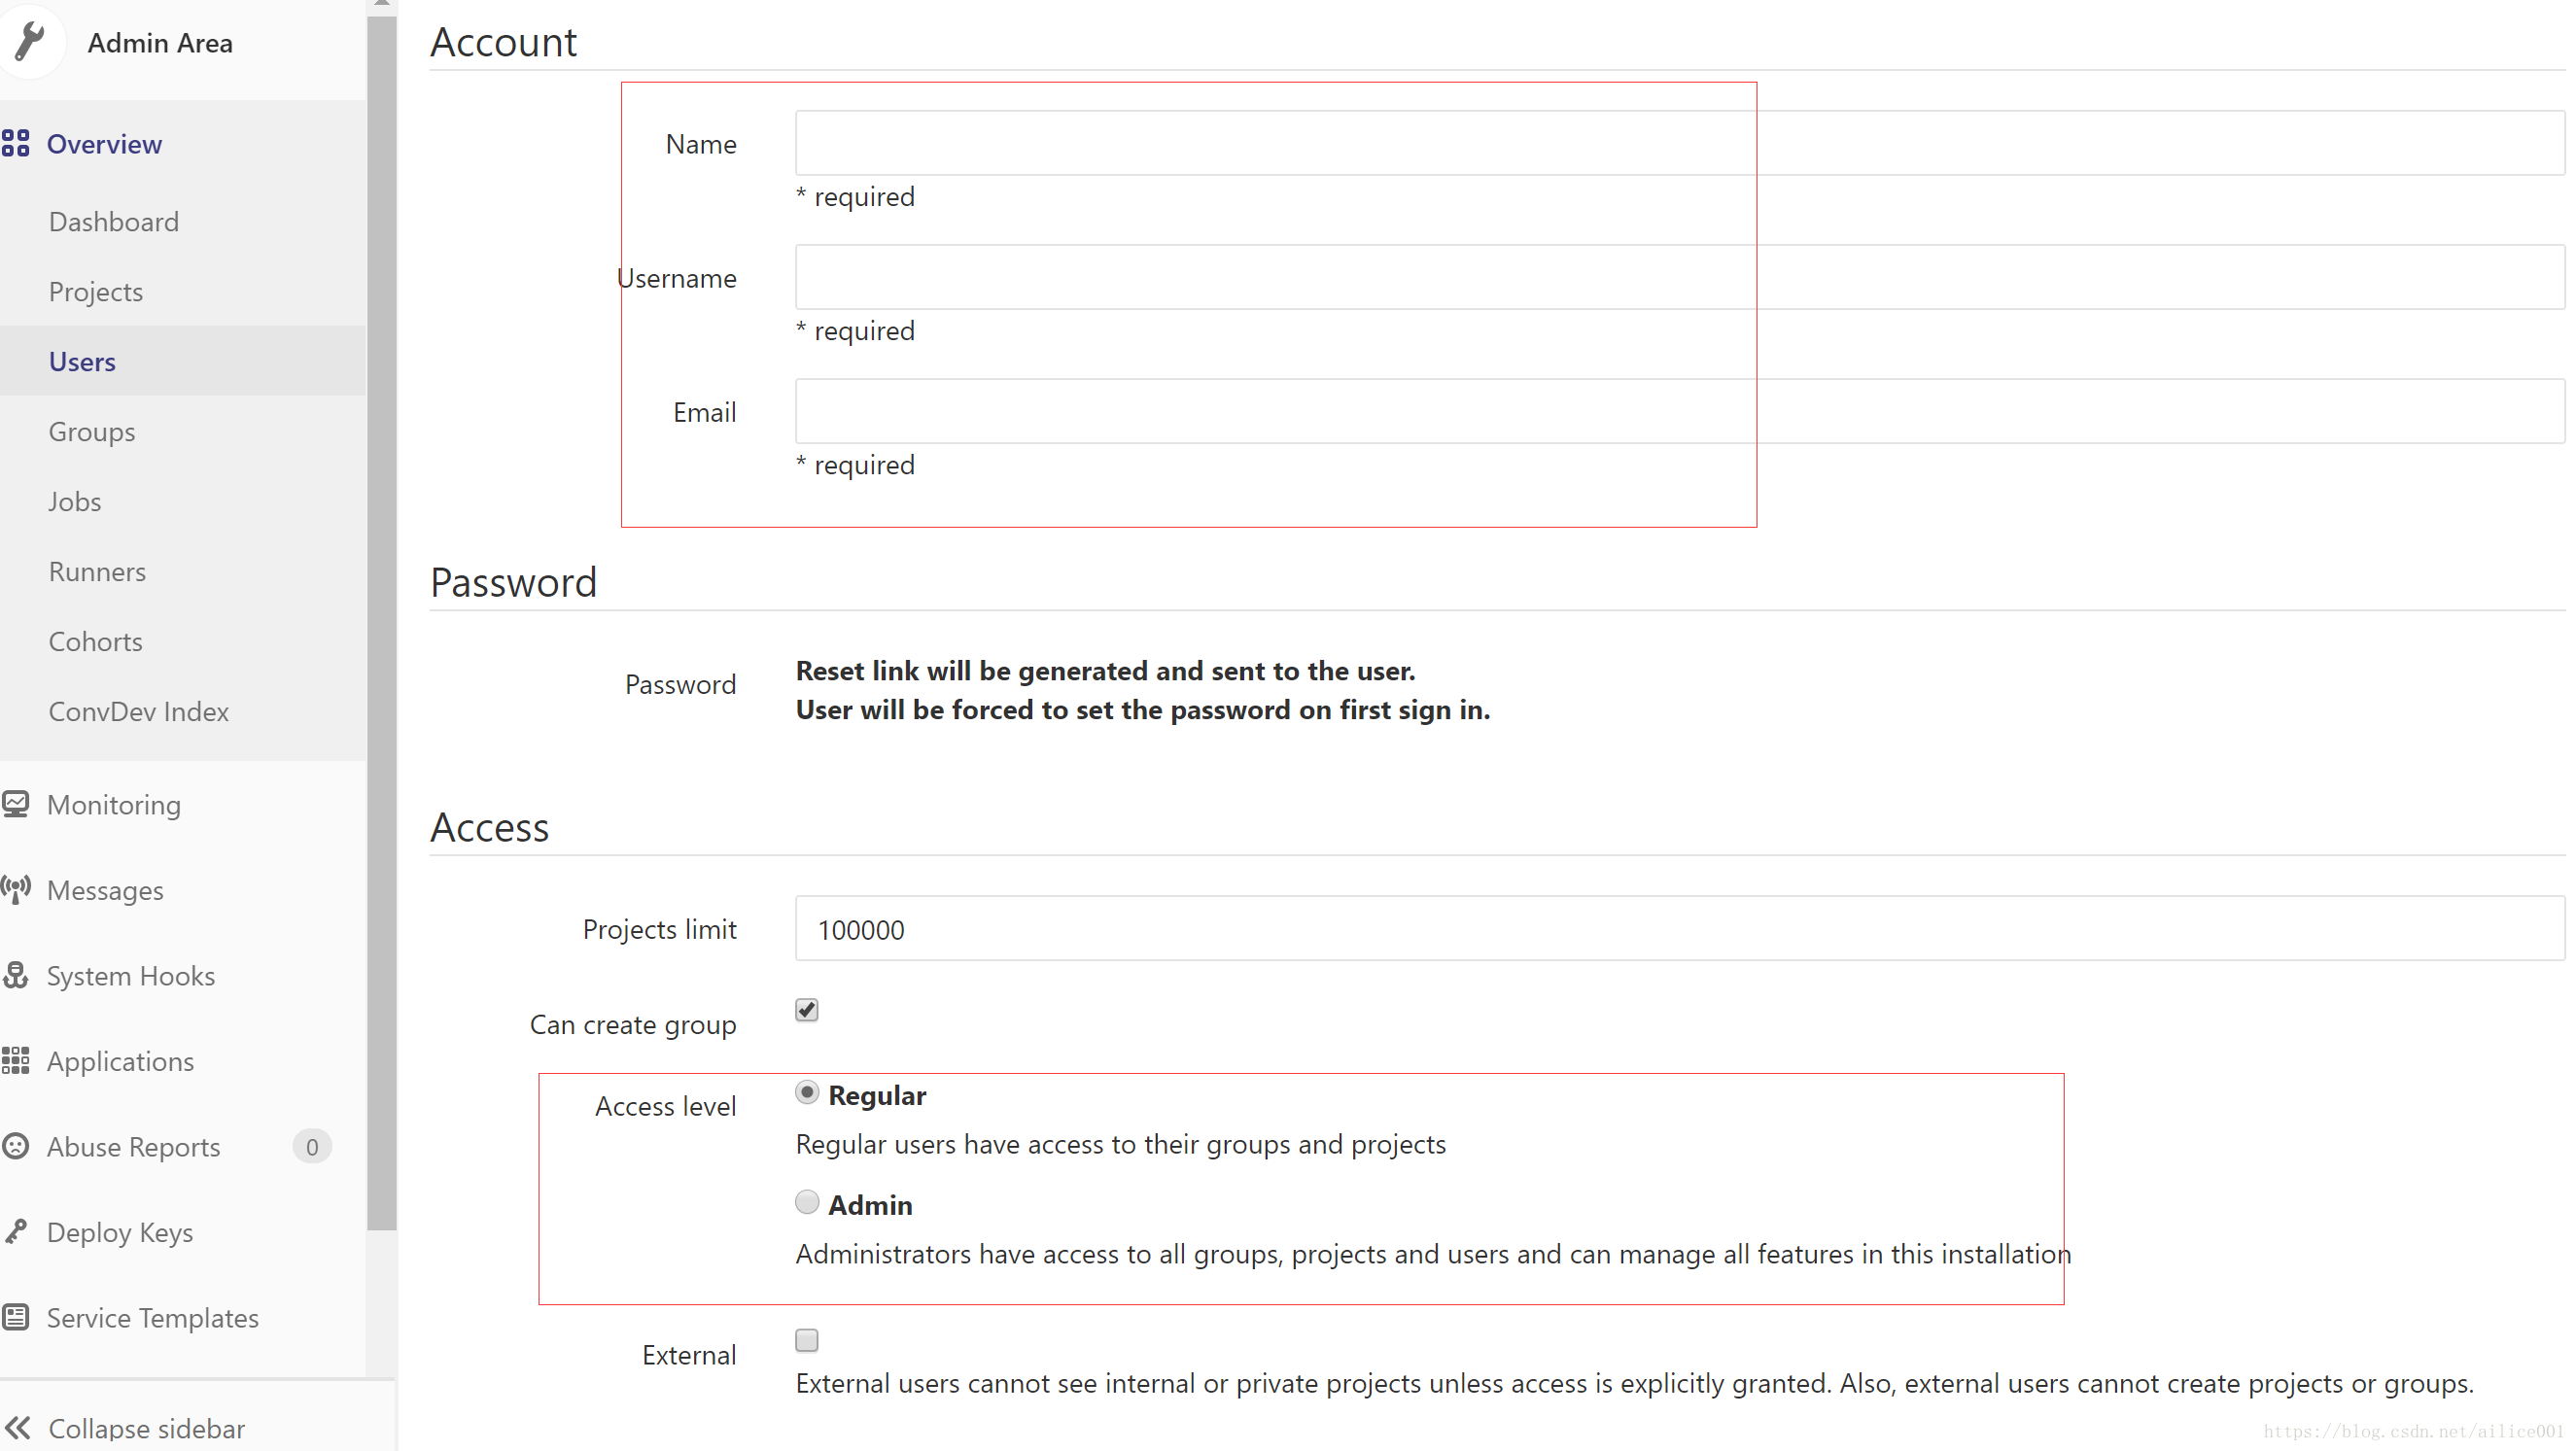
保存即可,保存退出再编辑用户即可修改用户密码
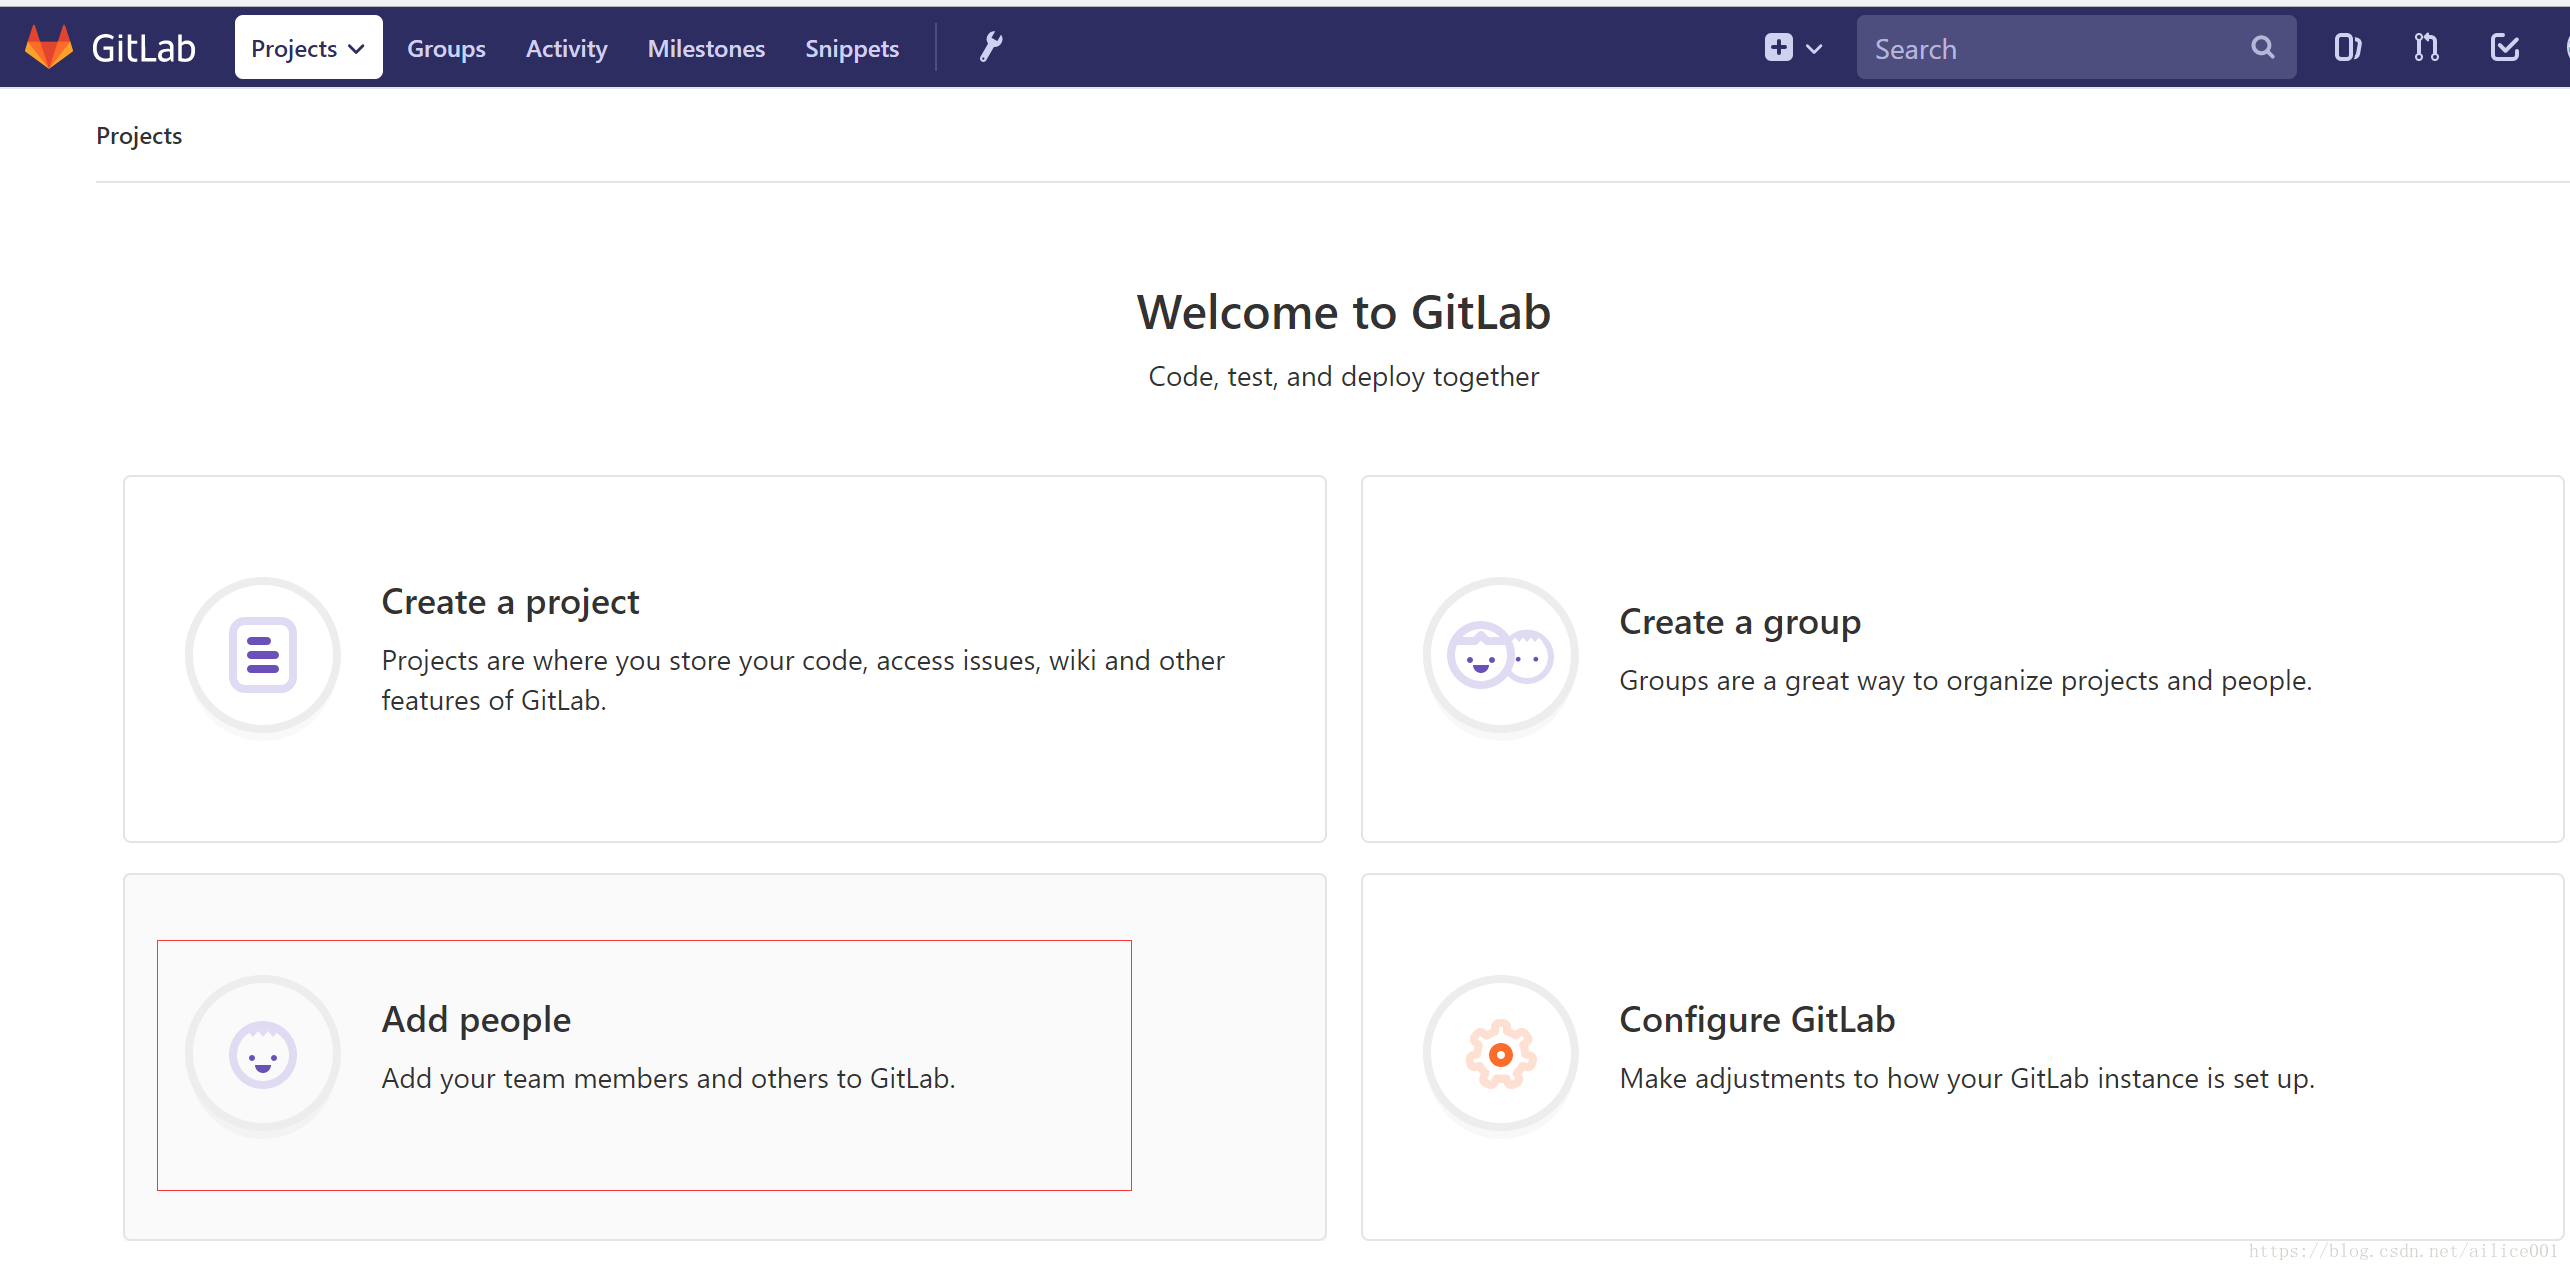
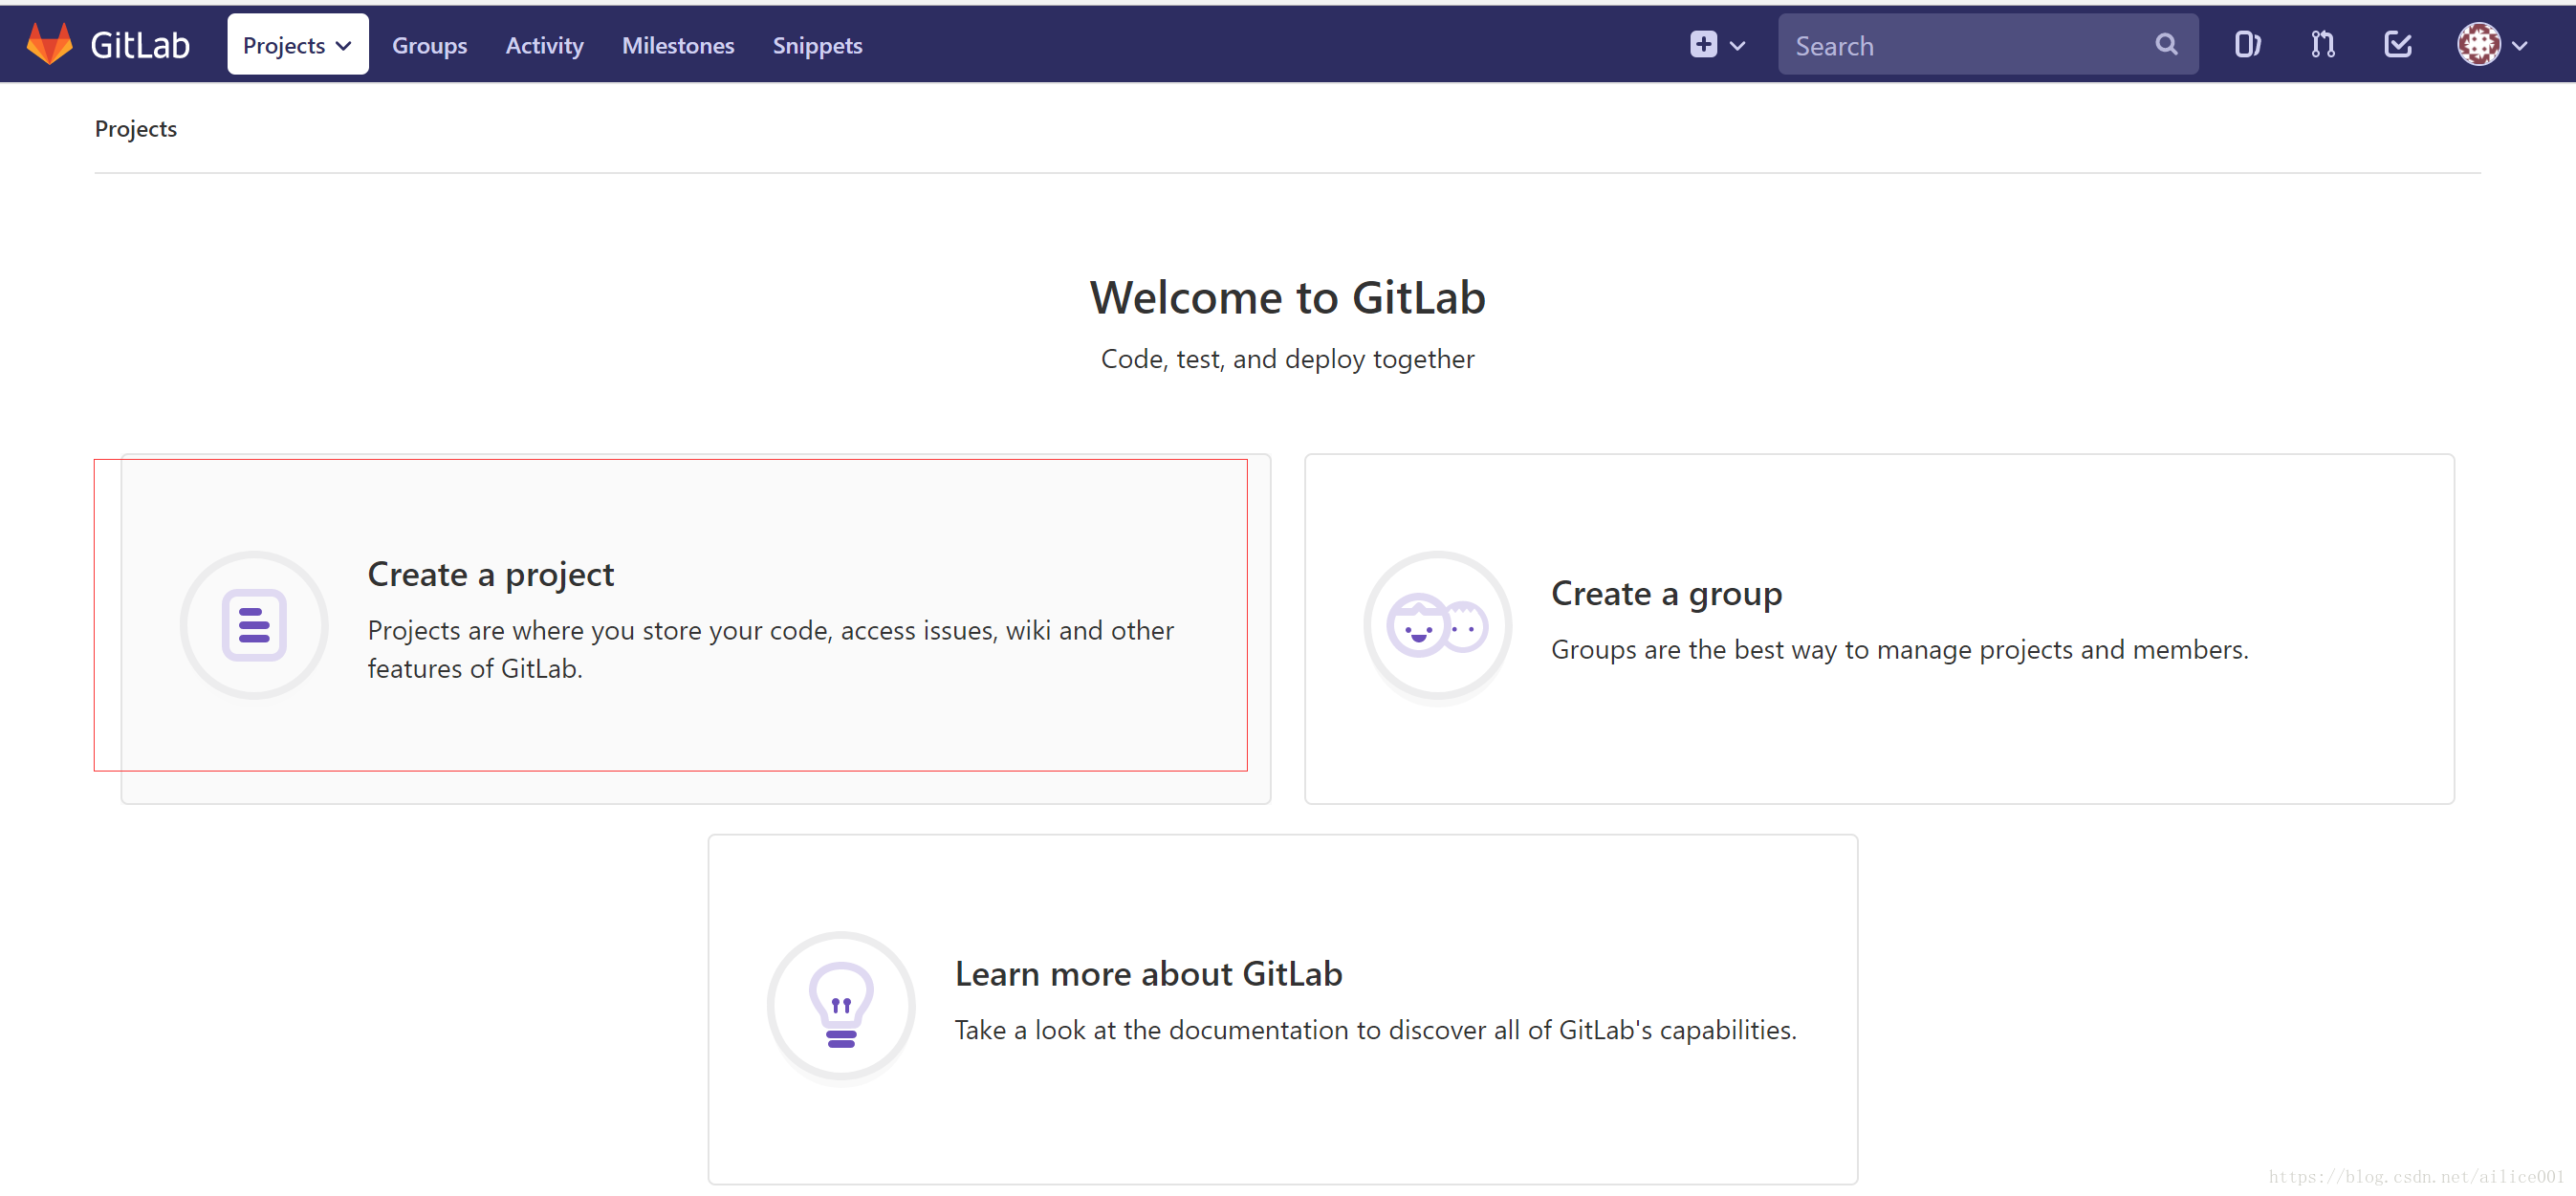
-----添加项目

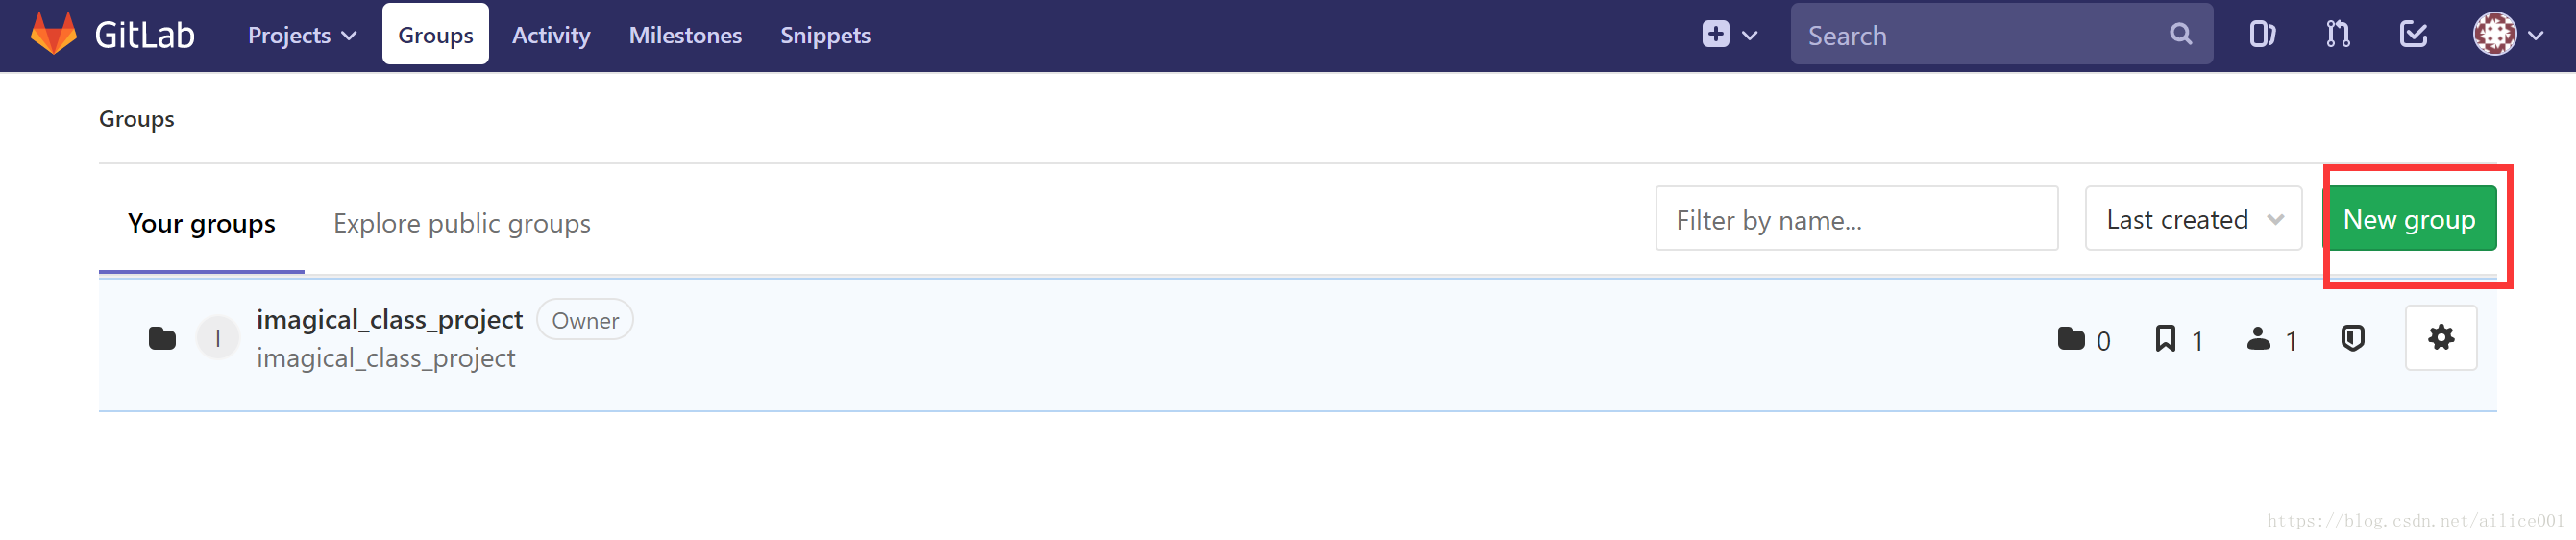
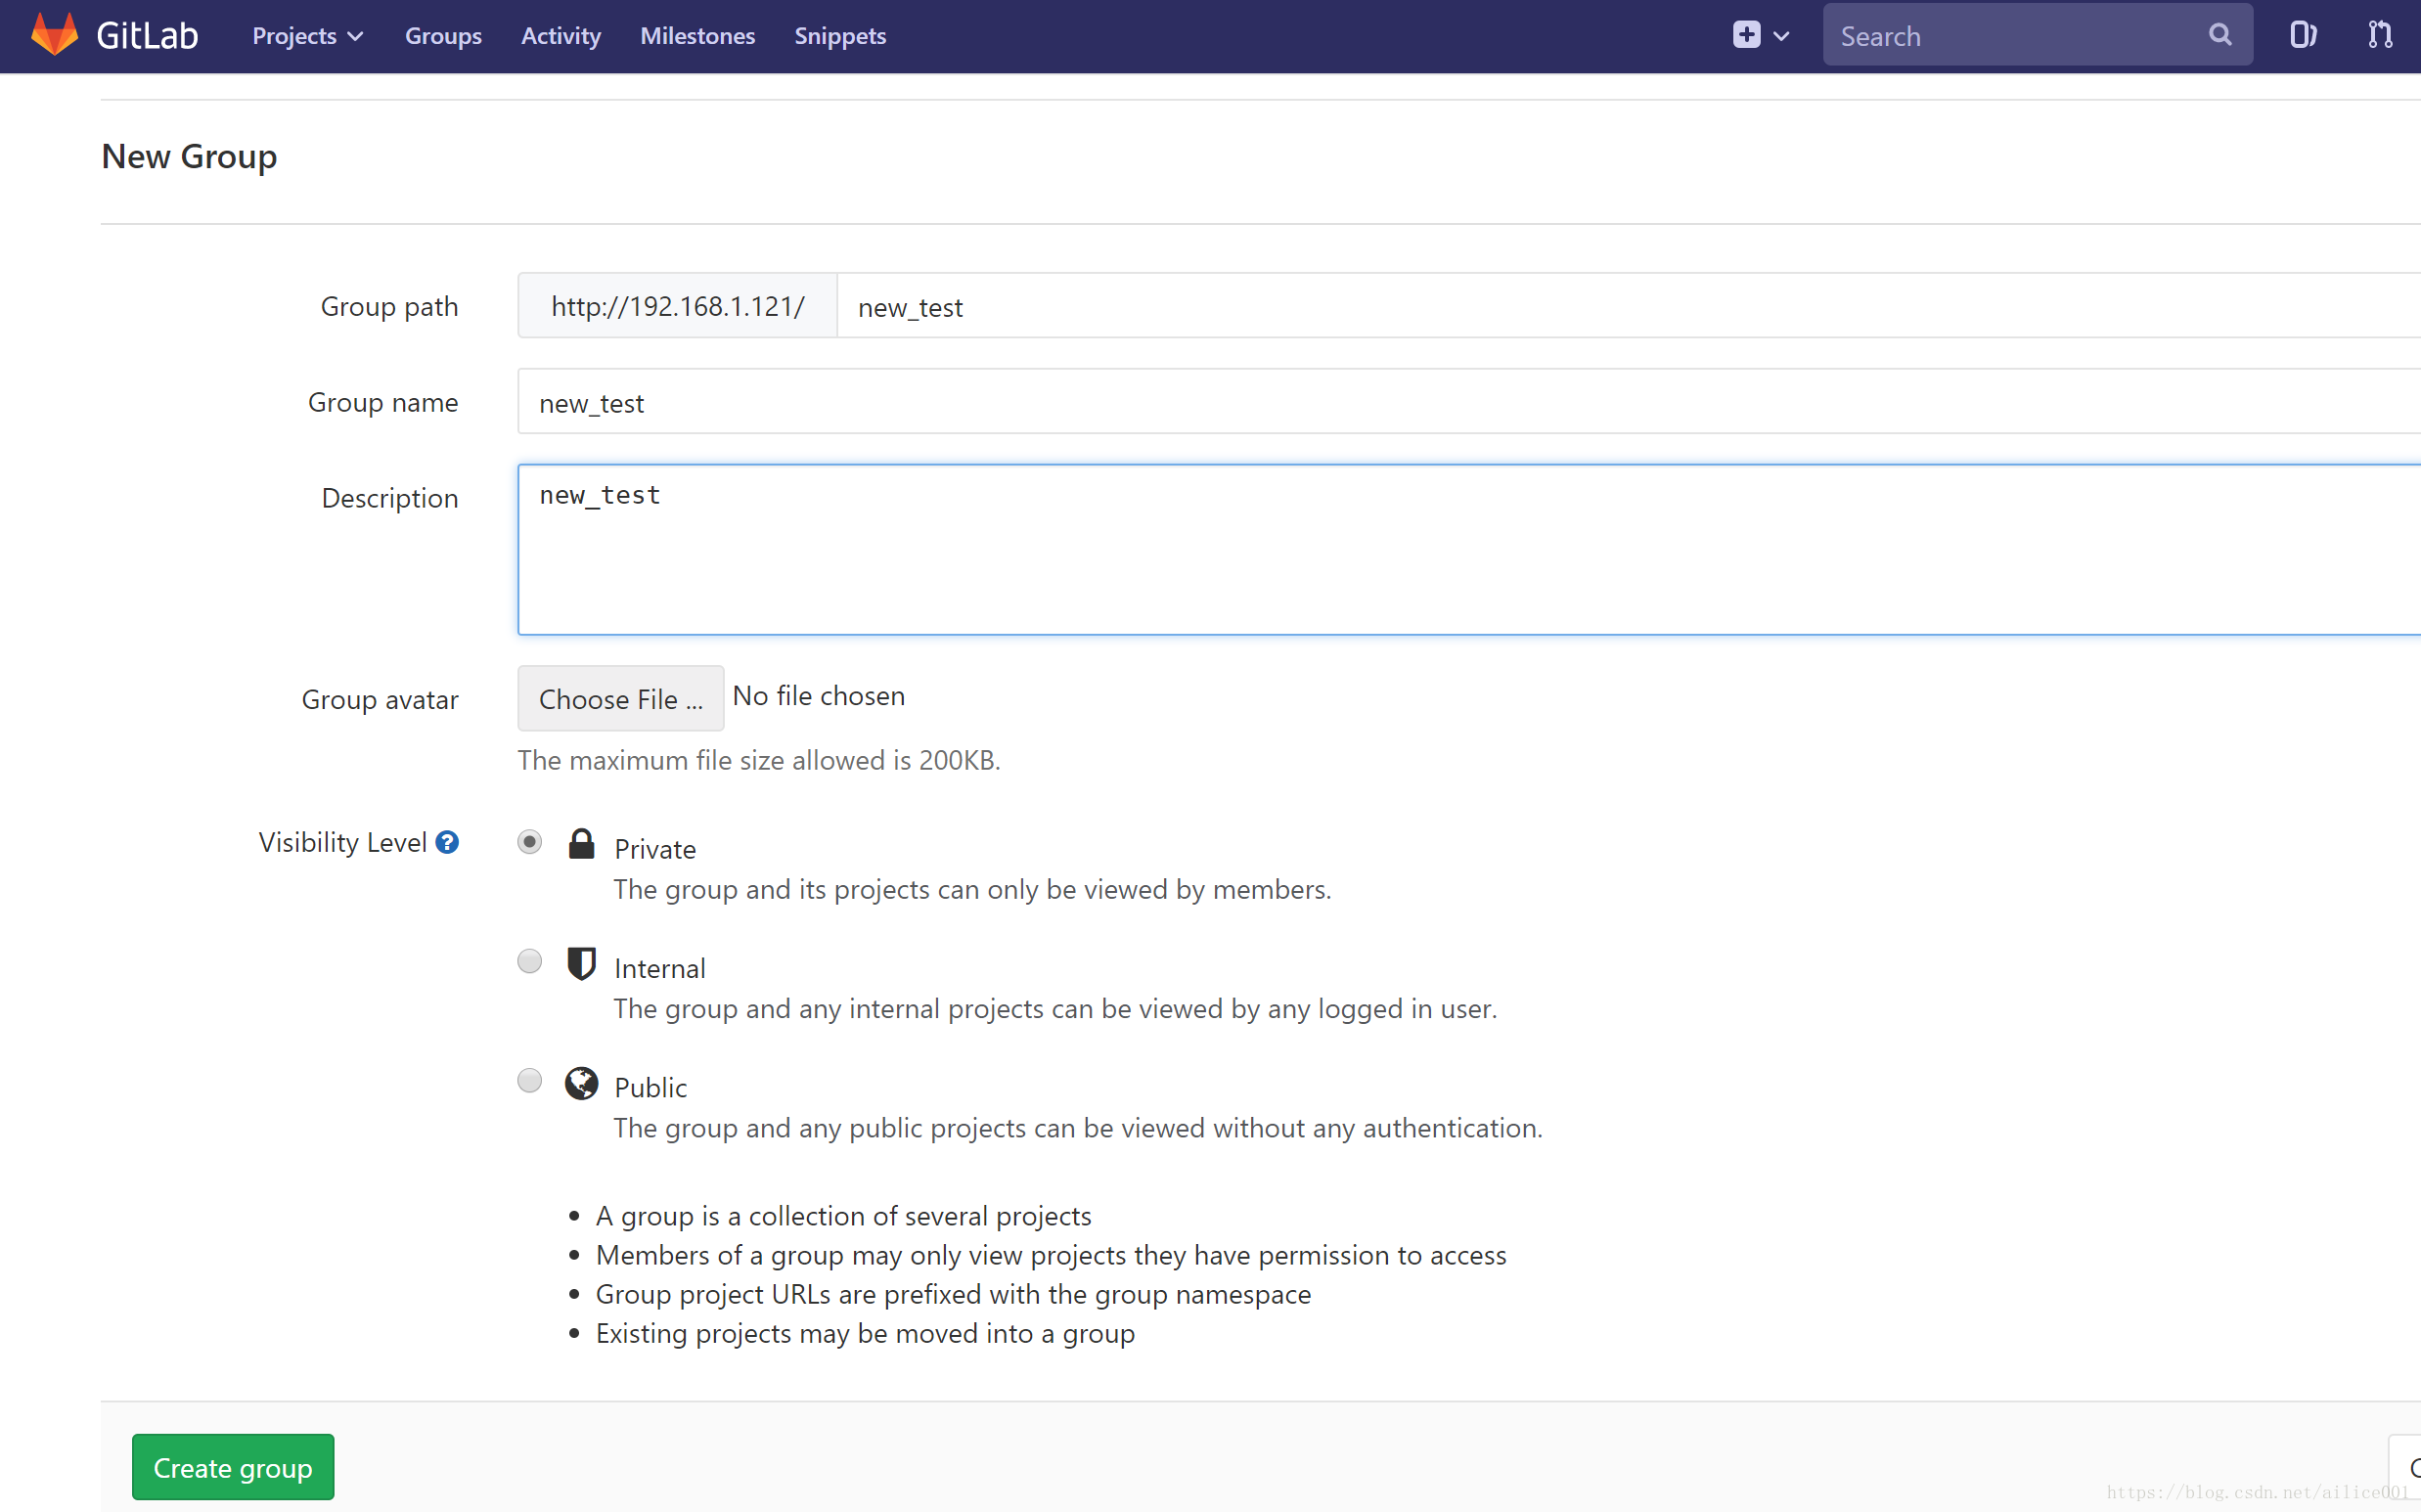
----创建新group
--团队项目


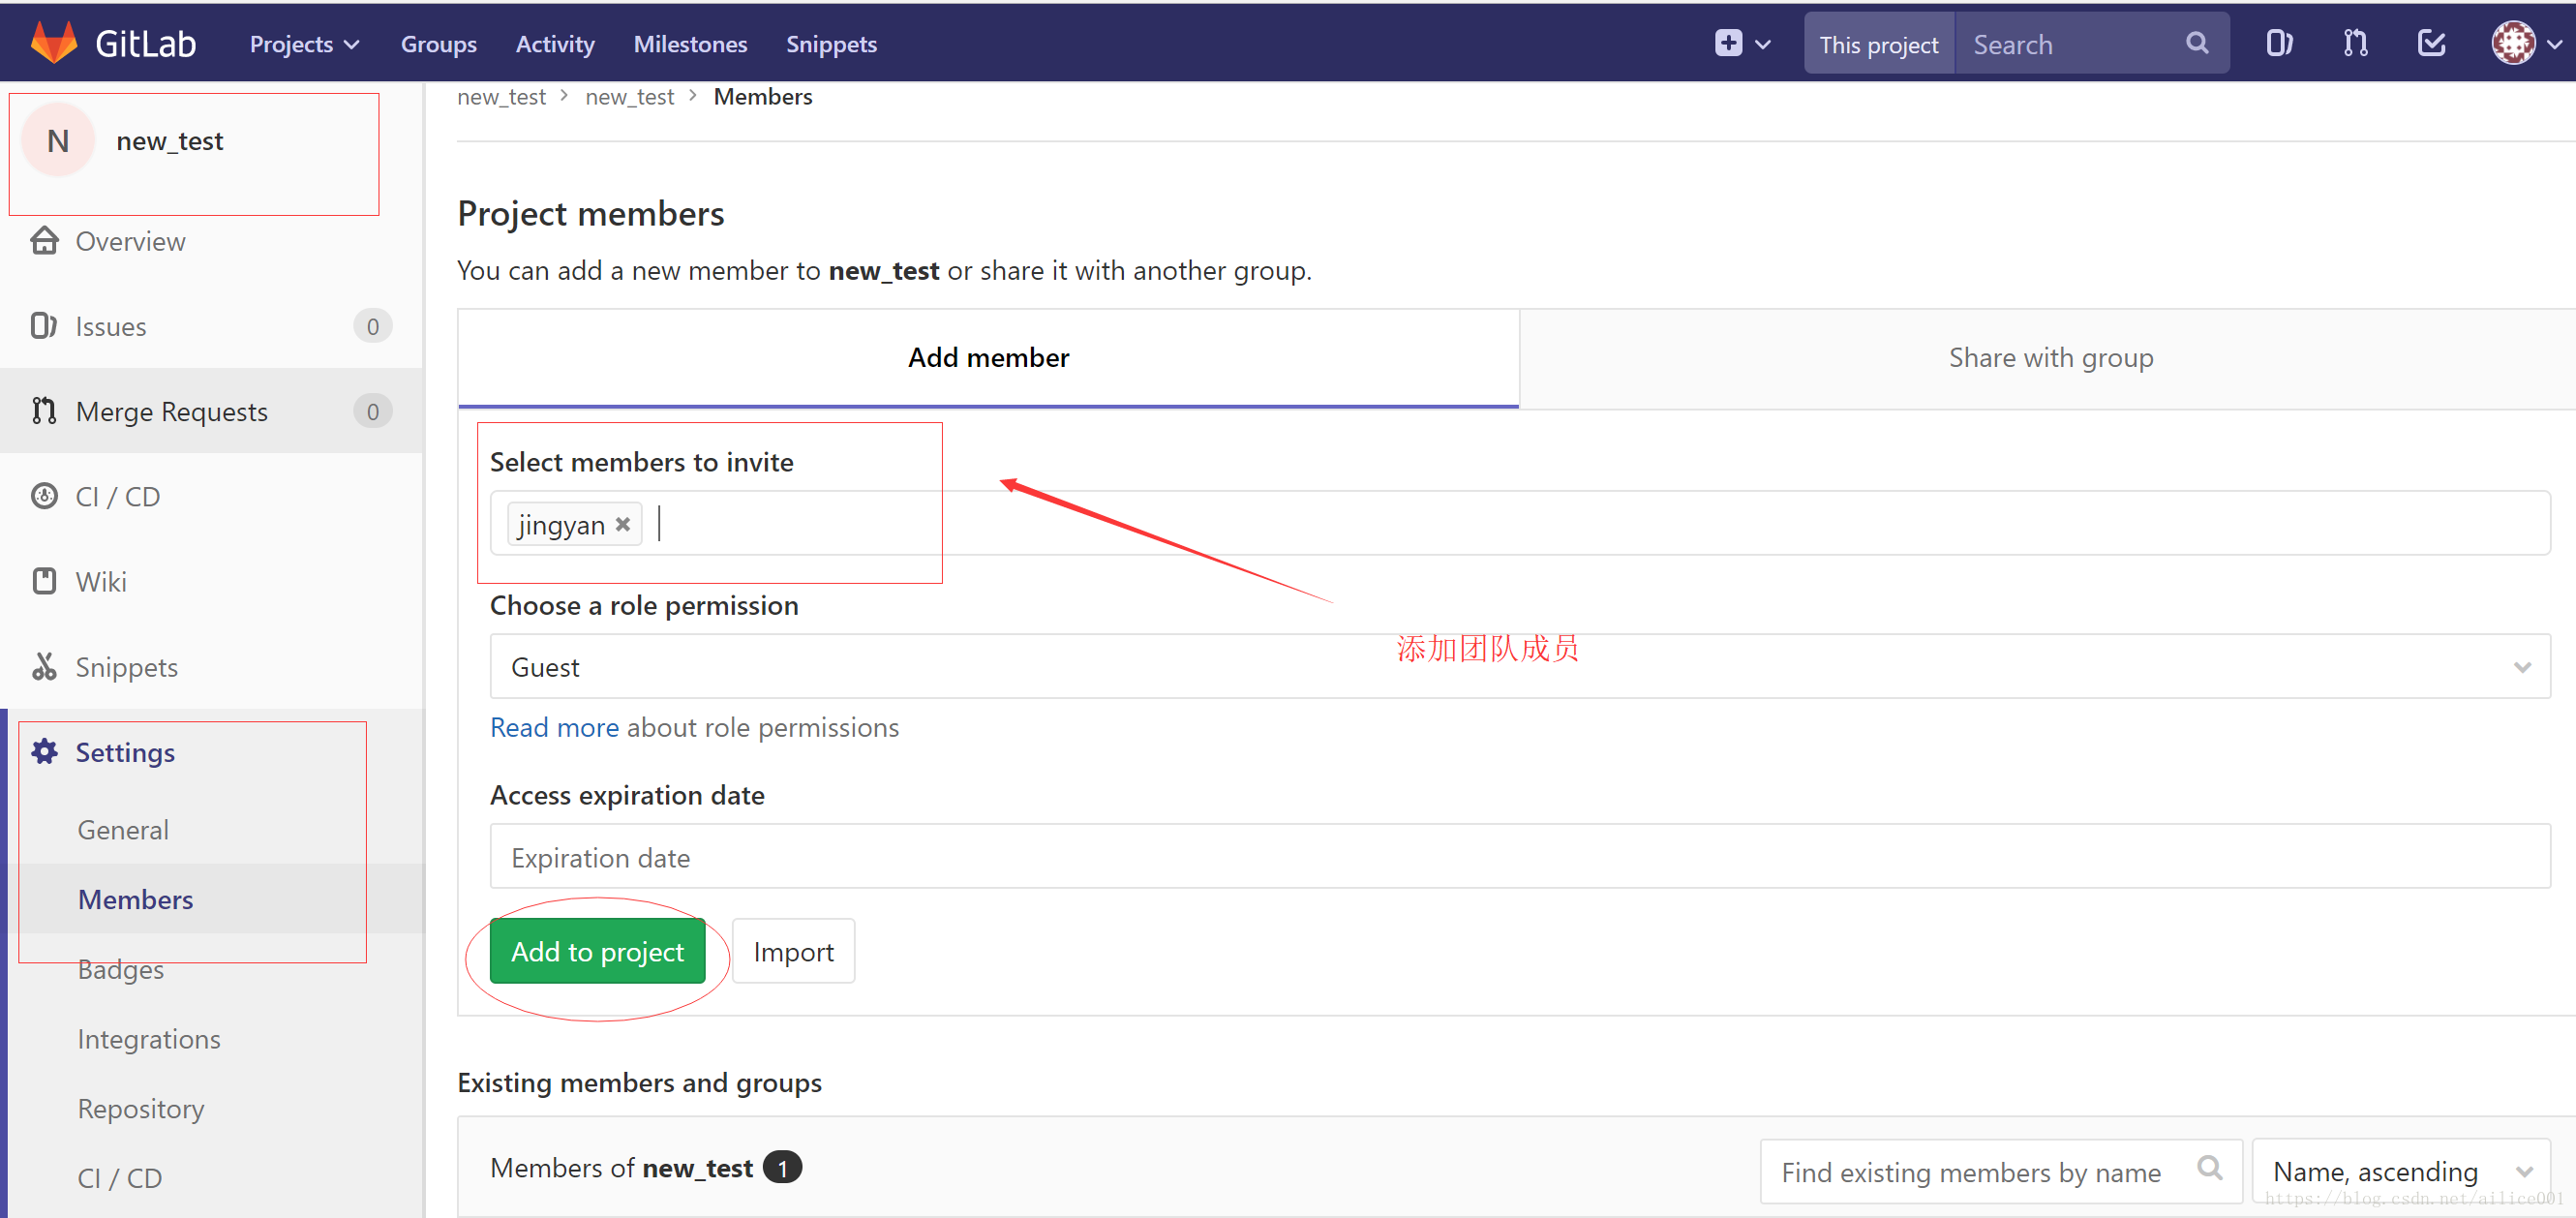
--项目添加成员
7:项目提交
到项目中
git init
git remote add origin http://192.168.1.100/{your_user}/imagical_class.git
git add .
git commit -m "First commit"
git push -u origin master
8:添加firewall或者iptables的端口 CentOS 6 使用service CentOS 7使用systemctl
--firewall CentOS 7自带
systemctl status firewalld
---添加端口或服务
firewall-cmd --permanent --add-service=http
firewall-cmd --reload
firewall-cmd --list-services--常用命令
firewall-cmd --version
查看所有打开的端口:
firewall-cmd --zone=public --list-ports
--添加firewall-cmd --zone=public --add-port=80/tcp --permanent (--permanent永久生效,没有此参数重启后失效)
--重新载入
firewall-cmd --reload
--查看
firewall-cmd --zone=public --query-port=80/tcp
--删除
firewall-cmd --zone=public --remove-port=80/tcp --permanent
--iptables 安装
yum -y install iptables-services
--编辑配置文件
vi /etc/sysconfig/iptables
--添加端口
-A INPUT -m state --state NEW -m tcp -p tcp --dport 80 -j ACCEPT--启动:
service iptables restart #Centos6
systemctl restart iptables #Centos7