一、安装gitlab
1、配置yum源
vim /etc/yum.repos.d/gitlab-ce.repo复制以下内容:
[gitlab-ce]
name=Gitlab CE Repository
baseurl=https://mirrors.tuna.tsinghua.edu.cn/gitlab-ce/yum/el$releasever/
gpgcheck=0
enabled=1
2、更新本地yum缓存
sudo yum makecache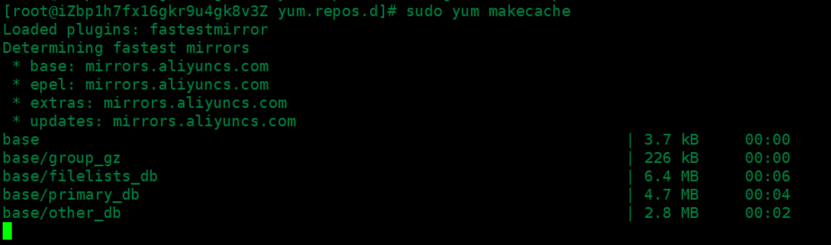
3、安装GitLab社区版
sudo yum install gitlab-ce        #自动安装最新版
sudo yum install gitlab-ce-x.x.x    #安装指定版本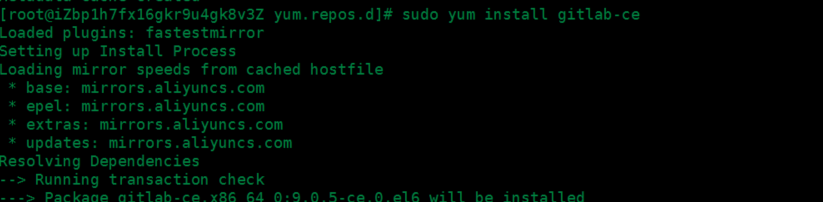
4、启动gitlab服务
使用命令:sudo gitlab-ctl reconfigure
5、GitLab修改配置
sudo vim /etc/gitlab/gitlab.rb
sudo gitlab-ctl reconfigure
sudo gitlab-ctl restart
5、GitLab服务常用命令
sudo gitlab-ctl start    # 启动所有 gitlab 组件;
sudo gitlab-ctl stop        # 停止所有 gitlab 组件;
sudo gitlab-ctl restart        # 重启所有 gitlab 组件;
sudo gitlab-ctl status        # 查看服务状态;
sudo gitlab-ctl reconfigure        # 启动服务;
sudo vim /etc/gitlab/gitlab.rb        # 修改默认的配置文件;
gitlab-rake gitlab:check SANITIZE=true --trace    # 检查gitlab;
sudo gitlab-ctl tail        # 查看日志;
二、gitlab的使用
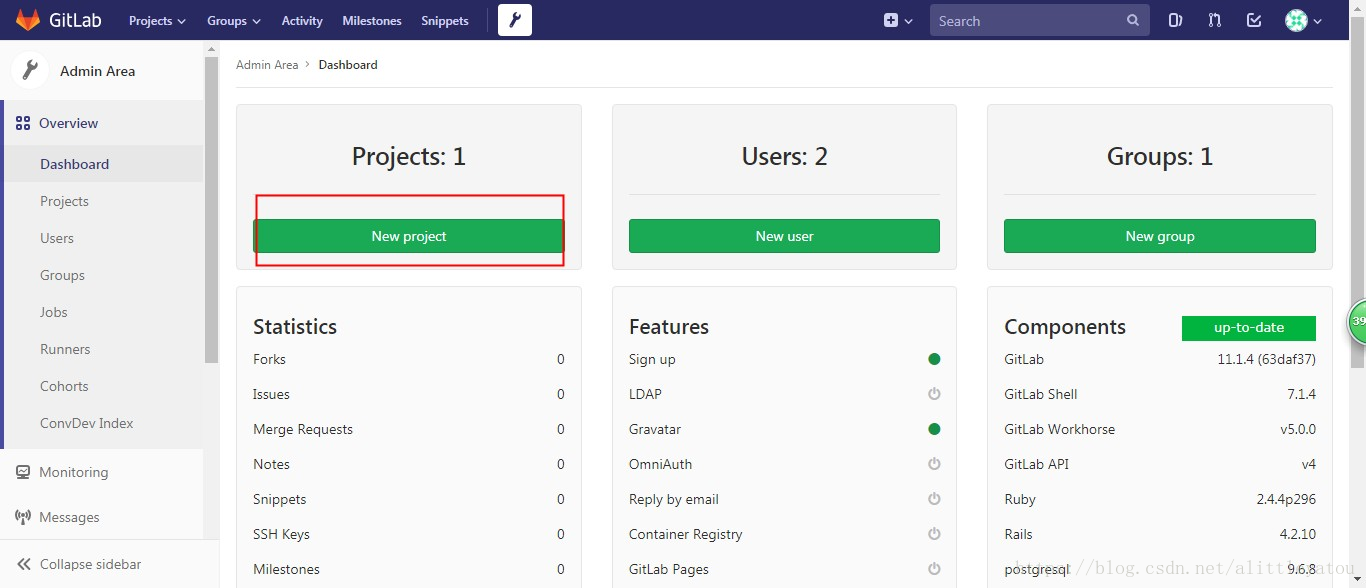
1、在浏览器的地址栏中输入ECS服务器的公网IP即可登录GitLab的界面,第一次登录会要求设置密码,设置后登陆即可。

2、创建project,填写项目名称及描述,添加项目组成员。
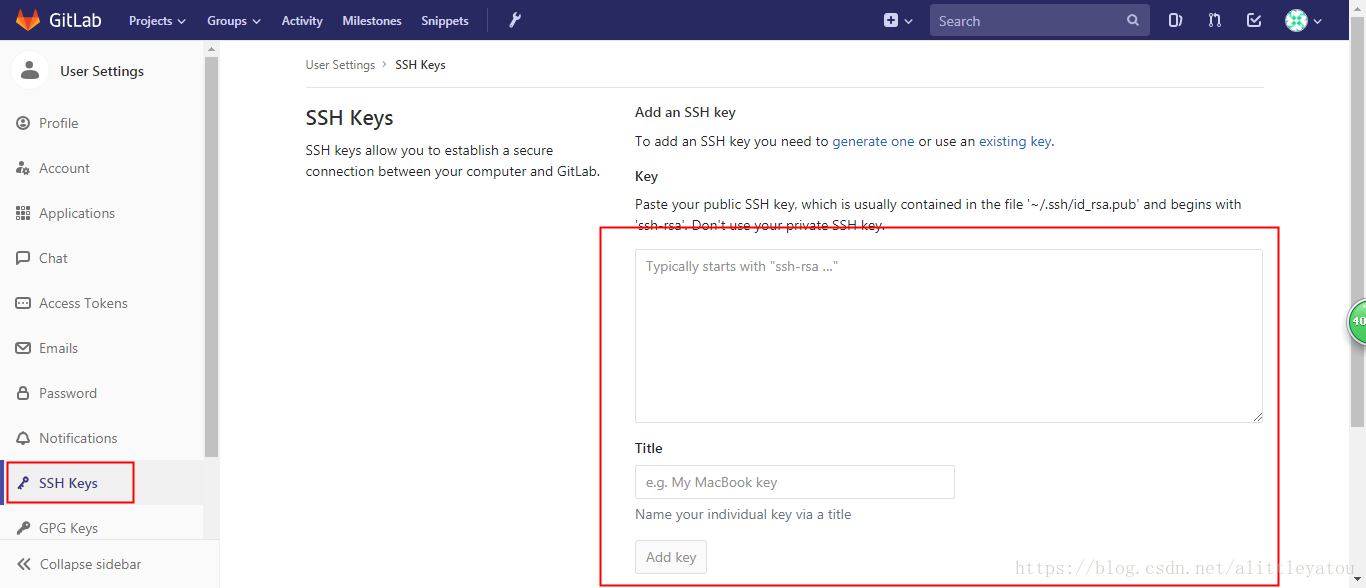
3、创建密钥
在客户机本地安装git客户端,创建密钥
ssh-keygen -t rsa,然后回车三次
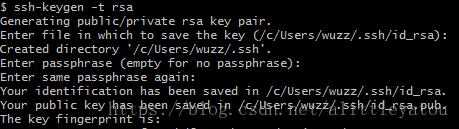
cat ~/.ssh/id_rsa.pub

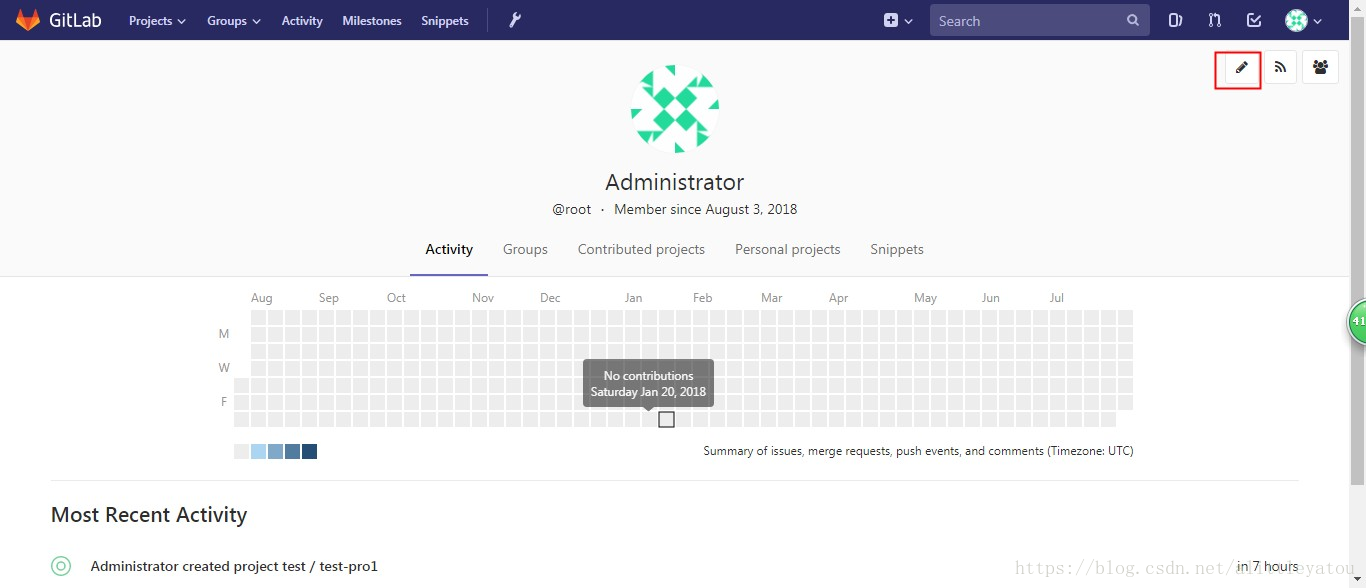
到gitlab页面中贴入刚刚创建的ssh-key

4、正式开始使用git
Command line instructions
Git global setup
git config --global user.name "Administrator"
git config --global user.email "[email protected]"
Create a new repository
git clone git@IP:test/test-pro1.git
cd test-pro1
touch README.md
git add README.md
git commit -m "add README"
git push -u origin master
Existing folder
cd existing_folder
git init
git remote add origin [email protected]:test/test-pro1.git
git add .
git commit -m "Initial commit"
git push -u origin master
Existing Git repository
cd existing_repo
git remote rename origin old-origin
git remote add origin [email protected]:test/test-pro1.git
git push -u origin --all
git push -u origin --tags