【Lehr】【JavaWeb】SSM框架整合Swagger2(Maven项目)
写在前面
Swagger2是一个方便后端接口调试的的API工具
所以我之前也想整一个
于是我按照网上的来整
用各种教程失败了N次之后
决定写一下自己的悲惨的整合经历
POM配置
在你的pom.xml里的<dependencies>子标签下引入如下jar包
		<dependency>
	      <groupId>com.fasterxml.jackson.core</groupId>
	      <artifactId>jackson-core</artifactId>
	      <version>${jackson.version}</version>
	    </dependency>

	    <dependency>
	      <groupId>com.fasterxml.jackson.core</groupId>
	      <artifactId>jackson-annotations</artifactId>
	      <version>${jackson.version}</version>
	    </dependency>

	    <dependency>
	      <groupId>com.fasterxml.jackson.core</groupId>
	      <artifactId>jackson-databind</artifactId>
	      <version>${jackson.version}</version>
	    </dependency>

	    <dependency>
            <groupId>io.springfox</groupId>
            <artifactId>springfox-swagger2</artifactId>
            <version>2.7.0</version>
        </dependency>

        <dependency>
            <groupId>io.springfox</groupId>
            <artifactId>springfox-swagger-ui</artifactId>
            <version>2.7.0</version>
        </dependency>

	    <dependency>
	        <groupId>org.webjars</groupId>
	        <artifactId>bootstrap</artifactId>
	        <version>3.3.5</version>
	    </dependency>
这里虽然说是SSM项目整合Swagger2,但是真的不用引入swagger-springmvc那个包,不然后面@EnableSwagger2这个标签会冲突!
SwaggerConfig配置
随便找个地方创建一个.java的文件作为Swagger的配置文件(名字也可以自己取,我取的就叫SwaggerConfig,在com.swaggerConfig包下面)
内容如下
package xxx;
import xxx;

@Configuration
@EnableWebMvc
@EnableSwagger2
@ComponentScan("com.controller")		//你的Controller类所在的位置
public class SwaggerConfig {

    @Bean
    public Docket api() {
        return new Docket(DocumentationType.SWAGGER_2)
                .select()
                .apis(RequestHandlerSelectors.any())
                .build()
                .apiInfo(apiInfo());
    }
    private ApiInfo apiInfo() {
        return new ApiInfoBuilder()
                .title("标题")
                .description("描述")
                .version("版本")
                .termsOfServiceUrl("")
                .license("")
                .licenseUrl("")
                .build();
    }

}
SpringMVC配置
到SpringMVC的配置文件里添加如下(当然你想写道Spring的配置文件里也行)
	<!-- 让你写的swagger的配置文件可以被读取到  -->
    <context:component-scan base-package="com.swaggeConfig"/>
    <!--同时让springMVC不要拦截这些静态资源 -->
    <mvc:annotation-driven/>
    <mvc:resources mapping="swagger-ui.html" location="classpath:/META-INF/resources/"/>
    <mvc:resources mapping="/webjars/**" location="classpath:/META-INF/resources/webjars/"/>
Controller里的写法
这里只介绍几个常用的标签
@Api
写在类名上面作为这个类的描述
@Api(value="评论控制器", description="评论相关的操作")
@Controller
@RestController
@RequestMapping("/comments")
public class CommentController {
@ApiOperation 和 @ApiParam
前者写在方法前,对方法进行描述,后者则是对参数的描述。
@ApiOperation(value="用户登录", httpMethod="POST",notes="输入账号密码",response=Result.class)
	public Result<UserPO> login(@ApiParam(name = "username",value = "用户名",required = true) String username, @ApiParam(name = "password",value = "用户密码",required = true) String password)
	{
	...
	}
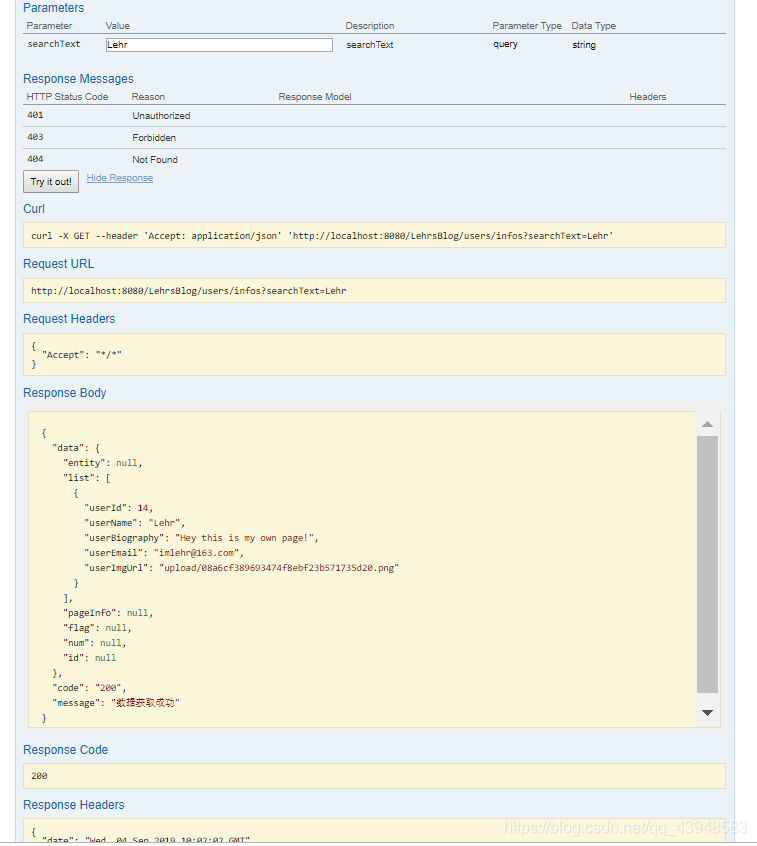
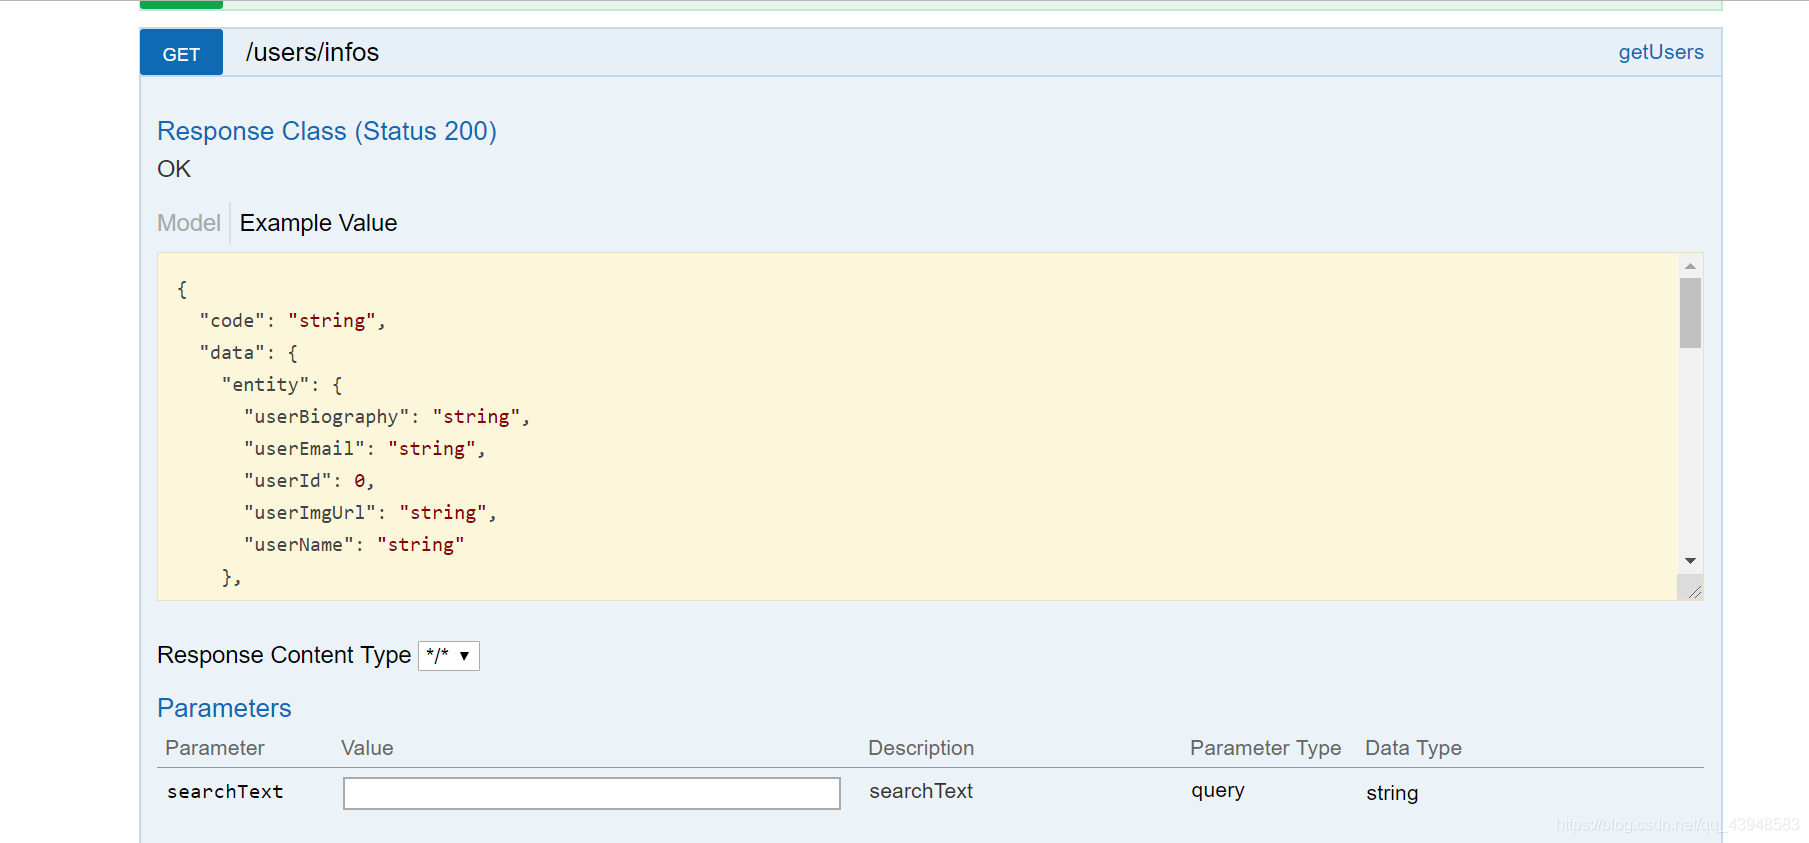
打开网页
输入http://localhost:8080/你的项目名/swagger-ui.html即可!
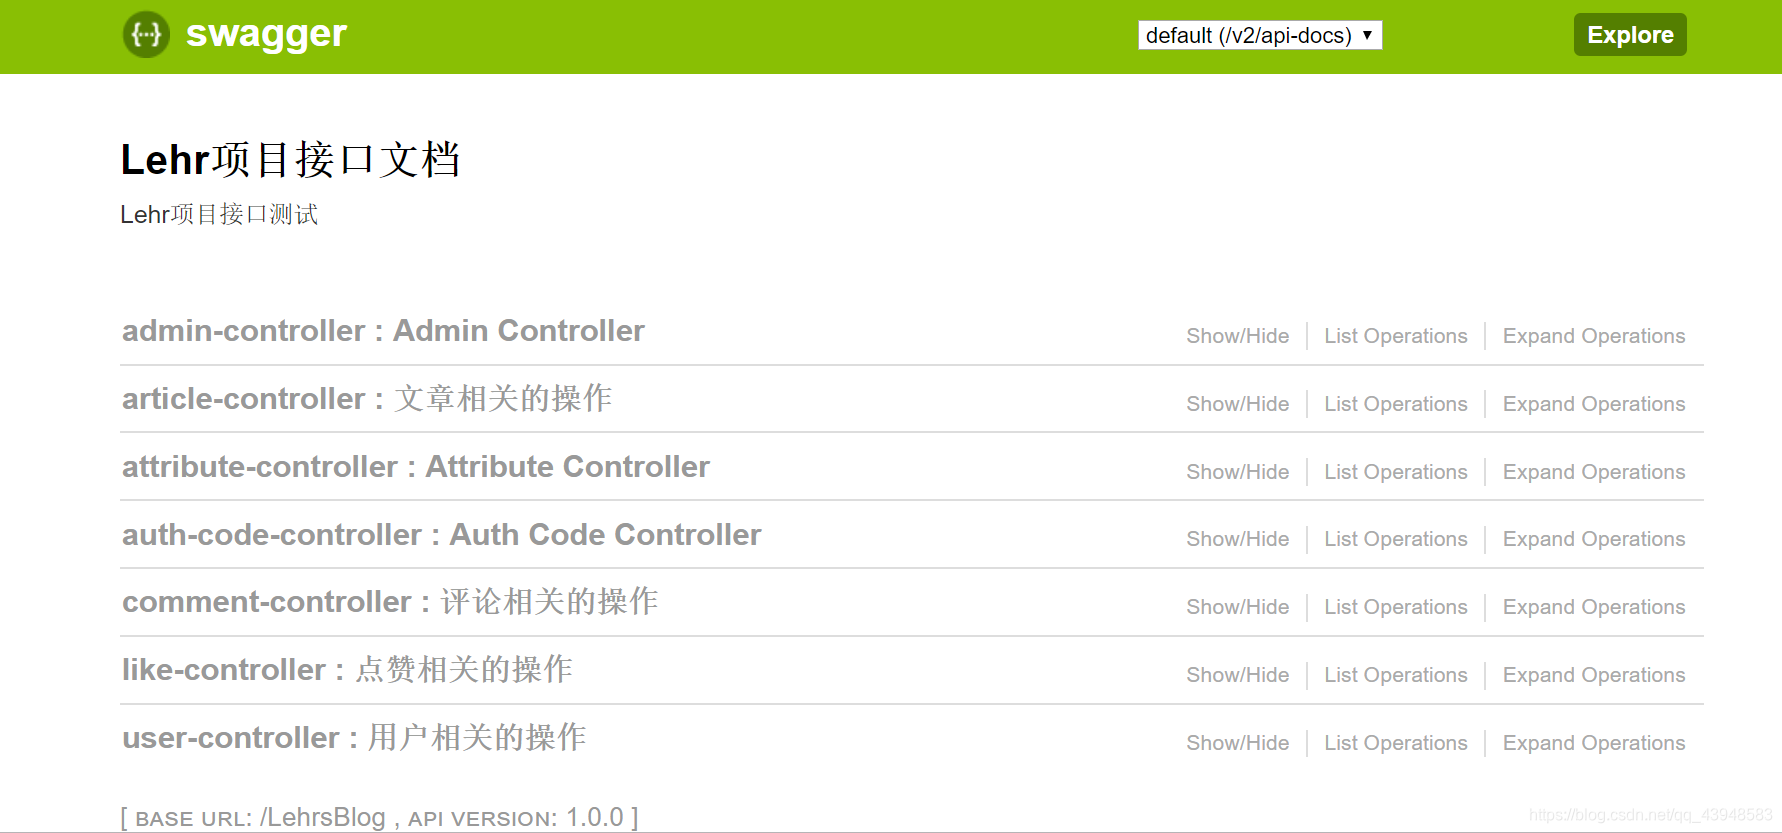
你就可以直接在这个网页找到你要测试的接口输入信息然后直接测试啦!
(测试输入,返回结果)