
一,Swagger2介绍
二,集成Swagger2 构建RESTful API
1:在pom.xml中添加Swagger的依赖
2:创建Swagger配置类SwaggerConfig.java
3:API接口开发
4:启动SpringBoot项目
5:在Spring Security中的配置
三,Swagger2注解详细说明
一,Swagger2介绍
- 随着互联网技术的发展,现在的网站架构基本都是由原来的后端渲染,变成了前端渲染,前后端分离的形态,而且前端技术和后端技术在各自的道路上越走越远
- 前端和后端唯一的联系就变成了API接口文档,API文档变成了前后端开发人员联系的纽带,变得越来越重要,而swagger就是一款让你更好的书写API文档的框架
- Swagger2作为一个规范和完整的框架,可以用于生成,描述,调用和可视化RESTful风格的Web服务
二,集成Swagger2 构建RESTful API
1:在pom.xml中添加Swagger的依赖
		<!-- swagger依赖 -->
        <dependency>
            <groupId>io.springfox</groupId>
            <artifactId>springfox-swagger-ui</artifactId>
            <version>2.9.2</version>
        </dependency>
        <dependency>
            <groupId>io.springfox</groupId>
            <artifactId>springfox-swagger2</artifactId>
            <version>2.9.2</version>
        </dependency>
2:创建Swagger配置类SwaggerConfig.java
package com.mp.configuration;
import org.springframework.context.annotation.Bean;
import org.springframework.context.annotation.Configuration;
import springfox.documentation.builders.ApiInfoBuilder;
import springfox.documentation.builders.PathSelectors;
import springfox.documentation.builders.RequestHandlerSelectors;
import springfox.documentation.service.ApiInfo;
import springfox.documentation.service.Contact;
import springfox.documentation.spi.DocumentationType;
import springfox.documentation.spring.web.plugins.Docket;
import springfox.documentation.swagger2.annotations.EnableSwagger2;
/**
* swagger 配置类
* @author XQD
* @date 2019/12/20
*/
// @EnableSwagger2注解来启用Swagger2
@Configuration
@EnableSwagger2
public class SwaggerConfig {
@Bean
public Docket createRestApi(){
return new Docket(DocumentationType.SWAGGER_2)
.apiInfo(apiInfo())
.select()
// 当前包的路径
.apis(RequestHandlerSelectors.basePackage("com.mp"))
// 可以根据url路径设置哪些请求加入文档,忽略哪些请求
.paths(PathSelectors.any())
.build();
}
/**
* 构建api文档的详细信息函数
*/
private ApiInfo apiInfo(){
return new ApiInfoBuilder()
//页面标题
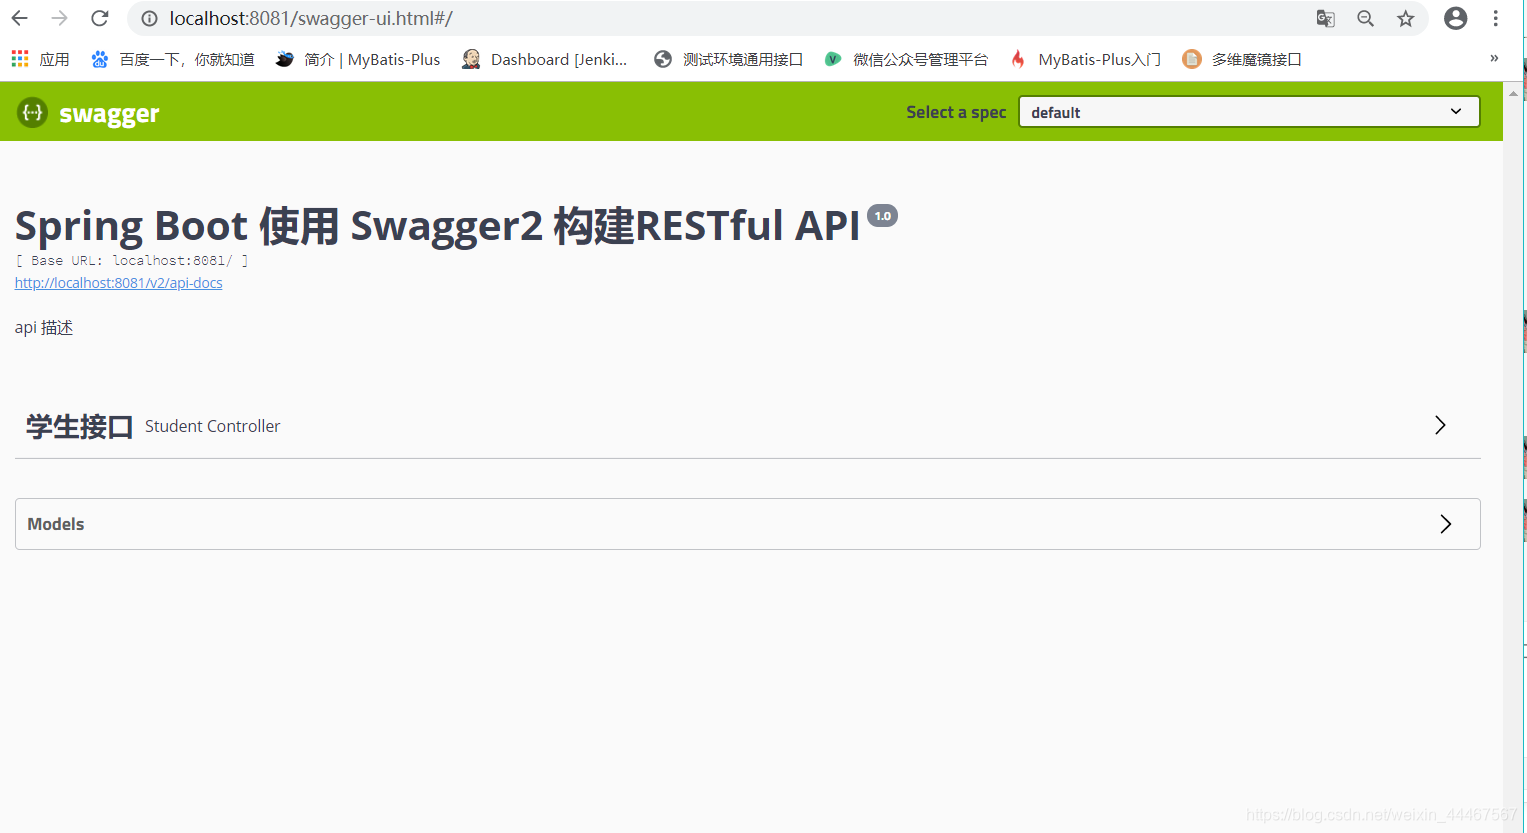
.title("Spring Boot 使用 Swagger2 构建RESTful API")
// 创建人信息 可以为null
.contact(new Contact("xqd",null,null))
// 版本号
.version("1.0")
// 描述
.description("api 描述")
.build();
}
}
3:API接口开发
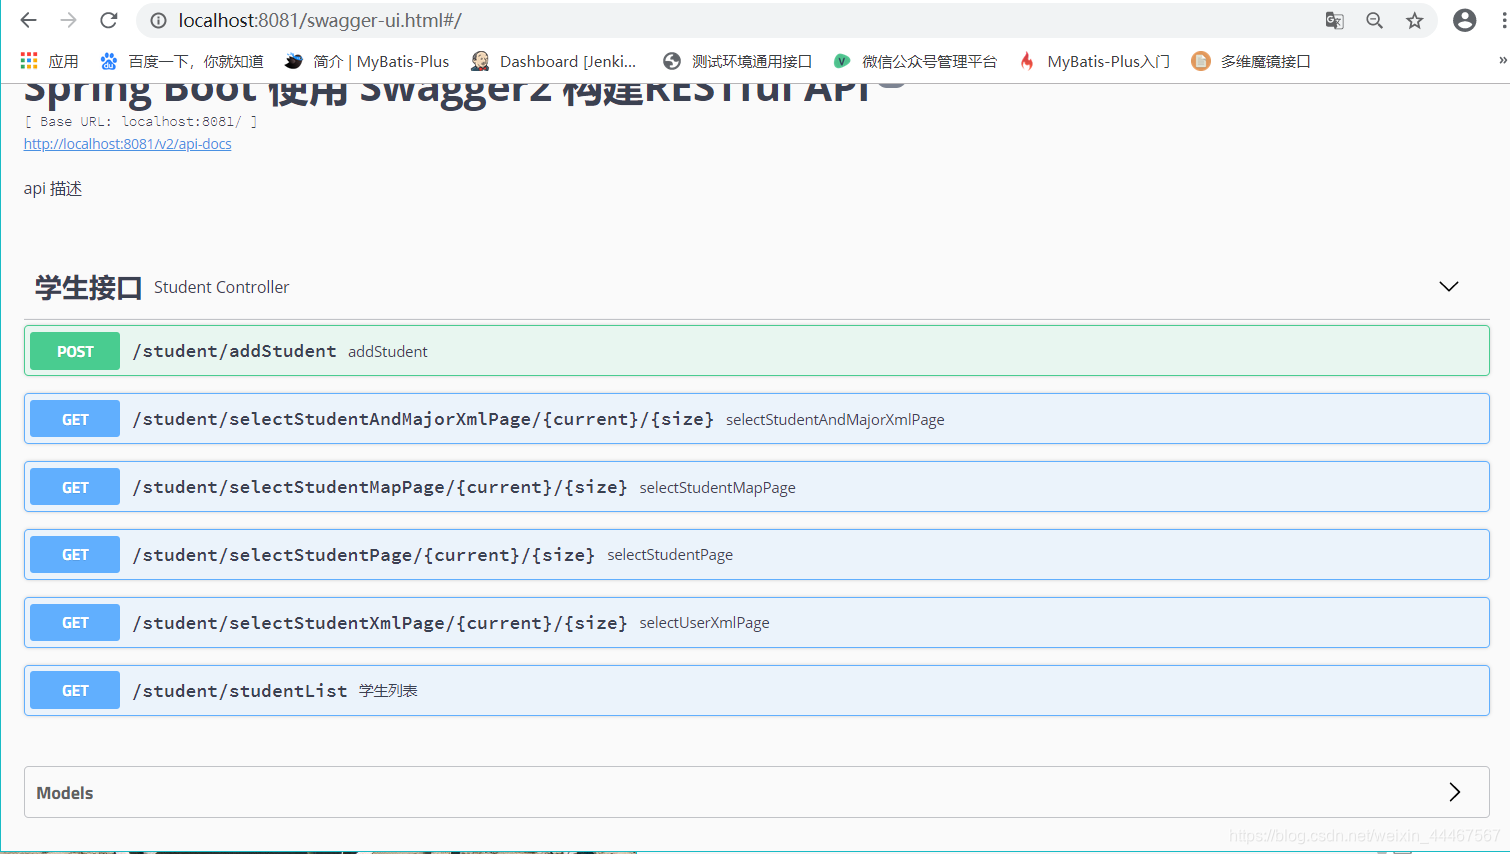
@Api(value = "StudentController", tags = "学生接口")
@RestController
@RequestMapping("/student")
public class StudentController {
@Autowired
private StudentService studentService;
@Autowired
private IdWorker idWorker;
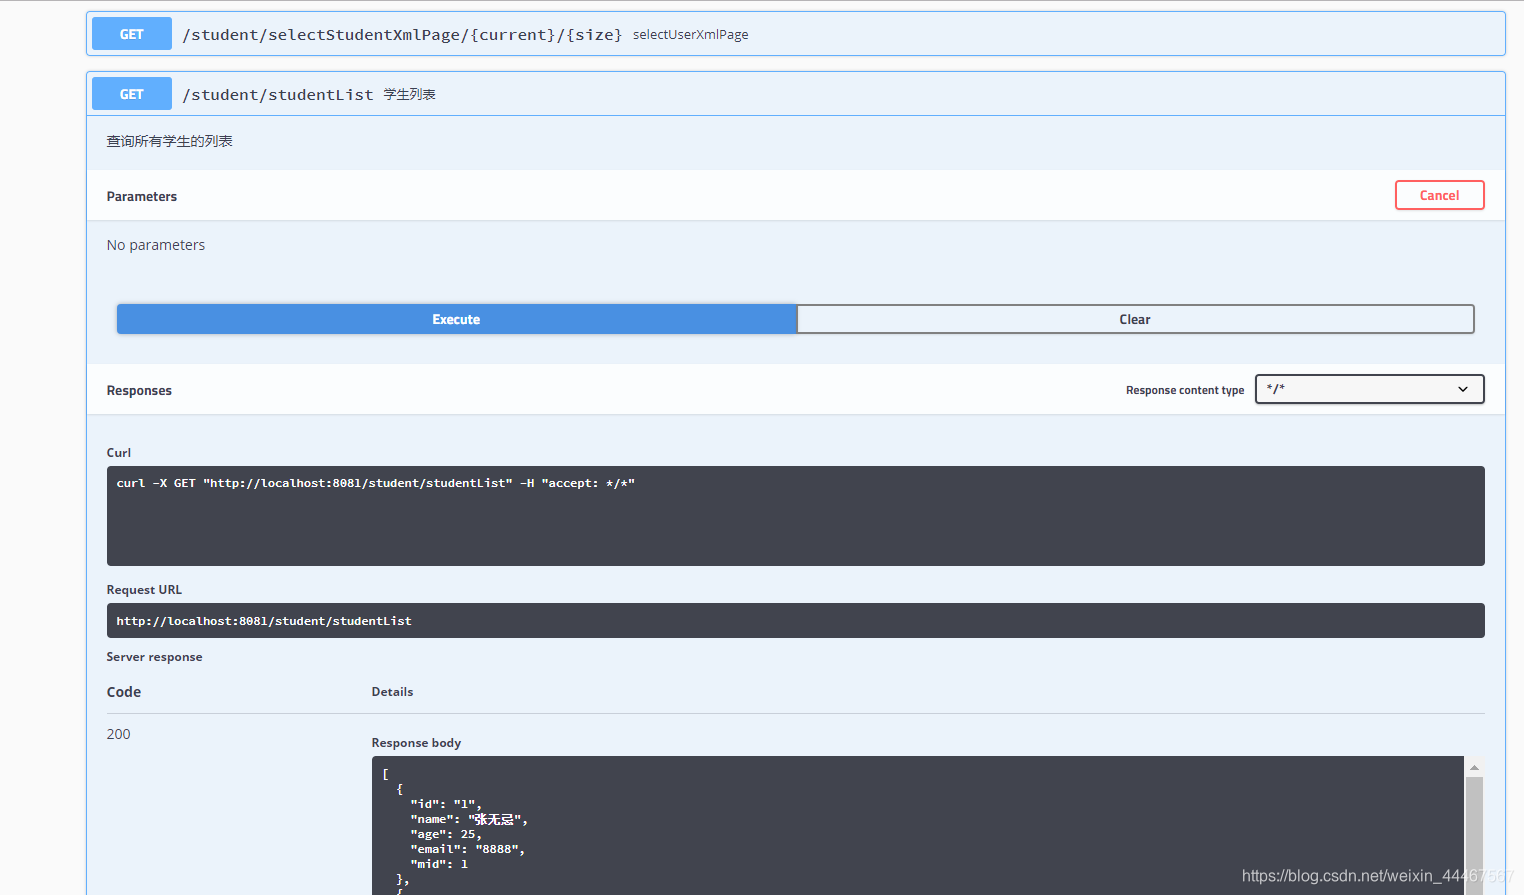
@ApiOperation(value = "学生列表",notes = "查询所有学生的列表")
@GetMapping("/studentList")
public Object studentList(){
List<Student> list = studentService.list();
return list;
}
}
Swagger 通过注解定制接口对外展示的信息,这些信息包括接口名、请求方法、参数、返回信息等。更多注解类型:
- @Api:修饰整个类,描述Controller的作用
- @ApiOperation:描述一个类的一个方法,或者说一个接口
- @ApiParam:单个参数描述
- @ApiModel:用对象来接收参数
- @ApiProperty:用对象接收参数时,描述对象的一个字段
- @ApiResponse:HTTP响应其中1个描述
- @ApiResponses:HTTP响应整体描述
- @ApiIgnore:使用该注解忽略这个API
- @ApiError :发生错误返回的信息
- @ApiImplicitParam:描述一个请求参数,可以配置参数的中文含义,还可以给参数设置默认值
- @ApiImplicitParams:描述由多个 @ApiImplicitParam 注解的参数组成的请求参数列表
4:启动SpringBoot项目
启动后访问,http://localhost:8081/swagger-ui.html(修改成自己的端口号)
点击Try it out 输入参数,点击Execute进行测试
5:在Spring Security中的配置
Spring Boot 项目中如果集成了 Spring Security,在不做额外配置的情况下,Swagger2 文档会被拦截。解决方法是在 Security 的配置类中重写 configure 方法添加白名单即可:
@Override
public void configure ( WebSecurity web) throws Exception {
    web.ignoring()
      .antMatchers("/swagger-ui.html")
      .antMatchers("/v2/**")
      .antMatchers("/swagger-resources/**");
}
三,Swagger2注解详细说明
@Api:用在请求的类上,表示对类的说明
tags=“说明该类的作用,可以在UI界面上看到的注解”
value=“该参数没什么意义,在UI界面上也看到,所以不需要配置”
@ApiOperation:“用在请求的方法上,说明方法的作用”
value=“说明方法的作用”
notes=“方法的备注说明”
示例:
@ApiOperation(value="用户注册",notes="手机号、密码都是必输项,年龄随边填,但必须是数字")
@ApiImplicitParams:用在请求的方法上,包含一组参数说明
@ApiImplicitParam:用在 @ApiImplicitParams 注解中,指定一个请求参数的配置信息
name:参数名
value:参数的汉字说明、解释
required:参数是否必须传
paramType:参数放在哪个地方
· header --> 请求参数的获取:@RequestHeader
· query --> 请求参数的获取:@RequestParam
· path(用于restful接口)–> 请求参数的获取:@PathVariable
· body(不常用)
· form(不常用)
dataType:参数类型,默认String,其它值dataType=“Integer”
defaultValue:参数的默认值
示例:
@ApiImplicitParams({
    @ApiImplicitParam(name="mobile",value="手机号",required=true,paramType="form"),
    @ApiImplicitParam(name="password",value="密码",required=true,paramType="form"),
    @ApiImplicitParam(name="age",value="年龄",required=true,paramType="form",dataType="Integer")
})
@ApiResponses:用于请求的方法上,表示一组响应
@ApiResponse:用在@ApiResponses中,一般用于表达一个错误的响应信息
code:数字,例如400
message:信息,例如"请求参数没填好"
response:抛出异常的类
示例:
@ApiOperation(value = "select1请求",notes = "多个参数,多种的查询参数类型")
@ApiResponses({
    @ApiResponse(code=400,message="请求参数没填好"),
    @ApiResponse(code=404,message="请求路径没有或页面跳转路径不对")
})
@ApiModel:用于响应类上,表示一个返回响应数据的信息
(这种一般用在post创建的时候,使用@RequestBody这样的场景,
请求参数无法使用@ApiImplicitParam注解进行描述的时候)
@ApiModelProperty:用在属性上,描述响应类的属性
示例:
import io.swagger.annotations.ApiModel;
import io.swagger.annotations.ApiModelProperty;

import java.io.Serializable;

@ApiModel(description= "返回响应数据")
public class RestMessage implements Serializable{

    @ApiModelProperty(value = "是否成功")
    private boolean success=true;
    @ApiModelProperty(value = "返回对象")
    private Object data;
    @ApiModelProperty(value = "错误编号")
    private Integer errCode;
    @ApiModelProperty(value = "错误信息")
    private String message;

    /* getter/setter */
}
