绘制动图需要用到matplotlib中的animation模块
import numpy as np
import matplotlib.pyplot as plt
from matplotlib import animation
fig,ax=plt.subplots()
#plt.subplots()是一个函数,返回一个包含figure和axes对象的元组
#因此,使用fig,ax=plt.subplots()将元组分解为fig和ax两个变量。
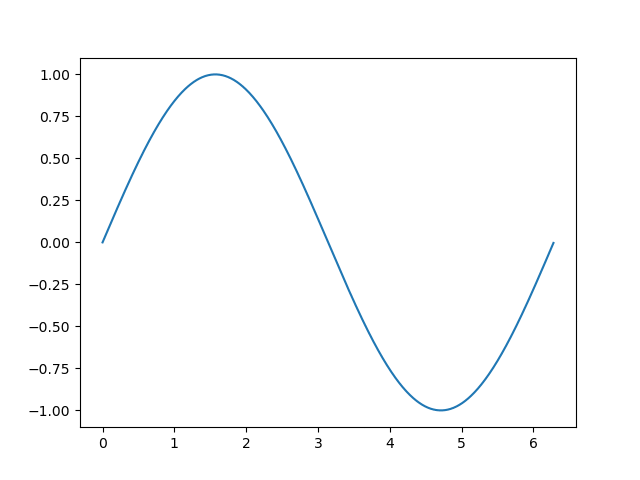
x=np.arange(0,2*np.pi,0.01)
line,=ax.plot(x,np.sin(x))
#因为这里返回的是列表,line,表示取得是列表的第一位
#动画效果
#下一个坐标点y的坐标,更新y轴的数据信息
def animate(i):
line.set_ydata(np.sin(x+i/10))
return line,
#初始的x,y的坐标
def init():
line.set_ydata(np.sin(x))
return line
ani=animation.FuncAnimation(fig=fig,func=animate,frames=100,init_func=init,interval=20,blit=False)
#fig:即为我们的绘图对象.
#frames=100, 动画的帧数,这里是100帧,
#interval是指时间间隔,每一帧与每一帧之间的时间间隔为20毫秒,间隔越大,动画越慢
#blit:只更新当前点,不是全部,True则是更新全部画面
plt.show()
ani.save('an.gif',writer='imagemagick')#保存动图
ani.save('你保存的路径',writer='imagemagick')#保存动图
这里保存动图需要先安装imageMagick库,否则不能用,点击imageMagick的下载与安装