上次在做一个个人博客项目的时候遇到了这个问题,现在把解决步骤写一下
IDE:IDEA
语言:java
框架:spring boot
模版引擎:thymeleaf
一.看效果
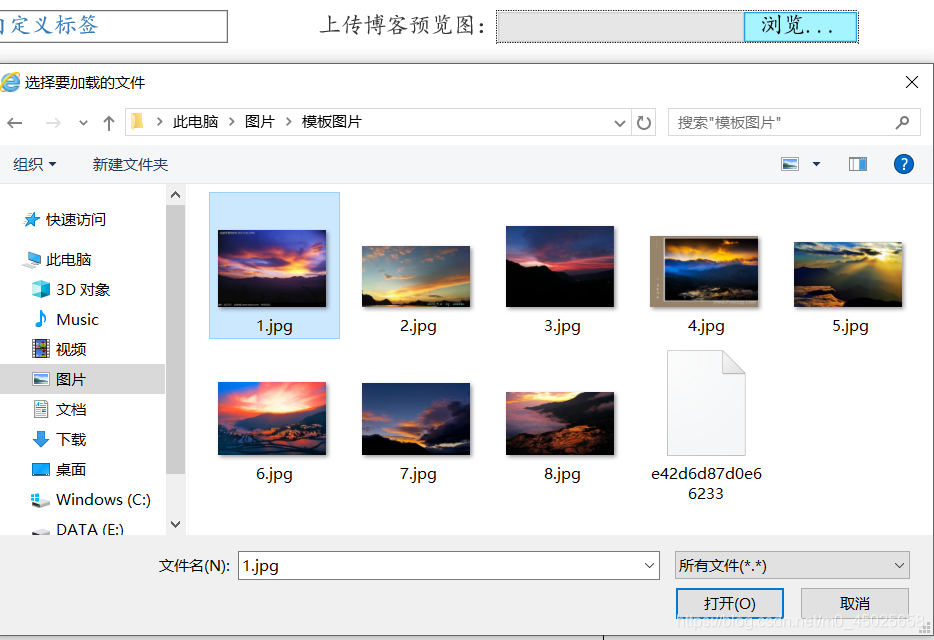
1.图片提交
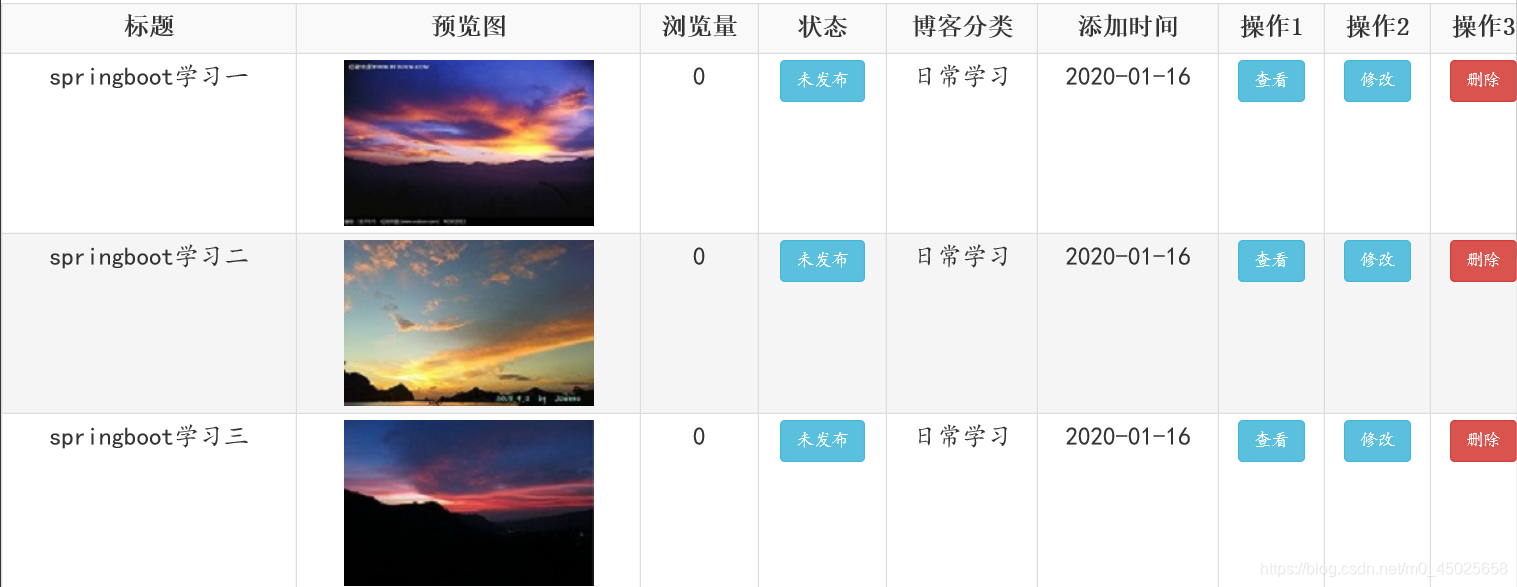
2.图片显示
二.设计过程
1.pom.xml
 <dependency>
    <groupId>org.springframework.boot</groupId>
    <artifactId>spring-boot-starter-web</artifactId>
</dependency>
<dependency>
    <groupId>org.springframework.boot</groupId>
    <artifactId>spring-boot-starter-tomcat</artifactId>
</dependency>
<!-- mysql -->
<dependency>
    <groupId>mysql</groupId>
    <artifactId>mysql-connector-java</artifactId>
    <version>5.1.21</version>
</dependency>
<!--thymeleaf-->
<dependency>
    <groupId>org.springframework.boot</groupId>
    <artifactId>spring-boot-starter-thymeleaf</artifactId>
</dependency>
2.application.properties
#thymeleaf
server.port=8016
spring.thymeleaf.mode=LEGACYHTML5
spring.thymeleaf.encoding=UTF-8
spring.thymeleaf.servlet.content-type=text/html
spring.thymeleaf.cache=false

#mysql
spring.datasource.url=jdbc:mysql://127.0.0.1:3306/hkblog_2?characterEncoding=UTF-8
spring.datasource.username=root
spring.datasource.password=admit
spring.datasource.driver-class-name=com.mysql.jdbc.Driver

#mybatis
mybatis.type-aliases-package=com.how2java.springboot.domain
mybatis.mapper-locations=classpath:mapper/*.xml
#mybatis.config-location=classpath:mybatis-config.xml

#上传文件大小限制
spring.http.multipart.max-file-size=200MB
spring.http.multipart.max-request-size=200MB
3.前端上传图片(部分)
<form action="/WriteBlog" method="post"  enctype="multipart/form-data">
    上传博客预览图:<input id="blogCoverImage" name="file" type="file"   style="display: inline"/>
<input class="btn-info" type="submit" i value="提交" />
</form>
4.后端接收图片(部分)
@RequestMapping("/WriteBlog")
public String WriteBlog(MultipartFile file){
//获取上传图片的地址
//保存图片的路径
String filePath = "C:\\Users\\lenovo\\Desktop\\idea_workspace\\hk_blog_2\\src\\main\\resources\\static\\img\\blogManage";
//获取图片的扩展名
String originaFilename = file.getOriginalFilename();
System.out.println(originaFilename);
//新的文件的名字
String newFileName = originaFilename;
//封装上传文件的全路径
File targetFile = new File(filePath ,newFileName);
//把本地文件上传到封装上传文件位置的全路径
try {
file.transferTo(targetFile);
} catch (IOException e) {
e.printStackTrace();
}
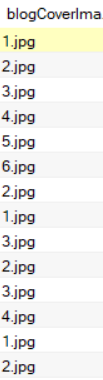
//把图片的名字反在数据库中
bms.addBlogInfo(blogTitle ,originaFilename,blogContent ,blogCategoryId ,blogTagsId ,blogState ,createTime);
//返回写博客页面
return "blogLater/writeBlog";
}
上面保存图片的路径是该项目中的static\img\blogManage目录
5.看一下数据库是否放进去
6.前端回显图片(部分)
  <table class="table table-striped table-bordered table-hover  table-condensed" id="tb" border="1">
        <tr>
        <td>预览图</td>
        </tr>
        <tr th:each="c:${page.list}">
            <td><img th:src="'img/blogManage/'+${c.blogCoverImage}"/></td>
         </tr>
   </table>
从保存图片的路径中取出值(这里是thymeleaf的写法)
到这里就结束了,可能有点小瑕疵,因为我是从我的项目中截取下的一部分。直接复制源码可能不是很行,但是思路很清晰,前端上传图片,后端把图片放在我项目的static\img\blogManage下,然后数据库保存图片名称,前端遍历路径下的图片名称。
*没有单独的源码,但是我把我的博客项目放在了这里,博客也是一个半成品。
源码路径 : //download.csdn.net/download/m0_45025658/12111291
管理员登陆路径:http://localhost:8016/enterAdminLogin
账号:adminxyz
密码: adminxyz
