介绍
这里是小编成长之路的历程,也是小编的学习之路。希望和各位大佬们一起成长!
以下为小编最喜欢的两句话:
要有最朴素的生活和最遥远的梦想,即使明天天寒地冻,山高水远,路远马亡。
一个人为什么要努力? 我见过最好的答案就是:因为我喜欢的东西都很贵,我想去的地方都很远,我爱的人超完美。因此,小编想说:共勉!
目录
一、文件上传与下载
在开发Web应用时,文件上传和下载是很常见的一个需求。浏览器通过表单形式将文件以流的形式传递给服务器,服务器再对上传的数据进行解析处理。下载文件通过 IO 流实现,大多数框架并没有对文件下载进行封装处理,并且文件下载时涉及不同浏览器的解析处理,可能会出现中文乱码的情况。
1、文件上传
实现文件上传,需要满足三个条件。1、表单提交方式必须是 POST
2、表单需要设置 enctype 属性,且值为 multipart/form-data
3、表单需要设置一个文件域,也就是表单项 type = "file"
第一步:pom.xml
注意:SpringBoot并没有提供文件上传所需要的 jar 包或依赖,需要再项目中加入文件上传的相关 jar 包或 maven 依赖,如图所示:
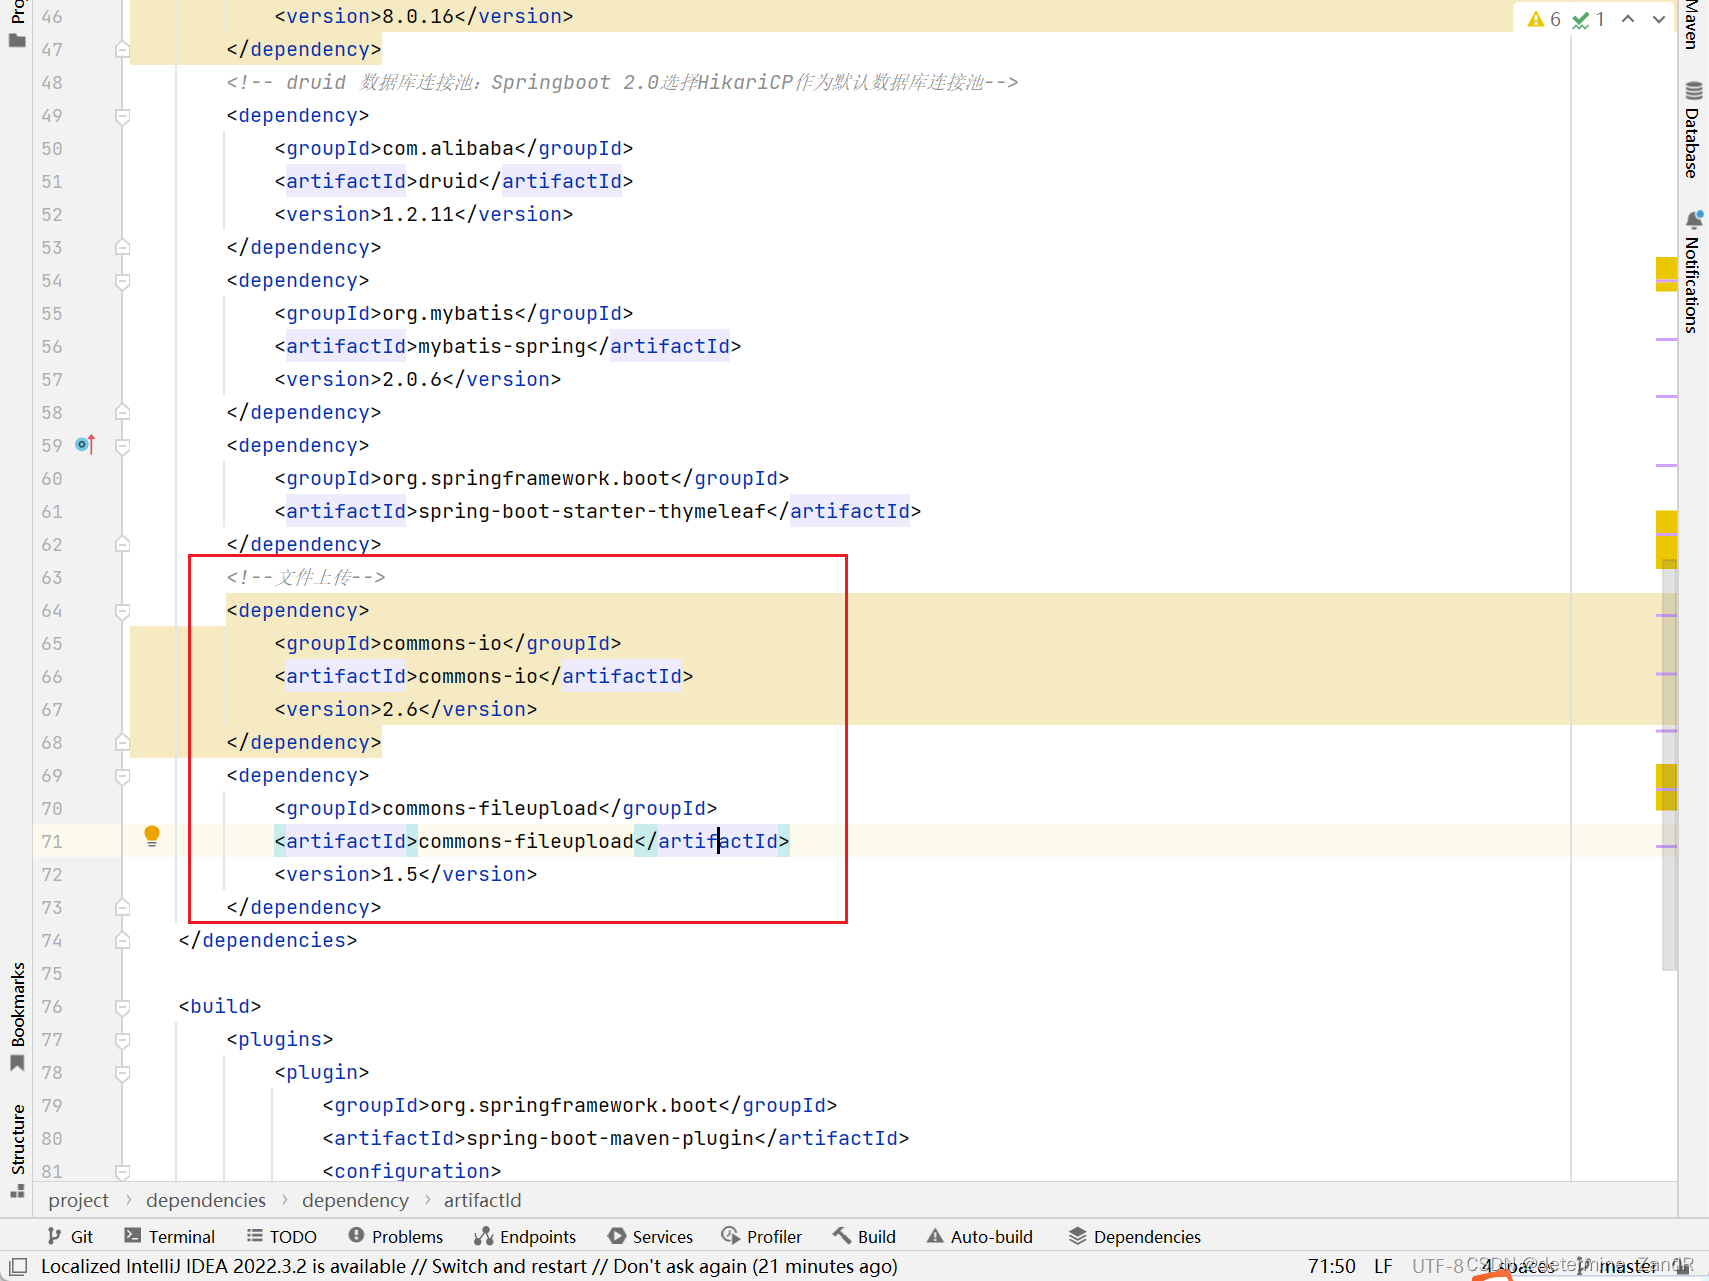
下面是依赖包:
(注意:看你创建的springboot项目是什么版本的,如果你jdk使用的是1.8,那么创建项目的时候就要选择2.7.8或者2.7.9,这个时候使用下面的依赖版本是没有冲突的,因为小编也是使用的2.7.8,如果使用3及3以上的版本出现问题的话,可以考虑是不是包冲突了)
        <!--文件上传-->
        <dependency>
            <groupId>commons-io</groupId>
            <artifactId>commons-io</artifactId>
            <version>2.6</version>
        </dependency>
        <dependency>
            <groupId>commons-fileupload</groupId>
            <artifactId>commons-fileupload</artifactId>
            <version>1.5</version>
        </dependency>
第二步: 编写文件上传的表单页面
在项目中的 resources/templates 目录创建一个名为 upload.html 页面
<form th:action="@{/upload}" method="post" enctype="multipart/form-data">
    <div>
        <label>选择文件:</label>
        <input type="file" name="attach"/>
    </div>
    <div style="margin-top:20px">
        <input type="submit" value="确认上传"/>
    </div>
</form>第三步:在全局配置文件中添加文件上传的相关配置
application.properties
  #设置单个文件大小
  spring.servlet.multipart.max-file-size=50MB
  #设置总上传数据大小
  spring.servlet.multipart.max-request-size=50MB

  #自定义属性
  #设置文件上传位置(绝对路径)
  file.upload.path=d:/

  #设置文件上传后回显位置(相对路径)
  file.upload.path.relative=/**
  # 这是连接数据库8.0及以上的版本,如果是5版本就不需要加cj,在url中不需要加时区,8版本不加时区的话
  # 可能会报时区的问题

  spring.datasource.driver-class-name= com.mysql.cj.jdbc.Driver
  datasource.url= localhost:3306/testdb
  spring.datasource.url= jdbc:mysql://${datasource.url}?
  useSSL=false&useUnicode=true&characterEncoding=utf-
  8&allowMultiQueries=true&autoReconnect=true&maxReconnects=10&serverTimezone=UTC
  spring.datasource.username= root
  spring.datasource.password= root
需要注意的是,通过 spring.servlet.multipart.max-file-size 属性设置单个上传文件的大小限制,默认1MB,通过spring.servlet.multipart.max-request-size 属性设置所有上传文件的大小限制,默认为 10MB。开发过程中,需要结合实际需求合理设置文件大小。
第四步:进行文件上传处理,实现文件上传功能
在 controller 包下创建控制器
package com.lyn.controller;
import org.apache.commons.io.FilenameUtils;
import org.springframework.beans.factory.annotation.Value;
import org.springframework.stereotype.Controller;
import org.springframework.ui.Model;
import org.springframework.web.bind.annotation.RequestMapping;
import org.springframework.web.multipart.MultipartFile;
import java.io.File;
import java.io.IOException;
import java.text.SimpleDateFormat;
import java.util.Date;
import java.util.UUID;
@Controller
public class FileController{
// 文件上传位置
@Value("${file.upload.path}")
private String filePath;
/**
* 向文件上传页面跳转
* @return
*/
@RequestMapping("/toUpload")
public String toUpload(){
return "upload";
}
/**
* 文件上传
* @param attach
* @param model
* @return
*/
@RequestMapping("/upload")
public String upload(MultipartFile attach, Model model){
// 判断文件是否为空,不为空则进行文件上传
if(!attach.isEmpty()){
// 获取源文件名称
String fileName = attach.getOriginalFilename();
// 获取源文件后缀名
String suffix = FilenameUtils.getExtension(fileName);
// 使用UUID重命名文件名称
String newFileName = UUID.randomUUID().toString().replace("-","")+(".")+suffix;
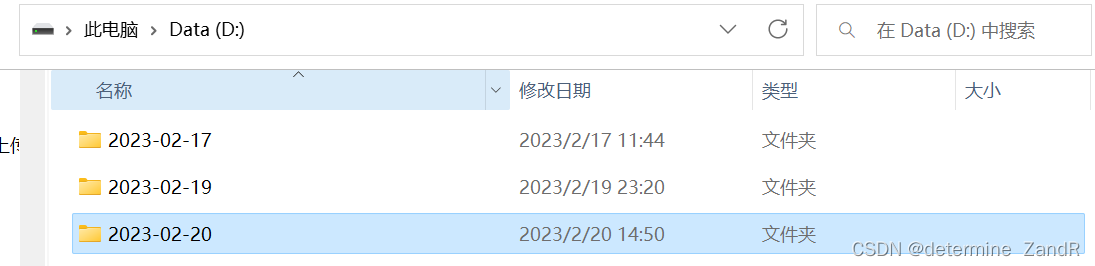
// 使用日期解决同一文件夹中文件过多问题(以当前日期命名文件夹)
String datePath = new SimpleDateFormat("yyyy-MM-dd").format(new Date());
// 组装最终文件名
String finalName = datePath+"/"+newFileName;
// 构建文件对象
File dest = new File(filePath + finalName);
// 判断该文件夹是否存在,不存在则创建
if(!dest.getParentFile().exists()){
dest.getParentFile().mkdirs(); // 创建文件夹
}
try{
// 将文件保存到硬盘
attach.transferTo(dest);
// 将当前图片放到模型中,便于页面回显
model.addAttribute("image",finalName);
}catch(IOException e){
e.printStackTrace();
}
}
// 返回页面(该页面是templates目录下的页面)
return "show";
}
}第五步:测试
http://localhost:8080/toUpload
二、回显图片
如果上传的文件是图片,且需要在页面中将图片显示,则需要对图片进行数据回显,需要完成两个步骤,分别是:
第一步:创建并编写图片回显页面
在项目中的 resources/templates 目录下创建 show.html 页面,代码如下所示:
<!DOCTYPE html>

<html xmlns:th="http://www.thymeleaf.org">

<head>

    <meta charset="UTF-8">

    <title>图片回显</title>

</head>

<body>

    <img th:src="@{'/'+${image}}"/>

</body>

</html>
创建并编写文件上传配置类
第二步:在项目中的 config 包下新建 UploadConfig 类
package com.lyn.config;

  import org.springframework.beans.factory.annotation.Value;

  import org.springframework.context.annotation.Configuration;

  import org.springframework.web.servlet.config.annotation.ResourceHandlerRegistry;

  import org.springframework.web.servlet.config.annotation.WebMvcConfigurer;


  @Configuration

  public class UploadConfig implements WebMvcConfigurer {

    // 上传地址

    @Value("${file.upload.path}")

    private String filePath;


    // 显示相对地址

    @Value("${file.upload.path.relative}")

    private String fileRelativePath;


    //地址映射 url地址与本地磁盘地址映射

    @Override

    public void addResourceHandlers(ResourceHandlerRegistry registry){

        // 读取本地文件需要加上 file:/
    registry.addResourceHandler(fileRelativePath).addResourceLocations("file:/"+filePath);

    }

}
三、文件下载
在Web开发中,文件下载能够通过IO流实现,所以多数框架并没有对文件下载进行封装处理。文件下载时涉及不同浏览器的解析处理,可能会出现中文乱码情况,并且不同浏览器之间的解析处理方式也会有所不同,例如谷歌和IE浏览器。
第一步:添加文件下载依赖
在 pom.xml 文件中引入文件下载的工具依赖 commons-io,还是需要注意版本的兼容性
<dependency>
    <groupId>commons-io</groupId>
    <artifactId>commons-io</artifactId>
    <version>2.6</version>
</dependency>
第二步:创建文件下载页面
在 resuources/templates 目录下创建 download.html 页面,代码如下:
<h2>文件下载</h2>
<!-- 注意:这个路径是你自己上传文件的文件夹,比如小编的就在d盘有一个2023-02-20的文件夹-->
<a th:href="@{2023-02-20/1.jpg}" download="1.jpg">html页面下载</a>
</body>
如图:

第三步:创建控制器
将方法写在文件上传的controller中
  /**
 * 文件下载的两种方式,使用其中一种下载即可
 */
@RequestMapping("/download")
    public String downLoad(){
        return "download";
    }

    @GetMapping("/t3")
    public ResponseEntity<ByteArrayResource> down3() throws Exception {
        byte[] bytes = Files.readAllBytes(new File("d:\\2023-02-20\\1.jpg").toPath());
        ByteArrayResource bar = new ByteArrayResource(bytes);
        return ResponseEntity.ok()
                .contentType(MediaType.APPLICATION_OCTET_STREAM)
                .header("Content-disposition", "attachment; filename=1.jpg")
                .body(bar);
    }
以上就是小编所写得文件上传,回显图片,以及文件下载,希望能够帮助到大家!!谢谢各位大佬的观看!!