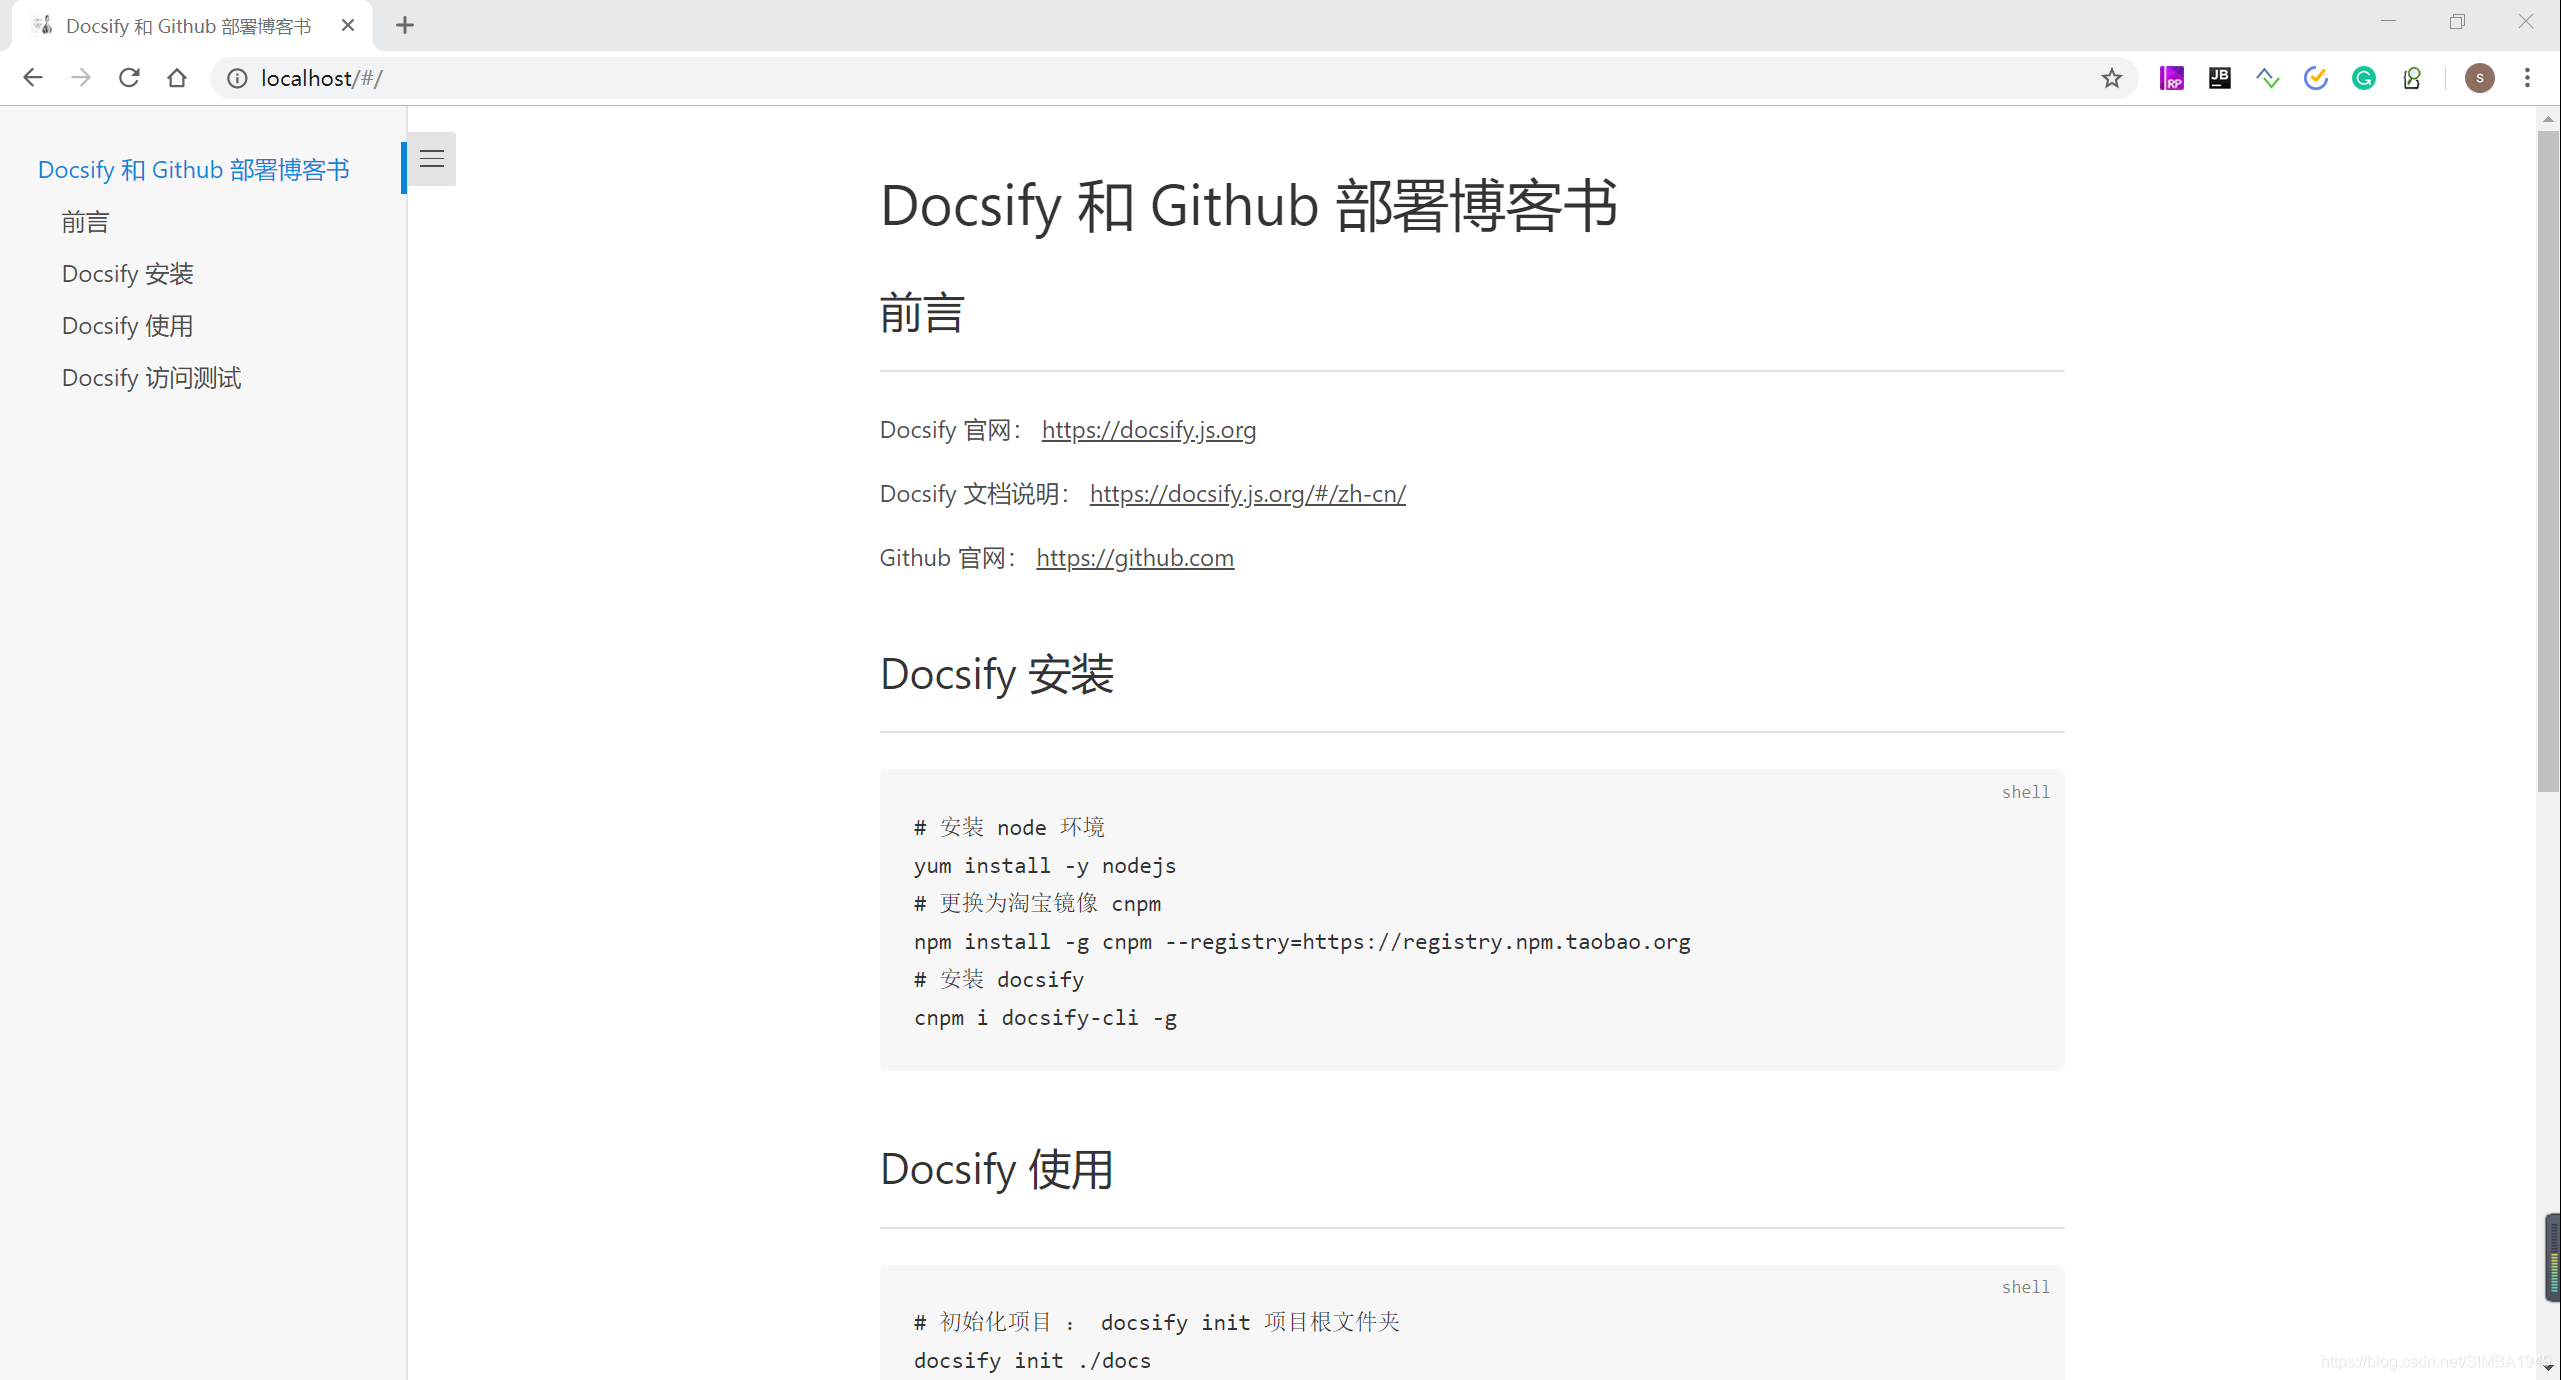
Docsify 和 Github/Nginx 部署博客书
前言
博客书链接:点击
Docsify 官网: https://docsify.js.org
Docsify 文档说明: https://docsify.js.org/#/zh-cn
Github 官网: https://github.com
Docsify 安装
# 安装 node 环境
yum install -y nodejs
# 更换为淘宝镜像 cnpm
npm install -g cnpm --registry=https://registry.npm.taobao.org
# 安装 docsify
cnpm i docsify-cli -g
Docsify 使用
# 初始化项目 : docsify init 项目根文件夹
docsify init ./docs
# 前台运行项目,docsify serve <path> [--port 3000],默认端口 3000
docsify serve docs
Docsify 访问测试
Docsify 默认端口为 3000,访问 http://localhost:3000 即可,默认读取 README.md 文件
与 Nginx 配合部署博客书
对 Nginx 进行配置
只需要将 nginx 的 root 目录指定为 docsify 项目的根目录即可
#user  nobody;
worker_processes  1;
events {
    worker_connections  1024;
}

http {
    include       mime.types;
    default_type  application/octet-stream;
    sendfile        on;
    keepalive_timeout  65;

    server {
        listen       80;
        server_name  localhost;
        location / {
        	# 只需要将 nginx 的 root 目录指定为 docsify 项目的根目录即可
            root   D:/Tool/KanCloud/md/md;
            index  index.html index.htm;
        }
        error_page   500 502 503 504  /50x.html;
        location = /50x.html {
            root   html;
        }
    }
}
示例 80 端口,直接访问 http://localhost:80 即可看到
访问测试
与 Github 配合部署博客书
参考链接: https://blog.csdn.net/u012894692/article/details/82350605
