PyMySQL基本使用以及SQL注入问题
PyMySQL基本使用
又是一个可以帮助我们实现用代码来操作数据库的模块,安装,导入即可
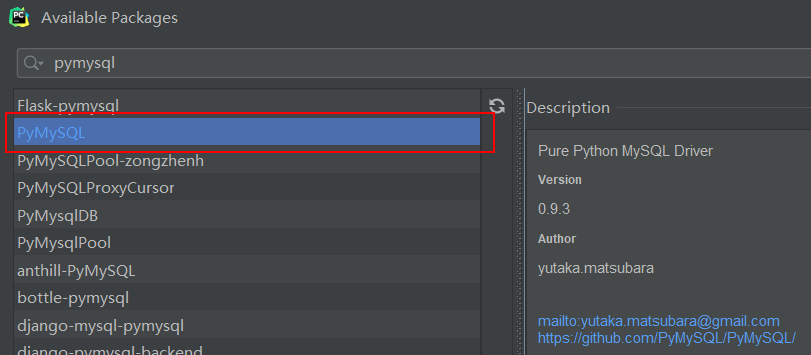
然后导入即可使用
# pymysql基本使用
import pymysql

conn = pymysql.connect(
    user='root',
    password='123',
    host='127.0.0.1',
    port=3306,
    charset='utf8',
    database='db3'
)
cursor = conn.cursor(cursor=pymysql.cursors.DictCursor) # 产生一个游标对象
# 括号中cursor=pymysql.cursors.DictCursor 是将查询出来的结果制作成字典的形式返回
sql = "select * from user_info" # 在pycharm中,加不加分号无所谓,pymysql会自动给你加
res = cursor.execute(sql)   # 执行sql语句
# print(res)  # ---> 3  execute返回的时候当前sql所影响的行数
# ret = cursor.fetchone() # 只获取查询结果中的一条数据
# ret = cursor.fetchall() # 获取查询结果的所有数据
# ret = cursor.fetchmany(2)   # 指定获取几条数据,如果数字超过了也不会报错
# print(ret)

# print(cursor.fetchone())
# print(cursor.fetchone())
# 相对移动
cursor.scroll(2,'relative')     # 基于指针所在位置,往后偏移
# 绝对移动
cursor.scroll(1, 'absolute')    # 基于起始位置,往后偏移
print(cursor.fetchall())cursor.fetchone()只获取查询结果中的一条数据cursor.fetchall()获取查询结果的所有数据cursor.fetchmany(2)指定获取几条数据
SQL注入问题
sql注入问题指的是
- 利用特殊符号和注释语法,巧妙的绕过真正的sql效验


解决方法
- 关键性的数据,不要自己手动去拼接,而是交由execute帮你去拼接
import pymysql

conn = pymysql.connect(
    user='root',
    passwd='123',
    db='db3',
    host='127.0.0.1',
    port=3306,
    charset='utf8'
)
cursor = conn.cursor(cursor=pymysql.cursors.DictCursor)
# 获取用户输入的用户名和密码,然后去数据库中校验
username = input('username>>>:').strip()
password = input('password>>>:').strip()
# sql = "select * from user_info where username='%s' and password='%s'" % (username,password)   # 注意:不要自己拼接
sql = "select * from user_info where username=%s and password=%s"
print(sql)
cursor.execute(sql, (username, password))
res = cursor.fetchall()
if res:
    print(res)
else:
    print('username or password error')
数据的增删改查
先来个例子再说
import pymysql

conn = pymysql.connect(
    user = 'root',
    passwd = '123',
    db = 'db3',
    host = '127.0.0.1',
    port = 3306,
    charset = 'utf8'
)
cursor = conn.cursor(cursor=pymysql.cursors.DictCursor)
# 增
sql = "insert into user_info(username,password) values('jason_dsb',111)"
# 改
# sql = "update user_info set username='jason_dsb' where id = 2"
# 删除
# sql = "delete from user_info where id=1"
res = cursor.execute(sql)
print(res)  # 结果---> 1
可以发现,每个语句执行结果都是1,证明语句的执行都影响了一条数据,但是发现,数据库数据不变
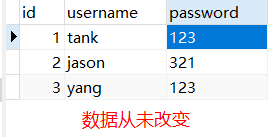
why?
because:针对增 删 改 操作,都是对数据库的数据进行了实际操作,执行的重要程度较高,所以,必须要有一步确认操作(commit)
conn.commit()确认当前操作,真正同步到数据库
import pymysql

conn = pymysql.connect(
    user = 'root',
    passwd = '123',
    db = 'db3',
    host = '127.0.0.1',
    port = 3306,
    charset = 'utf8'
)
cursor = conn.cursor(cursor=pymysql.cursors.DictCursor)
# 增
sql = "insert into user_info(username,password) values('tank_dsb',111)"
# 改
# sql = "update user_info set username='jason_dsb' where id = 2"
# 删除
# sql = "delete from user_info where id=1"
res = cursor.execute(sql)
conn.commit()   # 确认当前操作,真正同步到数据库
print(res)  # 结果---> 1
- 还有一种方式就是,在连接的时候,定义参数
autocommit=True字面翻译就懂了,自动提交确认
import pymysql

conn = pymysql.connect(
    user = 'root',
    passwd = '123',
    db = 'db3',
    host = '127.0.0.1',
    port = 3306,
    charset = 'utf8',
    autocommit = True   #自动提交确认
)
cursor = conn.cursor(cursor=pymysql.cursors.DictCursor)
# 增
# sql = "insert into user_info(username,password) values('tank_dsb',111)"
# 改
# sql = "update user_info set username='jason_dsb' where id = 2"
# 删除
sql = "delete from user_info where id=9"
res = cursor.execute(sql)
# conn.commit()   # 确认当前操作,真正同步到数据库
print(res)  # 结果---> 1
- 总结
- 第一种方式, 自己手动加
conn.commit() - 第二种方式,添加参数
autocommit = True
- 第一种方式, 自己手动加