编写zabbix源
[root@localhost ~]# cat /etc/yum.repos.d/zabbix.repo
[zabbix]
name=Zabbix Official Repository - $basearch
baseurl=http://repo.zabbix.com/zabbix/4.0/rhel/7/$basearch/
enabled=1
gpgcheck=0
gpgkey=file:///etc/pki/rpm-gpg/RPM-GPG-KEY-ZABBIX-A14FE591

[zabbix-non-supported]
name=Zabbix Official Repository non-supported - $basearch
baseurl=http://repo.zabbix.com/non-supported/rhel/7/$basearch/
enabled=1
gpgkey=file:///etc/pki/rpm-gpg/RPM-GPG-KEY-ZABBIX
gpgcheck=0
安装zabbix及服务所需组件
yum install -y zabbix-server-mysql zabbix-web-mysql zabbix-agent mariadb-server
查看zabbix版本
zabbix_server –V
启动mariadb数据库,设置开机自启
systemctl start mariadb
systemctl enable mariadb
mysql #登入数据库
MariaDB [(none)]> create database zabbix character set utf8 collate utf8_bin;
#创建数据库实例
MariaDB [(none)]> grant all privileges on zabbix.* to zabbix@'%' identified by 'zabbix';
#授权所有主机访问数据库实例zabbix,用户名/密码:zabbix/zabbix
MariaDB [(none)]> grant all privileges on zabbix.* to zabbix@localhost identified by 'zabbix';
#授权localhost主机名访问数据库实例zabbix,用户名/密码:zabbix/zabbix
MariaDB [(none)]> grant all privileges on zabbix.* to [email protected] identified by 'zabbix'; #授权localhost.localdomain主机访问数据库实例zabbix,用户名/密码:zabbix/zabbix
初始化数据库
cd /usr/share/doc/zabbix-server-mysql-4.0.5/
zcat create.sql.gz |mysql -uroot zabbix
修改zabbix-server配置文件
cp /etc/zabbix/zabbix_server.conf /tmp/
vim /etc/zabbix/zabbix_server.conf
DBHost=localhost # 数据主机名
DBName=zabbix # 数据库实例
DBUser=zabbix # 用户名
DBPassword=zabbix # 密码
启动zabbix-server服务,并设置开机自启
systemctl start zabbix-server
systemctl enable zabbix-server
编辑Apache的配置文件,消注释设置正确的时区
vim /etc/httpd/conf.d/zabbix.conf
php_value max_execution_time 300
php_value memory_limit 128M
php_value post_max_size 16M
php_value upload_max_filesize 2M
php_value max_input_time 300
php_value always_populate_raw_post_data -1
php_value date.timezone Asia/Shanghai
启动httpd服务,并设置开机自启
systemctl start httpd
systemctl enable httpd
启动zabbix-agent服务,并设置开机自启
systemctl start zabbix-agent
systemctl enable zabbix-agent
查看所有服务是否全部正常
netstat -nltp
Zabbix Web网页安装
在浏览器输入地址http://服务器ip/zabbix/setup.php,出现欢迎界面,点击下一步;

出现必要条件检测界面,正常都是OK,点击下一步

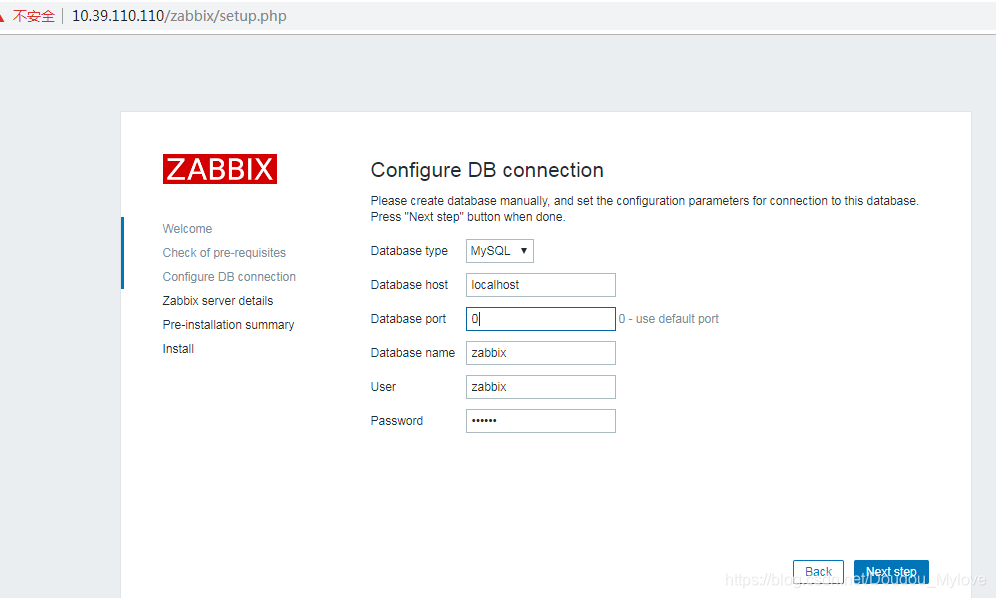
配置DB连接,与zabbix_server.conf文件中主机、数据库名称、用户名、密码保持一致,点击下一步
安装前汇总,检查信息无误,点击下一步安装
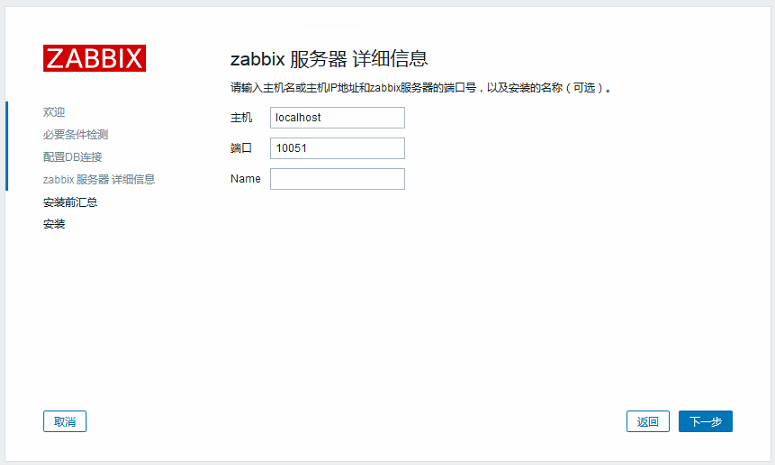
zabbix服务器详细信息,点击下一步

安装成功
Congratulations! You have successfully installed Zabbix frontend.
配置文件目录
Configuration file "/etc/zabbix/web/zabbix.conf.php" created.

输入管理员用户名admin,默认密码zabbix,点击登入即可

进入管理界面

汉化


可以看到zabbix-server自身服务器已经被监控
