1、准备数据
首选将自己的图像数据分类分别放在不同的文件夹下,比如新建data文件夹,data文件夹下分别存放up和low文件夹,up和low文件夹下存放对应的图像数据。也可以把up和low文件夹换成0和1。根据自己数据类别,自己设定。如图所示
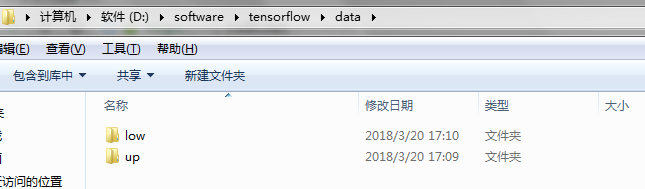
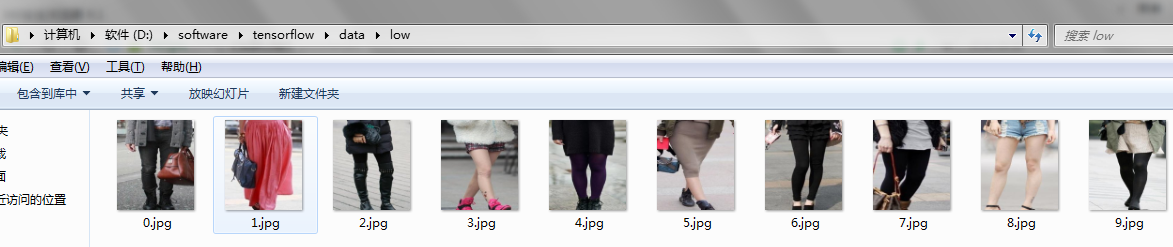

以上三张图片注意看目录。这样数据就准备好了。
2、将图像数据转换成tfrecords
直接上代码,代码中比较重要的部分我都做了注释。
 1 import os
 2 import tensorflow as tf
 3 from PIL import Image
 4 import matplotlib.pyplot as plt
 5 import numpy as np
 6
 7 sess=tf.InteractiveSession()
 8 cwd = "D://software//tensorflow//data//"  #数据所在目录位置
 9 classes = {'up', 'low'} #预先自己定义的类别,根据自己的需要修改
10 writer = tf.python_io.TFRecordWriter("train.tfrecords")  #train表示转成的tfrecords数据格式的名字
11
12 for index, name in enumerate(classes):
13     class_path = cwd + name + "/"
14     for img_name in os.listdir(class_path):
15         img_path = class_path + img_name
16         img = Image.open(img_path)
17         img = img.resize((300, 300))  #图像reshape大小设置,根据自己的需要修改
18         img_raw = img.tobytes()
19         example = tf.train.Example(features=tf.train.Features(feature={
20             "label": tf.train.Feature(int64_list=tf.train.Int64List(value=[index])),
21             'img_raw': tf.train.Feature(bytes_list=tf.train.BytesList(value=[img_raw]))
22         }))
23         writer.write(example.SerializeToString())
24 writer.close()
3、从tfrecords中读取数据
直接上代码:
 1 #读取文件
 2 def read_and_decode(filename,batch_size):
 3     #根据文件名生成一个队列
 4     filename_queue = tf.train.string_input_producer([filename])
 5     reader = tf.TFRecordReader()
 6     _, serialized_example = reader.read(filename_queue)   #返回文件名和文件
 7     features = tf.parse_single_example(serialized_example,
 8                                        features={
 9                                            'label': tf.FixedLenFeature([], tf.int64),
10                                            'img_raw' : tf.FixedLenFeature([], tf.string),
11                                        })
12
13     img = tf.decode_raw(features['img_raw'], tf.uint8)
14     img = tf.reshape(img, [300, 300, 3])                #图像归一化大小
15    # img = tf.cast(img, tf.float32) * (1. / 255) - 0.5   #图像减去均值处理,根据自己的需要决定要不要加上
16     label = tf.cast(features['label'], tf.int32)
17
18     #特殊处理,去数据的batch,如果不要对数据做batch处理,也可以把下面这部分不放在函数里
19
20     img_batch, label_batch = tf.train.shuffle_batch([img, label],
21                                                     batch_size= batch_size,
22                                                     num_threads=64,
23                                                     capacity=200,
24                                                     min_after_dequeue=150)
25     return img_batch, tf.reshape(label_batch,[batch_size])
需要注意的地方:
img = tf.cast(img, tf.float32) * (1. / 255) - 0.5 #图像减去均值处理,根据自己的需要决定要不要加上
1 #特殊处理,去数据的batch,如果不要对数据做batch处理,也可以把下面这部分不放在函数里
2     img_batch, label_batch = tf.train.shuffle_batch([img, label],
3                                                     batch_size= batch_size,
4                                                     num_threads=64,
5                                                     capacity=200,
6                                                     min_after_dequeue=150)
如果不需要把数据做batch处理,则函数的第二个形参batch_size就去掉,函数直接返回img和label。也可以把batch处理部分放在函数外面,根据自己的需要自己修改一下。
4、转换和读取函数的调用
1 tfrecords_file = 'train.tfrecords'   #要读取的tfrecords文件
2 BATCH_SIZE = 4      #batch_size的大小
3 image_batch, label_batch = read_and_decode(tfrecords_file,BATCH_SIZE)
4 print(image_batch,label_batch)    #注意,这里不是tensor,tensor需要做see.run()处理
下面就定义session,执行即可,有一个地方需要注意,
image_batch, label_batch = read_and_decode(tfrecords_file,BATCH_SIZE) #需要注意
虽然能够把数据读取出来,但是不是tensor,在训练的时候需要image,label=sess.run([image_batch,label_batch])处理后,才能投入训练。具体细节下一篇博客再做详细介绍。