创建配置中心服务端
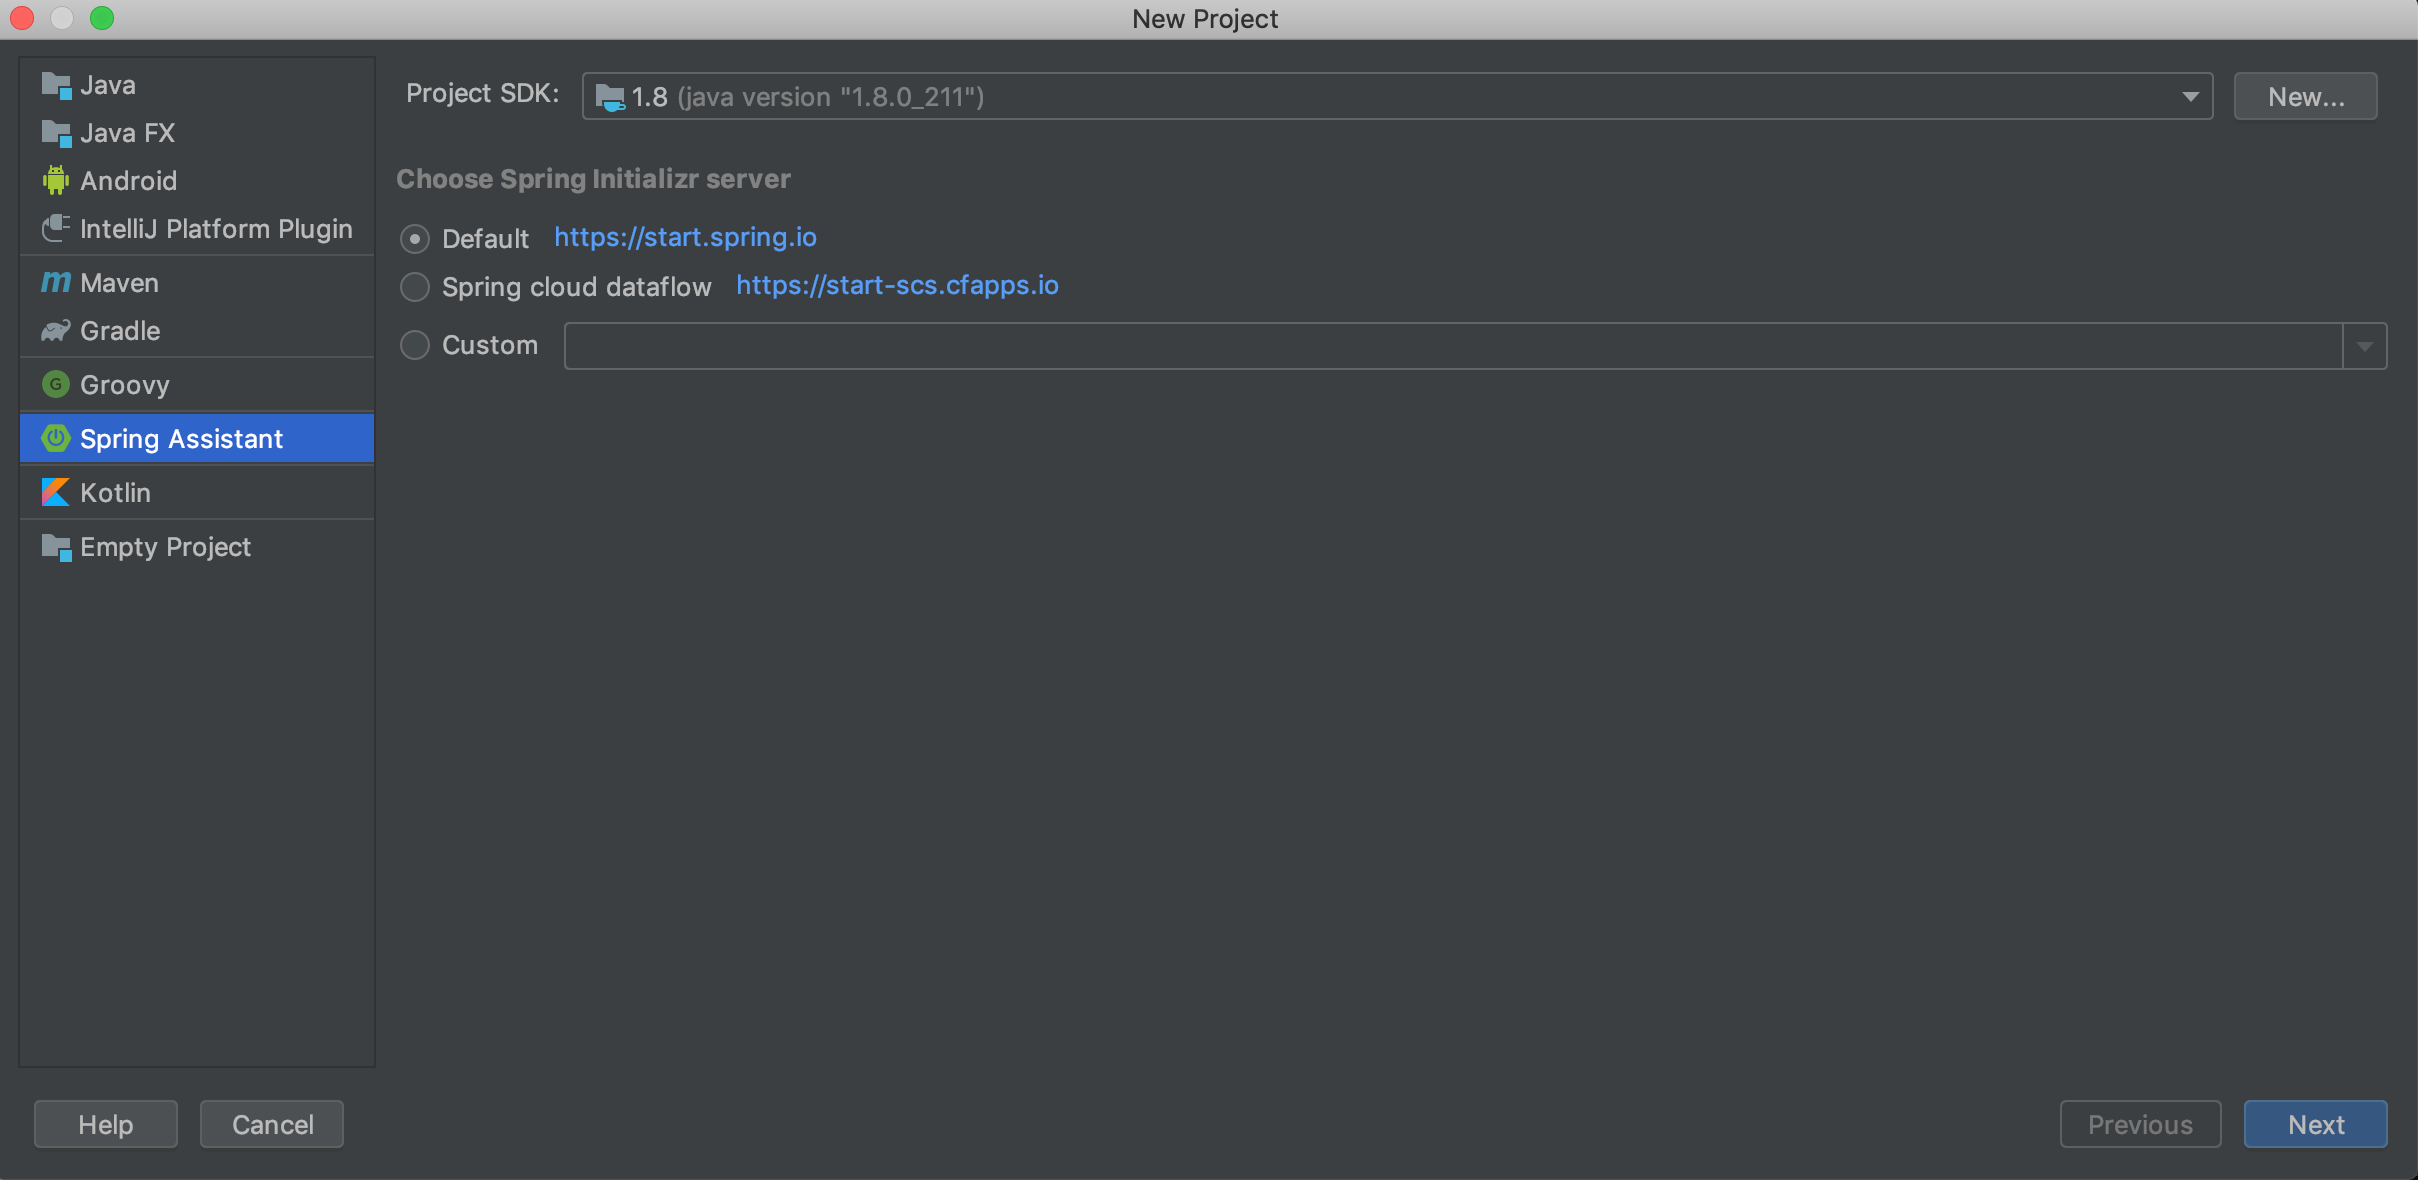
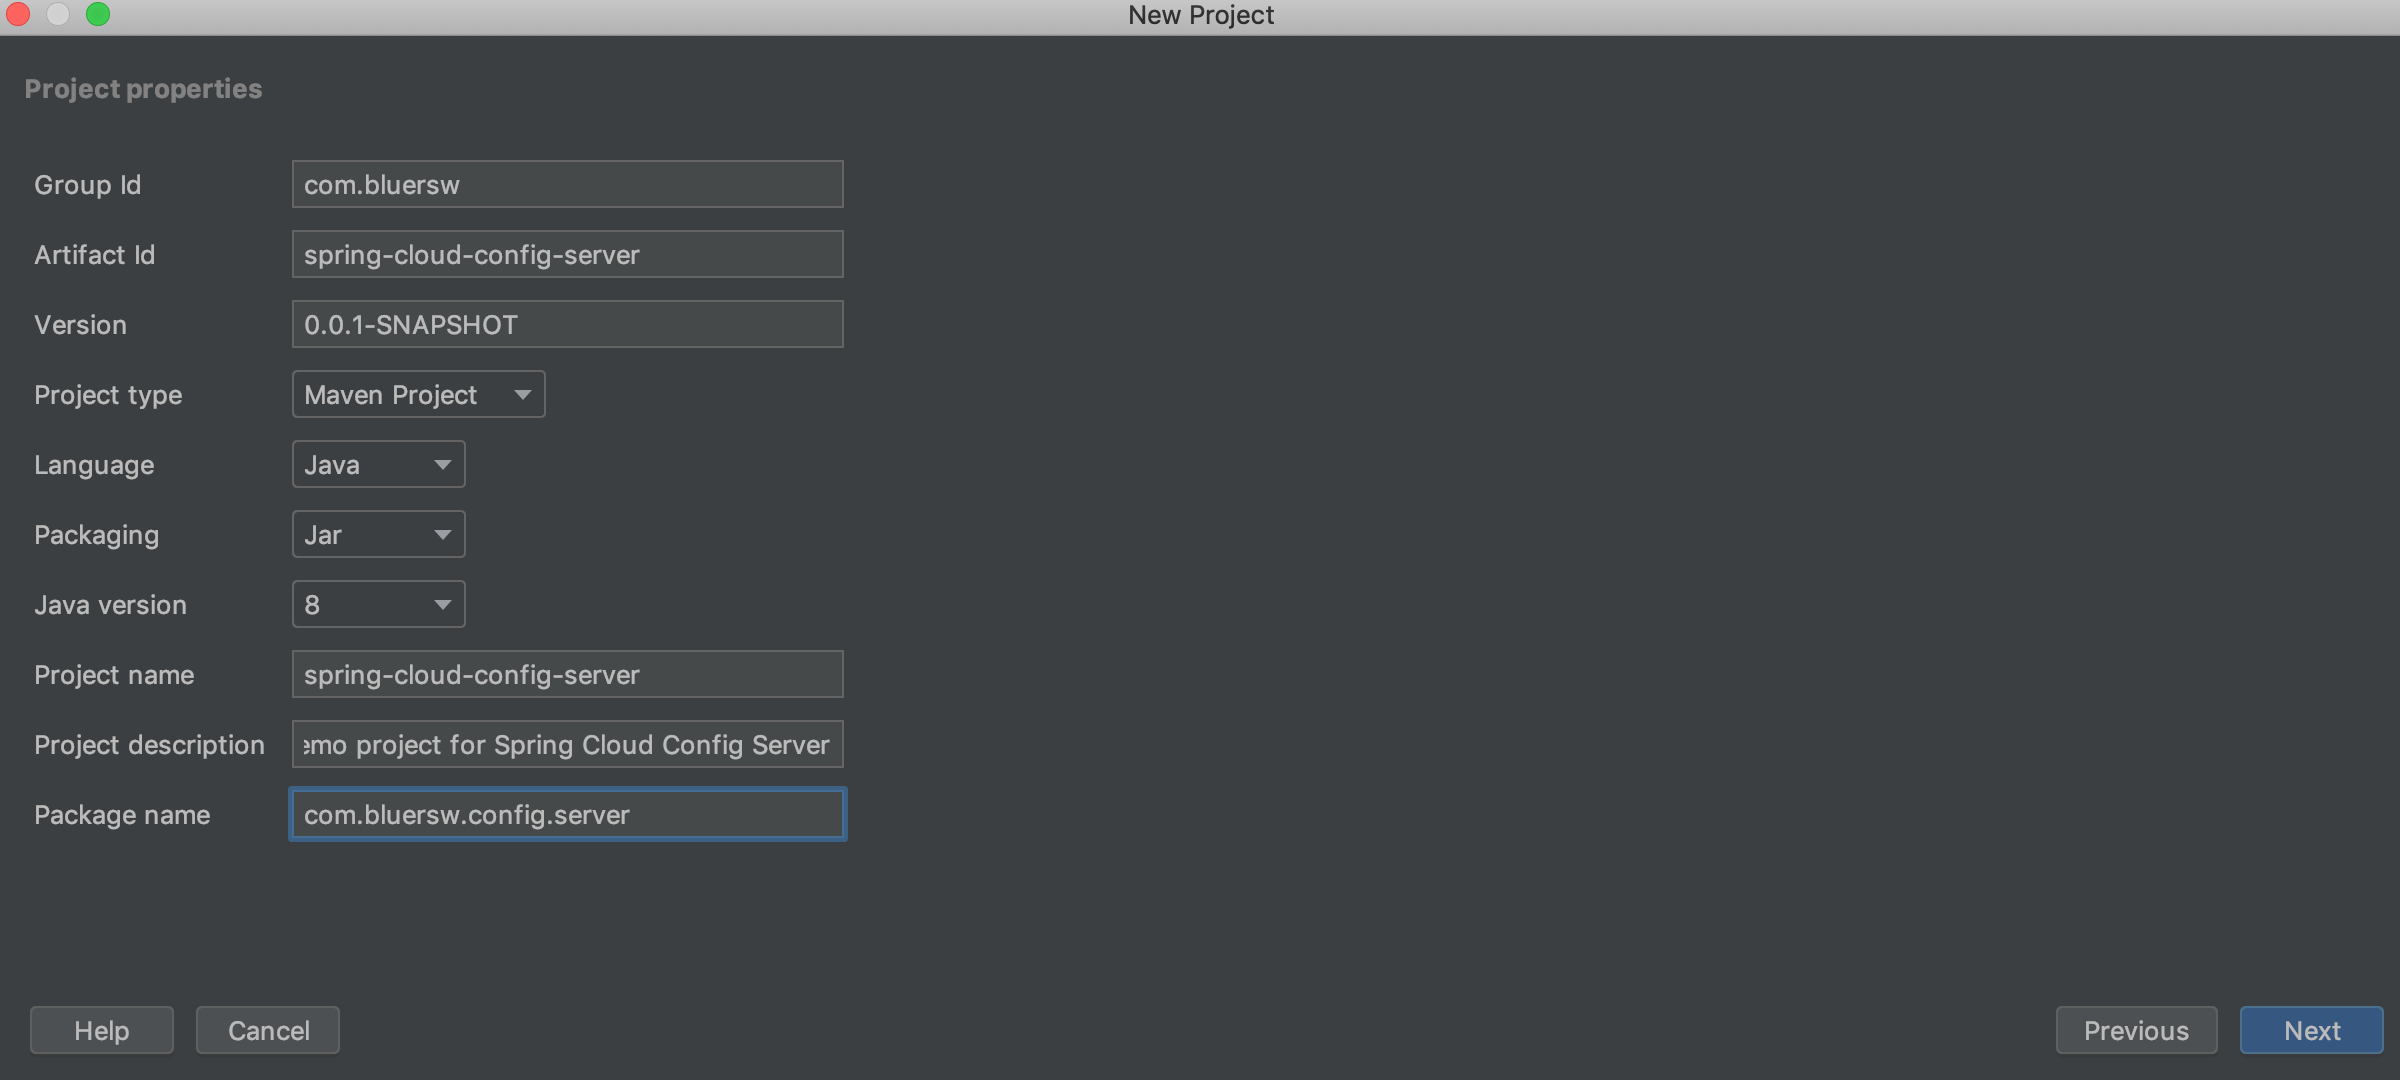
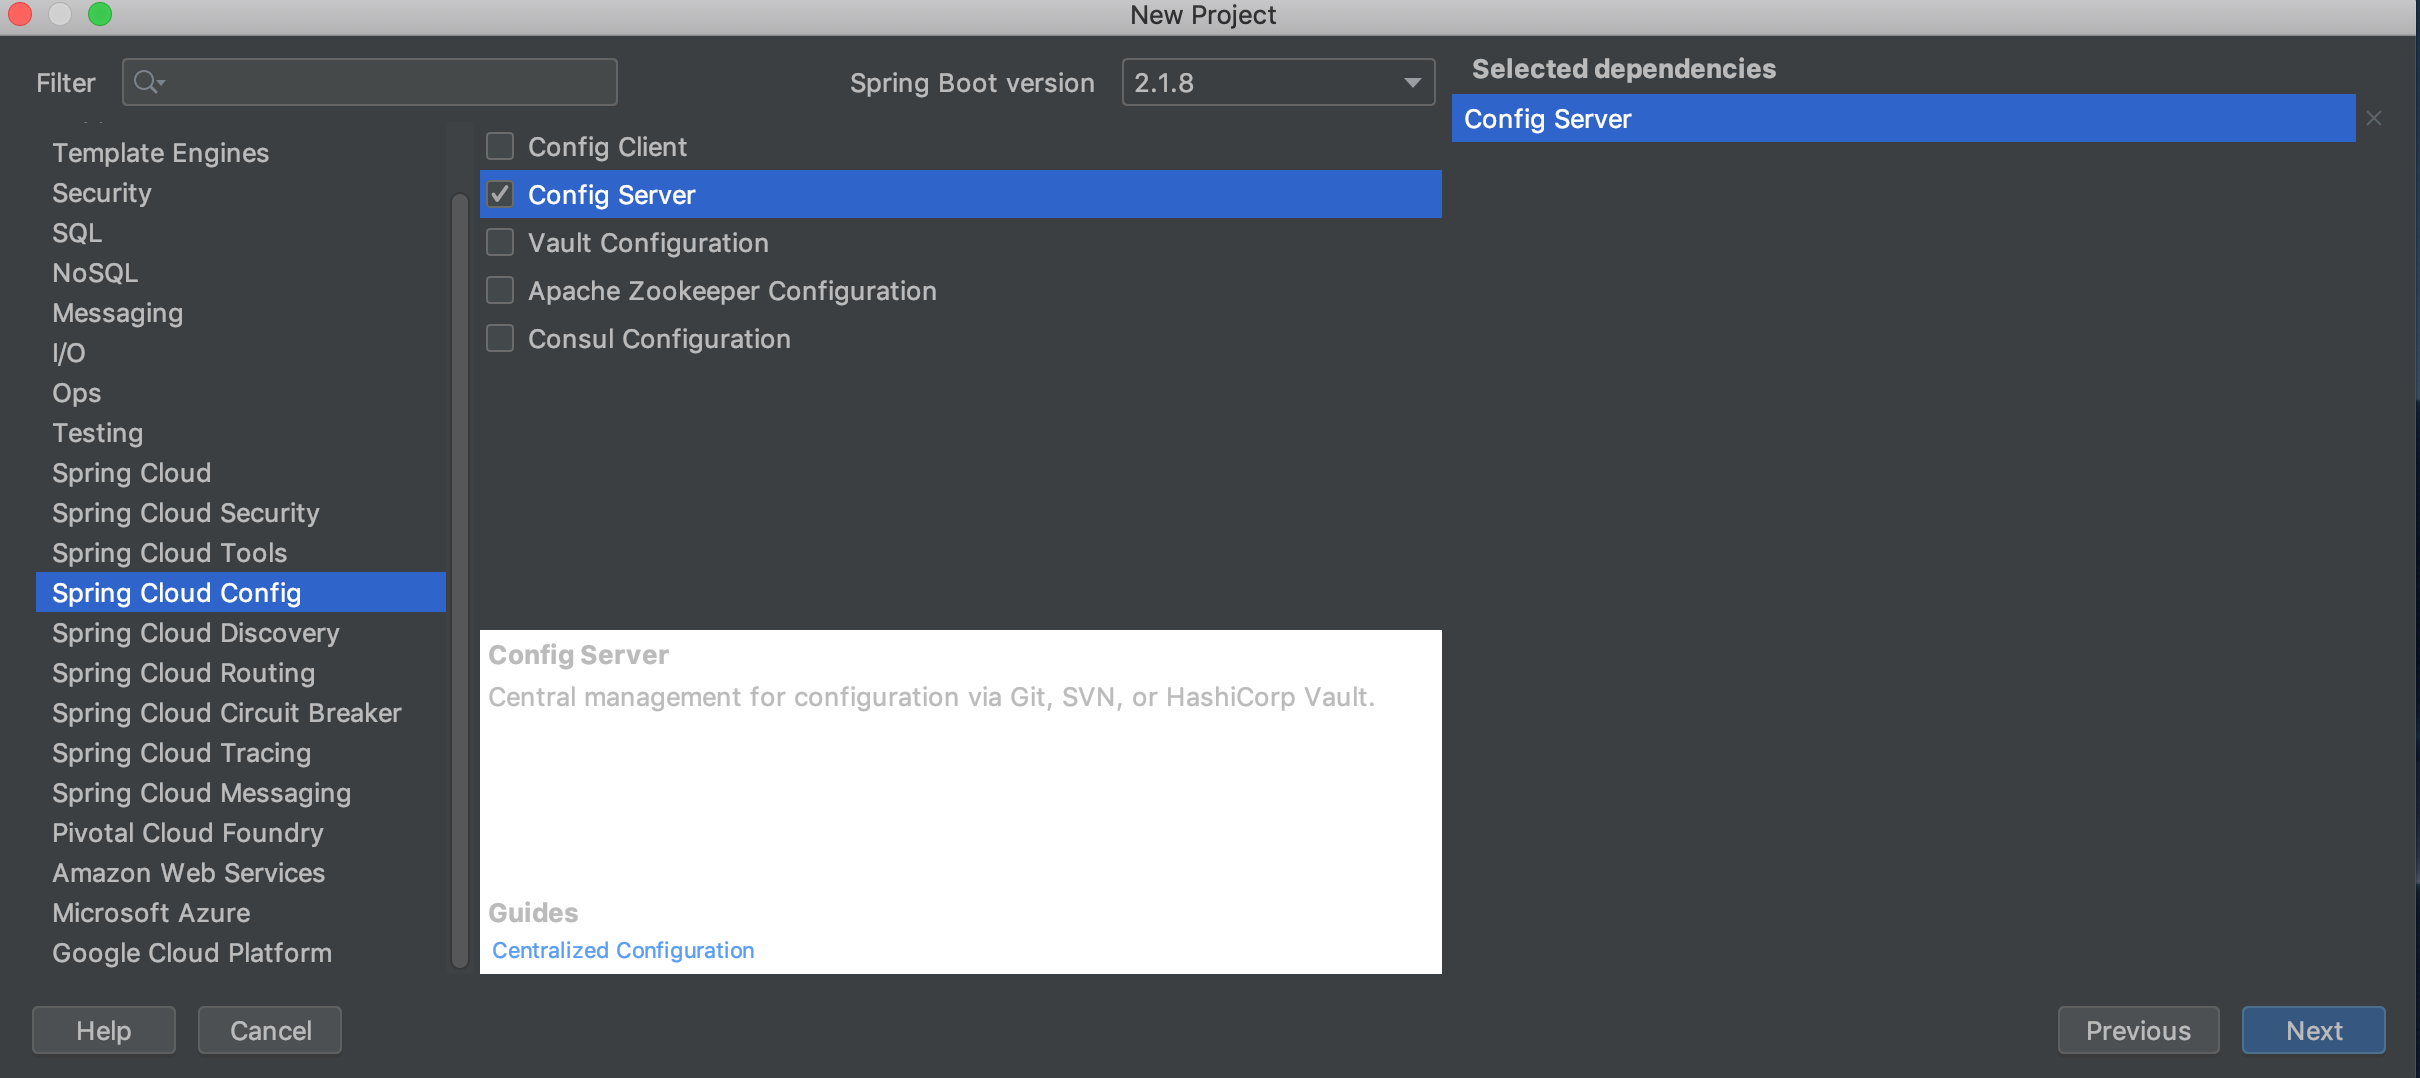
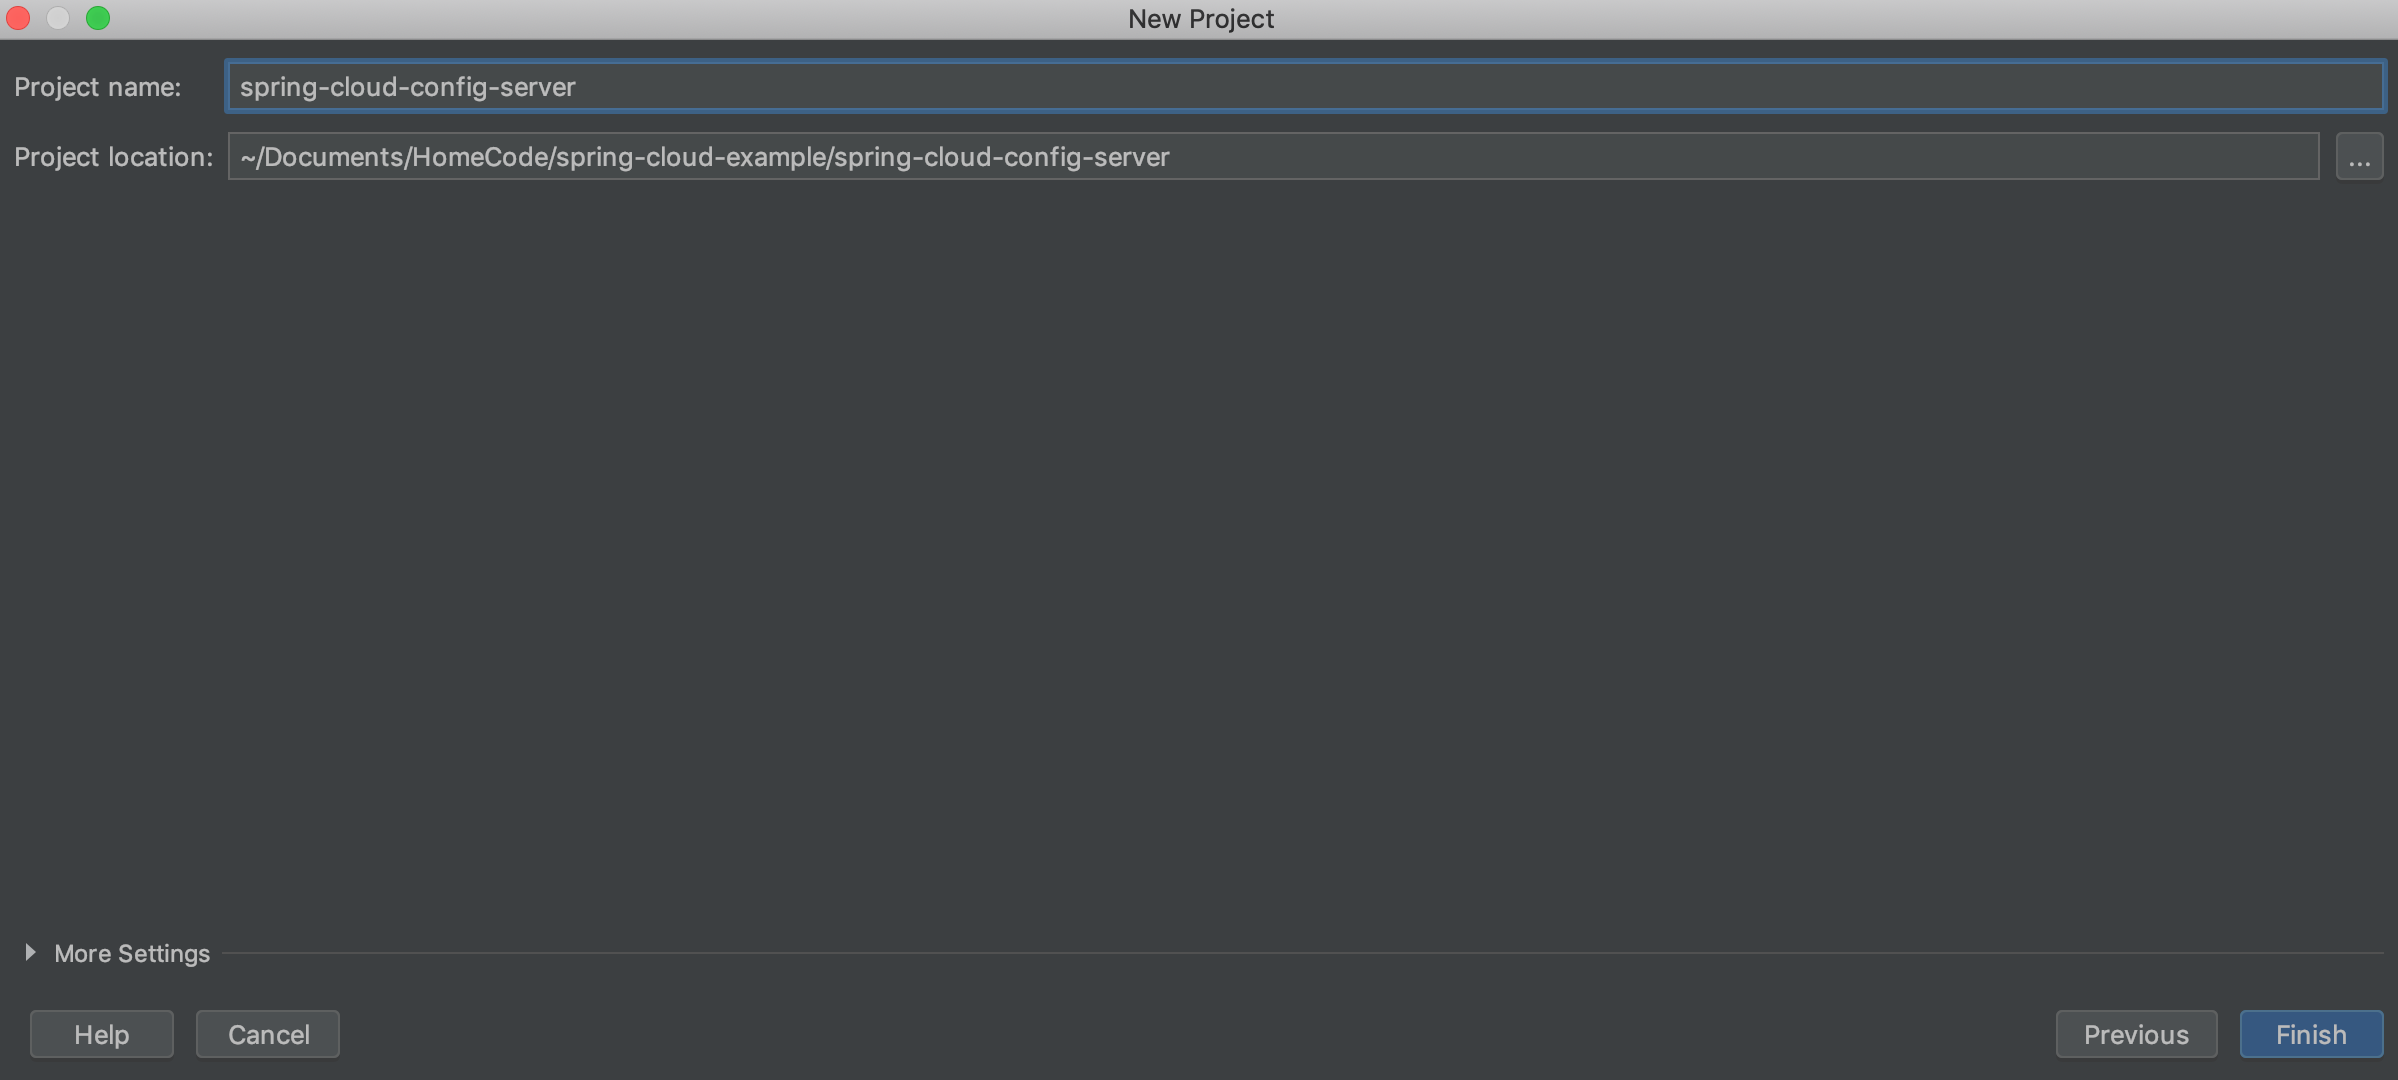
创建好项目后添加配置文件内容
server.port=9004
spring.application.name=spring-cloud-config-server-01
#git仓库地址
spring.cloud.config.server.git.uri=http://git.home/test/config-depot.git
#仓库内的相对路径
spring.cloud.config.server.git.search-paths=/config
#git用户名
spring.cloud.config.server.git.username=sunweisheng
#git密码
spring.cloud.config.server.git.password=********
添加开启配置中心的注解(SpringCloudConfigServerApplication.java)
@SpringBootApplication
//启动配置中心
@EnableConfigServer
public class SpringCloudConfigServerApplication {
public static void main(String[] args) {
SpringApplication.run(SpringCloudConfigServerApplication.class, args);
}
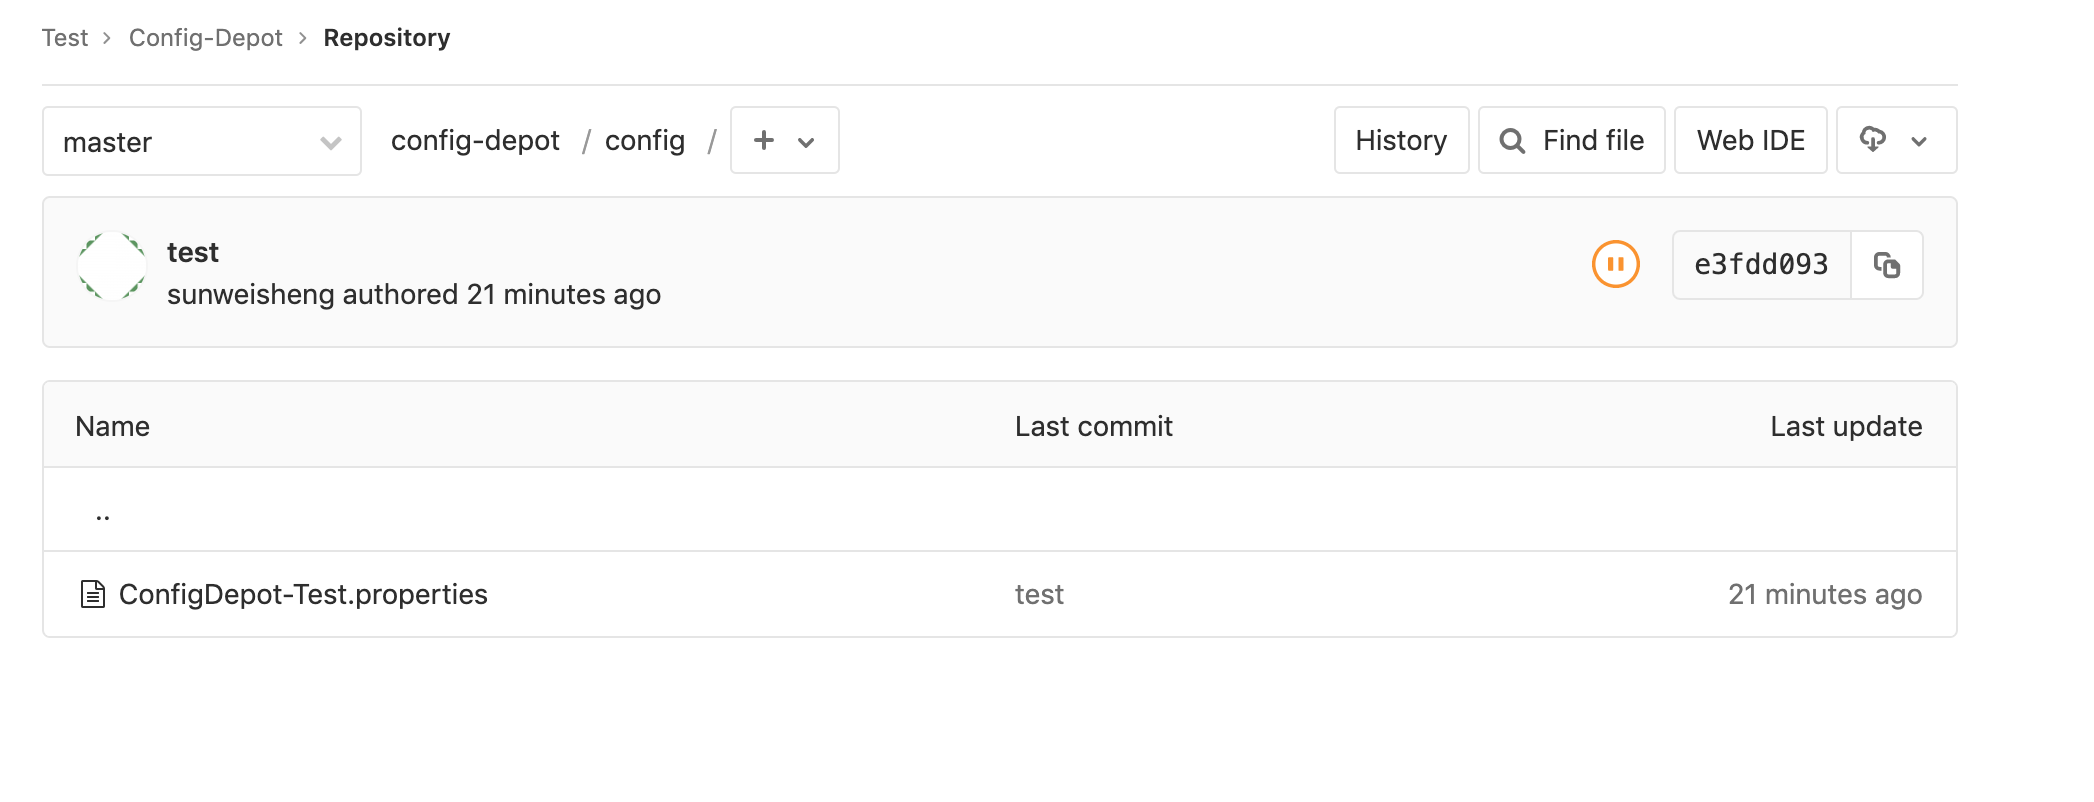
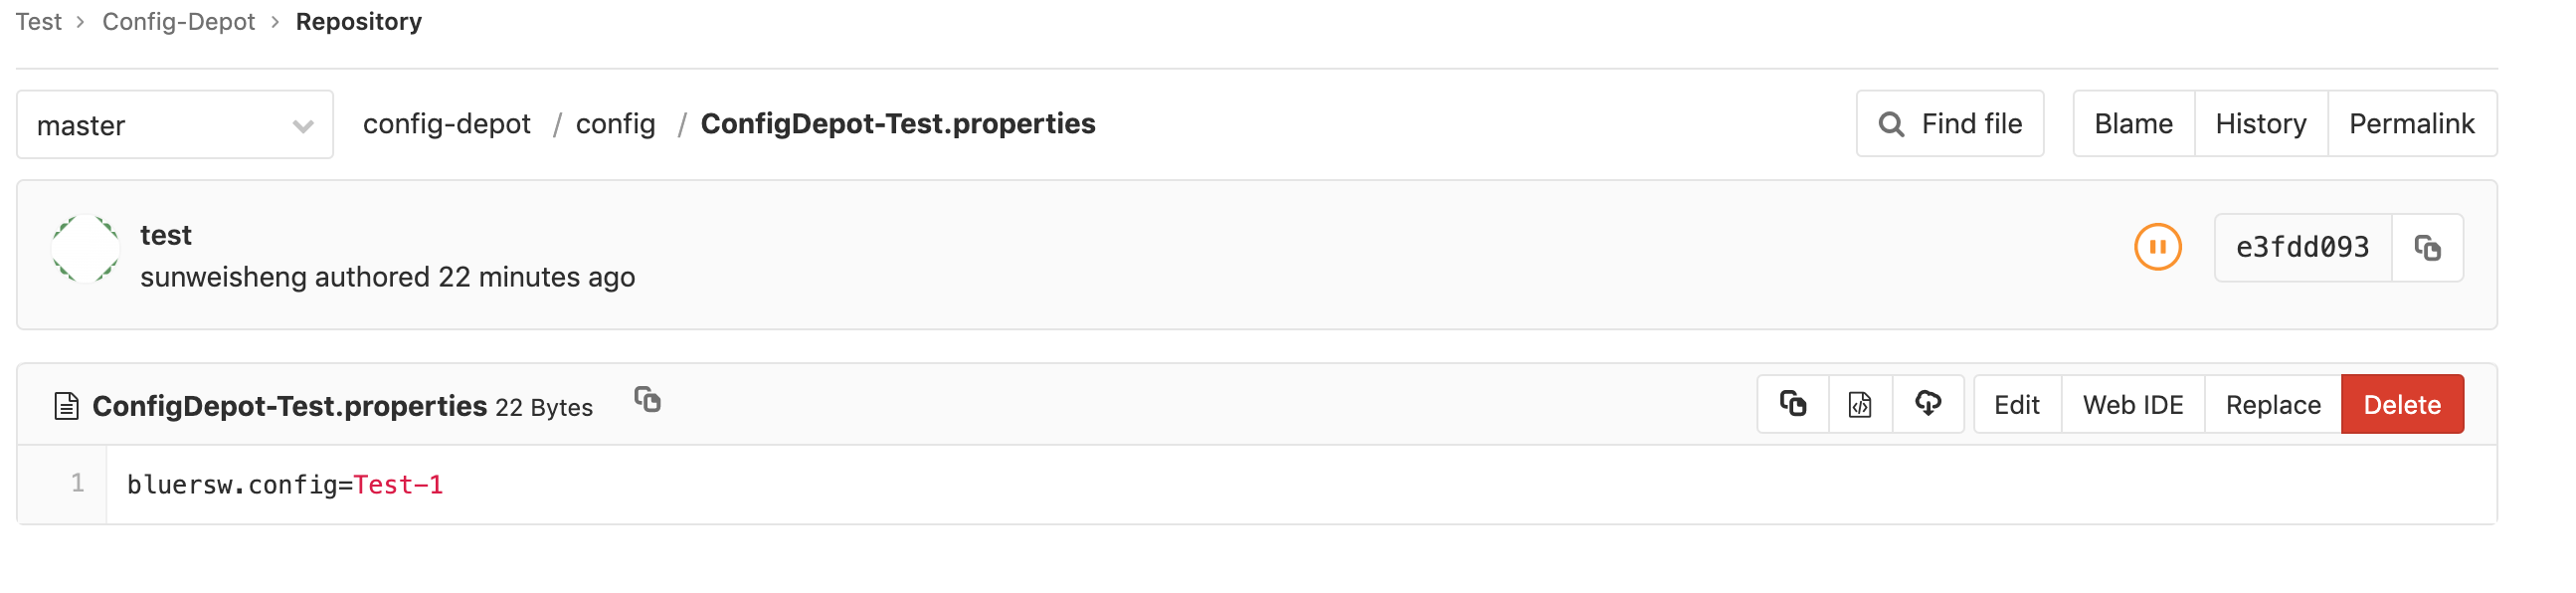
}在git仓库里添加配置文件
Git仓库名称:config-depot,仓库根目录下创建文件夹config,在config目录下创建配置文件ConfigDepot-Test.properties,配置文件内容:bluersw.config=Test-1
测试配置中心
在浏览器中访问127.0.0.1:9004/ConfigDepot/Test,返回Json格式的配置文件内容,证明配置中心读取Git仓库内容成功。

{
    "name":"ConfigDepot",
    "profiles":["Test"],
    "label":null,
    "version":"e3fdd0937bba0ad2df3eefe09ac3ab33ca09397b",
    "state":null,
    "propertySources":[{
        "name":"http://git.home/test/config-depot.git/config/ConfigDepot-Test.properties",
        "source":{
            "bluersw.config":"Test-1"
        }
    }]
}
仓库里的配置文件路径可以转化为REST接口在配置中心中访问,转化规则:
- /{application}/{profile}[/{label}]
- /{application}-{profile}.yml
- /{label}/{application}-{profile}.yml
- /{application}-{profile}.properties
- /{label}/{application}-{profile}.properties
PS:配置中心读取Git仓库信息没有缓存,如果配置文件的内容改为Test-3,直接刷新页面就可以看到刚改的值(Test-3)。
源码
Github仓库:https://github.com/sunweisheng/spring-cloud-example