开门见山,不做过多的陈述,简单说一下配置中心的作用:在我们的实际项目开发中,我们一般都是一个项目一套配置,就像我之前的springboot项目,每个项目下都有一套resources/application.properties,里面都配置了我们需要的mysql连接、redis连接,kafka连接等,也就是说我们如果有n个项目,且如果都需要使用mysql的话,那么我们就有n个重复的mysql配置,而且最致命的是如果我们的mysql地址发生了变化,那么我们就得手动到每个项目下更改mysql的连接配置,改到你手软为止;别惊讶,我之前就是这么过来的(当时还只有七个服务),所以我毅然决然的开始了配置中心化这条道路......
这篇文章会简单的实现一个基于git(我用的时gitlib,公司搭建的一个git服务)的配置中心化的服务,满足基本需求,后面的文章会继续谈到更深入的功能点。
1. 首先,打开gitlib,创建一个仓库,我这里创建了一个名为x2-config-repo的项目,并且创建了三个配置文件,对应我们以后的开发(dev)、测试(test)、生产环境(prod).

2.创建一个springboot项目(xsignal2-config),这是配置中心server端,通过server端连接gitlib读取配置信息
依赖pom.xml
<!--eureka client-->
<dependency>
    <groupId>org.springframework.cloud</groupId>
    <artifactId>spring-cloud-starter-eureka</artifactId>
    <version>1.4.0.RELEASE</version>
</dependency>

<dependency>
    <groupId>org.springframework.boot</groupId>
    <artifactId>spring-boot-devtools</artifactId>
    <scope>runtime</scope>
</dependency>

<dependency>
    <groupId>org.springframework.boot</groupId>
    <artifactId>spring-boot-starter-test</artifactId>
    <scope>test</scope>
</dependency>

<dependency>
    <groupId>org.springframework.cloud</groupId>
    <artifactId>spring-cloud-config-server</artifactId>
</dependency>
核心依赖:spring-cloud-config-server
2.打开application-dev.properties,加入以下内容:
#端口
server.port=8765
#实例名
spring.application.name=xsignal2-config
#注册中心
eureka.server.host=10.0.2.24
eureka.server.port=8761
eureka.client.service-url.defaultZone=http://${eureka.server.host}:${eureka.server.port}/eureka/

#git
# 配置git仓库的地址
spring.cloud.config.server.git.uri=http://xxx.com.cn/zhang/x2-config-repo.git
# git仓库地址下的相对地址,可以配置多个,用,分割
spring.cloud.config.server.git.search-paths=x2-config-repo
# git仓库的账号
spring.cloud.config.server.git.username=
# git仓库的密码
spring.cloud.config.server.git.password=

3.打开启动类加入相关注解:@EnableConfigServer

ok,配置服务准备就绪,开始测试吧;首先启动我们的注册中心eureka server(在此我沿用之前的discover-server项目),然后启动配置中心;查看效果如下:
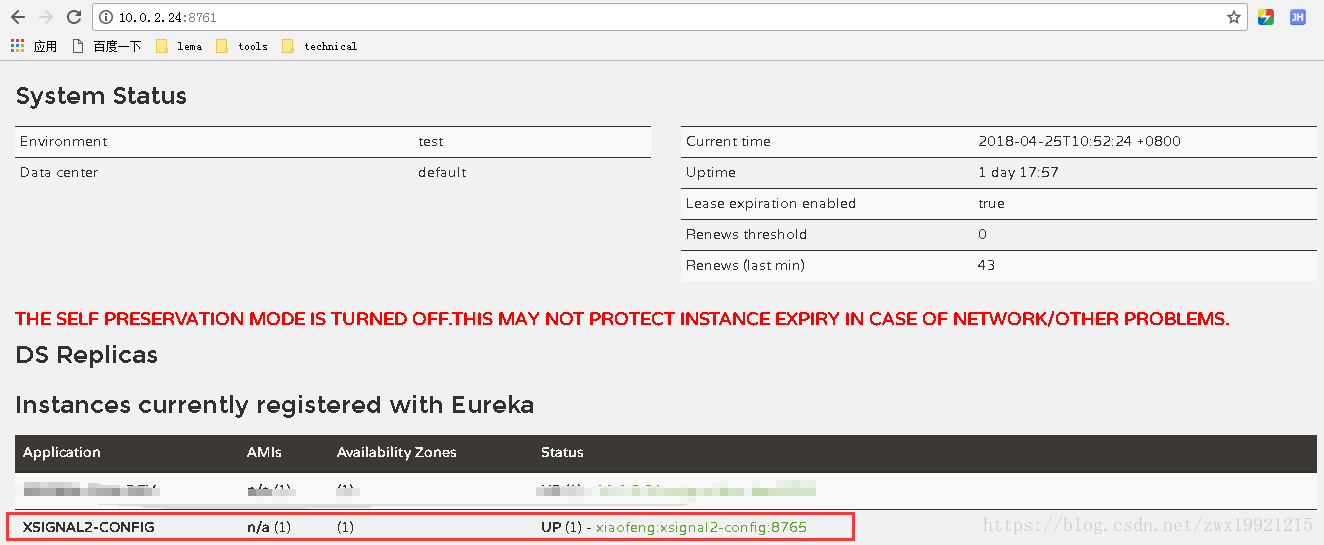
我们的配置中心服务已成功加入到注册中心,接下来验证是否能获取到gitlib中的配置信息。

看到如上信息,说明我们已经成功访问到gitlib中的配置信息;我们也可以直接访问配置文件通过如下地址:

仓库中的配置文件会被转换成web接口,访问可以参照以下的规则:
- /{application}/{profile}[/{label}]
- /{application}-{profile}.yml
- /{label}/{application}-{profile}.yml
- /{application}-{profile}.properties
- /{label}/{application}-{profile}.properties
以上是服务端配置中心的配置,接下来我们开始客户端的配置,客户端怎样获取服务端的配置呢?
1.基于之前的demo-springboot项目,我们将其作为一个客户端
打开pom.xml,加入相关依赖
<dependency>
    <groupId>org.springframework.cloud</groupId>
    <artifactId>spring-cloud-starter-config</artifactId>
    <version>1.3.2.RELEASE</version>
</dependency>
2.打开bootstrap.properties配置文件(注:以下配置一定要写在bootstrap中,因为bootstrap会优先于application.properties加载)
#client config
#对应{application}部分
spring.cloud.config.name=x2config
#对应{profile}部分
spring.cloud.config.profile=dev
#配置中心url
#spring.cloud.config.uri=http://localhost:8765/
#开启Config服务发现支持
spring.cloud.config.discovery.enabled=true
#配置中心服务实例
spring.cloud.config.discovery.service-id=xsignal2-config
#对应git的分支
spring.cloud.config.label=master

#注册中心
eureka.server.host=10.0.2.24
eureka.server.port=8761
eureka.client.service-url.defaultZone=http://${eureka.server.host}:${eureka.server.port}/eureka/
#开启eureka client健康检查
eureka.client.healthcheck=true
# 续约到期时间(默认90秒)
eureka.instance.lease-expiration-duration-in-seconds=30
# 续约更新时间间隔(默认30秒)
eureka.instance.lease-renewal-interval-in-seconds=10
配置的相关说明:因为我们已经通过注册中心注册了实例,所以以上配置中我们开启了config的服务发现支持(spring.cloud.config.discovery.enabled=true,spring.cloud.config.discovery.service-id=xsignal2-config)可以直接通过实例名称去查找配置中心服务,如果没有开启注册中心(eureka server),那么也可以通过url配置(#spring.cloud.config.uri=http://localhost:8765/)配置中心地址。
2.application-dev.properties配置
#端口
server.port=8889
#实例名
spring.application.name=demo-springboot

#feign read timeout(10s)
hystrix.command.default.execution.isolation.thread.timeoutInMilliseconds=10000
#feign read timout disable
#hystrix.command.default.execution.timeout.enabled=false
3.编写测试类
/**
 * @author xiaofeng
 * @version V1.0
 * @title: TestController.java
 * @package: com.example.demo.controller
 * @description: TODO
 * @date 2018/4/3 0003 下午 2:10
 */
@RefreshScope
@RestController
@RequestMapping(value = "/test")
public class TestController {

    @RequestMapping(value = "/info")
    public String info(@RequestParam(value = "msg") String msg) {
        return "welcome to demo-springboot: " + msg;
    }

    @Value("${kafka.broker.host}")
    String appName;

    @RequestMapping(value = "/config")
    public String configValue() {
        return appName;
    }
}
如上,我们可以通过@Value的方式获取配置信息(也可以通过Enviroment env; env.getpropery("xxx")的方式获取)
4.启动demo-springboot,访问/test/config 查看效果

很明显,我们已经拿到了gitlib中配置信息,至此,我们的基本配置已完成,自己去实践吧,相信你会发现存在的其它问题,比如:实时刷新,动态更新等!你的疑惑我们将在下一章为大家揭晓!