基于spring security实现登录认证及权限管理
文章目录
环境搭建
项目搭建
先搭建一个简单的spring boot项目(这里不做简述了)
引入spring security的maven依赖包
		<dependency>
            <groupId>org.springframework.boot</groupId>
            <artifactId>spring-boot-starter-security</artifactId>
        </dependency>
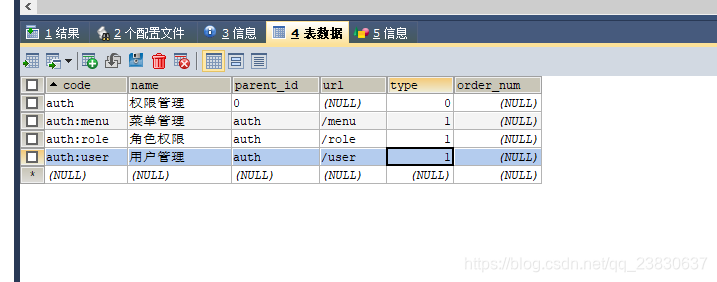
导入rbac数据权限所需的数据表
CREATE TABLE `sys_menu` (
  `code` varchar(32) NOT NULL COMMENT '主键ID',
  `name` varchar(32) DEFAULT NULL COMMENT '菜单名称',
  `parent_id` varchar(32) DEFAULT NULL COMMENT '父ID',
  `url` varchar(256) DEFAULT NULL COMMENT '菜单链接',
  `type` tinyint(4) DEFAULT NULL COMMENT '类型 0:目录 1:菜单 2:按钮',
  `order_num` int(11) DEFAULT NULL COMMENT '排序',
  PRIMARY KEY (`code`)
) ENGINE=InnoDB DEFAULT CHARSET=utf8;


CREATE TABLE `sys_role` (
  `id` int(11) NOT NULL AUTO_INCREMENT,
  `name` varchar(64) DEFAULT NULL COMMENT '角色',
  `remark` varchar(500) DEFAULT NULL COMMENT '备注',
  PRIMARY KEY (`id`) USING BTREE
) ENGINE=InnoDB AUTO_INCREMENT=2 DEFAULT CHARSET=utf8;

CREATE TABLE `sys_role_menu` (
  `id` int(11) NOT NULL AUTO_INCREMENT,
  `role_id` int(11) DEFAULT NULL COMMENT '角色ID',
  `menu_code` varchar(64) DEFAULT NULL COMMENT '菜单ID',
  PRIMARY KEY (`id`) USING BTREE
) ENGINE=InnoDB AUTO_INCREMENT=5 DEFAULT CHARSET=utf8;

CREATE TABLE `sys_user_role` (
  `id` int(11) NOT NULL AUTO_INCREMENT COMMENT '主键',
  `user_id` int(11) DEFAULT NULL COMMENT '用户ID',
  `role_id` int(11) DEFAULT NULL COMMENT '角色ID',
  PRIMARY KEY (`id`) USING BTREE
) ENGINE=InnoDB AUTO_INCREMENT=2 DEFAULT CHARSET=utf8;

CREATE TABLE `sys_user` (
  `id` int(11) NOT NULL AUTO_INCREMENT COMMENT '系统用户主键',
  `username` varchar(100) DEFAULT NULL COMMENT '系统用户登陆账号',
  `password` varchar(100) DEFAULT NULL COMMENT '系统用户登陆密码',
  `full_name` varchar(200) DEFAULT NULL COMMENT '系统用户全称',
  `enabled` tinyint(1) DEFAULT '1' COMMENT '系统用户启用(0-否,1-是)',
  `account_non_locked` tinyint(1) DEFAULT '1' COMMENT '账户非锁定(0-否,1-是)',
  PRIMARY KEY (`id`) USING BTREE
) ENGINE=InnoDB AUTO_INCREMENT=2 DEFAULT CHARSET=utf8 COMMENT='系统用户';

insert  into `sys_menu`(`code`,`name`,`parent_id`,`url`,`type`,`order_num`) values ('auth','权限管理','0',NULL,0,NULL),('auth:menu','菜单管理','auth',NULL,1,NULL),('auth:role','角色权限','auth',NULL,1,NULL),('auth:user','用户管理','auth',NULL,1,NULL);
insert  into `sys_role`(`id`,`name`,`remark`) values (1,'管理员',NULL);
insert  into `sys_role_menu`(`id`,`role_id`,`menu_code`) values (1,1,'auth:menu'),(2,1,'auth'),(3,1,'auth:role');
insert  into `sys_user`(`id`,`username`,`password`,`full_name`,`enabled`,`account_non_locked`) values (1,'admin','$2a$10$VKblrkEe1cJUdELkFYGtu.vmAPizbs2vy8QBdOzRCGPdDzmcWJOA2','admin',1,1);
insert  into `sys_user_role`(`id`,`user_id`,`role_id`) values (1,1,1);
功能实现
1.自定义用户认证配置
spring security中通过实现UserDetailsService接口来完成对身份的认证,我们只需要把所需要的数据装填进去,spring security就会为我们自动处理完认证的逻辑判断。
所以我们创建一个类来实现UserDetailsService接口
这里的返回return的User对象是Spring security中提供的User对象,我们把查询后的结果(用户名,密码,账户锁定状态,权限……)装填到security所提供的User对象中来完成认证。
参数含义:
username:账号(这里使用前端传入的username)
password:密码(这里使用根据username从数据库中查询出的密码,装填进去)
enabled:启用状态(根据从数据库中查出的结果装填,没有就写true)
accountNonExpired:账号未过期状态(根据从数据库中查出的结果装填,没有就写true)
credentialsNonExpired:认证未过期状态(根据从数据库中查出的结果装填,没有就写true)
accountNonLocked:账号未锁定状态(根据从数据库中查出的结果装填,没有就写true)
authorities:权限 (从数据库中查出的权限的code填进去,后边的接口是否具有访问权限通过这个来认证)
package com.security.service.impl;
import java.util.ArrayList;
import java.util.List;
import java.util.stream.Collectors;
import javax.annotation.Resource;
import org.slf4j.Logger;
import org.slf4j.LoggerFactory;
import org.springframework.security.core.authority.AuthorityUtils;
import org.springframework.security.core.userdetails.User;
import org.springframework.security.core.userdetails.UserDetails;
import org.springframework.security.core.userdetails.UserDetailsService;
import org.springframework.security.core.userdetails.UsernameNotFoundException;
import org.springframework.stereotype.Component;
import com.security.dao.entity.RoleMenu;
import com.security.dao.entity.UserRole;
import com.security.dao.mapper.RoleMenuMapper;
import com.security.dao.mapper.UserMapper;
import com.security.dao.mapper.UserRoleMapper;
@Component
public class UserDetailsServiceImpl implements UserDetailsService{
@Resource
UserMapper userMapper;
@Resource
UserRoleMapper userRoleMapper;
@Resource
RoleMenuMapper roleMenuMapper;
Logger logger = LoggerFactory.getLogger(this.getClass());
@Override
public UserDetails loadUserByUsername(String username) throws UsernameNotFoundException {
logger.debug("===============用户名:"+username);
//根据用户名查询用户,校验密码是否正确
com.security.dao.entity.User user= userMapper.selectByUsername(username);
if(user == null){
throw new UsernameNotFoundException("用户[" + username + "]不存在");
}
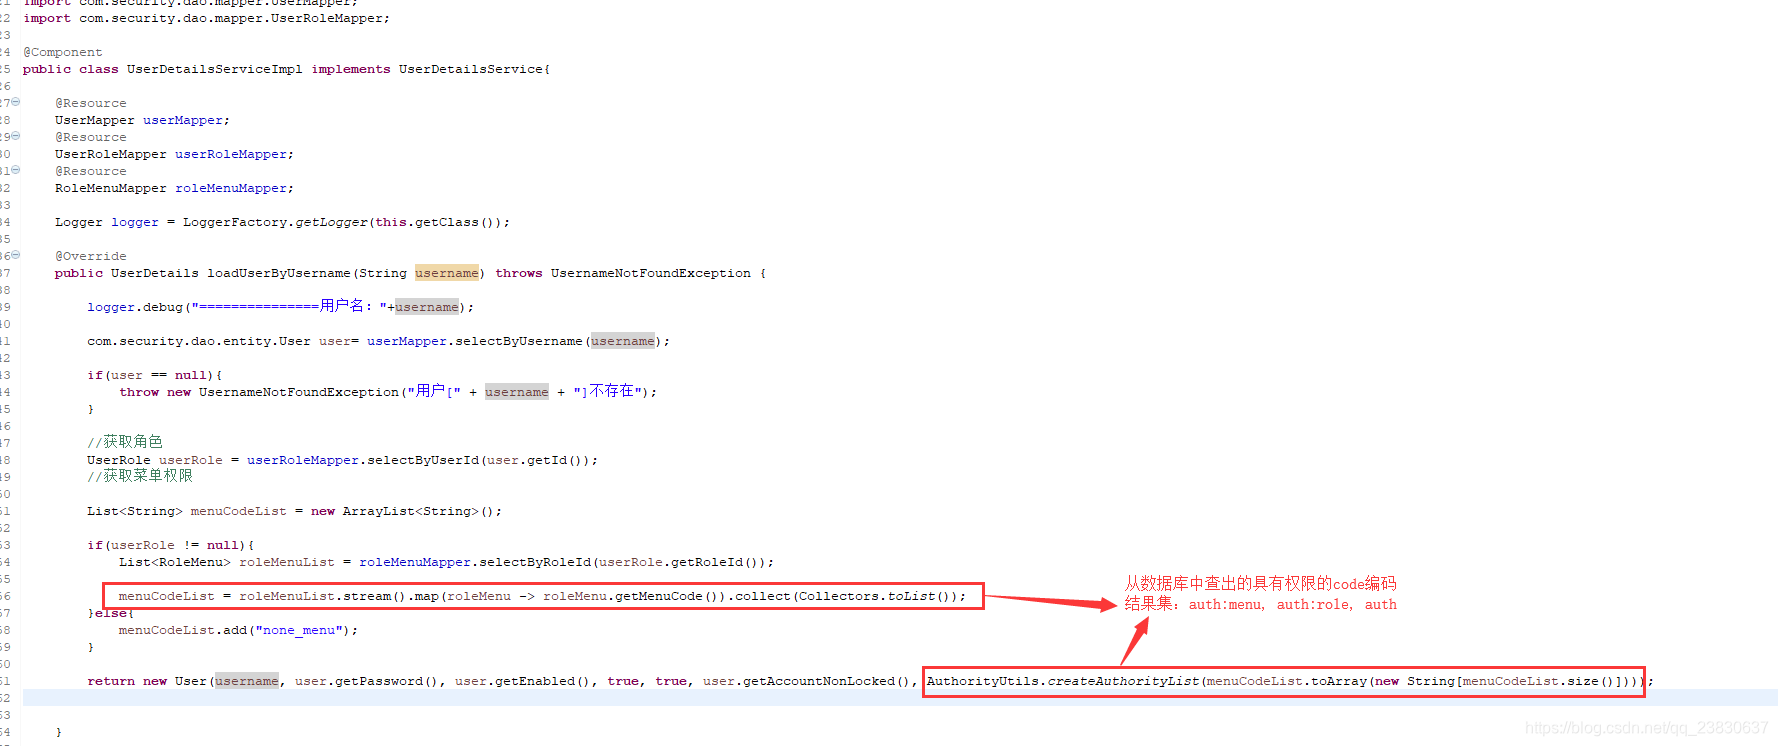
//获取角色
UserRole userRole = userRoleMapper.selectByUserId(user.getId());
//获取菜单权限
List<String> menuCodeList = new ArrayList<String>();
if(userRole != null){
List<RoleMenu> roleMenuList = roleMenuMapper.selectByRoleId(userRole.getRoleId());
menuCodeList = roleMenuList.stream().map(roleMenu -> roleMenu.getMenuCode()).collect(Collectors.toList());
}else{
menuCodeList.add("none_menu");
}
//这里返回的User是spring security中提供的 我们需要他需要的信息装填进去
return new User(username, user.getPassword(), user.getEnabled(), true, true, user.getAccountNonLocked(), AuthorityUtils.createAuthorityList(menuCodeList.toArray(new String[menuCodeList.size()])));
}
}
2.创建配置类WebSecurityConfigurerAdapter
@EnableGlobalMethodSecurity(prePostEnabled=true)
这里修改为启用,为接下来对接口的访问权限做准备
还需要在这里配置一个密码的加密解密方式,这里推荐使用spring security中提供的BCrypt加密方式
package com.security.config;

import org.springframework.beans.factory.annotation.Autowired;
import org.springframework.context.annotation.Bean;
import org.springframework.context.annotation.Configuration;
import org.springframework.security.config.annotation.method.configuration.EnableGlobalMethodSecurity;
import org.springframework.security.config.annotation.web.builders.HttpSecurity;
import org.springframework.security.config.annotation.web.builders.WebSecurity;
import org.springframework.security.config.annotation.web.configuration.WebSecurityConfigurerAdapter;
import org.springframework.security.crypto.bcrypt.BCryptPasswordEncoder;
import org.springframework.security.crypto.password.PasswordEncoder;

@Configuration
@EnableGlobalMethodSecurity(prePostEnabled=true)//是否启用注解进行接口权限拦截的(默认为false 这里改成true启用注解)
public class WebSecurityConfig extends WebSecurityConfigurerAdapter {

	/**
	 * 配置密码加密解密方式
	 * @return
	 */
	@Bean
	public PasswordEncoder passwordEncoder() {
		return new BCryptPasswordEncoder();
	}

	@Override
	protected void configure(HttpSecurity http) throws Exception {
		http
		.formLogin()
		.loginPage("/login.html")//调转到自定义的登录页
		.loginProcessingUrl("/login")//登录页向后台发送的登录请求地址,自定义名字跟html中的表单提交请求路径一样即可
		//.successHandler(successHandler) //登录成功后的处理
		//.failureHandler(failureHandler)//登录失败后的处理
		.and()
		.authorizeRequests()
		.antMatchers("/login.html","/user/none").permitAll()//不拦截的地址
		.anyRequest()//剩下所有请求 进行拦截
		.authenticated();
		http.csrf().disable();//跨站请求伪造的防护,这里关掉
	}


	@Override
	public void configure(WebSecurity web) throws Exception {

		//放行静态资源被拦截
		web.ignoring().antMatchers("/css/**");
		web.ignoring().antMatchers("/js/**");
		web.ignoring().antMatchers("/images/**");
	}

}
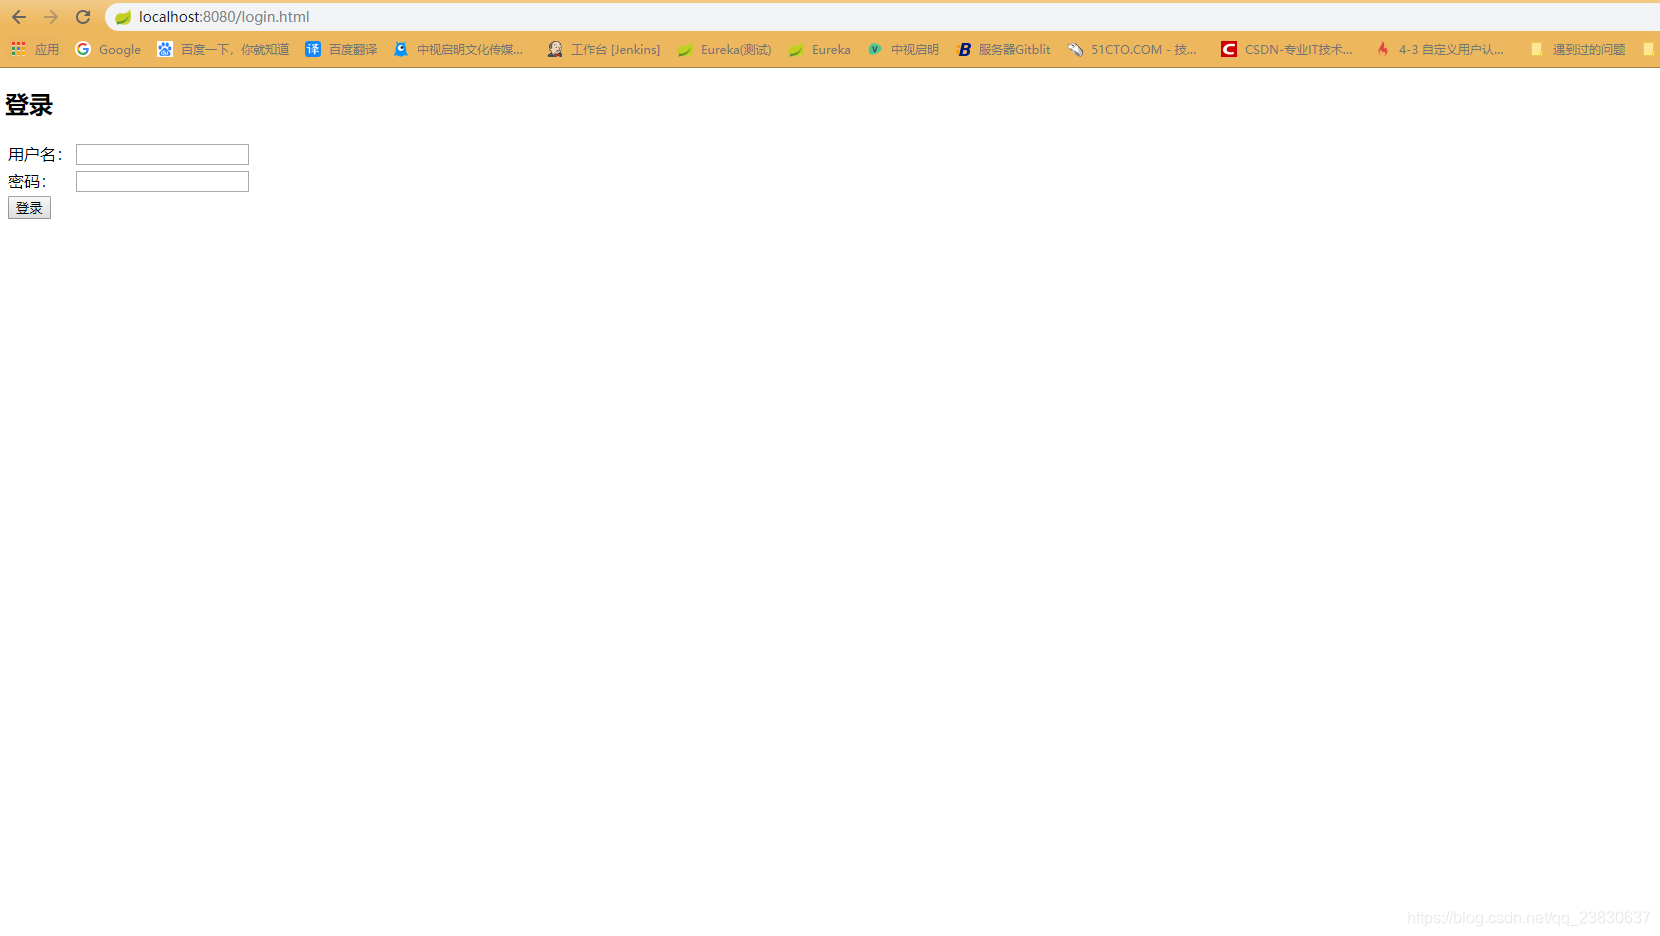
3.自定义登录页面
这里表单提交的路径"/login",要与WebSecurityConfigurerAdapter中配置的.loginProcessingUrl("/login")中一致,这样spring security就会知道你要提交的表单是登录表单。
<!DOCTYPE html>
<html lang="en">
<head>
    <meta charset="UTF-8">
    <title>登录页面</title>
</head>
<body>
    <h2>登录</h2>
    <form action="/login"  method="post">
        <table>
            <tr>
                <td>用户名:</td>
                <td><input type="text" name="username"></td>
            </tr>
            <tr>
                <td>密码:</td>
                <td><input type="password" name="password"></td>
            </tr>
            <tr>
                <td colspan="2"><button type="submit">登录</button></td>
            </tr>
        </table>
    </form>
</body>
</html>
4.其他具体业务代码
具体连接数据库的查询这里不展示了,后面会把demo代码上传上来,下载即可
package com.security.controller;

import javax.servlet.http.HttpServletRequest;

import org.springframework.beans.factory.annotation.Autowired;
import org.springframework.web.bind.annotation.GetMapping;
import org.springframework.web.bind.annotation.PathVariable;
import org.springframework.web.bind.annotation.RequestMapping;
import org.springframework.web.bind.annotation.RestController;

import com.security.dao.entity.User;
import com.security.service.UserService;
import com.security.util.SecurityUtils;

@RestController
@RequestMapping("/user")
public class UserController {

	@Autowired
	UserService userService;

	@GetMapping("/none")
	public String test(HttpServletRequest request) {
		return "这个接口不拦截";
	}

	/**
	 * 获取用户
	 * @param request
	 * @return
	 */
	@GetMapping("/{id}")
	public User getUser(HttpServletRequest request,@PathVariable Integer id) {
		return userService.findUser(id);
	}

	/**
	 * 获取登陆人
	 * @return
	 */
	@GetMapping("/loginUser")
	public String getLoginUser() {
		return SecurityUtils.getCurrentUsername();
	}


}
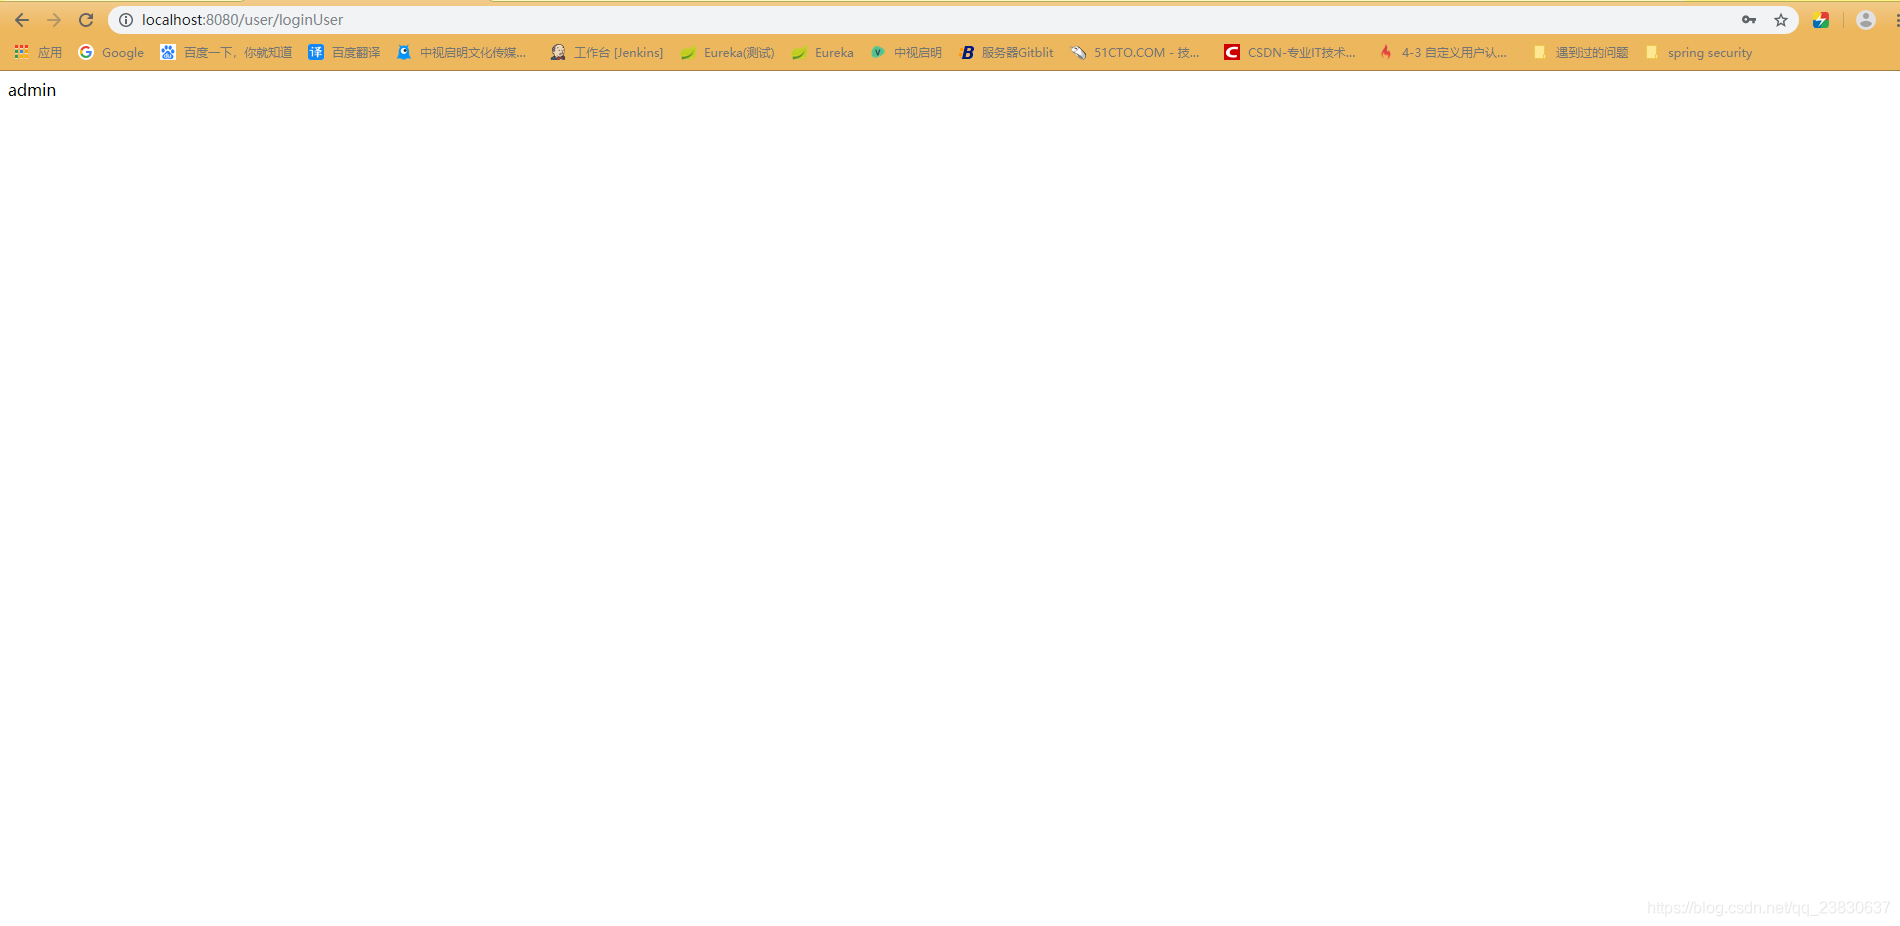
到这里为止,账号登录认证功能就完成了
访问获取用户的接口 http://localhost:8080/user/loginUser 会直接被拦截,跳转到登录页
输入:
用户名:admin
密码:admin
权限认证
实现
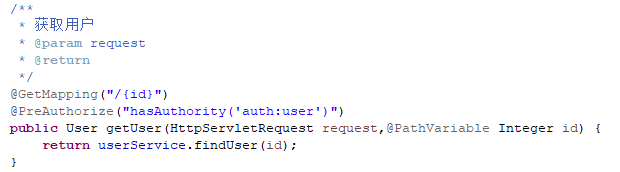
由于在实现UserDetailsService接口的UserDetailsServiceImpl类中,已经将查询出具有的权限编码已经传入进来,剩下的只需要在需要进行权限认证的接口上添加注解@PreAuthorize(“hasAuthority(‘接口对应的code’)”)
package com.security.controller;

import javax.servlet.http.HttpServletRequest;

import org.springframework.beans.factory.annotation.Autowired;
import org.springframework.security.access.prepost.PreAuthorize;
import org.springframework.web.bind.annotation.GetMapping;
import org.springframework.web.bind.annotation.PathVariable;
import org.springframework.web.bind.annotation.RequestMapping;
import org.springframework.web.bind.annotation.RestController;

import com.security.dao.entity.User;
import com.security.service.UserService;
import com.security.util.SecurityUtils;

@RestController
@RequestMapping("/user")
public class UserController {

	@Autowired
	UserService userService;

	@GetMapping("/none")
	public String test(HttpServletRequest request) {
		return "这个接口不拦截";
	}

	/**
	 * 获取用户
	 * @param request
	 * @return
	 */
	@GetMapping("/{id}")
	@PreAuthorize("hasAuthority('auth:user')")
	public User getUser(HttpServletRequest request,@PathVariable Integer id) {
		return userService.findUser(id);
	}

	/**
	 * 获取登陆人
	 * @return
	 */
	@GetMapping("/loginUser")
	public String getLoginUser() {
		return SecurityUtils.getCurrentUsername();
	}


}
package com.security.controller;

import javax.servlet.http.HttpServletRequest;

import org.springframework.security.access.prepost.PreAuthorize;
import org.springframework.web.bind.annotation.GetMapping;
import org.springframework.web.bind.annotation.RequestMapping;
import org.springframework.web.bind.annotation.RestController;

@RestController
@RequestMapping("/role")
public class RoleController {


	/**
	 * 获取所有角色接口
	 * @param request
	 * @return
	 */
	@GetMapping()
	@PreAuthorize("hasAuthority('auth:role')")
	public String getRole(HttpServletRequest request) {

		return "获取所有角色接口";
	}

}
package com.security.controller;

import javax.servlet.http.HttpServletRequest;

import org.springframework.security.access.prepost.PreAuthorize;
import org.springframework.web.bind.annotation.GetMapping;
import org.springframework.web.bind.annotation.RequestMapping;
import org.springframework.web.bind.annotation.RestController;

@RestController
@RequestMapping("/menu")
public class MenuController {


	/**
	 * 获取所有菜单接口
	 * @param request
	 * @return
	 */
	@GetMapping()
	@PreAuthorize("hasAuthority('auth:menu')")
	public String getMenu(HttpServletRequest request) {

		return "获取所有菜单接口";
	}

}
到这就完成了对接口的权限认证
测试
登录的admin账号具有的权限为auth:menu auth:role auth
1.访问不具有/user/{id},该接口权限为 auth:user
访问:http://localhost:8080/user/1
结果:访问后403没有权限访问

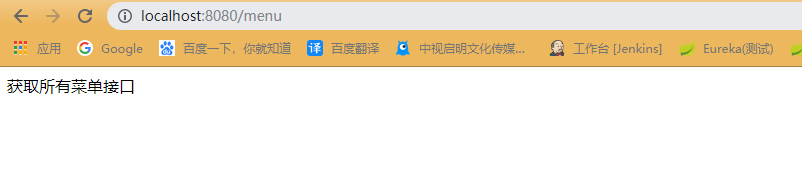
2.访问具有权限的接口/menu,该接口权限为 auth:menu
访问:http://localhost:8080/menu
结果:正常访问
测试完毕!!!