React Native 集成react-navigation(导航组件)及代码示例
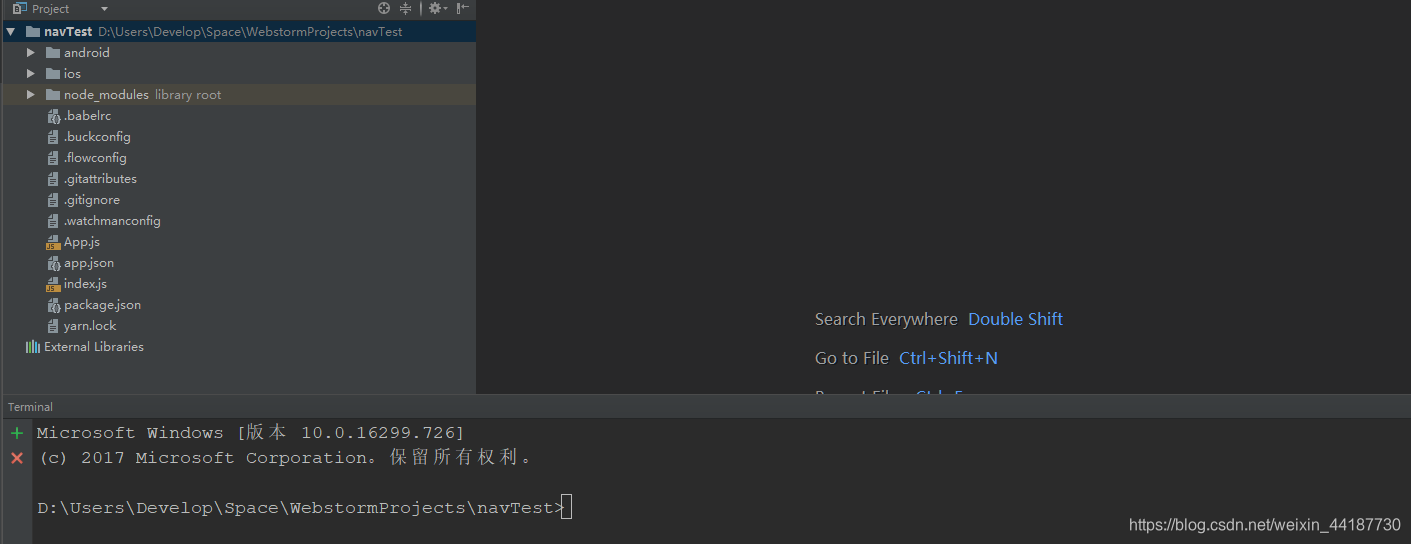
1、创建测试项目navTest
#使用命令
react-native init navTest

#使用webstrom创建
2、安装react-navigation
#安装
yarn add react-navigation
# or
npm install --save react-navigation
3、安装react-native-gesture-handler
1):安装
#安装
yarn add react-native-gesture-handler
# or
npm install --save react-native-gesture-handler

#链接所有本机依赖
react-native link react-native-gesture-handler
2):Android配置需要修MainActivity.java文件
#修改/android/app/src/main/java/com/navtest/MainActivity.java文件

#需要导入的依赖
+ import com.facebook.react.ReactActivityDelegate;
+ import com.facebook.react.ReactRootView;
+ import com.swmansion.gesturehandler.react.RNGestureHandlerEnabledRootView;

#需要重写的方法
+  @Override
+  protected ReactActivityDelegate createReactActivityDelegate() {
+    return new ReactActivityDelegate(this, getMainComponentName()) {
+      @Override
+      protected ReactRootView createRootView() {
+       return new RNGestureHandlerEnabledRootView(MainActivity.this);
+      }
+    };
+  }
4、配置完成、测试。
1):修改App.js入口文件
import React from "react";
import {Text, View} from "react-native";
import {createAppContainer, createStackNavigator} from "react-navigation";

class HelloScreen extends React.Component {
    render() {
        return (
            <View style={{flex: 1, alignItems: "center", justifyContent: "center"}}>
                <Text>Hello react-navigation</Text>
            </View>
        );
    }
}

const AppNavigator = createStackNavigator({
    HelloScreen: {
        screen: HelloScreen,
        navigationOptions: {
            title: 'Hello'
        }
    }
});

export default createAppContainer(AppNavigator);
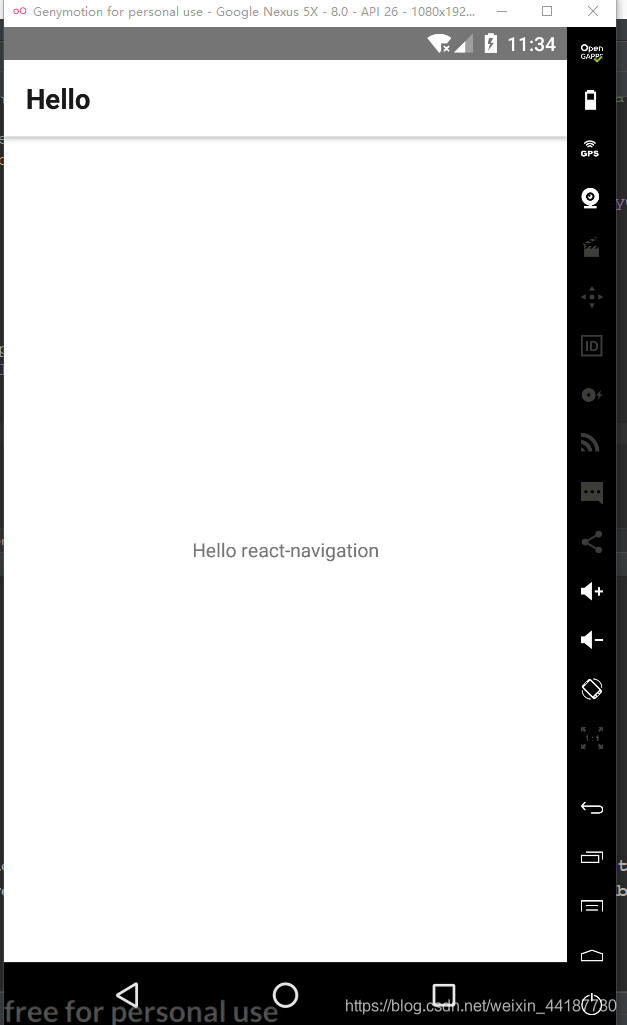
2):运行
#运行到安卓模拟器
react-native run-android
3):效果图