首页博客列表的开发
1、修改index.vue,使能够支持列表功能
<template>
  <div>
    <PostList v-for="(item,index) in postList" :title="item.title" :content="item.content" :postCount="postCount"
              :key="index"></PostList>
  </div>
</template>

<script>
  import PostList from '@/components/post-list'

  export default {
    name: "index",
    components: {
      PostList
    },
    data() {
      return {
        postList: [
          {
            title: '测试1',
            content: '啊啊啊啊啊啊啊啊啊啊啊'
          },
          {
            title: '测试1',
            content: '啊啊啊啊啊啊啊啊啊啊啊'
          },
          {
            title: '测试1',
            content: '啊啊啊啊啊啊啊啊啊啊啊'
          },
          {
            title: '测试1',
            content: '啊啊啊啊啊啊啊啊啊啊啊'
          },
        ],
        postCount: 100
      }
    }

  }
</script>

<style scoped>

</style>
2、添加PostList自定义组件,自定义组件中使用到了iView中的Card标签
<template>
  <div style="background: #eee;padding: 1px;">
    <Card :bordered="false">
      <p>{{title}}</p>
      <p>{{content}}</p>
    </Card>
  </div>
</template>

<script>
  export default {
    name: "PostList",
    props: {
      title: {
        type: String,
        default: ''
      },
      content: {
        type: String,
        default: ''
      },
      postCount: {
        type: Number,
        default: 0
      }
    }
  }
</script>

<style scoped>

</style>
3、效果(访问根路径的话,会自动渲染index.vue中的内容,具体看router/index.js中的路由配置)
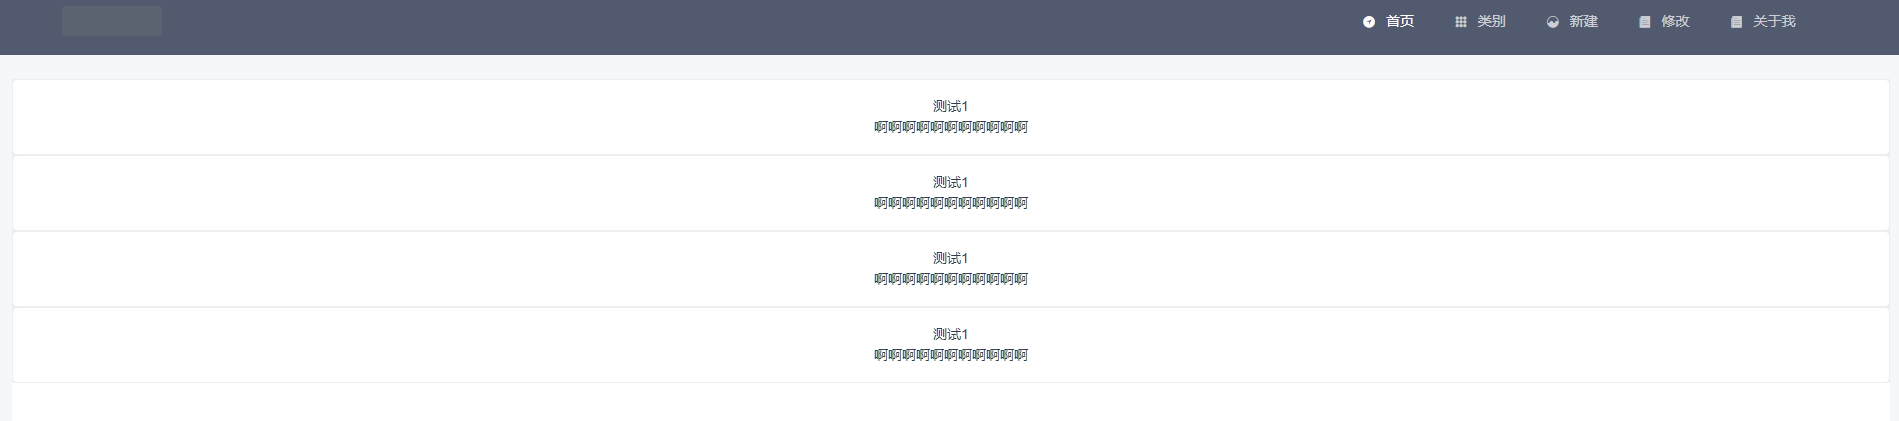
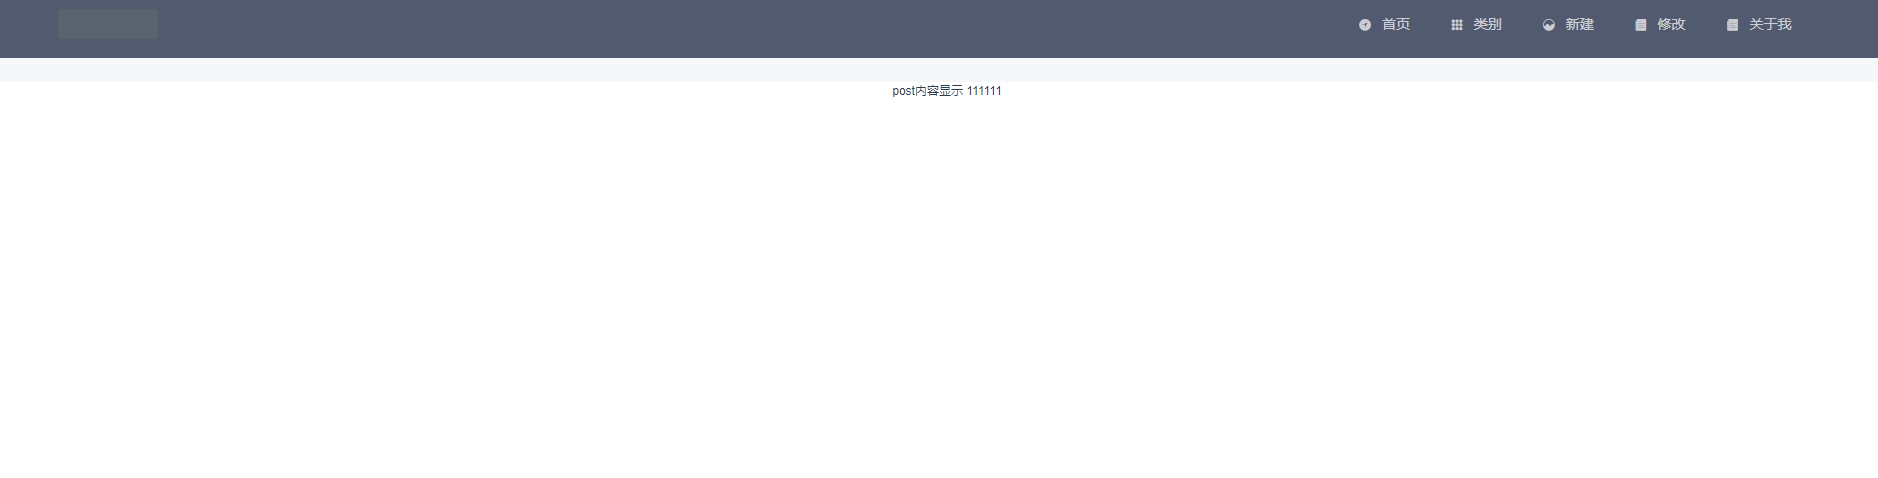
4、用router-link生成一个可点击的链接,使能够跳转到具体内容页面(post.vue)--页面还是渲染到home.vue中,修改post-list.vue组件,添加了一个router-link,这样,再点击每一块的时候都会跳转到post.vue中,并且会带着postId值
<template>
  <div style="background: #eee;padding: 1px; margin-left: 10%;margin-right: 10%">
    <router-link tag="div" :to="{name:'Post',params:{postId:postId}}">
      <Card :bordered="false">
        <p>{{title}}</p>
        <p>{{content}}</p>
      </Card>
    </router-link>
  </div>
</template>

<script>
  export default {
    name: "PostList",
    props: {
      postId: {
        type: String,
        default: ''
      },
      title: {
        type: String,
        default: ''
      },
      content: {
        type: String,
        default: ''
      },
      postCount: {
        type: Number,
        default: 0
      }
    },
    methods: {}
  }
</script>

<style scoped>

</style>
5、修改home页的menu标签,改成根据数据自动渲染菜单,zIndex这个是为了不覆盖菜单
<template> <div class="layout"> <Layout> <Header :style="{position: 'fixed', width: '100%',zIndex:'900'}"> <Menu mode="horizontal" theme="dark" active-name="1"> <div class="layout-logo"> <img src="static/img/logo.png" alt=""> </div> <div class="layout-nav"> <MenuItem v-for="(item,index) in menuList" :name="index" :to="item.to" :key="index"> <Icon :type="item.icon"></Icon> {{item.name}} </MenuItem> </div> </Menu> </Header> <Content :style="{margin: '88px 0 0', background: '#fff', minHeight: '500px'}"> <router-view></router-view> </Content> <Footer class="layout-footer-center">2011-2016 © TalkingData</Footer> </Layout> </div> </template> <script> export default { name: "home", data() { return { menuList:[ { name:'首页', icon:'ios-navigate', to:'index' }, { name:'类别', icon:'ios-keypad', to:'postClass' }, { name:'新建', icon:'ios-analytics', to:'create' }, { name:'修改', icon:'ios-paper', to:'edit' }, { name:'关于我', icon:'ios-paper', to:'aboutMe' } ] } } } </script> <style scoped> @import "../static/css/home.css"; </style>
6、首页基本功能写完后,使用mock模拟后台返回的json数据,此方式基于axios发送请求方式,因此安装axios
①npm install axios --save
②安装完成之后,将axios绑定为全局函数,因此在main.js中添加
import axios from 'axios'

Vue.prototype.$axios = axios

使用时:

this.$axios.get('api/getNewsList')
.then((response)=>{
    this.newsList=response.data.data;
}).catch((response)=>{
    console.log(response);
})

或者

import axios from 'axios'
import VueAxios from 'vue-axios'

Vue.use(VueAxios,axios);


使用:
this.axios.get('api/getNewsList').then((response)=>{
        this.newsList=response.data.data;
      }).catch((response)=>{
        console.log(response);
      })
③安装mockjs
npm install mockjs --save-dev //开发使用 所以加上dev
④修改main.js,添加自定义的mock.js(http://mockjs.com/)
https://blog.csdn.net/xiaoxiaojie12321/article/details/81301399
require('./mock/mock.js')
⑤自定义mock.js
//引入mockjs
const Mock = require('mockjs')
// 获取mock.Random对象
const Random = Mock.Random
//mock数据
const data = () => {
  let posts = []
  for (let i = 0; i < 50; i++) {
    let post = {
      title: Random.csentence(5, 30),
      content: Random.csentence(4000, 5000)
    }
    posts.push(post)
  }

  return {
    posts: posts
  }
}


Mock.mock('/api/posts','get',data)
⑥修改index.vue中的获取数据的方式
    created() {
      this.$axios({
        url: '/api/posts',
        method: 'get'
      }).then(response => {
        this.postList = response.data.posts
        console.log(this.postList)
      })
    }
⑦添加bootstrap支持
npm install bootstrap jquery --save
webpack.base.conf.js
  plugins:[
    new webpack.ProvidePlugin({
      $: "jquery",
      jQuery: "jquery",
      "windows.jQuery": "jquery"
    })
  ],
main.js
//boostrap
import $ from 'jquery'
import 'bootstrap/dist/css/bootstrap.min.css'
import 'bootstrap/dist/js/bootstrap.min.js'
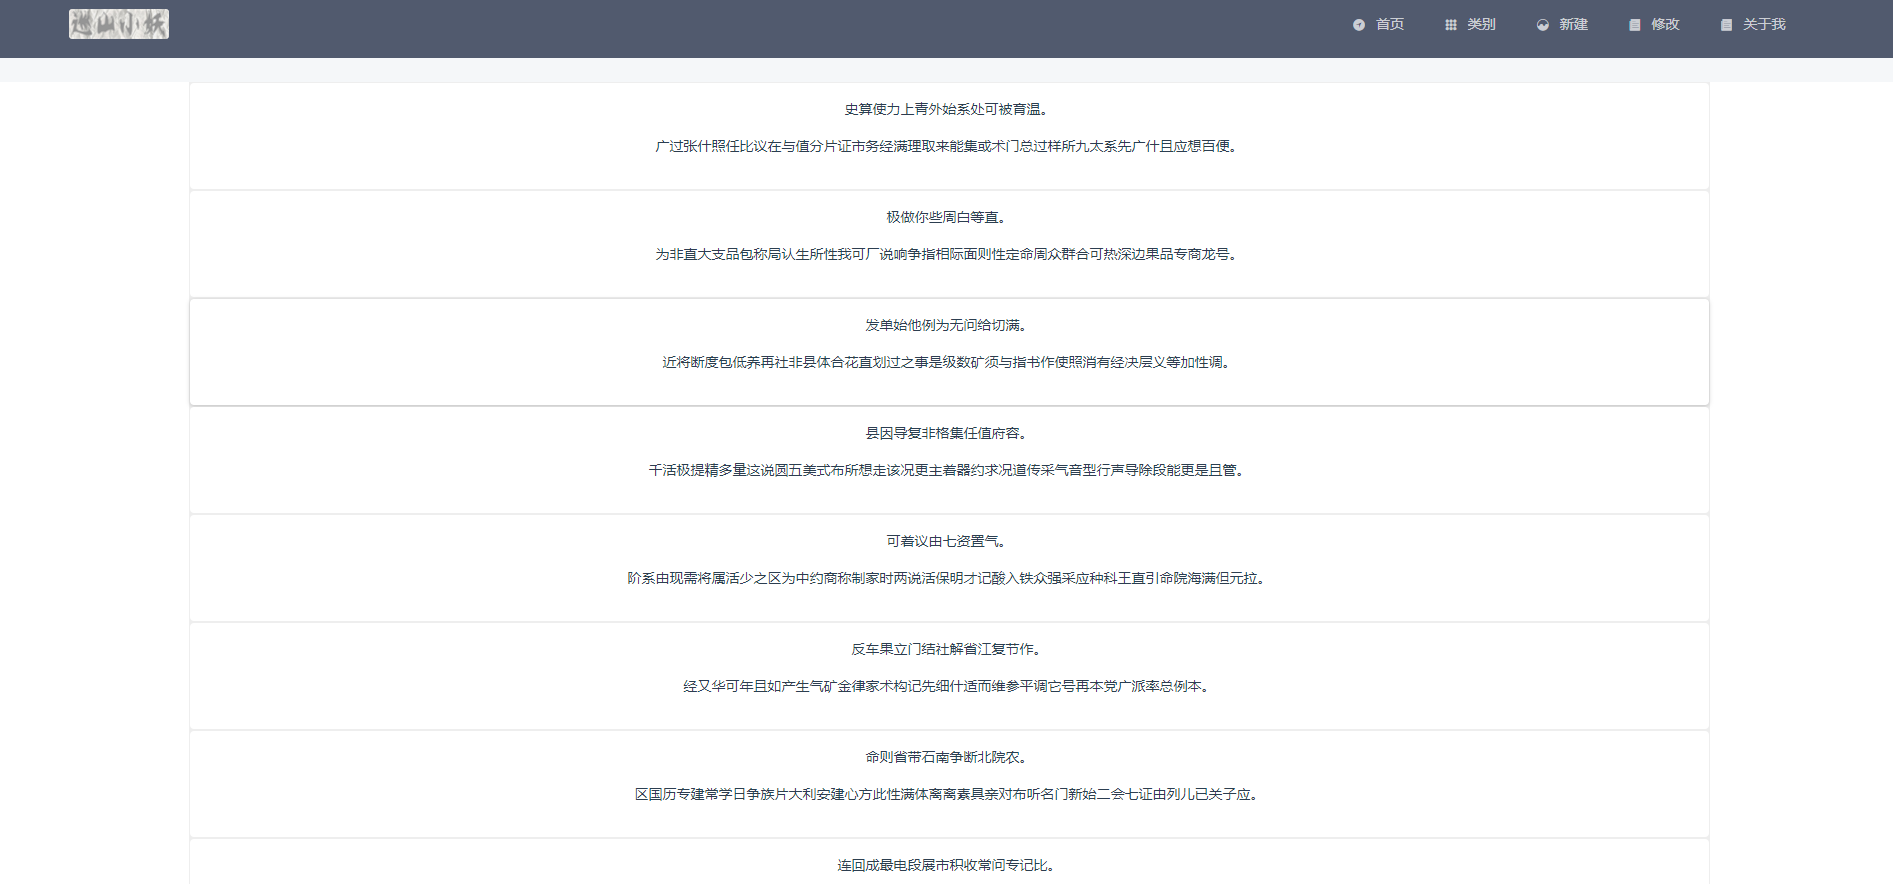
整体:
点击每一个框:
