上一篇博客已经是三年前了,233333,新年伊始,觉得自己该去记录一些东西了,又拾起之前的博客写点东西,写得好不好的,希望各位大佬不要见笑。
进入正题,目前很多项目都是B/S架构的,我们经常会用到webapi、MVC等框架,实际项目中可能不仅仅是一些数据的增删改查,需要对数据进行计算,但是将计算逻辑放到api层又会拖累整个项目的运行速度,从而会写一些计划任务(使用quartz.net,在上一篇中已经提到)将需要计算的数据提前计算并入库,理论上api层需要做的只是增删改查,从而加快程序运行速度。
传统windows 服务需要创建一个windows service 项目,我自己没有用过,但是看过别人的整个开发流程,感觉及其繁杂并且不容易调试。
使用topshelf可以很快的创建一个服务,而我们需要做的只是创建一个控制台程序,调试成本也大大降低。
步骤如下:
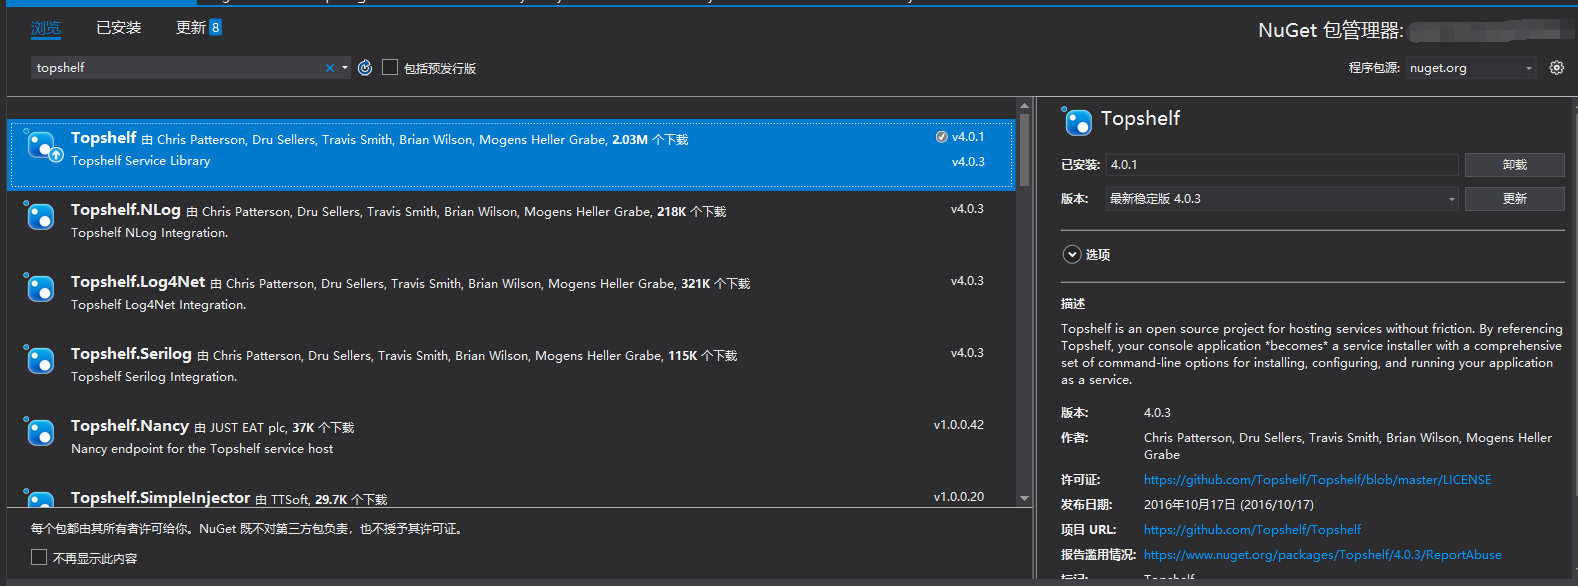
- 首先还是通过nuget添加topshelf程序集
-
添加ServiceRunner类,这里用Quartz做例子。当然不仅仅适用于次,也可以用于wcf等。
using Quartz; using Quartz.Impl; using Topshelf; namespace KfqPointService { public sealed class ServiceRunner : ServiceControl, ServiceSuspend { private readonly IScheduler scheduler; public ServiceRunner() { scheduler = StdSchedulerFactory.GetDefaultScheduler(); } public bool Start(HostControl hostControl) { scheduler.Start(); return true; } public bool Stop(HostControl hostControl) { scheduler.Shutdown(false); return true; } public bool Continue(HostControl hostControl) { scheduler.ResumeAll(); return true; } public bool Pause(HostControl hostControl) { scheduler.PauseAll(); return true; } } } -
在程序入口中添加代码
using System.Configuration; using KfqPointService; using Topshelf; namespace LfsZqHbInterface { class Program { static void Main(string[] args) { //LogWriter.Debug("Begin Service"); HostFactory.Run(x => { x.Service<ServiceRunner>(); x.SetDescription(ConfigurationManager.AppSettings["Description"]); x.SetDisplayName(ConfigurationManager.AppSettings["DisplayName"]); x.SetServiceName(ConfigurationManager.AppSettings["ServiceName"]); x.EnablePauseAndContinue(); }); } } } -
将Windows服务安装到服务器上
(1)依次打开服务文件夹以管理员权限运行powershell,并进入服务所在文件夹。

(2)输入.\文件名.exe install 回车安装此服务,如下图所示
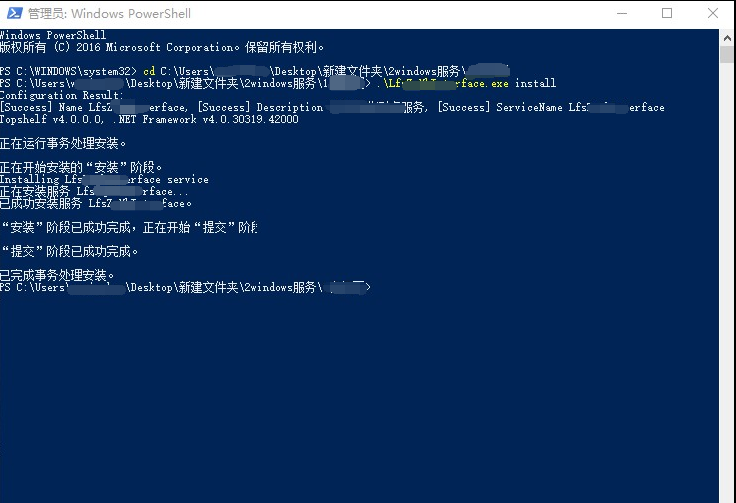
出现此场景为安装成功,此时大功告成,打开服务面板就可看到我们刚刚安装的服务。