本篇介紹如何使用 LabelImg 這個免費的影像標註工具,標示照片中的物體,製作成可用來訓練深度學習引擎的輸入資料集。
在使用深度學習來實作影像的物件偵測時,都會需要有大量的已知資料集,也就是照片加上物件的所在位置以及物件的名稱,而通常若要準備這類的資料,初期都會使用人工的方式來手動標註,而 LabelImg 就是用來標註照片中物體位置與名稱的小工具。
名稱:LabelImg 影像標註工具
官方網站:GitHub
支援平台:Windows、Linux、Mac OS X
下載預先編譯版本:Windows 與 Linux 版本
授權:開放原始碼(MIT 授權)
In Computer Vision Problems Image Annotation is much important to detect and mark faces in images. labelImg is an excellent tool which makes the face annotation boxes to XML files easily. Here is how you can Install and Configure on your Ubuntu 16.04 machine. There are two Separate procedures to be followed for Python2 and Python3. We at WandResearch – Machine Learning for Small Business use this tool when there is a need for training. Have a look at our website https://wandresearch.in
Python2 + Qt4:
(i) Open Ubuntu Terminal (Ctrl+Alt+T)
(ii) sudo apt-get install pyqt4-dev-tools
(iii) sudo pip install lxml
(iv) Now clone the labelImg GitHub repository on your machine or download the zip file here and extract.
(v) cd into the labelImg directory cd labelImg-master
(vi) In your terminal type make qt4py2
(vii) That’s it. Now you can Run the python labelImg.py to run the labelImg.
Python3 + Qt5
(i) Open Ubuntu Terminal (Ctrl+Alt+T)
(ii) sudo apt-get install pyqt5-dev-tools
(iii) sudo pip install lxml
(iv) Now clone the labelImg GitHub repository on your machine or download the zip file here and extract.
(v) cd into the labelImg directory cd labelImg-master
(vi) In your terminal type make qt5py3
(vii) That’s it. Now you can Run the python labelImg.py to run the labelImg.
Install labelImg on your Mac:
Python2 + Qt4:
(i) Open Terminal and type brew install qt qt4
(ii) brew install libxml2
(iii) sudo pip install lxml
(iv) Now clone the labelImg GitHub repository on your machine or download the zip file here and extract.
(v) cd into the labelImg directory cd labelImg-master
(vi) In your terminal type make qt4py2
(vii) That’s it. Now you can Run the python labelImg.py to run the labelImg.
We created video analysis prototype using machine learning. Check this out! https://wandresearch.in

執行之後,就會開啟 LabelImg 的視窗。
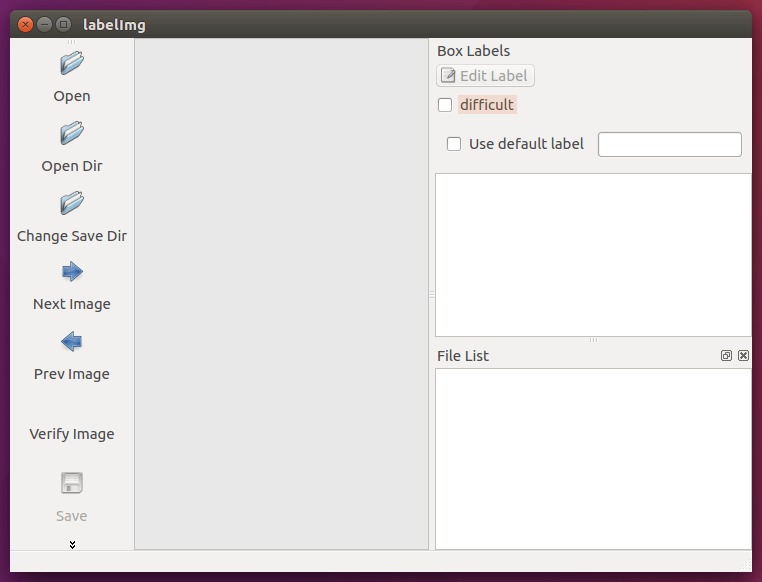
LabelImg 圖片標註工具
標註照片
STEP 1
開啟 LabelImg 之後,首先開啟想要進行標註的圖片檔,開啟時可以選擇「Open」開啟單張圖檔,或是以「Open Dir」開啟整個目錄中所有的圖檔。
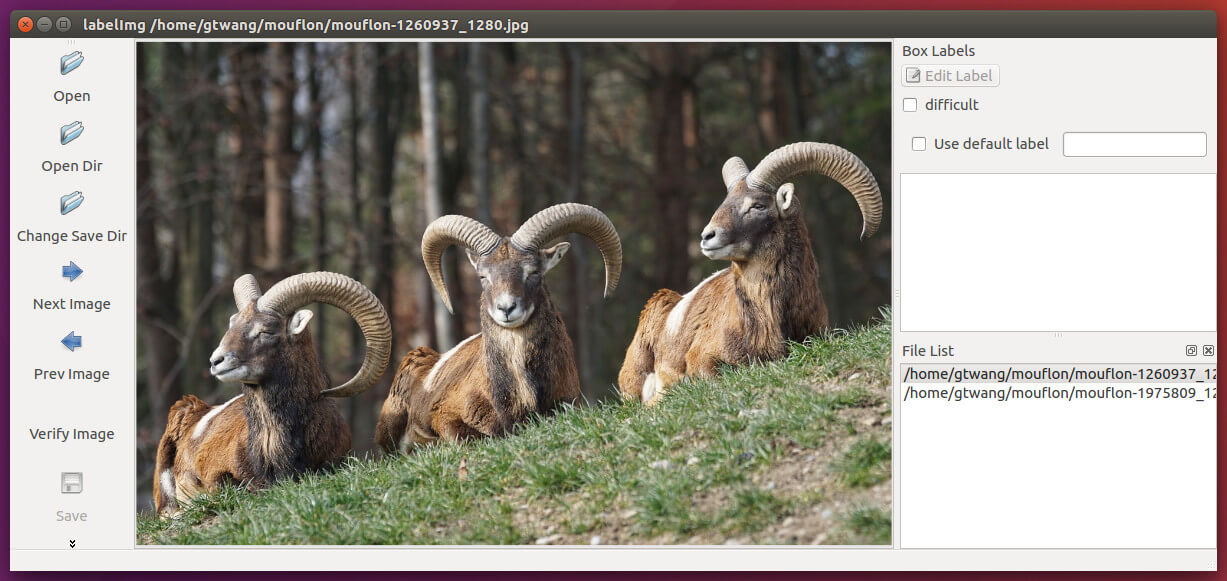
開啟圖檔
這裡我拿兩張歐洲盤羊的圖片作為示範。
STEP 2
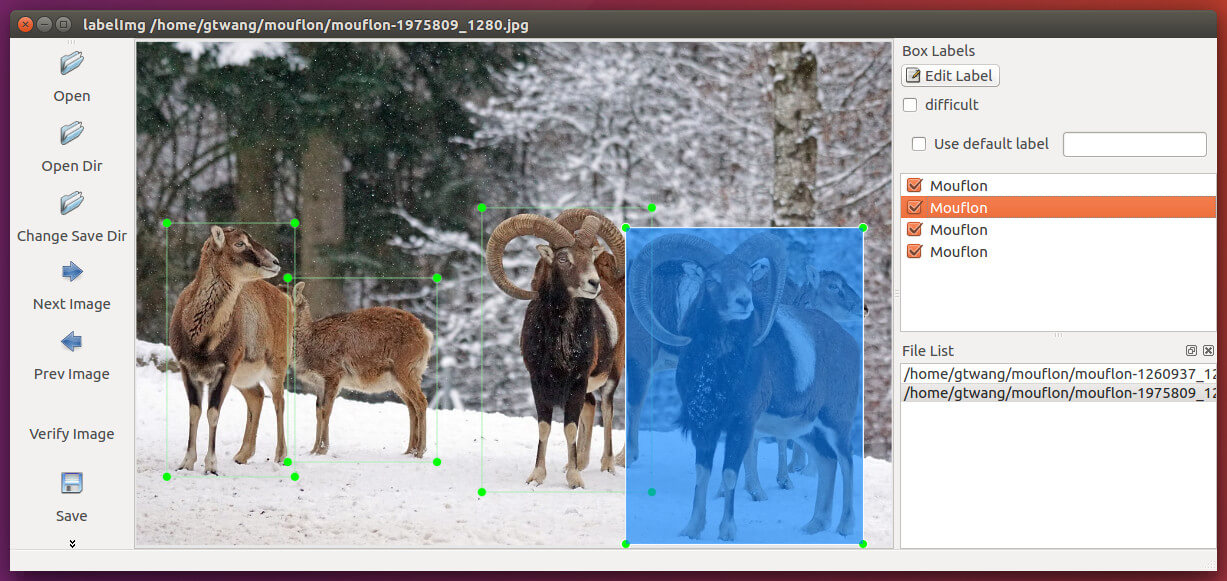
這張照片中有三頭歐洲盤羊,接下來我們就要在這張照片上標示出這三頭羊的位置與名稱資訊。
在照片上點選滑鼠右鍵,在右鍵選單中點選「Create RectBox」。
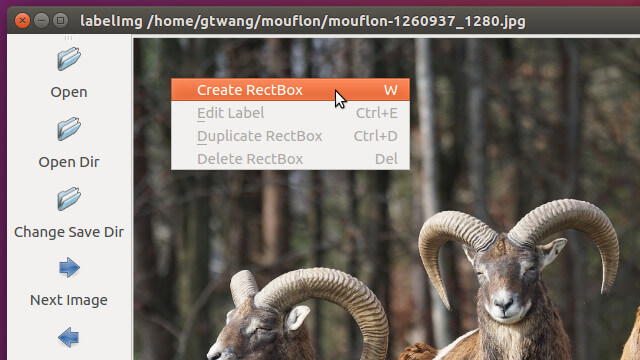
如果要進行大量的物件標註,可以先研究一下 LabelImg 的快速鍵,以加速人工標註的速度,例如建立標註方框的快速鍵就是 w,善用這些快速鍵的話,標註的處理速度會加快非常多。
STEP 3
使用滑鼠將整頭羊框起來。
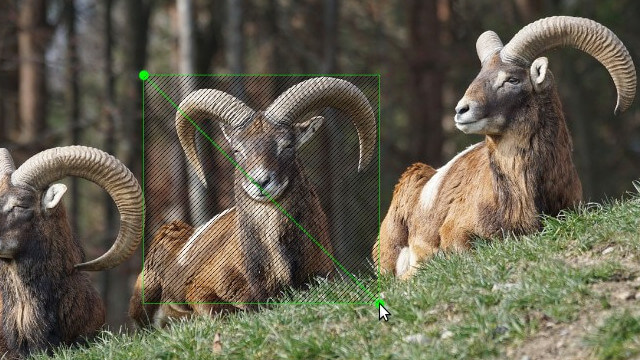
框住物件
STEP 4
輸入這個物件的名稱。
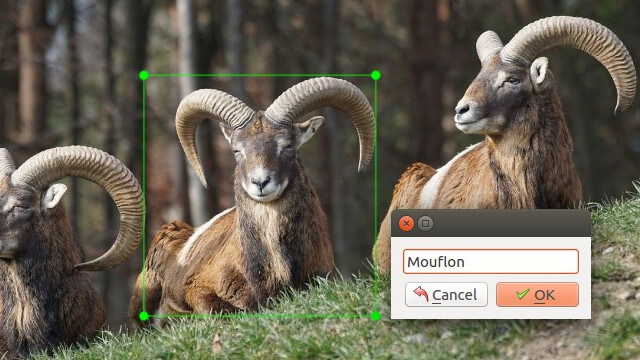
輸入物件名稱
STEP 5
按照上述的物件標註方式,把照片中的每一個物件都標示好,在標示多個物件時,LabelImg 會自動列出已經標示過的名稱,所以如果有重複的名稱,就可以直接用滑鼠在選單上點選,不用再打一次,非常方便。
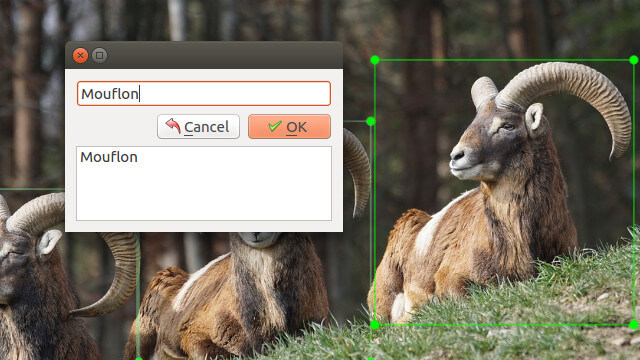
輸入物件名稱
STEP 6
標示完成後,在視窗的右方會列出所有標示好的物件,我們可以對任何的物件進行修改或刪除等動作。
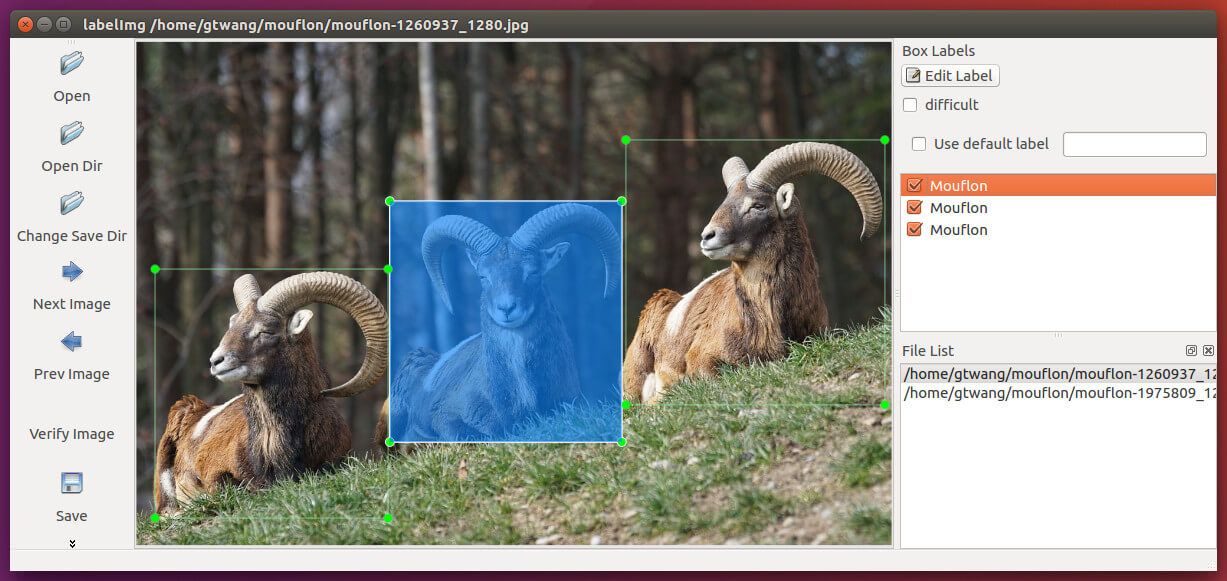
所有標註物件
STEP 7
當一張圖片上的物件都標註完成後,記得按下左側的「Save」鍵儲存,LabelImg 會使用 XML 格式來儲存標註資訊。
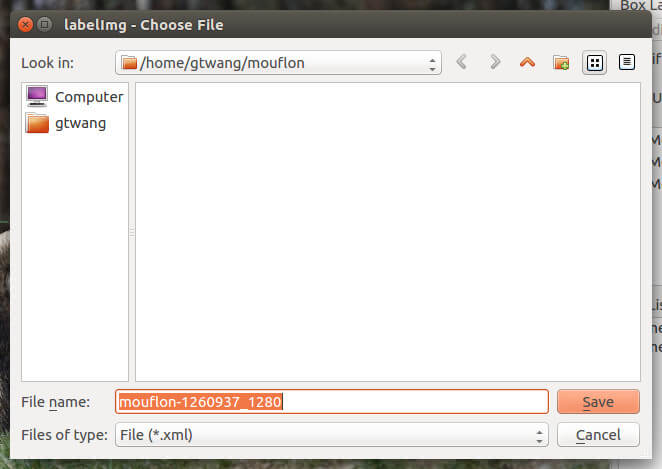
儲存標註資訊
這樣就完成一張圖片的標註工作了。
STEP 8
若有多張照片的話,就按照這樣的流程來標註每一張照片,記得每張照片標註完都要儲存成 XML 檔。
所有標註物件
使用 LabelImg 開啟照片時,會自動檢查是否有對應的 XML 標註檔,如果它發現同目錄下有對應的 XML 標註檔,就會自動載入它並顯示出來,所以一般來說,將標註的 XML 與照片放在一起會比較方便。
LabelImg 輸出的 XML 內容會類似這樣:
<annotation>
  <folder>mouflon</folder>
  <filename>mouflon-1260937_1280.jpg</filename>
  <path>/home/gtwang/mouflon/mouflon-1260937_1280.jpg</path>
  <source>
    <database>Unknown</database>
  </source>
  <size>
    <width>1280</width>
    <height>853</height>
    <depth>3</depth>
  </size>
  <segmented>0</segmented>
  <object>
    <name>Mouflon</name>
    <pose>Unspecified</pose>
    <truncated>0</truncated>
    <difficult>0</difficult>
    <bndbox>
      <xmin>28</xmin>
      <ymin>383</ymin>
      <xmax>434</xmax>
      <ymax>817</ymax>
    </bndbox>
  </object>
  <object>
    <name>Mouflon</name>
    <pose>Unspecified</pose>
    <truncated>0</truncated>
    <difficult>0</difficult>
    <bndbox>
      <xmin>399</xmin>
      <ymin>270</ymin>
      <xmax>828</xmax>
      <ymax>702</ymax>
    </bndbox>
  </object>
  <object>
    <name>Mouflon</name>
    <pose>Unspecified</pose>
    <truncated>0</truncated>
    <difficult>0</difficult>
    <bndbox>
      <xmin>817</xmin>
      <ymin>166</ymin>
      <xmax>1268</xmax>
      <ymax>612</ymax>
    </bndbox>
  </object>
</annotation>
有了這些照片的標註資訊,就可以進行後續的深度學習引擎訓練了。