简介
前面几篇我们完成了博客的大部分功能。接下来我们将对博客模块进行拆分,以此巩固所学的微服务知识。
分模块
按照功能模块拆分,我们可以将本博客项目拆分成如下几个模块
- 博客前台(fb_blog)
- 博客后台(fb_admin)
- 通讯模块(fb_im)
- 搜索模块(fb_search)
- 注册中心(fb_server)
- 公共模块(fb_common)
拆分前后对比
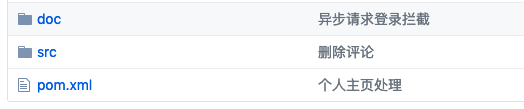
拆分前:
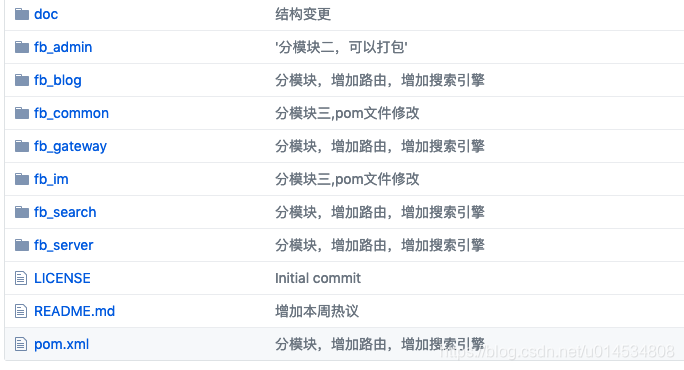
拆分后:
拆分步骤
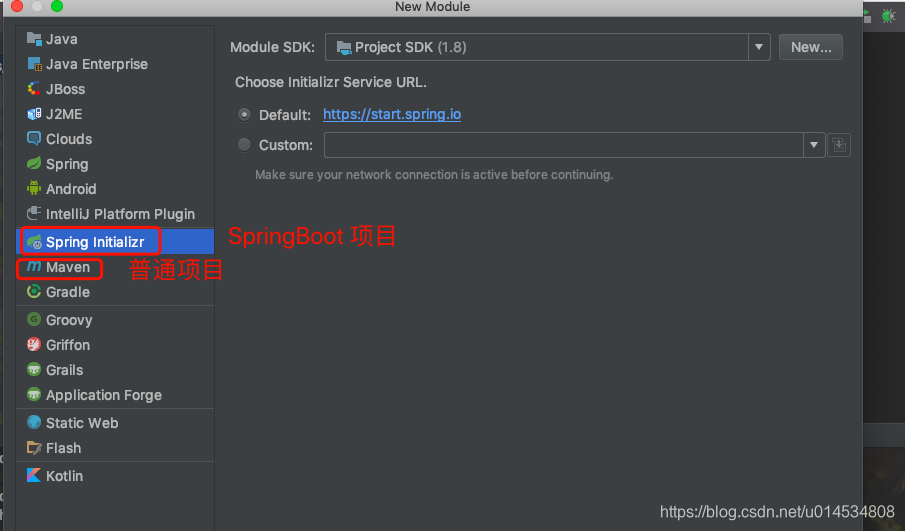
- 以fb_blog为例,选中原项目,新建module
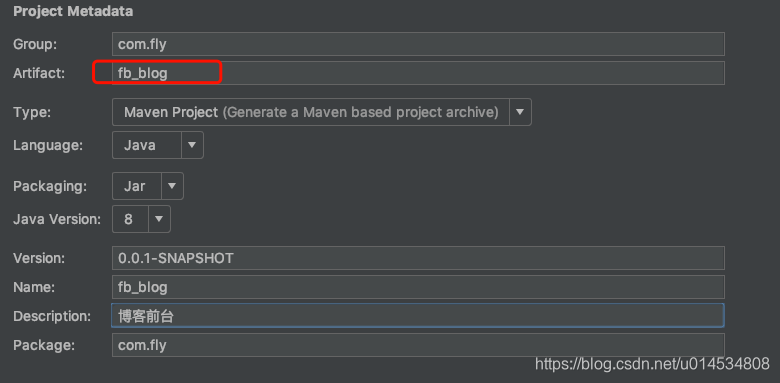
- 将模块命名为fb_blog
- 建好fb_blog 模块之后,我们首先修改原项目的pom文件,将公共的依赖放在 fly_blog的pom文件中,将fb_blog 特有的依赖(如:mybatis-plus 等)放在 fb_blog的pom文件中。并且,在 fb_blog 的pom中引入其父模块fly_blog。在fly_blog的pom中添加其子模块
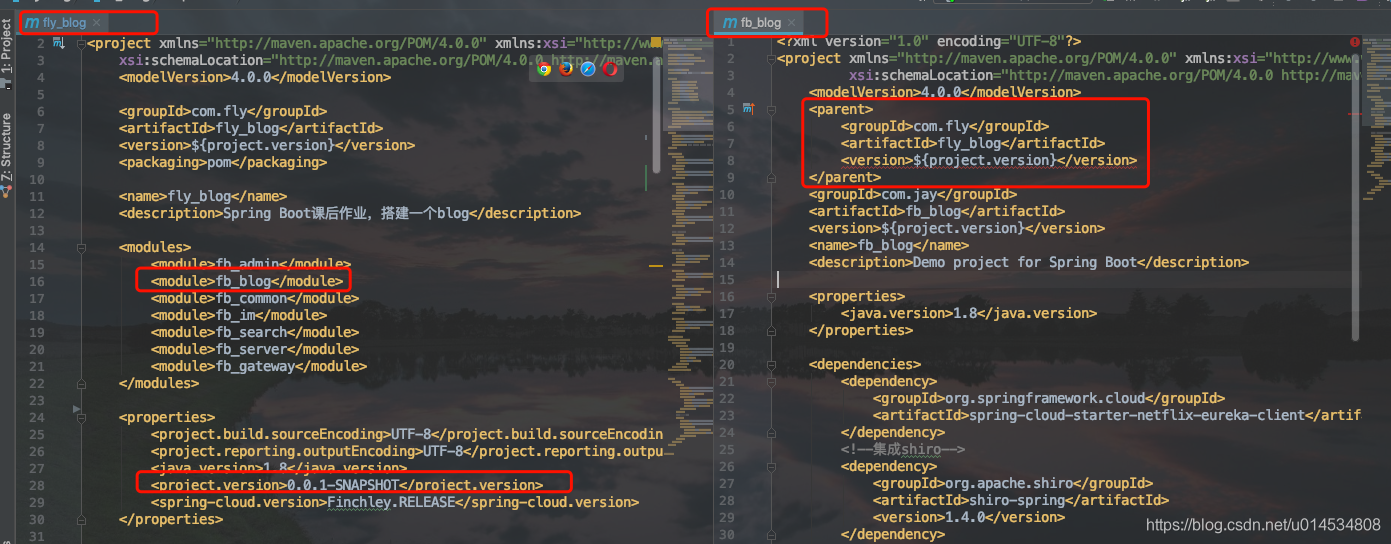
PS: 需要特别注意的是:需要将fly_blog的打包配置由spring-boot-maven-plugin 改成maven-compiler-plugin,否则会打包失败。
fly_blog 项目pom文件中的打包配置。
<build>
		<plugins>
			<plugin>
				<groupId>org.apache.maven.plugins</groupId>
				<artifactId>maven-compiler-plugin</artifactId>
				<version>3.7.0</version>
				<configuration>
					<source>${java.version}</source>
					<target>${java.version}</target>
					<encoding>UTF-8</encoding>
				</configuration>
			</plugin>
			<!--关闭单元测试-->
			<plugin>
                <groupId>org.apache.maven.plugins</groupId>
                <artifactId>maven-surefire-plugin</artifactId>
				<configuration>
					<skipTests>true</skipTests>
					<useSystemClassLoader>false</useSystemClassLoader>
				</configuration>
			</plugin>
		</plugins>
	</build>
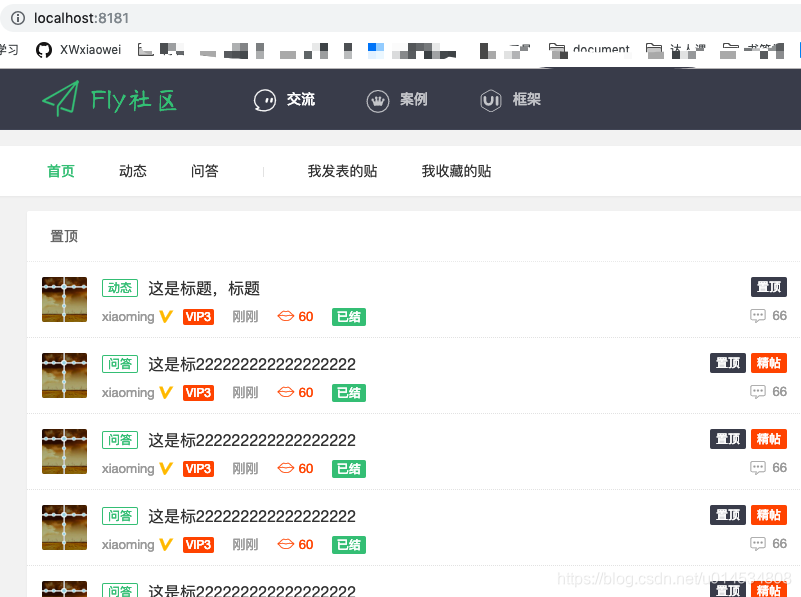
- pom 文件处理好之后,由于fb_blog 囊括了博客的主要业务代码,所以我们就将fly_blog项目中的src 文件夹拷贝到fb_blog 项目下。将 FlyBlogApplication类重新命名为FbBlogApplication。然后启动FbBlogApplication。启动成功之后可以访问博客首页
6.其他模块类似建立。
搭建微服务框架
注册中心
搭建微服务首先需要新建一个注册中心。创建一个SpringBoot项目,命名为fb_server。创建完成之后在fly_blog 的pom文件中,引入spring-cloud 依赖
以统一spring cloud的版本。同时添加子项目<module>fb_server</module>
	<properties>
		<spring-cloud.version>Finchley.RELEASE</spring-cloud.version>
	</properties>
	<dependencyManagement>
		<dependencies>
			<dependency>
				<groupId>org.springframework.cloud</groupId>
				<artifactId>spring-cloud-dependencies</artifactId>
				<version>${spring-cloud.version}</version>
				<type>pom</type>
				<scope>import</scope>
			</dependency>
		</dependencies>
	</dependencyManagement>
然后在fb_server 的pom 文件中引入eureka的依赖和安全依赖
<dependency>
            <groupId>org.springframework.cloud</groupId>
            <artifactId>spring-cloud-starter-netflix-eureka-server</artifactId>
        </dependency>

        <!--给server界面指定账号密码-->
        <dependency>
            <groupId>org.springframework.boot</groupId>
            <artifactId>spring-boot-starter-security</artifactId>
        </dependency>
接着在fb_server的application.yml中添加如下配置:
server:
   port: 8761
eureka:
  client:
    register-with-eureka: false
    fetchRegistry: false
    service-url:
       defaultZone: http://admin:admin@localhost:${server.port}/eureka/
spring:
  application:
    name: eureka-server-8761
#    添加管理页面用户名和密码
  security:
    user:
      name: admin
      password: admin
最后,我们在FbServerApplication类中添加@EnableEurekaServer注解,以激活EurekaServer。
@SpringBootApplication
@EnableEurekaServer
public class FbServerApplication {

    public static void main(String[] args) {
        SpringApplication.run(FbServerApplication.class, args);
    }

}
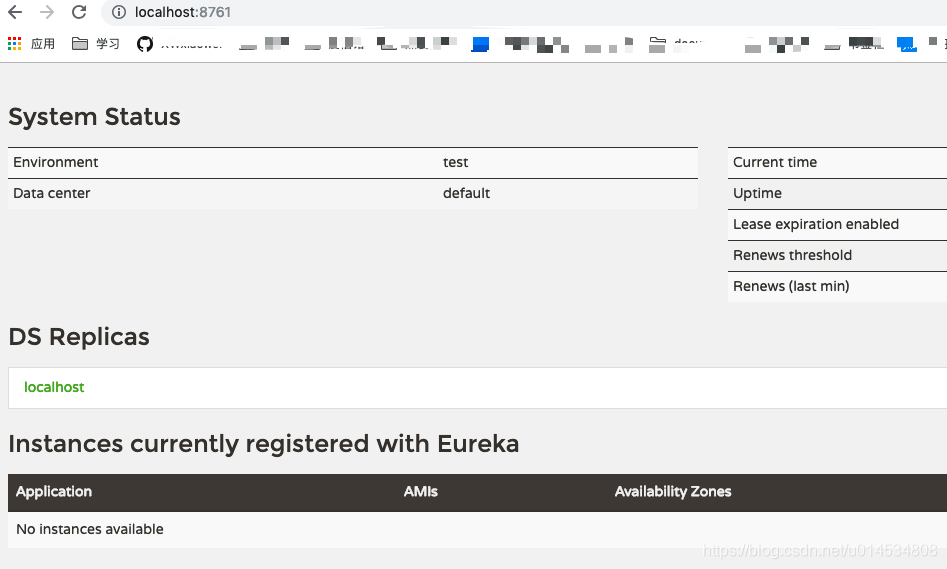
这样注册中心就配置完成,启动FbServerApplication 后,访问
http://localhost:8761/ 输入用户名密码就可以访问到注册中心控制台。
网关
添加完注册中心之后,我们还需要添加一个网关服务。这里我们使用Zuul作为网关。同样我们首先新建一个SpringBoot 项目作为fly_blog的子项目,命名为 fb_gateway。
- 项目新建好之后,我们首先在pom 中添加Zuul的依赖以及Eureka的客户端。
<!--zuul 网关服务-->
		<dependency>
			<groupId>org.springframework.cloud</groupId>
			<artifactId>spring-cloud-starter-netflix-zuul</artifactId>
		</dependency>
		<dependency>
			<groupId>org.springframework.cloud</groupId>
			<artifactId>spring-cloud-starter-netflix-eureka-client</artifactId>
		</dependency>
- 在application.yml 中指定其端口 8888,以及服务名 fb-gateway,添加路由配置
server:
  port: 8888
spring:
  application:
    name: fb-gateway
eureka:
  client:
    service-url:
      defaultZone: http://admin:admin@localhost:8761/eureka/
#路由规则配置
zuul:
  routes:
     fb-blog:
        path: /**
        serviceId: fb-blog
最后在FbGatewayApplication 类中添加@EnableZuulProxy 以激活Zuul服务,添加@EnableEurekaClient 使其服务可以注册到注册中心。
@SpringBootApplication
@EnableZuulProxy
@EnableEurekaClient
public class FbGatewayApplication {

	public static void main(String[] args) {
		SpringApplication.run(FbGatewayApplication.class, args);
	}

}
启动服务之后,我们可以看到,服务被注册到注册中心

最后,我们在fb_blog子项目上添加EurekaClient。
在pom 文件中添加spring-cloud-starter-netflix-eureka-client依赖
 <dependency>
            <groupId>org.springframework.cloud</groupId>
            <artifactId>spring-cloud-starter-netflix-eureka-client</artifactId>
        </dependency>
在application.yml中指定注册中心地址

eureka:
  client:
    service-url:
       defaultZone: http://admin:admin@localhost:8761/eureka/
在FbBlogApplication中添加@EnableEurekaClient注解。
@Slf4j
@SpringBootApplication
@MapperScan(value = "com.fly.dao")
@EnableEurekaClient
public class FbBlogApplication {


	public static void main(String[] args) {

		SpringApplication.run(FbBlogApplication.class, args);
		log.info("------>系统启动成功");
	}
}
启动 fb-blog服务之后我们可以看到,服务被注册到注册中心。

其余子项目注册的操作与fb_blog 子项目类似。