版权声明:——转载请留言询问—— https://blog.csdn.net/weixin_44344462/article/details/88743616
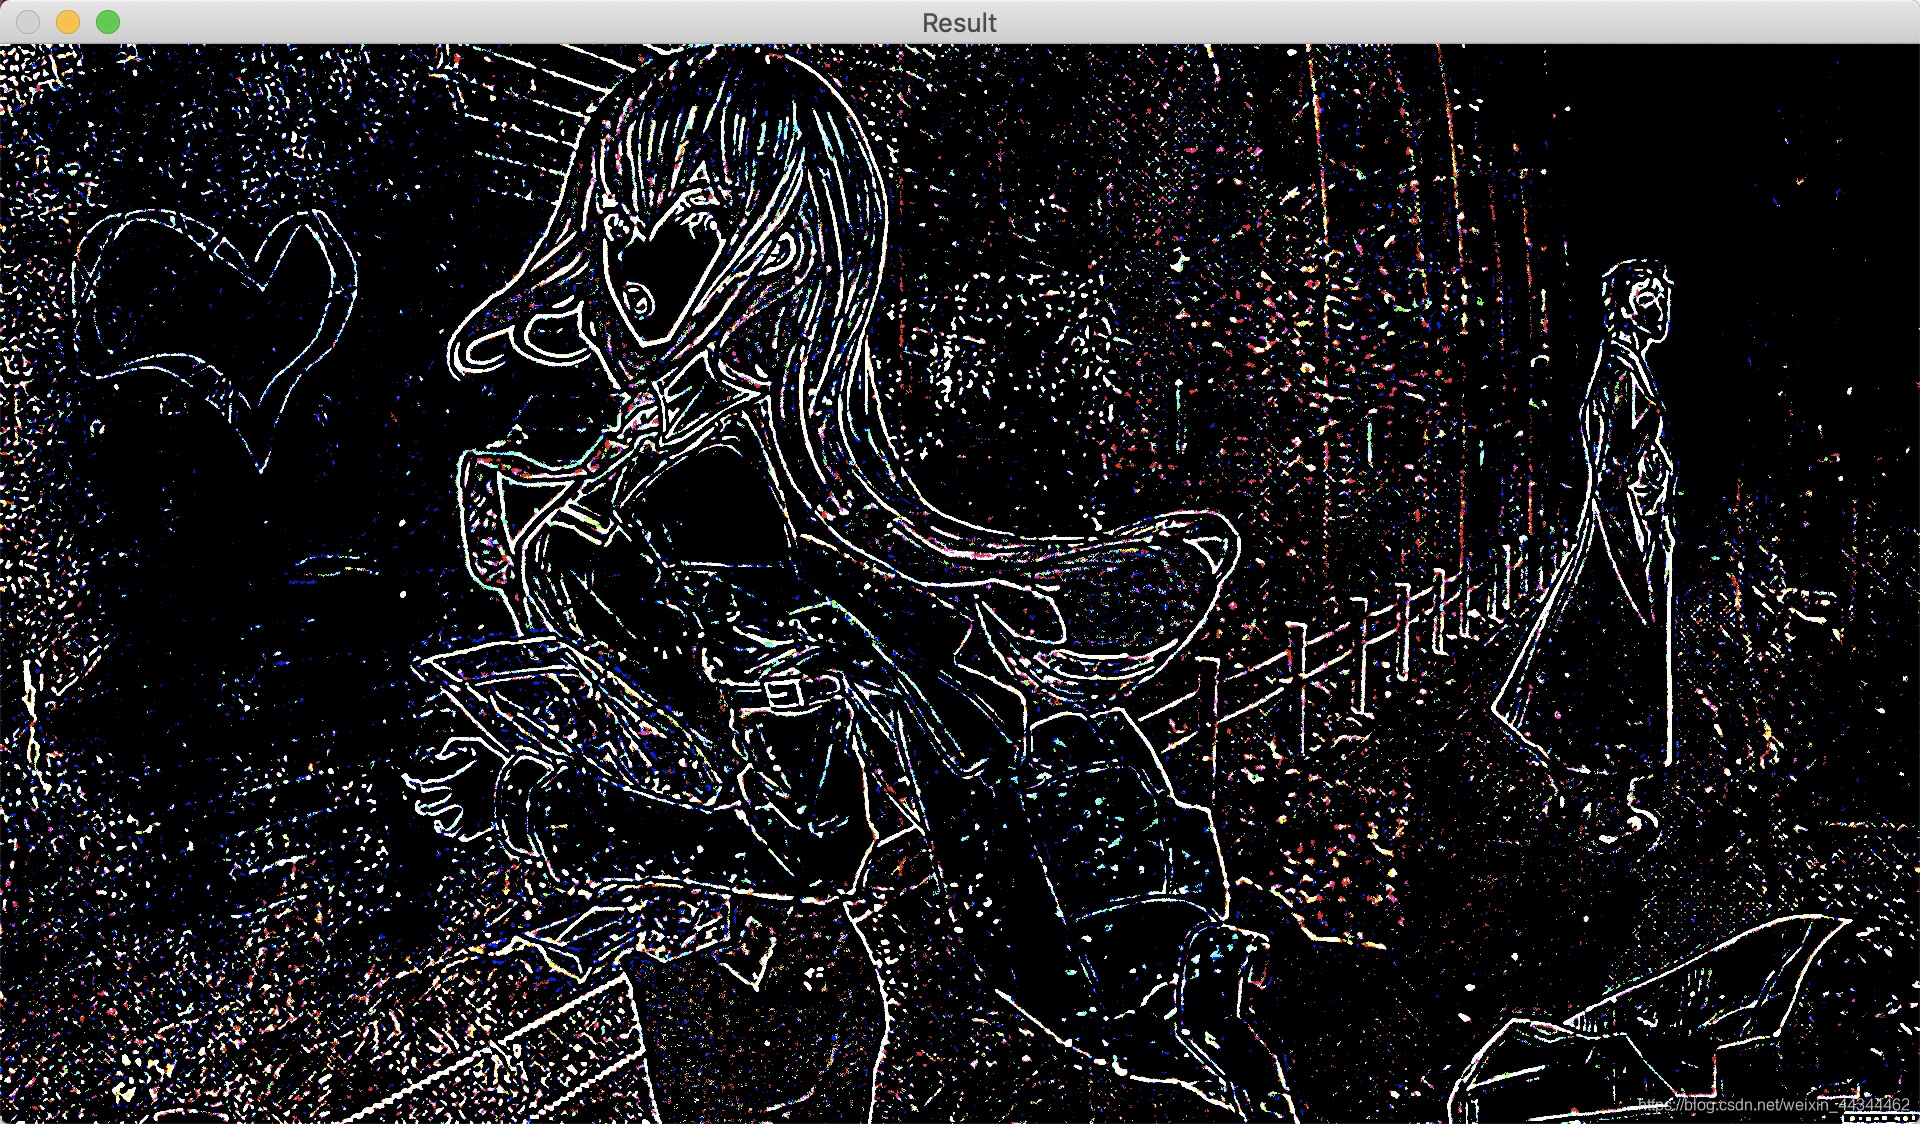
高斯差分滤波结果
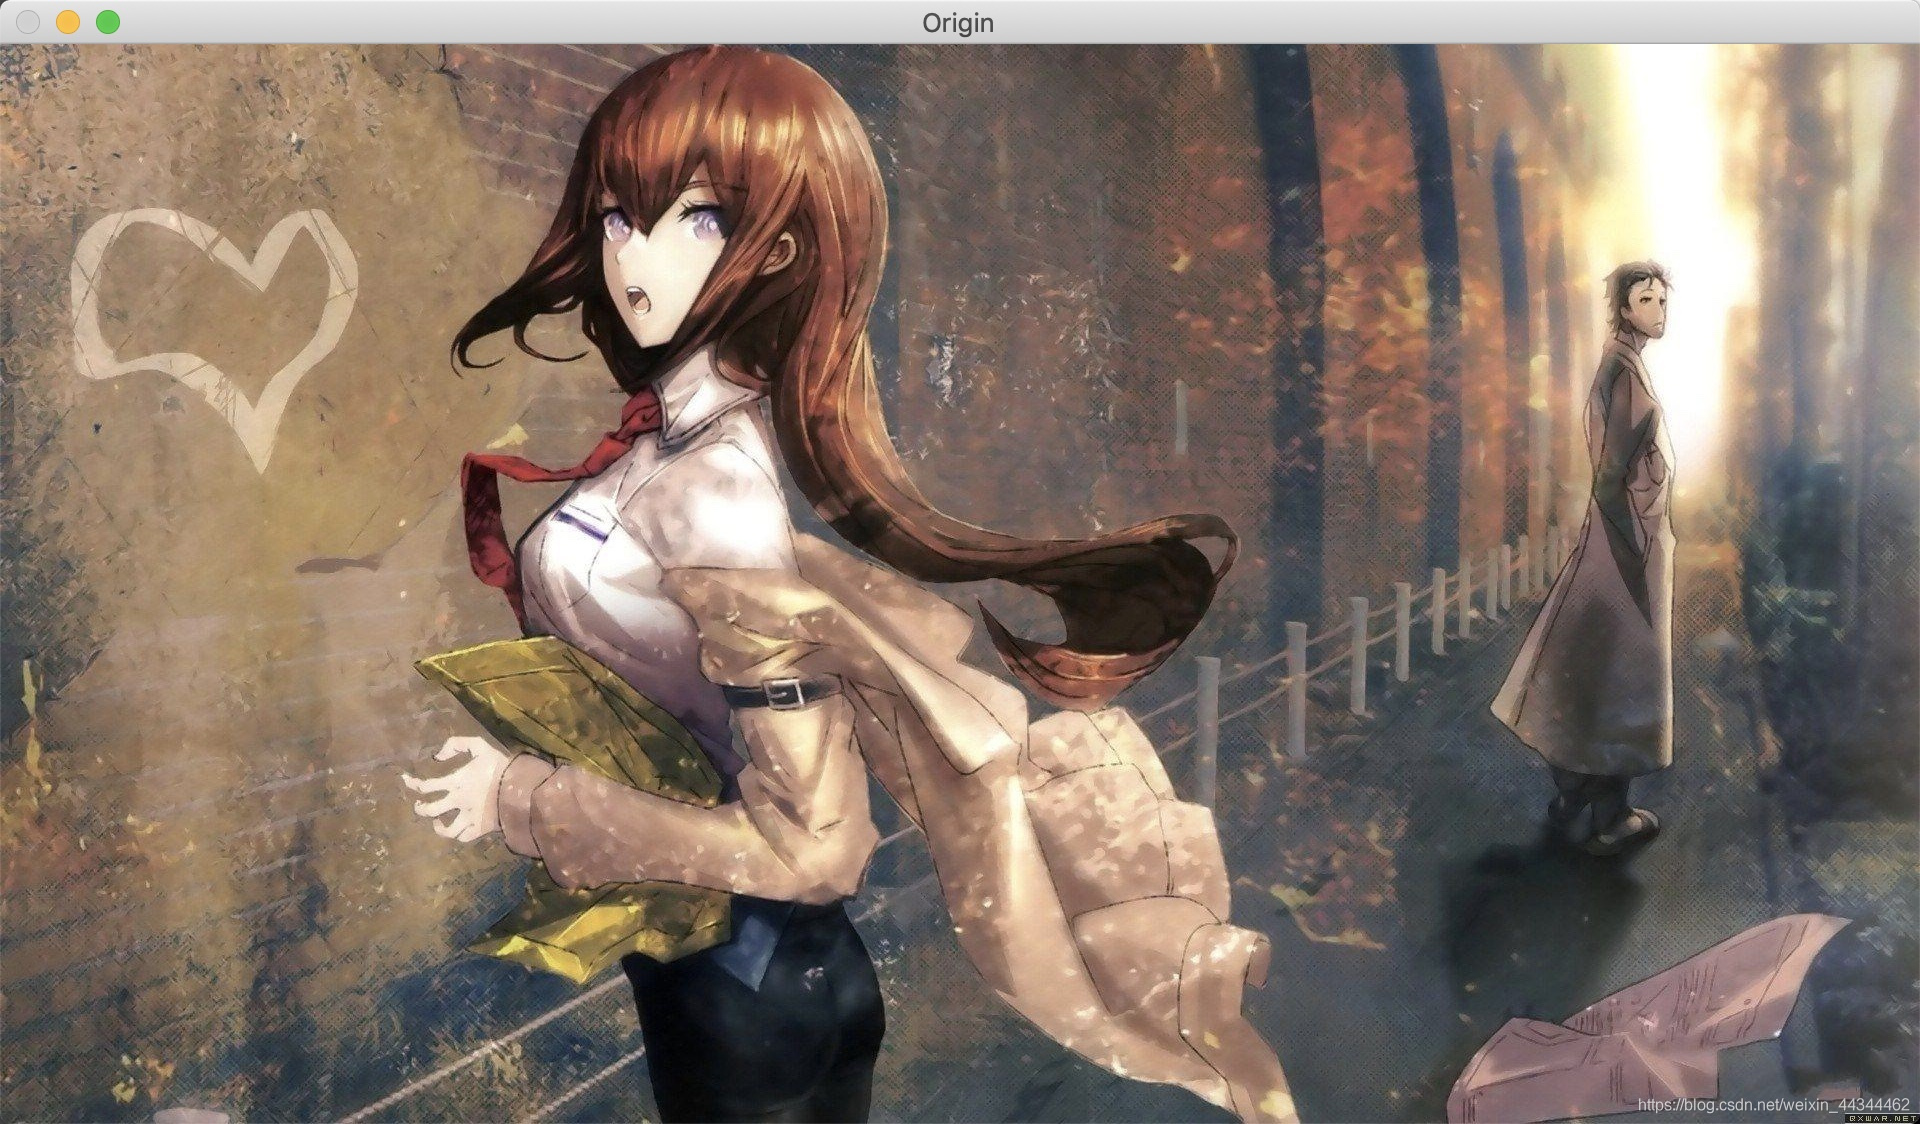
原图像
高斯差分滤波结果
Show me the code
#include <iostream>
#include <string>
#include <opencv2/imgproc/imgproc.hpp>
#include <opencv2/highgui.hpp>

using namespace std;

int main() {
    // 图像路径
    const string fileName = "xxx.jpg";

    // 读取图像
    cv::Mat origin = cv::imread(fileName);

    // 创建差分存放结果及中间图像空间
    cv::Mat pro1, pro2, result;

    // 设置两次高斯滤波的sigma
    const float sigma1 = 1.6;
    const float sigma2 = 2.0;

    // 两次不同sigma高斯滤波
    cv::GaussianBlur(origin,
                     pro1,
                     cv::Size(0, 0),
                     sigma1);

    cv::GaussianBlur(origin,
                     pro2,
                     cv::Size(0, 0),
                     sigma2);

    // 高斯滤波结果差分
    result = pro1 - pro2;

    // 显示图像
    cv::imshow("Origin", origin);
    cv::imshow("Result", result * 255);

    cv::waitKey(0);
}