版权声明:——转载请留言询问—— https://blog.csdn.net/weixin_44344462/article/details/88824837
滤波结果
原图像

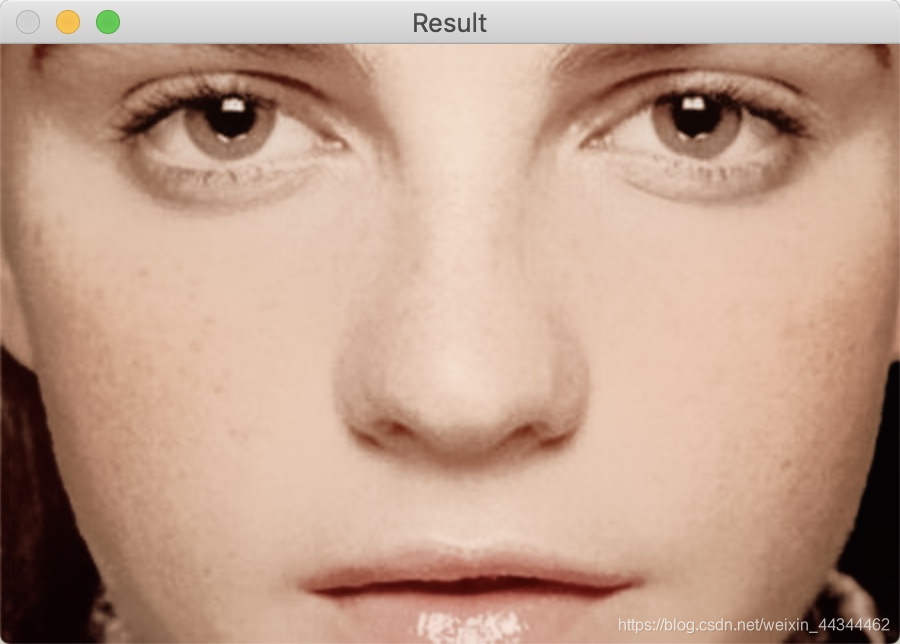
高斯双边滤波结果
与高斯滤波的区别
两者的区别在于,高斯滤波在滤波时会将图像中各个颜色区域的边缘同区域本身一起模糊掉,而高斯双边滤波则是对各个区域的交界边缘有所保留。
-
对于高斯滤波来说有两个参数
window_size,即滤波窗口越大,图像越模糊sigma越大,图像越模糊
-
而高斯双边滤波则有三个参数
window_size窗口越大,滤波程度越大sigmaColor越大,交界处即边缘越模糊sigmaSpace越大,即颜色平均的地方越模糊
Show me the code
#include <iostream>
#include <string>
#include <opencv2/imgproc/imgproc.hpp>
#include <opencv2/highgui.hpp>

using namespace std;

int main() {
    // 图像路径
    const string fileName = "xxx.jpg";

    // 读取图像
    cv::Mat origin = cv::imread(fileName);

    // 创建结果图像变量
    cv::Mat result;

    // 设置高斯双边滤波参数
    const int d = 10;
    const float sigmaColor = 40;
    const float sigmaSpace = 40;

    // 高斯双边滤波
    cv::bilateralFilter(origin,
                        result,
                        d,
                        sigmaColor,
                        sigmaSpace);

    // 对比效果
    cv::imshow("Origin Image", origin);
    cv::imshow("Result", result);

    cv::waitKey(0);
}