{
目录
Demo
百度云链接
}
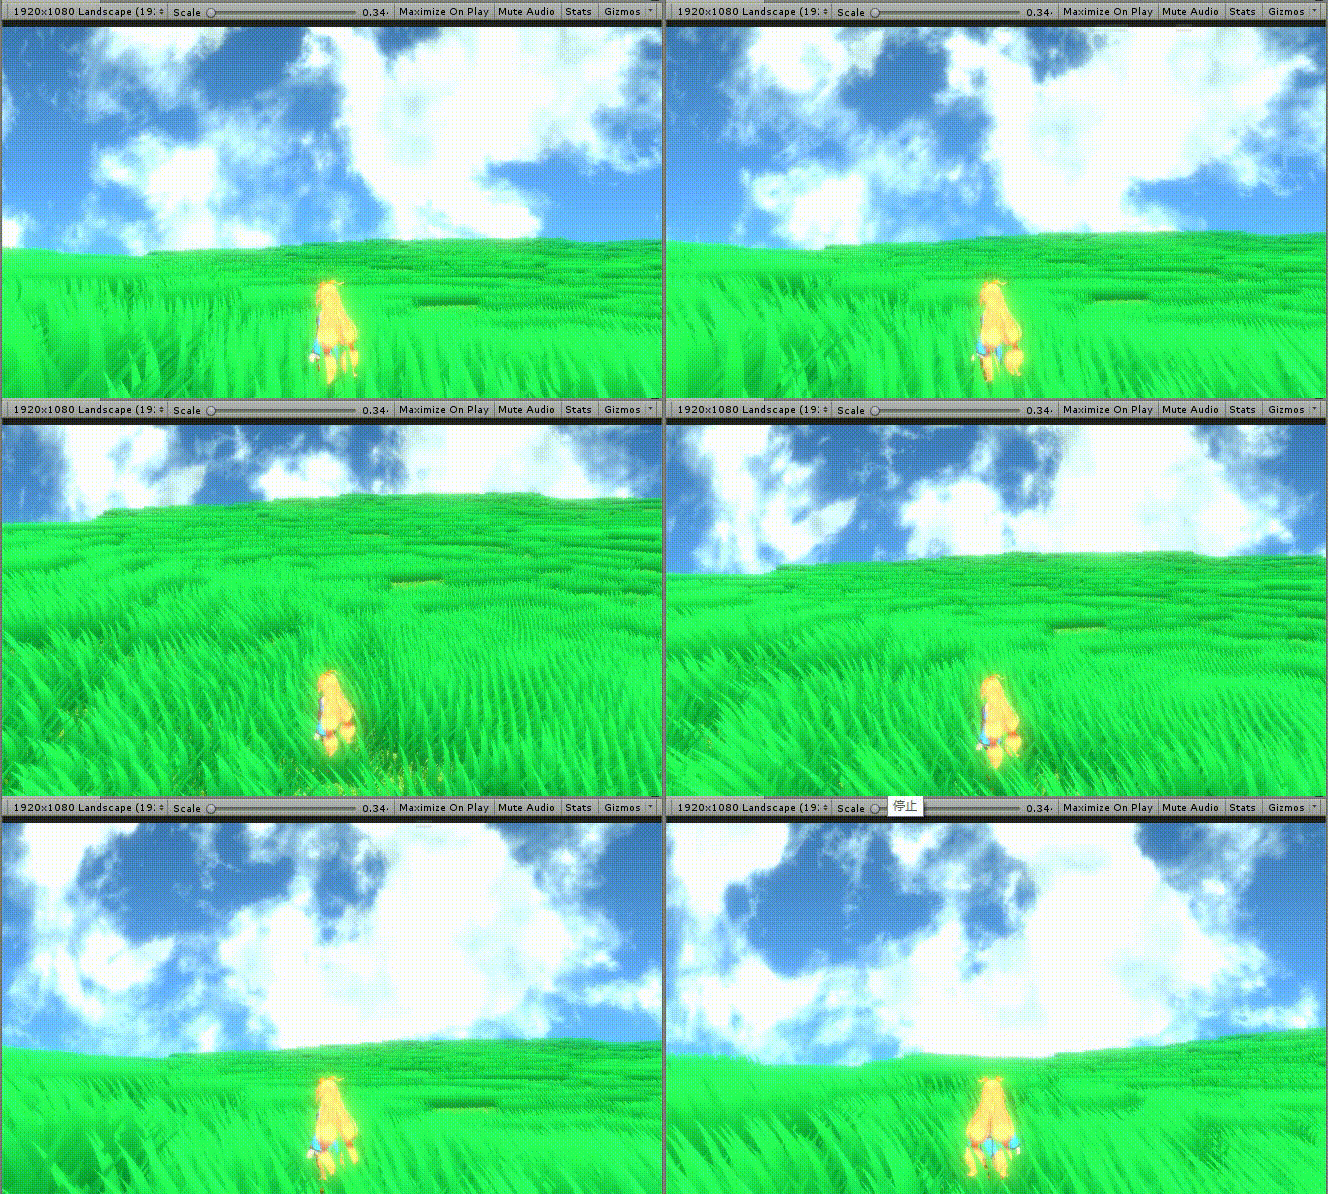
效果如下:

我最开始的想法是,先提前做两张分形噪声(每张都叠了8次柏林噪声)纹理,然后通过_Time.x控制采样,根据采样结果混合颜色插值,然后效果一般,我的颜色配置的不好,感性计算也不是很到位,然后在shadertoy上看到了
https://www.shadertoy.com/view/4tdSWr
第一反应是amazing,然后再看看自己苟的效果真是惨不忍睹。。。
关于原理,当然他也用了噪声,不过是单形噪声(Simplex噪声),是柏林噪声的改进版,计算复杂度低,越高维度优势越明显,天空的颜色是一个过渡色,然后云的颜色和云彩边缘,云的形状都是用单形噪声得来的,仔细想想套路一样,然后效果差距巨大
shadertoy上都是用GLSL写的,和unity的shaderlab有些区别,我参考了https://www.jianshu.com/p/0dd606730177
按照他的套路改了一下,先预定义一些函数
	#define vec2 float2
    #define vec3 float3
    #define vec4 float4
    #define mat2 float2x2
    #define mat3 float3x3
    #define mat4 float4x4
    #define iGlobalTime _Time.y
    #define mod fmod
    #define mix lerp
    #define fract frac
    #define texture2D tex2D
    #define iResolution _ScreenParams
    #define gl_FragCoord ((_iParam.scrPos.xy/_iParam.scrPos.w) * _ScreenParams.xy)
这些不是全部,根据情况增减
,把矩阵*法改为mul
比如
vec2 n;
mat2 m;
n*=m;
//改为
n = mul(m , n);
还有
const float speed = 0.03;
const float clouddark = 0.5;
const float cloudlight = 0.3;
//这些都要改为
#define speed  0.03
#define clouddark  0.5
#define cloudlight  0.3
其实转换还是比较容易的,不用从头到尾翻译一遍。
我转换完的代码如下:
Shader "Shadertoy/sky1" {
    Properties{
        _MainTex("_MainTex",2D)="white"{}
    }
    CGINCLUDE
    #include "UnityCG.cginc"
    #pragma target 3.0
    #define vec2 float2
    #define vec3 float3
    #define vec4 float4
    #define mat2 float2x2
    #define mat3 float3x3
    #define mat4 float4x4
    #define iGlobalTime _Time.y
    #define mod fmod
    #define mix lerp
    #define fract frac
    #define texture2D tex2D
    #define iResolution _ScreenParams
    #define gl_FragCoord ((_iParam.scrPos.xy/_iParam.scrPos.w) * _ScreenParams.xy)
	#define iTime _Time.y
    #define PI2 6.28318530718
    #define pi 3.14159265358979
    #define halfpi (pi * 0.5)
    #define oneoverpi (1.0 / pi)
	#define cloudscale  1.1
	#define speed  0.03
	#define clouddark  0.5
	#define cloudlight  0.3
	#define cloudcover 0.2
	#define cloudalpha 8.0
	#define skytint  0.5
	#define skycolour1  float3(0.2, 0.4, 0.6)
	#define skycolour2  float3(0.4, 0.7, 1.0)
	#define m  float2x2( 1.6,  1.2, -1.2,  1.6 )
	//_time.x
	sampler2D _MainTex;
    struct v2f {
        float4 pos : SV_POSITION;
        float4 scrPos : TEXCOORD0;
		float4 uv:TEXCOORD1;
    };
    v2f vert(appdata_base v) {
        v2f o;
        o.pos = UnityObjectToClipPos (v.vertex);
        o.scrPos = ComputeScreenPos(o.pos);
		o.uv.xy=v.texcoord.xy;
        return o;
    }
    vec4 main(vec2 fragCoord);
    fixed4 frag(v2f _iParam) : COLOR0 {
        vec2 fragCoord =gl_FragCoord;//_iParam.uv.xy*_ScreenParams.xy;//
        return main(fragCoord);
    }
vec2 hash( vec2 p ) {
	p = vec2(dot(p,vec2(127.1,311.7)), dot(p,vec2(269.5,183.3)));
	return -1.0 + 2.0*fract(sin(p)*43758.5453123);
}
float noise( in vec2 p ) {
     float K1 = 0.366025404; // (sqrt(3)-1)/2;
     float K2 = 0.211324865; // (3-sqrt(3))/6;
	vec2 i = floor(p + (p.x+p.y)*K1);
    vec2 a = p - i + (i.x+i.y)*K2;
    vec2 o = (a.x>a.y) ? vec2(1.0,0.0) : vec2(0.0,1.0); //vec2 of = 0.5 + 0.5*vec2(sign(a.x-a.y), sign(a.y-a.x));
    vec2 b = a - o + K2;
	vec2 c = a - 1.0 + 2.0*K2;
    vec3 h = max(0.5-vec3(dot(a,a), dot(b,b), dot(c,c) ), 0.0 );
	vec3 n = h*h*h*h*vec3( dot(a,hash(i+0.0)), dot(b,hash(i+o)), dot(c,hash(i+1.0)));
    return dot(n, vec3(70.0,70,70));	//
}
float fbm(vec2 n) {
	float total = 0.0, amplitude = 0.1;
	for (int i = 0; i < 7; i++) {
		total += noise(n) * amplitude;
		n = mul(m , n);//
		amplitude *= 0.4;
	}
	return total;
}
// -----------------------------------------------
	float4 main(vec2 fragCoord ) {
    vec2 p = fragCoord.xy / iResolution.xy;
	vec2 uv = p*vec2(iResolution.x/iResolution.y,1.0);
    float time = iTime * speed;
    float q = fbm(uv * cloudscale * 0.5);
    //ridged noise shape
	float r = 0.0;
	uv *= cloudscale;
    uv -= q - time;
    float weight = 0.8;
    for (int i=0; i<8; i++){
		r += abs(weight*noise( uv ));
        uv = mul(m,uv) + time;//
		weight *= 0.7;
    }
    //noise shape
	float f = 0.0;
    uv = p*vec2(iResolution.x/iResolution.y,1.0);
	uv *= cloudscale;
    uv -= q - time;
    weight = 0.7;
    for (int j=0; j<8; j++){
		f += weight*noise( uv );
        uv = mul(m,uv) + time;//
		weight *= 0.6;
    }
    f *= r + f;
    //noise colour
    float c = 0.0;
    time = iTime * speed * 2.0;
    uv = p*vec2(iResolution.x/iResolution.y,1.0);
	uv *= cloudscale*2.0;
    uv -= q - time;
    weight = 0.4;
    for (int k=0; k<7; k++){
		c += weight*noise( uv );
        uv = mul(m,uv) + time;
		weight *= 0.6;
    }
    //noise ridge colour
    float c1 = 0.0;
    time = iTime * speed * 3.0;
    uv = p*vec2(iResolution.x/iResolution.y,1.0);
	uv *= cloudscale*3.0;
    uv -= q - time;
    weight = 0.4;
    for (int l=0; l<7; l++){
		c1 += abs(weight*noise( uv ));
        uv = mul(m,uv) + time;
		weight *= 0.6;
    }
    c += c1;
    vec3 skycolour = mix(skycolour2, skycolour1, p.y);
    vec3 cloudcolour = vec3(1.1, 1.1, 0.9) * clamp((clouddark + cloudlight*c), 0.0, 1.0);
    f = cloudcover + cloudalpha*f*r;
    vec3 result = mix(skycolour, clamp(skytint * skycolour + cloudcolour, 0.0, 1.0), clamp(f + c, 0.0, 1.0));
	return vec4( result, 1.0 );
}
    ENDCG
    SubShader {
        Pass {
            CGPROGRAM
            #pragma vertex vert
            #pragma fragment frag
            #pragma fragmentoption ARB_precision_hint_fastest
            ENDCG
        }
    }
    FallBack Off
}
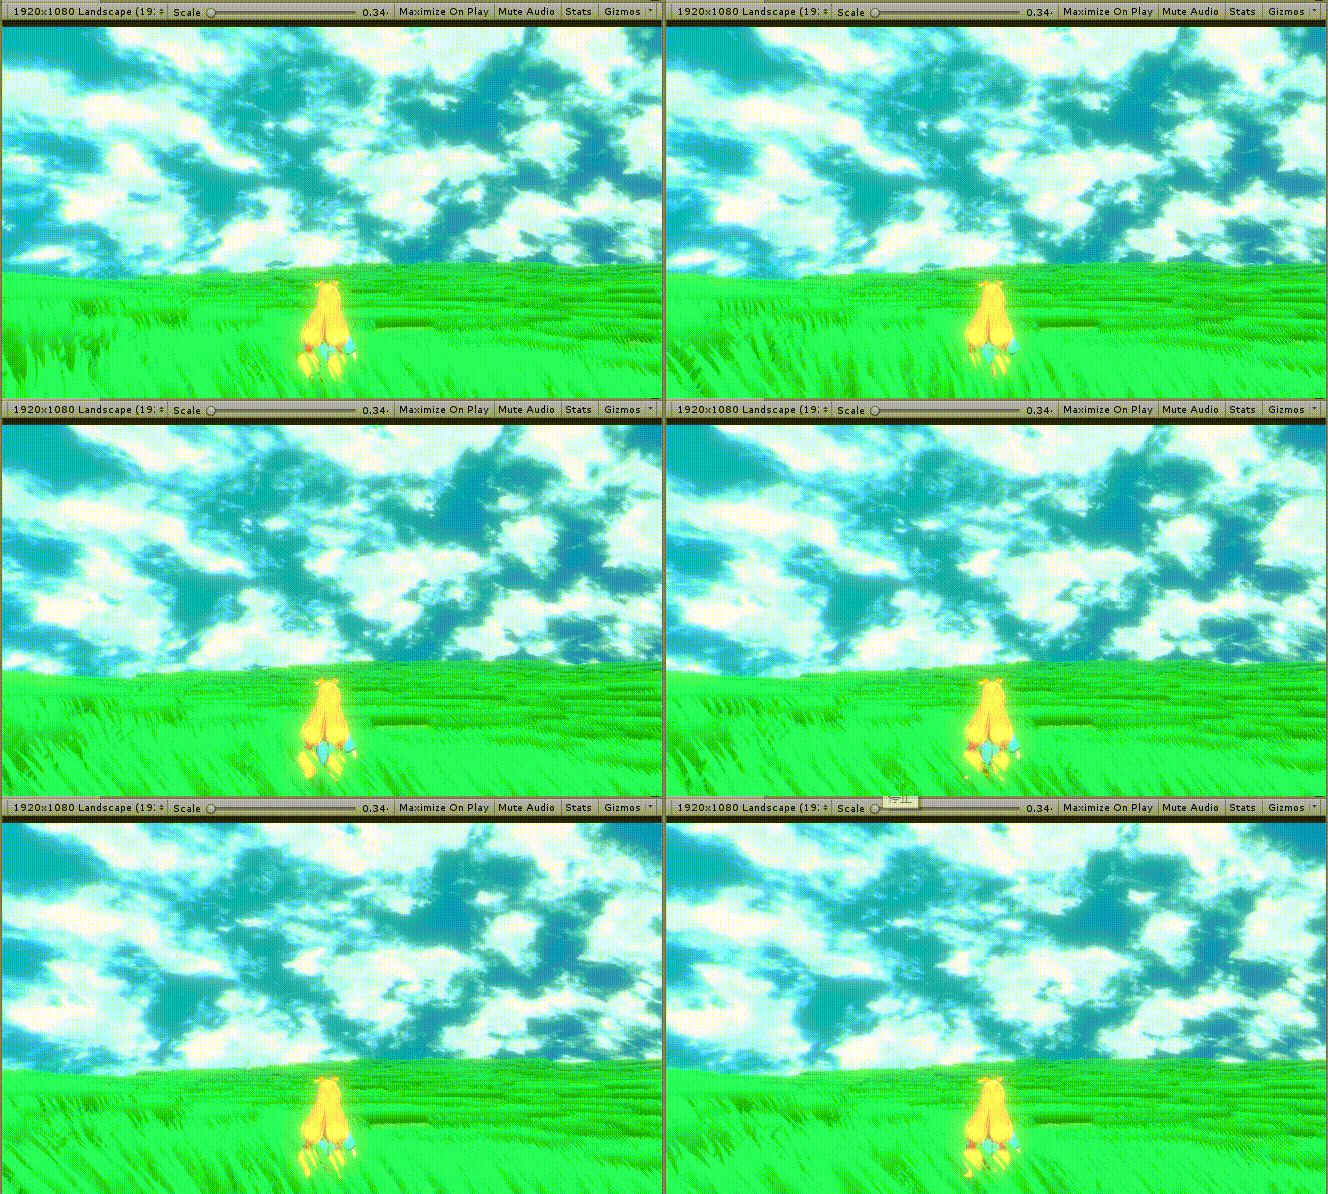
现在把shader拖到着色器中就可以直接用了吗?当然不行,它的一切相关计算都是根据屏幕位置得来的,就会出现下面的现象

修改的方法很简单,我们让它根据自身的uv坐标进行计算就可以了
关键修改如下:
vec2 fragCoord =_iParam.uv.xy*_ScreenParams.xy;
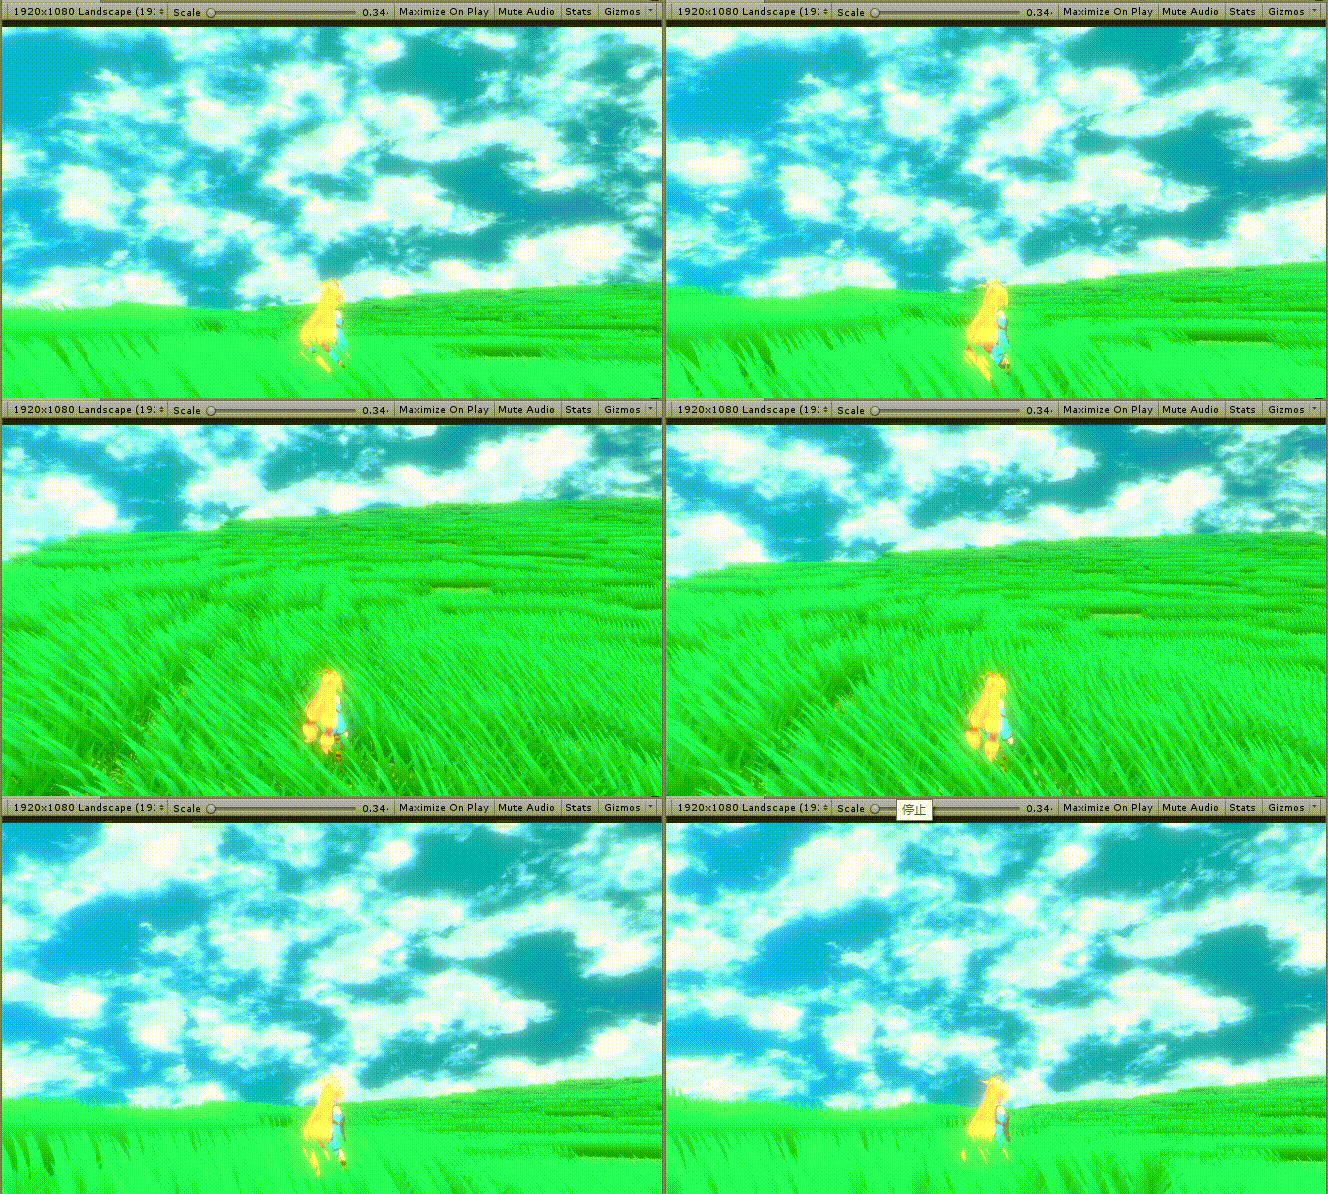
现在:

Ok,下一次写多种体积光shader并添加一些场景物品,不过得等我先考完3个科目,交完结课论文之后了。。。