wangEditor3网址:https://www.kancloud.cn/wangfupeng/wangeditor3/332599
参考博客:https://blog.csdn.net/malimingwq/article/details/79407261
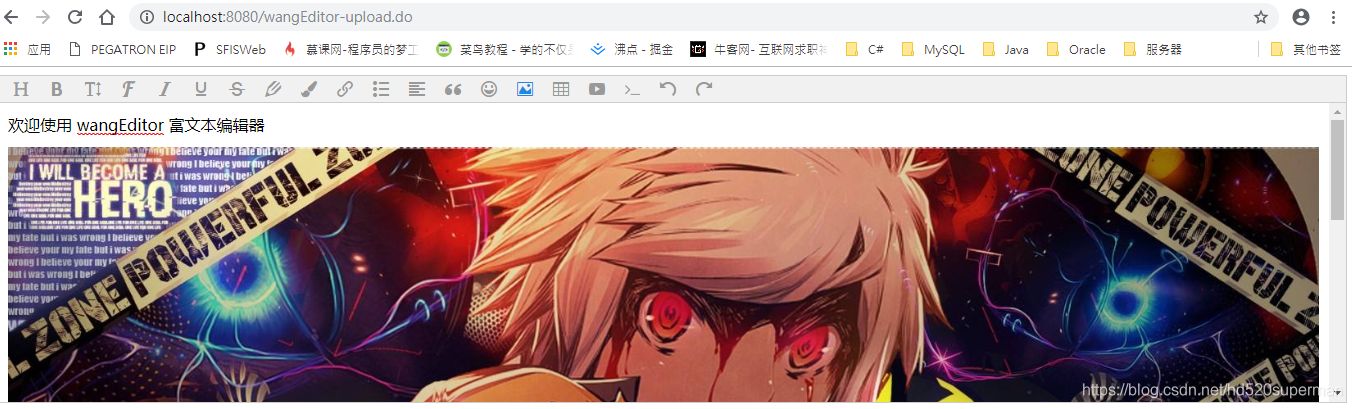
1. 最后的实现效果:
F12看下源码:
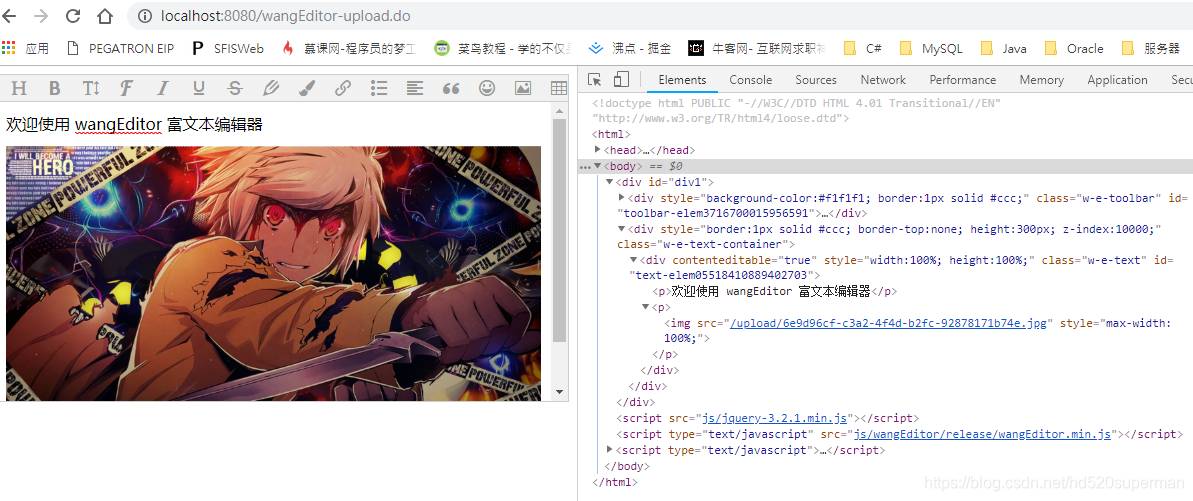
注意到wangEditor编辑器中存储的是图片路径。
2. 问题分析
因项目进展中需要使用富文本编辑器写内容,考虑到wangEditor插件开源,所具有的功能能够满足需求。
原先采用的方式是使用 base64 保存图片,功能测试上初步看是OK的,但是图片或者截图过多的时候,发送POST请求给后端controller层,接收到的参数都是null(这个纠结了好长时间,调整了tomcat配置也不行)。这个时候就开始研究这个问题了,发现这样存储性能极差,所以这种实现方式PASS。
wangEditor3网址:https://www.kancloud.cn/wangfupeng/wangeditor3/335781

选择如下这种方式实现,截图来源同上wangEditor3网址。

3.编码实现
项目基于SSM框架构建,前端采用bootstrap,下面是demo。
【前端】
wangEditor-upload.jsp
<%@ page language="java" contentType="text/html; charset=UTF-8"
    pageEncoding="UTF-8"%>
<!DOCTYPE html PUBLIC "-//W3C//DTD HTML 4.01 Transitional//EN" "http://www.w3.org/TR/html4/loose.dtd">
<html>
<head>
<meta http-equiv="Content-Type" content="text/html; charset=UTF-8">
<title>Insert title here</title>
</head>
<body>
	<div id="div1">
		<p>欢迎使用 wangEditor 富文本编辑器</p>
	</div>
	<script src="js/jquery-3.2.1.min.js"></script>
	<script type="text/javascript" src="js/wangEditor/release/wangEditor.min.js"></script>
	<script type="text/javascript">
		var E = window.wangEditor
		var editor = new E('#div1')

		// 配置服务器端地址
		editor.customConfig.uploadImgServer = 'uploadImg'
		editor.customConfig.uploadFileName = 'myFileName'
		/* editor.customConfig.debug = location.href.indexOf('wangeditor_debug_mode=1') > 0 */

		// 进行下文提到的其他配置

		editor.customConfig.uploadImgTimeout = 30000   //默认10秒

		editor.customConfig.uploadImgHooks = {
		    before: function (xhr, editor, files) {
		        // 图片上传之前触发
		        // xhr 是 XMLHttpRequst 对象,editor 是编辑器对象,files 是选择的图片文件

		        // 如果返回的结果是 {prevent: true, msg: 'xxxx'} 则表示用户放弃上传
		        // return {
		        //     prevent: true,
		        //     msg: '放弃上传'
		        // }
		    },
		    success: function (xhr, editor, result) {
		        // 图片上传并返回结果,图片插入成功之后触发
		        // xhr 是 XMLHttpRequst 对象,editor 是编辑器对象,result 是服务器端返回的结果

		        /* alert("success:" + result); */
		       /*  alert(eval('(' + result + ')')); */
		    },
		    fail: function (xhr, editor, result) {
		        // 图片上传并返回结果,但图片插入错误时触发
		        // xhr 是 XMLHttpRequst 对象,editor 是编辑器对象,result 是服务器端返回的结果
		    	alert("fail:" + result);
		    },
		    error: function (xhr, editor) {
		        // 图片上传出错时触发
		        // xhr 是 XMLHttpRequst 对象,editor 是编辑器对象
		    },
		    timeout: function (xhr, editor) {
		        // 图片上传超时时触发
		        // xhr 是 XMLHttpRequst 对象,editor 是编辑器对象
		    },

		    // 如果服务器端返回的不是 {errno:0, data: [...]} 这种格式,可使用该配置
		    // (但是,服务器端返回的必须是一个 JSON 格式字符串!!!否则会报错)
		    customInsert: function (insertImg, result, editor) {
		        // 图片上传并返回结果,自定义插入图片的事件(而不是编辑器自动插入图片!!!)
		        // insertImg 是插入图片的函数,editor 是编辑器对象,result 是服务器端返回的结果

		        // 举例:假如上传图片成功后,服务器端返回的是 {url:'....'} 这种格式,即可这样插入图片:
		        var url = result.url
		        alert("customInsert:" + url)
		        insertImg(url)

		        // result 必须是一个 JSON 格式字符串!!!否则报错

		    }
		}

		editor.create()
	</script>
</body>
</html>
【后端】
UtilController.java
package controller;

import java.io.File;
import java.io.IOException;
import java.util.HashMap;
import java.util.Map;
import java.util.UUID;
import javax.servlet.http.HttpServletRequest;
import javax.servlet.http.HttpSession;
import org.springframework.stereotype.Controller;
import org.springframework.web.bind.annotation.RequestMapping;
import org.springframework.web.bind.annotation.RequestMethod;
import org.springframework.web.bind.annotation.RequestParam;
import org.springframework.web.bind.annotation.ResponseBody;
import org.springframework.web.multipart.MultipartFile;
/**
 *@description
 *@author    Darren_Hu
 *@date  	2019年1月16日---上午11:09:27
 */
@Controller
public class UtilController {

	//上传图片并返回图片路径(json格式),接收的图片名和wangEditor定义的图片名保持一致MultipartFile
	@RequestMapping(value = "uploadImg",method = RequestMethod.POST)
	public @ResponseBody Object uploadImg(@RequestParam("myFileName")MultipartFile myFileName,HttpSession session,HttpServletRequest request) throws IllegalStateException, IOException{
		String realName = "";
		String realPath = "";
		if (myFileName != null) {
			String fileName = myFileName.getOriginalFilename();
			String fileNameExtension = fileName.substring(fileName.indexOf("."), fileName.length());
			// 生成实际存储的真实文件名

			realName = UUID.randomUUID().toString() + fileNameExtension;

			// "/upload"是你自己定义的上传目录

//			String realPath = session.getServletContext().getRealPath("/upload");
			realPath = session.getServletContext().getRealPath("/upload");
//			realPath = "E:\\work\\Java\\DMS\\WebContent\\upload";
			File uploadFile = new File(realPath, realName);
			myFileName.transferTo(uploadFile);
		}
//		String [] str = {request.getContextPath() + "/upload/" + realName};
//		String [] strPath = {realPath + "\\" + realName};
//		List<String> stringB = Arrays.asList(strPath);
//		List<Map<String, Object>> resultMap = new ArrayList<Map<String,Object>>();
		Map<String, Object> resultMap = new HashMap<String, Object>();
//		String resultStr =  ResultUtil.success(strPath).toString();
		resultMap.put("url", request.getContextPath() + "/upload/" + realName); //【注意】这个配置本地路径前端无法加载
		System.out.println(resultMap);
		return resultMap;
	}

}
springmvc.xml配置
<?xml version="1.0" encoding="UTF-8"?>
<beans xmlns="http://www.springframework.org/schema/beans"
	xmlns:xsi="http://www.w3.org/2001/XMLSchema-instance" xmlns:p="http://www.springframework.org/schema/p"
	xmlns:context="http://www.springframework.org/schema/context"
	xmlns:mvc="http://www.springframework.org/schema/mvc"
	xsi:schemaLocation="http://www.springframework.org/schema/beans http://www.springframework.org/schema/beans/spring-beans-4.0.xsd
        http://www.springframework.org/schema/mvc http://www.springframework.org/schema/mvc/spring-mvc-4.0.xsd
        http://www.springframework.org/schema/context http://www.springframework.org/schema/context/spring-context-4.0.xsd">
	<!-- 配置Controller扫描 -->
	<context:component-scan base-package="controller" />

	<!-- 配置 读取properties文件 jdbc.properties -->
	<context:property-placeholder location="classpath:filePath.properties" />

	<!-- 配置注解驱动 -->
	<mvc:annotation-driven />

	<!-- 对静态资源放行  -->
	<mvc:resources location="/css/" mapping="/css/**"/>
	<mvc:resources location="/js/" mapping="/js/**"/>
	<mvc:resources location="/fonts/" mapping="/fonts/**"/>
	<mvc:resources location="/images/" mapping="/images/**"/>
	<mvc:resources location="/UIpage/" mapping="/UIpage/**"/>
	<mvc:resources location="/upload/" mapping="/upload/**"/>
	<!-- 配置视图解析器 -->
	<bean	class="org.springframework.web.servlet.view.InternalResourceViewResolver">
		<!-- 前缀 -->
		<property name="prefix" value="/UIpage/" />
		<!-- 后缀 -->
		<property name="suffix" value=".jsp" />
	</bean>

	<!-- 设置上传文件最大值   1M=1*1024*1024(B)=1048576 bytes -->
	<bean id="multipartResolver" class="org.springframework.web.multipart.commons.CommonsMultipartResolver">
	    <property name="maxUploadSize" value="10485760" />
	</bean>

</beans>
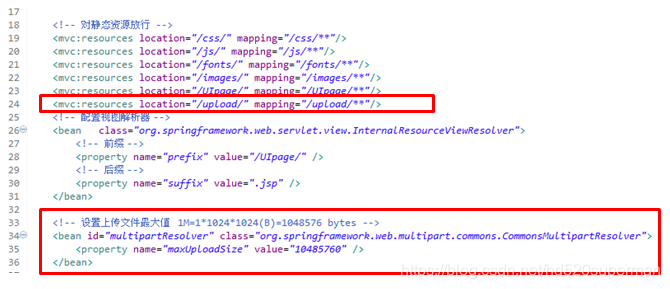
一定要注意如下标记部分:
1.资源放行(为了让wangEditor3编辑器中自动回显对应路径图片);
2.上传文件配置bean。
4.回顾下踩坑过程
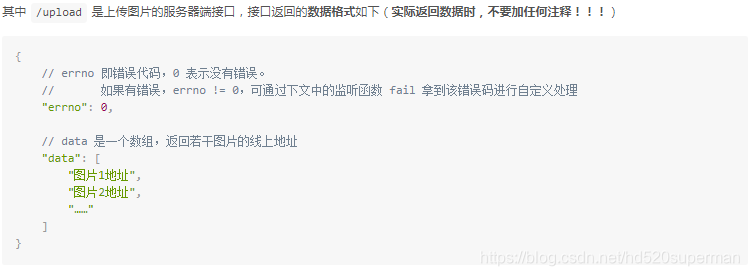
(1)一直在弄如下返回结果,但是后来发现没必要,一度认为要返回如下“json”格式数据,其实不然。
(2)如下前端的JS代码中设置不知道怎么配置,一步步尝试,终于OK。

一定要对应好controller层

(3)controller层返回格式一定不能错,与前端对应。
后端返回key:url 对应值:图片保存的路径

js代码中如下位置是用来insert图片,实现图片回显效果

(4)图片上传报500的问题,不过很快就解决。
可以看下这边总结:SpringMVC上传图片出现报错解决Expected MultipartHttpServletRequest: is a MultipartResolver configured?
地址:https://mp.csdn.net/mdeditor/86551680#
实现wangEditor3上传图片思路来源于如下这篇博客,虽说没有按照他的作法完全实现,但是起到了很关键的引导作用,感谢。
参考博客地址:https://blog.csdn.net/malimingwq/article/details/79407261