参考多方资料,自己搭建TensorFlow的环境,分享下经验!
一 安装Anaconda
什么是Anaconda?简单地说,Anaconda就是一个集成的Python环境,其中第三方库是一大亮点
安装步骤
1.前往Anaconda官网下载镜像,再安装,建议下载清华大学镜像,访问国外服务器下载速度太慢。
二 安装TensorFlow
安装步骤
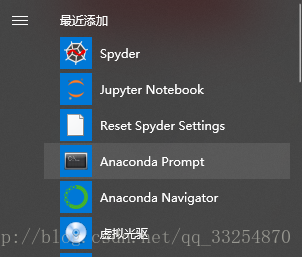
1.打开Anaconda Promt。
2.下载镜像,安装过程如下。
在Anaconda Promt输入以下语句
conda config --add channels https://mirrors.tuna.tsinghua.edu.cn/anaconda/pkgs/main/
conda config --add channels https://mirrors.tuna.tsinghua.edu.cn/anaconda/cloud/bioconda/
conda config --set show_channel_urls yes
conda create -n tensorflow python=3.6
配置内容按照下面我所填的,否则会出现https 不可达的现象,具体文件路径在C:\Users\Administrator的 .condarc里修改,记得去掉default

查看环境是否生产tensorflow节点;conda info --envs

激活tensorflow环境,并查看Python版本(界面发生了改变,说明进去了)

三、TensorFlow安装
1.按照官网的指示:
安装CPU版本输入
pip install --upgrade --ignore-installed tensorflow

编写第一个 TF代码测试
import tensorflow as tf
import os
os.environ['TF_CPP_MIN_LOG_LEVEL'] = '2'
hello = tf.constant('Hello,TensorFlow!')
sess = tf.Session()
print(sess.run(hello))

不写的话,会有告警提示,无关紧要(可以百度下)
import os
os.environ['TF_CPP_MIN_LOG_LEVEL'] = '2'
------------
2018-12-30 19:49:34.168361: I tensorflow/core/platform/cpu_feature_guard.cc:141] Your CPU supports instructions that this TensorFlow binary was not compiled to use: AVX2

退出当前环境:deactivate

下一部分会讲解如何配置pycharm使得支持tensorflow,先上图
