Higrow使用指南
作者:coolwaterld
安装arduino (windows)
https://downloads.arduino.cc/arduino-1.8.7-windows.exe
安装ESP32扩展
https://randomnerdtutorials.com/installing-the-esp32-board-in-arduino-ide-windows-instructions/
1) Open the preferences window from the Arduino IDE. Go to File> Preferences

2) Enter https://dl.espressif.com/dl/package_esp32_index.jsoninto the “Additional Board Manager URLs” field as shown in the figure below. Then, click the “OK” button:

Note: if you already have the ESP8266 boards URL, you can separate the URLs with a comma as follows:
https://dl.espressif.com/dl/package_esp32_index.json,
http://arduino.esp8266.com/stable/package_esp8266com_index.json
3) Open boards manager. Go to Tools > Board > Boards Manager…

4) Search for ESP32 and press install button for the “ESP32 by Espressif Systems“:

5) That’s it. It should be installed after a few seconds.
(国内download github内容可能会失败,隔一段时间再试试即可)
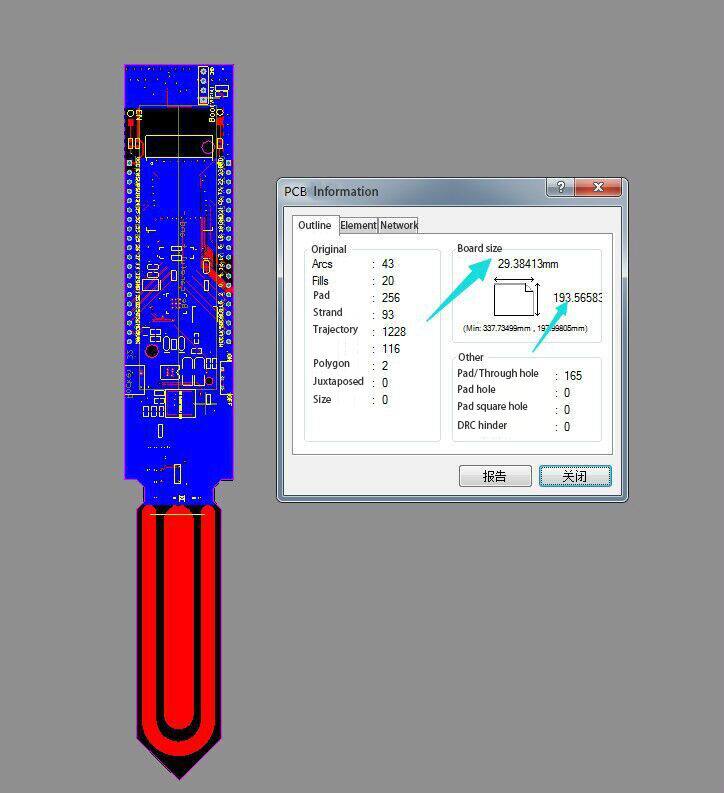
Higrow硬件介绍
用于ESP32 Rev1 WiFi&蓝牙电池和DHT11开发板的土壤温度检测模块和湿度传感器模块


1)介绍
https://hackaday.io/project/25253-higrow-plants-monitoring-sensor
https://github.com/lucafabbri/HiGrow-Arduino-Esp(原版)
https://github.com/LilyGO/higrowopen(改良版)
2)购买
https://item.taobao.com/item.htm?spm=a1z09.2.0.0.24252e8dxhxZus&id=577384707552&_u=6lou1pbc76(土壤传感器不需要飞线)
连接设备到PC
用micro USB线连接设备到PC,micro USB既做供电也做通信(注意higrow的开关需要拨到ON上),在windows设备管理器上COM端口显示出USB to UART Brindge

下载Higrow程序
https://github.com/LilyGO/higrowopen(改良版)
修改程序:
添加你的wifi的名称和密码
const char* ssid = "名称";
const char* password = "密码";
下载DHT的库文件


搜索DHT,选择DHT sensor Library
注意版本不要选择v1.3.0,可以选1.2.3
按键Install
关于arduino的硬件参数配置

关于烧写
Connecting…..时按住higrow 的boot键才能正确烧写

烧写完成的标志:

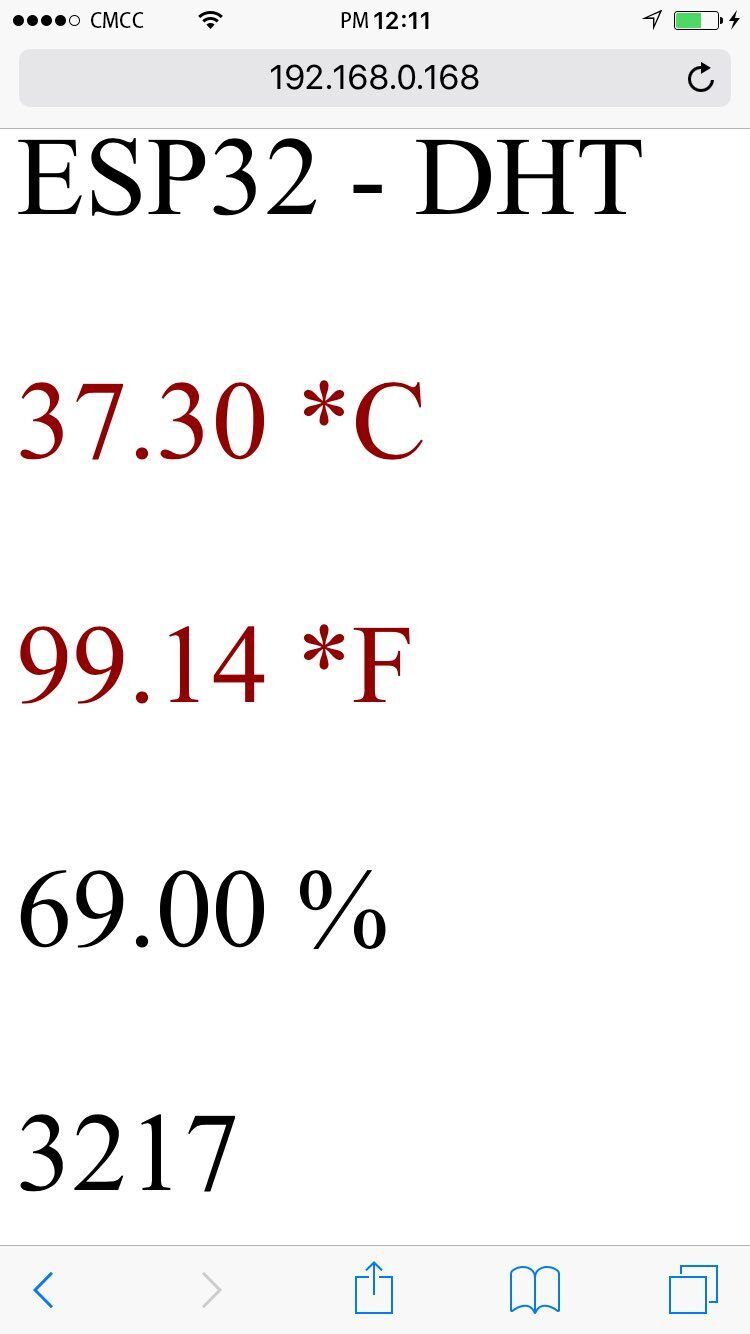
串口监测程序

串口波特率115200
获得IP地址192.168.3.41,在浏览器中黏贴改地址

