关于ESP32开发板卡
ESP32是乐鑫推出的ESP8266的升级版,拥有更加强的性能,非常适合物联网方面的应用开发,笔者使用的是ESP32的M5Stick-c开发板,精简的设计便于开发可穿戴的物联网设备。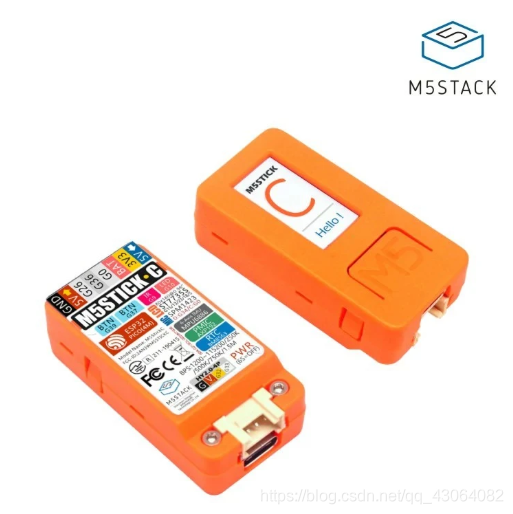
ESP32 经典蓝牙
我们采用的方案是ESP32作蓝牙串口,使用经典蓝牙可与市面上许多经典蓝牙模块如,HC05等,互联,进行相应的配套设备的开发,完成设备之间信息的无线传输,具体HC05与ESP32的连接详见
对于ESP32经典蓝牙的使用,可以选择通过蓝牙串口的方式进行数据透传GitHub ESP32相关例程 此处ESP32作为从机,(也可作主机)相关例程如下,可完成蓝牙串口的使用:
//This example code is in the Public Domain (or CC0 licensed, at your option.)
//By Evandro Copercini - 2018
//
//This example creates a bridge between Serial and Classical Bluetooth (SPP)
//and also demonstrate that SerialBT have the same functionalities of a normal Serial

#include "BluetoothSerial.h"

#if !defined(CONFIG_BT_ENABLED) || !defined(CONFIG_BLUEDROID_ENABLED)
#error Bluetooth is not enabled! Please run `make menuconfig` to and enable it
#endif

BluetoothSerial SerialBT;

void setup() {
  Serial.begin(115200);
  SerialBT.begin("ESP32test"); //Bluetooth device name
  Serial.println("The device started, now you can pair it with bluetooth!");
}

void loop() {
  if (Serial.available()) {
    SerialBT.write(Serial.read());
  }
  if (SerialBT.available()) {
    Serial.write(SerialBT.read());
  }
  delay(20);
}
之后便可通过手机安装蓝牙串口APP与ESP32互联测试。
关于ESP32同时驱动蓝牙和WIFI造成项目过大的解决办法
当ESP32同时驱动wifi和蓝牙时,arduino编译会出现如下错误:

因为esp32的默认程序存储区域大小为1M,超过这个大小就会报错,关于这个问题网络上主要的解决方式是,修改分区表如这篇博客,但个人认为操作对于小白来讲不是很友好,而针对arduino编译器有另外更为方便的解决方式,原博客,讲工具选项卡下标蓝的选项改为:No OTA(Large APP)就可以了

修改后的程序存储区域扩展为2M,基本可以应对大部分功能的开发:


