采用vscode的开发环境
先通过VUE-CLI来安装搭建环境
1.vue init webpack ...
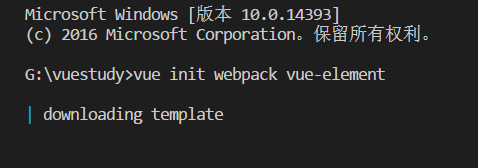
2.一路enter下去

3.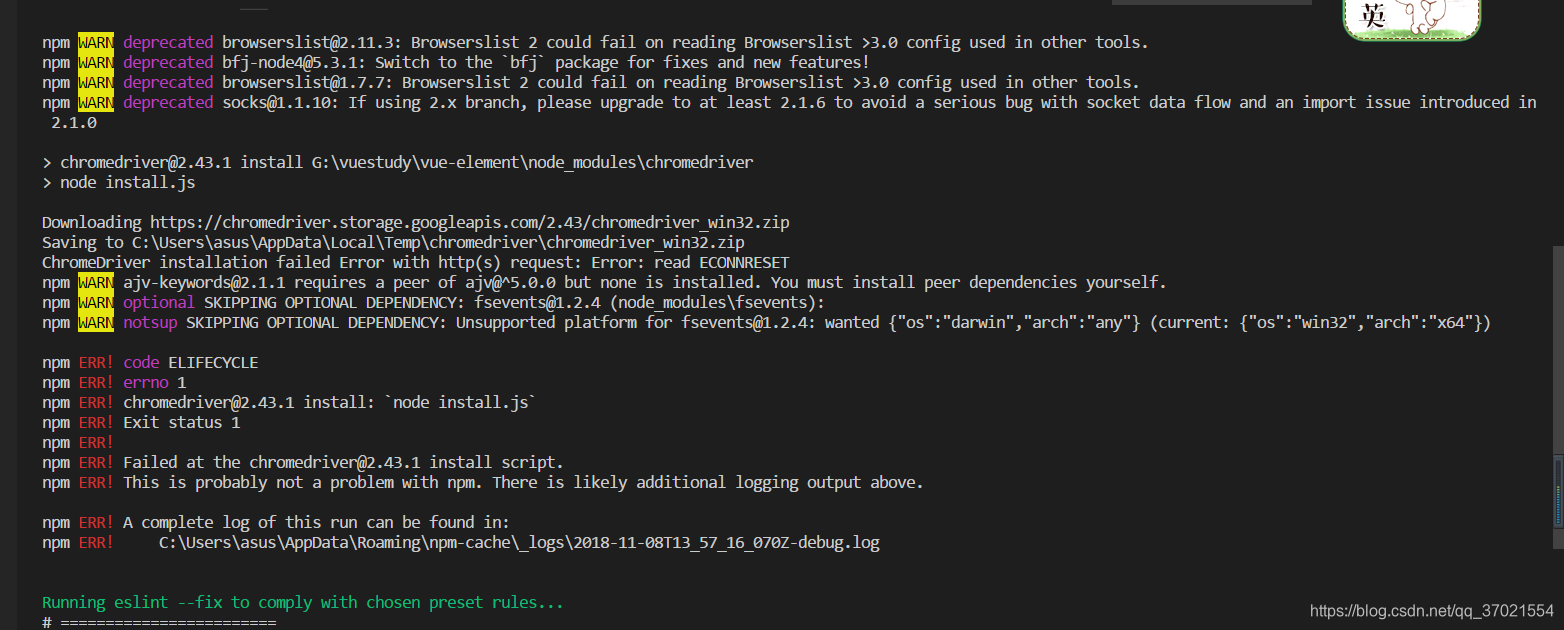

按照他给的提示,to get started
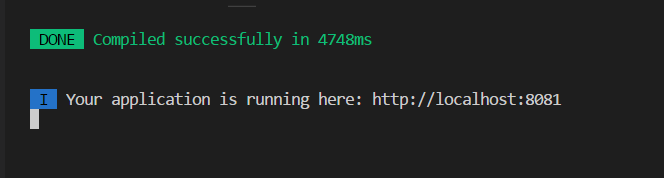
vue-cli搭建环境成功


3.安装element-ui

4.在main.js引入
// The Vue build version to load with the `import` command
// (runtime-only or standalone) has been set in webpack.base.conf with an alias.
import Vue from 'vue'
import App from './App'
import router from './router'
import ElementUI from 'element-ui'
import 'element-ui/lib/theme-chalk/index.css'

Vue.use(ElementUI, { size: 'small', zIndex: 3000 })

Vue.config.productionTip = false

/* eslint-disable no-new */
new Vue({
  el: '#app',
  router,
  components: { App },
  template: '<App/>'
})
其中的size,zIndex为设置默认的字体大小,和弹窗大小。
在HelloWorld.vue 也就是一开始自动生成的文件里试试看组件的引用,看看是否已经成功引入element-ui
<template>
  <div class="hello">
    <h1>{{ msg }}</h1>
    <el-button>111</el-button>
  </div>
</template>

<script>
export default {
  name: 'HelloWorld',
  data () {
    return {
      msg: 'Welcome to Your Vue.js App'
    }
  }
}
</script>

<!-- Add "scoped" attribute to limit CSS to this component only -->
<style scoped>
h1, h2 {
  font-weight: normal;
}
ul {
  list-style-type: none;
  padding: 0;
}
li {
  display: inline-block;
  margin: 0 10px;
}
a {
  color: #42b983;
}
</style>
5.渲染效果

已经成功渲染出111的button,我们前面搭建环境以及引入element-ui已经成功了。