轮播图 swiper 组件
前期需要的搭建
- 将需要轮播的图片保存到
/images/post/目录下,没有就创建它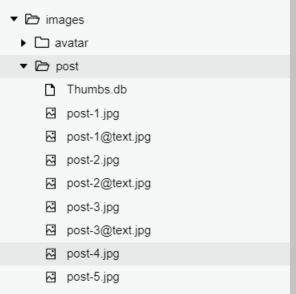
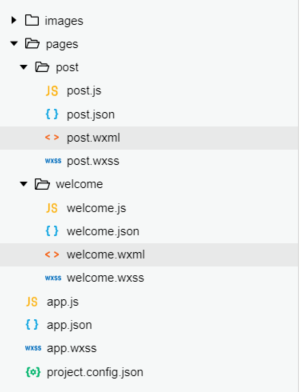
- 在pages目录下新建一个名为post的目录,然后在post目录下新建页面所需要的4个文件post.js, post.json, post.wxml, post.wxss 每个文件所需要的代码在我前序文章中有提到 从零开始新建一个项目
- 在
app.json的pages数组里追加post页面路径,但需是pages数据第一个元素,位于welcome页面之前
{
  "pages":[
    "pages/post/post",
    "pages/welcome/welcome"
  ],
  "window":{
    "navigationBarBackgroundColor":"#ECC0A8"
  }
}
- 保存并运行,运行效果如下

post.wxml 文件中添加swiper组件(滑动视图容器)
<view>  <!--作为整个网页的容器-->
  <swiper>
    <swiper-item>
      <image src="../../images/post/post-1.jpg"></image>
    </swiper-item>
    <swiper-item>
      <image src="../../images/post/post-2.jpg"></image>
    </swiper-item>
    <swiper-item>
      <image src="../../images/post/post-3.jpg"></image>
    </swiper-item>
  </swiper>
</view>
swiper组件的直接子元素只可以是swiper-item,若放置其他组件,则会被自动删除,但swiper-item下是可以放置其他组件或者元素的
post.wxss 中添加swiper组件和image组件样式
swiper{         /*设置swiper组件的宽度和高度*/
  width:100%;
  height:600rpx;
}
swiper image{   /*设置image组件的样式*/
  width:100%;
  height:600rpx;
}
需要同时设置swiper组件样式和image组件样式的高度,才能达到预期的效果
保存并运行,运行效果如下:

我们来看一下,只设置其中某个样式和全不设的效果 ,鼠标移动到图片中心即看到图片标题


给swiper组件添加属性实现轮播效果
更新post.wxml中代码内容如下:
<view>  <!--作为整个网页的容器-->
  <swiper indicator-dots="ture" autoplay="true" interval="5000" circular="true">
    <swiper-item>
      <image src="../../images/post/post-1.jpg"></image>
    </swiper-item>
    <swiper-item>
      <image src="../../images/post/post-2.jpg"></image>
    </swiper-item>
    <swiper-item>
      <image src="../../images/post/post-3.jpg"></image>
    </swiper-item>
  </swiper>
</view>
swiper组件属性
indicator-dots 默认false,用来指示是否显示面板指示点,Boolean类型
autoplay 默认false ,用来决定是否自动播放,Boolean类型
interval 默认5000毫秒,用来设置swiper-item的切换时间,Number类型
circular 默认false, 循环滚动
vertical 用来指明面板指示点的排布方式是水平还是垂直,Boolean类型
Boolean值的陷阱
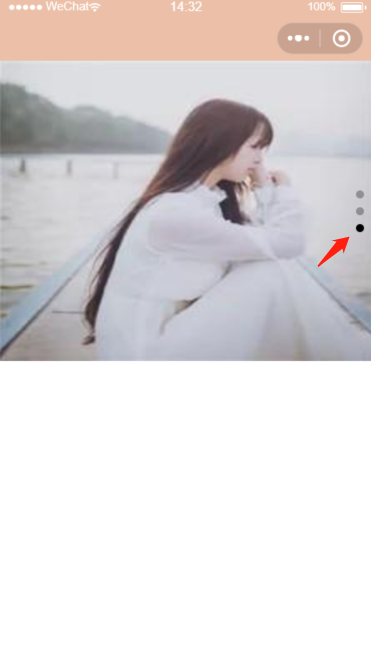
- 面板指示点水平
不加入vertical属性vertical=""vertical="{{false}}"
以上三种写法将vertical属性设置成false
运行效果如图: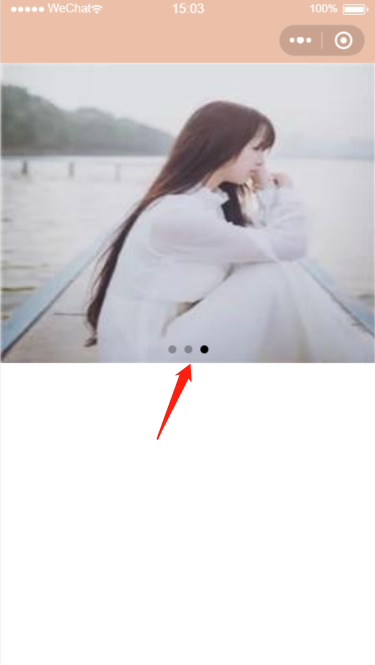
- 面板指示点垂直
vertical="true"vertical="false"vertical="aaa"vertical="bbb"
这里的false并不是并不是Boolean类型,而是一个字符串,只要不为空字符串,在javaScript里都会被认为是一个true,vertical属性被设置为true
运行效果如下