首先保证已经安装node环境(node下载地址:https://nodejs.org/zh-cn/)
1、新建目录文件,查看node环境和npm环境:
deepyk@DESKTOP-N72N3FV MINGW64 ~/Desktop/web20181113 (master)
$ npm -v
6.4.1

deepyk@DESKTOP-N72N3FV MINGW64 ~/Desktop/web20181113 (master)
$ node -v
v8.12.0
2、安装npm脚手架(参考:https://cli.vuejs.org/guide/installation.html)
yarn global add @vue/cli
也可以使用 npm install -g @vue/cli ; 个人觉得使用yarn命令安装更快。
检查是否安装成功
deepyk@DESKTOP-N72N3FV MINGW64 ~/Desktop/web20181113 (master)
$ vue --version
3.0.5
3、创建项目
vue create website
可以选择需要安装的插件,项目创建成功后,收到提示:
 $ cd website
 $ yarn serve
4、切换到项目目录,运行项目
deepyk@DESKTOP-N72N3FV MINGW64 ~/Desktop/web20181113 (master)
$ cd website/
deepyk@DESKTOP-N72N3FV MINGW64 ~/Desktop/web20181113/website (master)
$ yarn serve
yarn run v1.7.0
$ vue-cli-service serve
 INFO  Starting development server...
 98% after emitting CopyPlugin DONE  Compiled successfully in 4179ms16:44:02
  App running at:
  - Local:   http://localhost:8080/
  - Network: http://xx.xx.xx.xx:8080/

  Note that the development build is not optimized.
  To create a production build, run yarn build.
提示:
App running at:
扫描二维码关注公众号,回复:
4056969 查看本文章

- Local: http://localhost:8080/
- Network: http://xx.xx.xx.xx:8080/
5、浏览器输入:http://localhost:8080/,查看结果
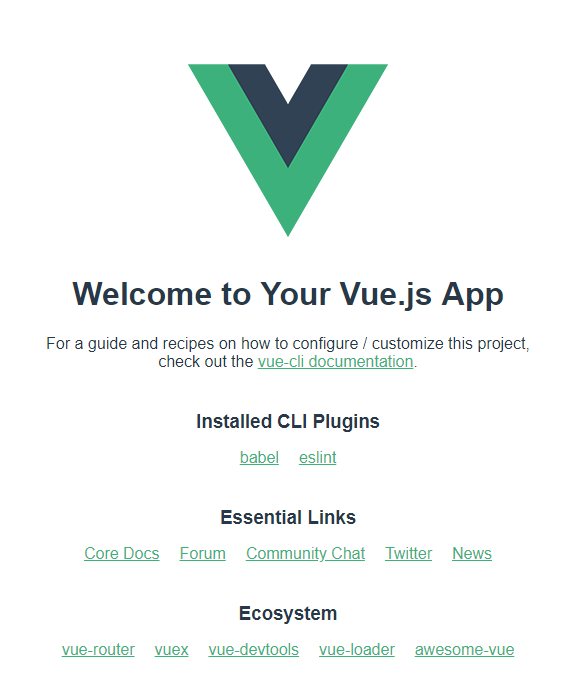
运行成功。
其他:
1、查看Vue搭建的项目目录结构

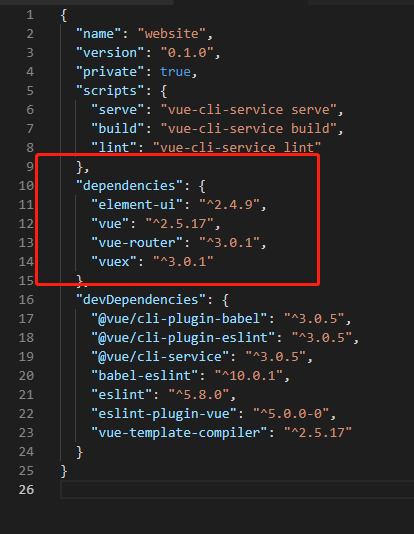
其中package.json是项目配置信息:

2、项目中,会常用到Vuex,Vue Router,Element UI等插件
deepyk@DESKTOP-N72N3FV MINGW64 ~/Desktop/web20181113/website (master)
$ yarn add vuex
deepyk@DESKTOP-N72N3FV MINGW64 ~/Desktop/web20181113/website (master)
$ yarn add vue-router
deepyk@DESKTOP-N72N3FV MINGW64 ~/Desktop/web20181113/website (master)
$ yarn add element-ui
查看package.json,已经成功安装
基本搭建已经成功。
小果在安装过程中,遇见了好多问题,还有一些报错,这是解决了报错之后,进行的基本搭建,欢迎各位一起探讨!