版权声明:本文为博主原创文章,转载时请标明出处 https://blog.csdn.net/weixin_41056807/article/details/83617739
2018-10.29
了解控制台,输出,数据类型
<!DOCTYPE html>
<html lang="en">
<head>
<meta charset="UTF-8">
<title>Title</title>
</head>
<body>
<!--输出-->
<script>
alert("hello world");//alert窗口还有confirm和prompt
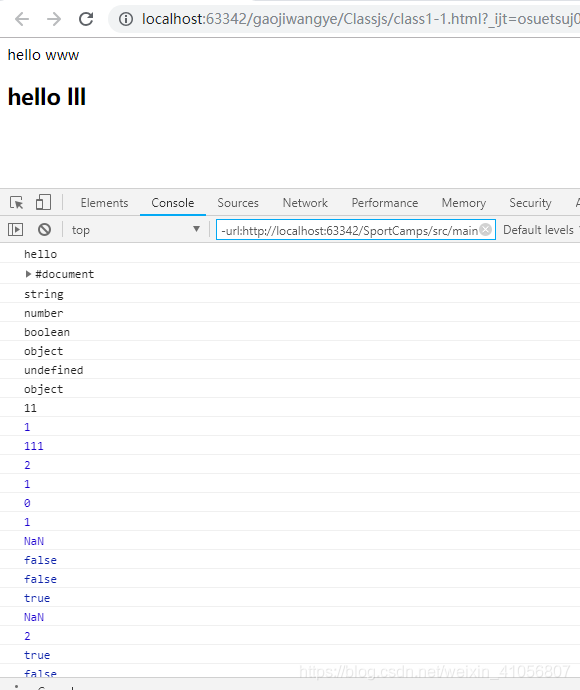
document.write("hello www");
document.write("<h2>hello lll</h2>");
console.log("hello");//控制台输出日志。控制台是测试调控的作用,与用户无关
console.dir(document);//输出对象
</script>
<!--数据类型-->
<script>
var bar="hello world~";
var foo=9.6;
var bl=true;//true=1,false=0
//输出
console.log(typeof bar);//typeof类型 //写法二 console.log(typeof (bar));
console.log(typeof foo);
console.log(typeof bl);
console.log(typeof document);
console.log(typeof wangshuwei);
console.log(typeof null);//object
console.log("1"+1);//自动类型转换。数字转字符串.11
console.log("2"-1);//字符串转数值1
console.log("11"+2-1);//111
console.log(1+true);//2
console.log(1+false);//1
console.log(1-true);//0
console.log(1-false);//1
console.log(1-"true");//NAN
console.log(isNaN(9.6));//false
console.log(isNaN(false));//false
console.log(isNaN(NaN));//true
console.log(typeof 8%3);
console.log(8%3);
console.log(8%2==false);
console.log(8%2===false);//数值相等,数据类型相等
</script>
</body>
</html>
程序设计
question:输出和7无关的数组(100内)如7,17,27,28,70,71,72这些会被筛选出来
<!DOCTYPE html>
<html lang="en">
<head>
    <meta charset="UTF-8">
    <title>Title</title>
    <!--程序结构-->
    <style>
        div{
            div{
            width: 50px;
            height: 50px;
            float: left;
            border: 1px solid #eee;
            margin: 7px;
            font-size: 20px;
            line-height: 50px;
            text-align: center;
        }
        }
    </style>
</head>
<body>
<script>
    // var sum=0;
    // for(var i=1;i<=100;i++){
    //     sum+=i;
    // }
    // console.log(sum);//5050

    //
    for (var i=1;i<=100;i++){
        if (i<=70){
            if(i%7==0||i%10==7||i/10==7){
                document.write("<div>"+"guo"+" </div>");
            }
            else
                document.write("<div>"+i+"</div>");
        }else if(i>70&&i<=80){
            document.write("<div>"+"guo"+" </div>");
        }else if(i>80&&i<=100){
            if(i%7==0||i%10==7||i/10==7){
                document.write("<div>"+"guo"+" </div>");
            }
            else
                document.write("<div>"+i+"</div>");
        }
    }
</script>
</body>
</html>

for和while循环
<!DOCTYPE html>
<html lang="en">
<head>
<meta charset="UTF-8">
<title>function</title>
</head>
<body>
<script>
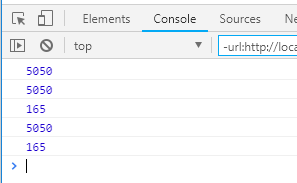
console.log(sum());
function sum() {
var tem=0;
for (var i=0;i<=100;i++){
tem+=i;
}
return tem;
}
// sum(10);
console.log(sum());
</script>
<script>
function sum1(m,n) {
var tem1=0;
for (var i=m;i<=n;i++){
tem1+=i;
}
return tem1;
}
// sum1(10,20);
console.log(sum1(10,20));
</script>
<script>
function sum2() {
var tem=0;
var num=1;
while(num<101) {
tem+=num;
num++;
}
return tem;
}
console.log(sum2());
</script>
<script>
function sum3(m,n) {
var tem1=0;
var num=10;
while(num<21) {
tem1+=num;
num++;
}
return tem1;
}
// sum1(10,20);
console.log(sum3());
</script>
</body>
</html>
2018-11.1
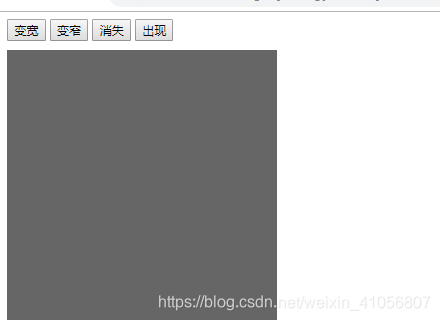
event事件
- box.style.width=“800px”;变宽
- box.style.width=“100px”;变窄
- box.style.display=“none”;消失(隐藏)
- box.style.display=“block”;出现
<!DOCTYPE html>
<html lang="en">
<head>
    <meta charset="UTF-8">
    <title>event基础</title>
    <style>
        #box{
            width: 300px;
            height: 300px;
            background-color: #666666;
            margin-top: 10px;
        }
    </style>
    <!--应用-->
</head>
<body>
<button onclick="bk()">变宽</button>
<button onclick="bz()">变窄</button>
<button onclick="hide()">消失</button>
<button onclick="appear()">出现</button>
<div id="box"></div>
<script>
    var box =document.getElementById('box');
    console.log(box);
    function bk() {
        box.style.width="800px";
    }
    function bz() {
        box.style.width="100px";
    }
    function hide() {
        box.style.display="none";
    }
    function appear() {
        box.style.display="block";
    }
</script>
</body>
</html>
随机数
- box.innerHTML=“wangshuwei”;//修改文本内容
- box.innerHTML=Math.random();//0-1
- box.innerHTML=Math.random()*100;//0-100
- var w= box.innerHTML=Math.floor(Math.random()*300)+400;//300-700的随机数
- var h= box.innerHTML=Math.floor(Math.random()*900)+100;//最大899+100
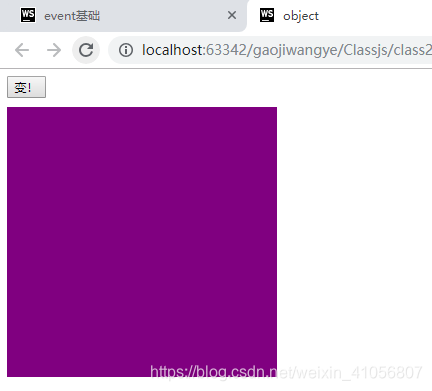
<!DOCTYPE html>
<html lang="en">
<head>
<meta charset="UTF-8">
<title>object</title>
<style>
#box{
width: 300px;
height: 300px;
background-color: purple;
margin-top: 10px;
font-size: 2em;
text-align: center;
line-height: 125px;
}
</style>
</head>
<body>
<button onclick="change()">变!</button>
<div id="box"></div>
<script>
// window.onload=function () {
// var a=b=5;
// }
// console.log(typeof a);//undefined
// console.log(typeof b);//undefined
//全局变量
function change() {
var box=document.getElementById("box");//推荐使用双引号
console.log(box);
// alert("hello");
// document.write("hello");
// box.innerHTML="wangshuwei";
// box.innerHTML=Math.random();//0-1
// box.innerHTML=Math.random()*100;//0-100
// box.innerHTML=Math.random()*300+400;
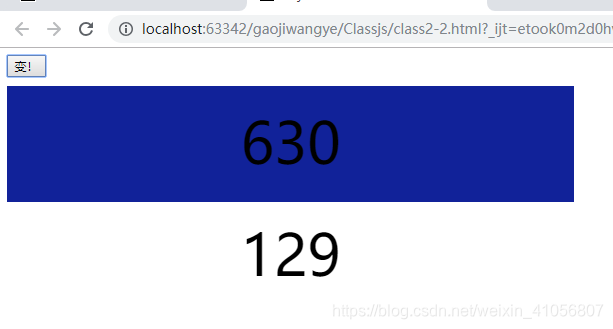
var w= box.innerHTML=Math.floor(Math.random()*300)+400;//300-700的随机数
//100-999
var h= box.innerHTML=Math.floor(Math.random()*900)+100;//最大899+100
box.innerHTML=w+"<br>"+h;
box.style.width=w+"px";//每次随机宽度
box.style.height=h+"px";
box.style.backgroundColor="#"+h;
box.style.fontSize=parseInt(w/10)+"px";
}
</script>
</body>
</html>
点击后随机输出两个数字并且背景的大小和颜色也会改变

2018-11.5
上节课练习题:
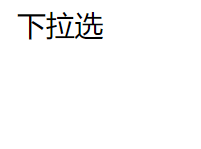
- 下拉选
<!DOCTYPE html>
<html lang="en">
<head>
<meta charset="UTF-8">
<title>Title</title>
<!--js下拉菜单或tab选项卡-->
<style>
#menu{
position: relative;
width: 100px;
height: 36px;
}
#box{
position: absolute;
top: 36px;
width: 120px;
height: 120px;
/*left: -12px;*/
background: #e8e8e8;
display: none;
}
.xiala{
width: 120px;
height: 36px;
text-align: center;
padding: 0;
margin: 0;
font-size: 2em;
}
ul{
list-style: none;
}
li{
width: 120px;
list-style: none;
font-size: 20px;
height: 40px;
line-height: 40px;
text-align: center;
}
a{
text-decoration: none;
color: #2e2e2e;
font-weight: bold;
}
</style>
<script>
function showmenu() {
var box = document.getElementById("box");
box.style.display="block";
}
function hidemenu() {
var box = document.getElementById("box");
box.style.display="none";
}
</script>
</head>
<body>
<div id="menu" onmouseover="showmenu()" onmouseout="hidemenu()">
<div class="xiala">下拉选</div>
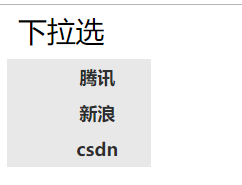
<ul id="box">
<li><a href="">腾讯</a></li>
<li><a href="">新浪</a></li>
<li><a href="">csdn</a></li>
</ul>
</div>
</body>
</html>
加载后:
鼠标放到div上
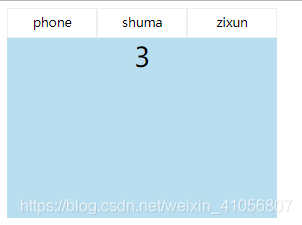
- 列表项
<!DOCTYPE html>
<html lang="en">
<head>
<meta charset="UTF-8">
<title>Title</title>
<!--tab选项卡-->
<style>
ul{
padding: 0;
margin: 0;
list-style: none;
}
#yuan-tab{
width: 300px;
}
.tab-top{
height: 33px;
}
.tab-top li{
border: 1px solid #eeeeee;
width: 98px;
height: 31px;
text-align: center;
line-height: 31px;
font-size: 14px;
float: left;
}
.tab-content{
height: 200px;
font-size: 30px;
text-align: center;
clear: both;
background-color: #b9def0;
}
.none{
display: none;
}
</style>
<script>
function showtab(n) {
var t1=document.getElementById("tab1");
var t2=document.getElementById("tab2");
var t3=document.getElementById("tab3");
t1.style.display="none";
t2.style.display="none";
t3.style.display="none";
if (n==1)
t1.style.display="block";
if(n==2)
t2.style.display="block";
if (n==3)
t3.style.display="block";
}
</script>
</head>
<body>
<div id="yuan-tab">
<div class="tab-top">
<ul>
<li onmouseover="showtab(1)">phone</li>
<li onmouseover="showtab(2)">shuma</li>
<li onmouseover="showtab(3)">zixun</li>
</ul>
</div>
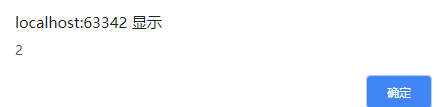
<div id="tab1" class="tab-content">1</div>
<div id="tab2" class="tab-content none">2</div>
<div id="tab3" class="tab-content none">3</div>
</div>
</body>
</html>
每次鼠标滑过不同的div会显示不同的数字


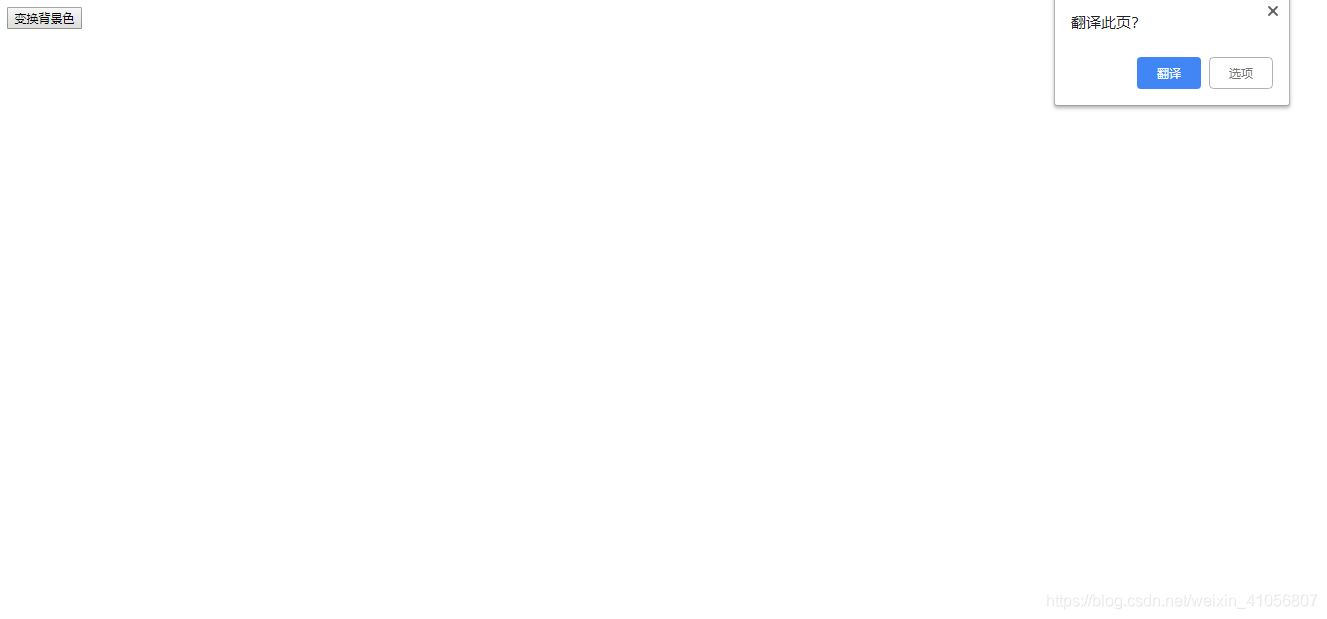
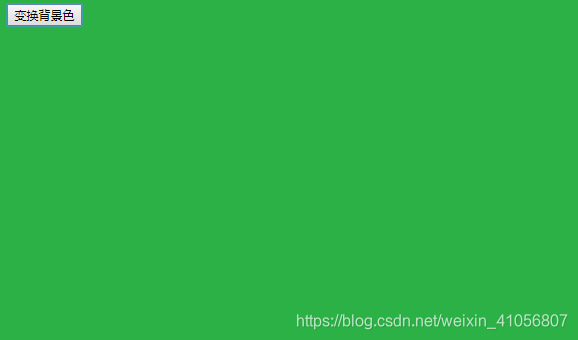
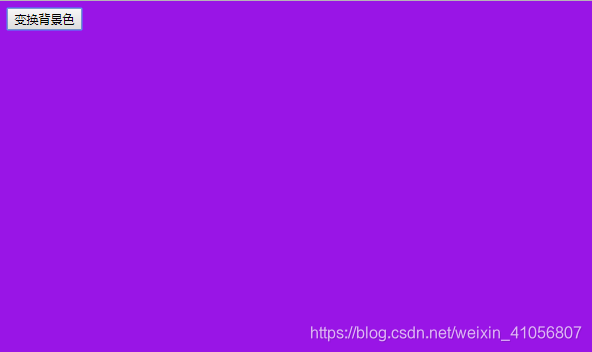
- 全屏背景颜色改变
<!DOCTYPE html>
<html lang="en">
<head>
    <meta charset="UTF-8">
    <title>Title</title>
    <!--全随机颜色——数组-->
    <script>
        function randomColor() {
            var arrNum=["0","1","2","3","4","5","6","7","8","9","a","b","c","d","e","f"];
            var arrFirst="#";
            var index;
            for (var i=0;i<6;i++){
                index=Math.floor(Math.random()*16);
                arrFirst+=arrNum[index];
            }
            return arrFirst;
        }
    </script>
</head>
<body>
<input type="submit" value="变换背景色" onclick="changeColor()">
<script>
    function changeColor() {
        document.bgColor=randomColor();
    }
</script>
</body>
</html>
初始状态
每次点击按钮会改变背景颜色
2018-11.5
数组
- 定义数组
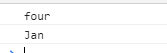
  //1.定义数组
    var arr = ["two","four",4,5];
    var arr2=new Array();
    arr2[0]="Jan";
    console.log(arr[1]);
    console.log(arr2[0]);
- 数组长度
//1.定义数组
var arr = ["two","four",4,5];
var arr2=new Array();
arr2[0]="Jan";
console.log(arr[1]);
console.log(arr2[0]);
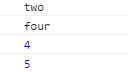
//2.数组长度
console.log(arr.length);
console.log(arr2.length);
var arr3=new Array(5);//固定数组长度
console.log(arr3.length);

- 输出数组2种方式
 //1.定义数组
    var arr = ["two","four",4,5];
    var arr2=new Array();
    arr2[0]="Jan";
    console.log(arr[1]);
    console.log(arr2[0]);

  //3.输出数组2种
    console.log(arr.join());
    console.log(arr.toString());

- 数组循环,这里只写了一种for循环
 var arr = ["two","four",4,5];
 //4.数组循环——for
    for (var i=0;i<arr.length;i++){
        console.log(arr[i]);
    }
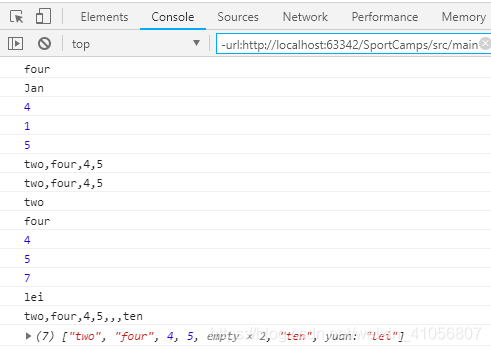
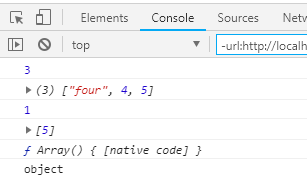
完整代码
<!DOCTYPE html>
<html lang="en">
<head>
    <meta charset="UTF-8">
    <title>Title</title>
</head>
<body>
<script>
    //1.定义数组
    var arr = ["two","four",4,5];
    var arr2=new Array();
    arr2[0]="Jan";
    console.log(arr[1]);
    console.log(arr2[0]);

    //2.数组长度
    console.log(arr.length);
    console.log(arr2.length);

    var arr3=new Array(5);//固定数组长度
    console.log(arr3.length);

    //3.输出数组2种
    console.log(arr.join());
    console.log(arr.toString());

    //4.数组循环——for
    for (var i=0;i<arr.length;i++){
        console.log(arr[i]);
    }
    arr[6]="ten";
    console.log(arr.length);

    arr["yuan"]="lei";
    // 可以输出
    console.log(arr["yuan"]);
    // 大多数循环循环不能把他循环粗来
    console.log(arr.toString());
    console.log(arr);
</script>
</body>
</html>
有关数组的操作
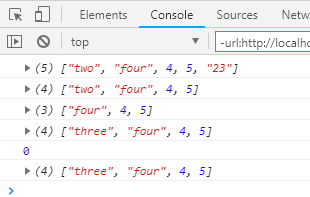
- arr.push(“23”);
- arr.pop();
- arr.shift();
- arr.unshift(“three”);
- console.log(arr.indexOf(“three”));
<!DOCTYPE html>
<html lang="en">
<head>
    <meta charset="UTF-8">
    <title>Title</title>
</head>
<body>
<script>
    //1.定义数组
    var arr = ["two","four",4,5];
    // 单项链表-栈
    arr.push("23");//加在队尾
    console.log(arr);
    arr.pop();//删除队尾最后一个
    console.log(arr);

    arr.shift();//把数组的第一个元素从其中删除,并返回第一个元素的值。
    console.log(arr);
    arr.unshift("three");//把这个元素作为第一个元素,添加到数组中
    console.log(arr);

    console.log(arr.indexOf("three"));//索引_返回数组项的下标
    console.log(arr);
</script>
</body>
</html>
有关数组的方法
- arr.slice(1,5);从第一个元素(数组下标1)截取5个,包括1不包括5
- arr.splice(3,1);从第三个开始取,取一个(从0开始计数)
- 构造函数 console.log(arr.constructor);
<!DOCTYPE html>
<html lang="en">
<head>
    <meta charset="UTF-8">
    <title>Title</title>
</head>
<body>
<script>
    //1.定义数组
    var arr = ["two","four",4,5];
    //数组的方法
    // 从第一个元素(数组下标1)截取5个,包括1不包括5
    var narr = arr.slice(1,5);
    console.log(narr.length);
    console.log(narr);

    // 从第三个开始取,取一个(从0开始计数)
    var narr2=arr.splice(3,1);
    console.log(narr2.length);
    console.log(narr2);

    //上面两个方法都返回新数组
    //构造函数
    console.log(arr.constructor);
    console.log(typeof  arr);//object
</script>
</body>
</html>
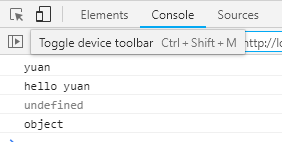
传递数据json
- 对象内可以定义方法
- 对象内的this是指该对象,必须通过this在对象的方法中调用该对象的属性
<!DOCTYPE html>
<html lang="en">
<head>
    <meta charset="UTF-8">
    <title>object</title>
</head>
<body>
<script>
    // 传递数据json
    var obj={
        name:"yuan",
        gender:"male",
        sayname:function () {//对象内可以定义方法
            //对象内的this是指该对象,必须通过this在对象的方法中调用该对象的属性
            console.log("hello"+" "+this.name);
        }
    };
    console.log(obj.name);
    console.log(obj.sayname());
    console.log(typeof obj);
</script>
</body>
</html>
值类型:数值,布尔,string字符串,null,undefined
引用类型:对象,数组,函数
<!DOCTYPE html>
<html lang="en">
<head>
<meta charset="UTF-8">
<title>对象本质</title>
</head>
<body>
<script>
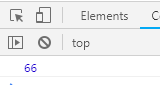
var obj1= new Object();
obj1.value=88;
obj2=obj1;
obj2.value=66;
// var obj2=new Object();
// obj2.value=66;
// obj2=obj1;
console.log(obj2.value);
console.log(obj1.value);
</script>
</body>
</html>
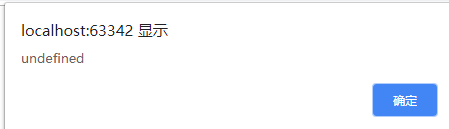
作用域(全局和局部)
①
<!DOCTYPE html>
<html lang="en">
<head>
    <meta charset="UTF-8">
    <title>作用域</title>
</head>
<body>
<script>
    var foo=5;
    function main() {
        alert(foo);//undefined
        var foo=2;
    }
    main();
</script>
</body>
</html>
<!DOCTYPE html>
<html lang="en">
<head>
    <meta charset="UTF-8">
    <title>作用域</title>
</head>
<body>
<script>
    var foo1=5;
    function main1() {

        var foo1=2;
        alert(foo1);
    }
    main1();
</script>
</body>
</html>
<!DOCTYPE html>
<html lang="en">
<head>
    <meta charset="UTF-8">
    <title>作用域</title>
</head>
<body>
<script>
    (function () {
        var a=b=5;
    })();
    // console.log(a);//undefined
    console.log(b);//5 b是全局变量
</script>
</body>
</html>
<!DOCTYPE html>
<html lang="en">
<head>
<meta charset="UTF-8">
<title>作用域</title>
</head>
<body>
<script>
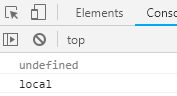
var s="global";
function t() {
console.log(s);//undefined
var s="local";
console.log(s);//local
}
t();
</script>
</body>
</html>
<!DOCTYPE html>
<html lang="en">
<head>
<meta charset="UTF-8">
<title>作用域</title>
</head>
<body>
<script>
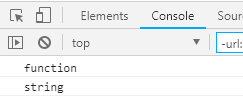
(function () {
var f;//声明
console.log(typeof f);
function f() {
}
f="f";//赋值 优先级比声明高——变量声明提升
console.log(typeof f);
})();
</script>
</body>
</html>
2018-11.9
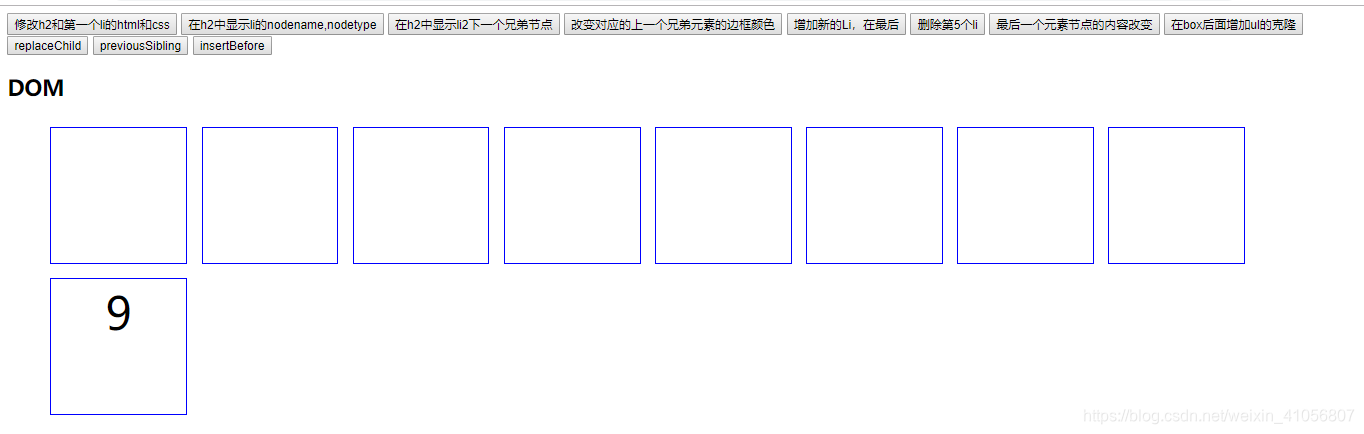
了解DOM元素节点的操作
代码:
<!DOCTYPE html>
<html lang="en">
<head>
    <meta charset="UTF-8">
    <title>Title</title>
    <style>
        .list {
            list-style: none;
            margin-top: 10px;
        }

        .list > li {
            width: 150px;
            height: 150px;
            border: 1px solid #0000FF;
            float: left;
            text-align: center;
            margin: 8px;
            line-height: 75px;
            font-size: 50px;
        }
    </style>

</head>
<body>
<div id="box">
    <button>修改h2和第一个li的html和css</button>
    <button>在h2中显示li的nodename,nodetype</button>
    <button>在h2中显示li2下一个兄弟节点</button>
    <button>改变对应的上一个兄弟元素的边框颜色</button>
    <button>增加新的Li,在最后</button>
    <button>删除第5个li</button>
    <button>最后一个元素节点的内容改变</button>
    <button>在box后面增加ul的克隆</button>
    <button>replaceChild</button>
    <button>previousSibling</button>
    <button>insertBefore</button>

    <h2>DOM</h2>
    <ul class="list" id="list">
        <li id="fineprint"></li>
        <li></li>
        <li></li>
        <li></li>
        <li></li>
        <li></li>
        <li></li>
        <li></li>
        <li id="headline">9</li>
        <!--<li></li>-->
        <!--<li></li>-->
    </ul>
</div>
<script>
    var box = document.querySelector("#box");//获得box,可查类,标签,返回数组
    //var box=document.getElementById("box");方法2
    //找到第一个指定的选择器
    console.log(box);
    var btn = box.getElementsByTagName("button");//查标签名如li,button
    //      btn是数组 collection
    var btn = box.querySelectorAll("button");//返回值是数组
    console.log(btn);
    var ul = box.getElementsByClassName("list")[0];
    //该方法再Html5规范中才提出,有浏览器兼容,返回值是一个集合
    console.log(ul);
    var li = ul.querySelectorAll("li");
    console.log(li);

    var h2 = box.querySelector("h2");
    btn[0].onclick = function () {
        h2.innerText = "你点击了第一个按钮";
        li[0].innerHTML = "*";
        li[0].boderColor = "blue";
        h2.style.cssText = "color:#fff;background:#c00";
    }
    btn[1].onclick = function () {

        h2.innerHTML = li[1].nodeName + " " + li[1].nodeType;//结点名,类型
        //NOdetype1元素结点,2属性节点,3文本节点
    }
    btn[2].onclick = function () {
        h2.innerText = li[2].nextSibling;//nextSibling下一个兄弟节点
        //在chrome和firefox和高版本的ie中,下一个兄弟元素是文本节点
        //,在低版本的ie中,下一个兄弟元素是Li
        //如果除去li之间的回车换行,则下一个兄弟元素li
    }
    btn[3].onclick = function () {
        li[3].previousElementSibling.style.borderColor = "red";//上一个元素兄第。不考虑文本节点

    }
    btn[4].onclick = function () {
        var nli = document.createElement("li");//创建一个Li元素
        nli.innerText = ul.getElementsByTagName("li").length + 1;
        ul.appendChild(nli);//在ul的最后增加nli,在前面增加insertBefore
    }
    btn[5].onclick = function () {
        li[5].parentNode.removeChild(li[5]);
        //删除一定要通过父节点删除
//					ul.removeChild(li[5]);
    }
    btn[6].onclick = function () {
        ul.lastElementChild.innerHTML = "last";
        //最后一个元素节点
    }
    btn[7].onclick = function () {
        box.appendChild(ul.cloneNode(true));
        //clonNode克隆节点,1表示子元素也同时克隆,true儿子也要
    }
    btn[8].onclick = function () {
        var list = document.getElementById("list");
        var message = document.getElementById("fineprint");
        var announcement = document.getElementById("headline");
        list.replaceChild(announcement,message);
    }
    btn[9].onclick = function () {
         h2.innerText = li[2].previousSibling;//在h2中显示li2上一个兄弟节点
    }
    btn[10].onclick = function () {
        var nli = document.createElement("li");//创建一个Li元素
        nli.innerText = ul.getElementsByTagName("li").length +1;
        ul.insertBefore(nli,li[0]);//在ul的最后增加nli,在前面增加insertBefore

    }
</script>

</body>
</html>