安装Python
进入Python3.6.2下载页,选择 Files 中Windows平台的Python安装包,下载并安装(本人安装的是3.6.2版本的python,可根据实际情况下载不同版本的python)
安装TensorFlow
进入TensorFlow on Windows下载页,
打开cmd,输入以下指令即进行TensorFlow的下载安装,下载位置为python3.6.2\Lib\site-packages\tensorflow:
打开 IDLE,输入以下指令:
如果出现如下结果则安装成功:
安装其余组件
在cmd内输入如下指令下载并安装相关API运行支持组件:
pillow 、lxml 、jupyter、matplotlib、imageio、requests等
下载代码并编译
在cmd中输入如下代码:
从github下载谷歌tensorflow/models的代码,同样在cmd进入到models文件夹,编译Object Detection API的代码:
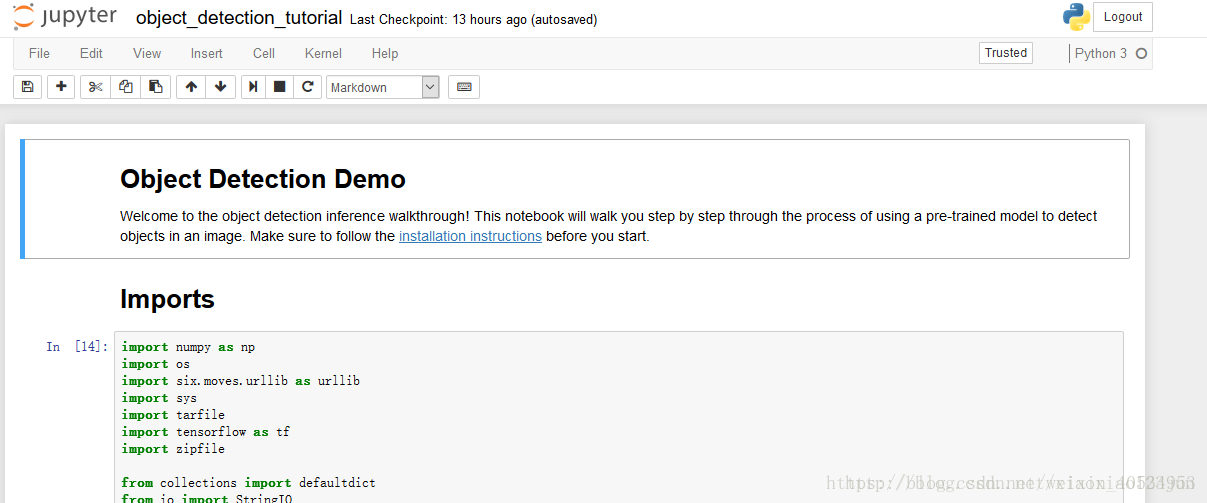
运行notebook demo
继续在models文件夹下运行如下命令:
进入object_detection文件夹中的object_detection_tutorial.ipynb:
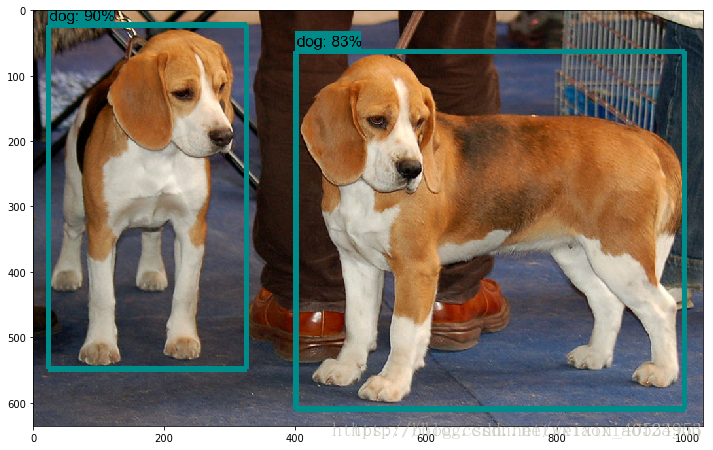
点击Cell内的Run All,等待一会儿,即可显示如下结果:
视频物体识别
谷歌在github上公布了此项目的完整代码,接下来我们将在现有代码基础上添加相应模块实现对于视频中物体的识别。
https://github.com/priya-dwivedi/Deep-Learning/blob/master/Object_Detection_Tensorflow_API.ipynb
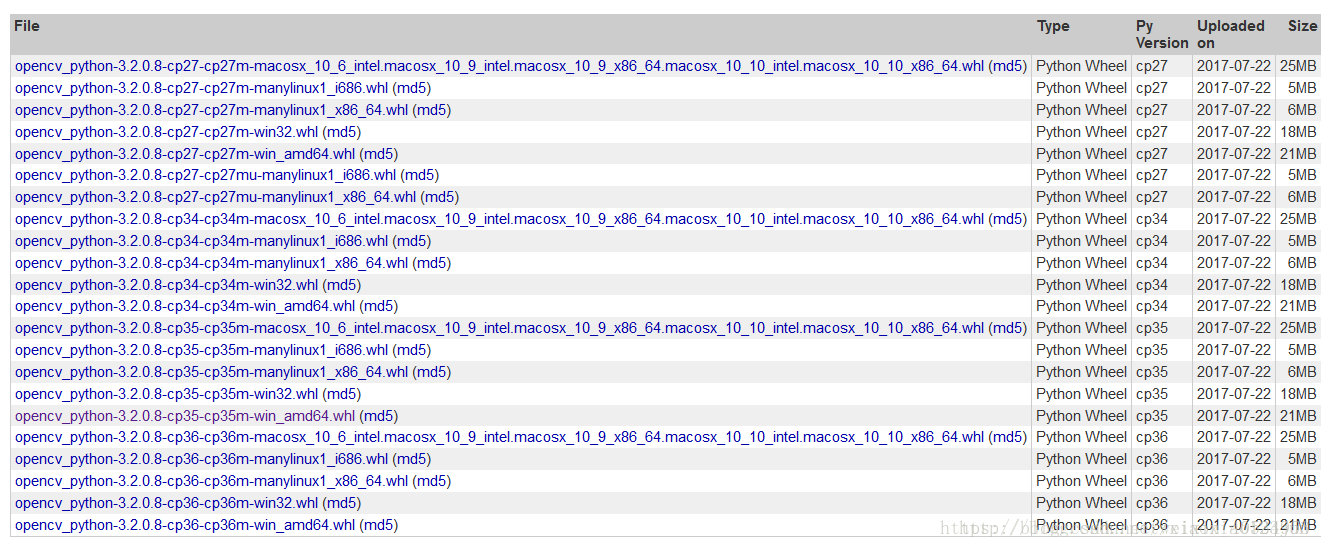
第一步:下载opencv的cv2包
在Python官网即可下载opencv相关库,点击此处直接进入。
载完成后,在cmd中执行安装命令
pip install opencv_python-3.4.3.18-cp36-cp36m-win_amd64.whl
安装完成后,进入IDLE输入命令
import cv2
若未报错,则opencv-python库成功导入,环境搭配成功。
第二步:在原代码中引入cv2包
第三步:添加视频识别代码
主要步骤如下:
1.使用 VideoFileClip 函数从视频中抓取图片。
2.用fl_image函数将原图片替换为修改后的图片,用于传递物体识别的每张抓取图片。
3.所有修改的剪辑图像被组合成为一个新的视频。
在原版代码基础上,在最后面依次添加如下代码(可从完整代码 处复制,但需要作出一些改变,当然也可以直接从下文复制修改后的代码):


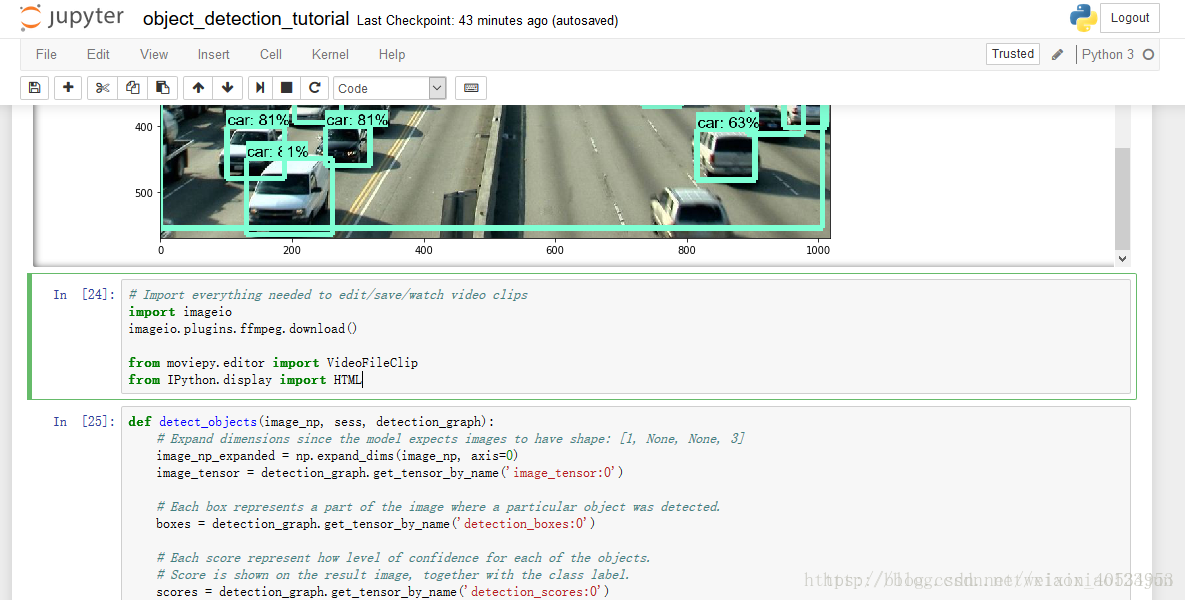
Import everything needed to edit/save/watch video clips
import imageio
imageio.plugins.ffmpeg.download()
from moviepy.editor import VideoFileClip
from IPython.display import HTML
注意:直接下载即可,有时候会遇到下载过程中断线的情况,重新下载即可
def detect_objects(image_np, sess, detection_graph):
# Expand dimensions since the model expects images to have shape: [1, None, None, 3]
image_np_expanded = np.expand_dims(image_np, axis=0)
image_tensor = detection_graph.get_tensor_by_name(‘image_tensor:0’)
# Each box represents a part of the image where a particular object was detected.
boxes = detection_graph.get_tensor_by_name('detection_boxes:0')

# Each score represent how level of confidence for each of the objects.
# Score is shown on the result image, together with the class label.
scores = detection_graph.get_tensor_by_name('detection_scores:0')
classes = detection_graph.get_tensor_by_name('detection_classes:0')
num_detections = detection_graph.get_tensor_by_name('num_detections:0')

# Actual detection.
(boxes, scores, classes, num_detections) = sess.run(
    [boxes, scores, classes, num_detections],
    feed_dict={image_tensor: image_np_expanded})

# Visualization of the results of a detection.
vis_util.visualize_boxes_and_labels_on_image_array(
    image_np,
    np.squeeze(boxes),
    np.squeeze(classes).astype(np.int32),
    np.squeeze(scores),
    category_index,
    use_normalized_coordinates=True,
    line_thickness=8)
return image_np
另起一行:
def process_image(image):
# NOTE: The output you return should be a color image (3 channel) for processing video below
# you should return the final output (image with lines are drawn on lanes)
with detection_graph.as_default():
    with tf.Session(graph=detection_graph) as sess:
        image_process = detect_objects(image, sess, detection_graph)
        return image_process
另起一行:
white_output = ‘video1_out.mp4’
clip1 = VideoFileClip(“video1.mp4”).subclip(25,30)
white_clip = clip1.fl_image(process_image) #NOTE: this function expects color images!!s
%time white_clip.write_videofile(white_output, audio=False)
其中video1.mp4已经从电脑中上传至object_detection文件夹,subclip(16,26)代表识别视频中16-26s这一时间段。
HTML("""