进行web开发的时候会经常遇到某些页面,它们的页面中某些地方是一样的,也就是说,这部分地方是公共的,每个页面的html代码都是一样的,这样的页面我们称为公共页。而本次实战中,我们要对公共页进行操作,简化公共页的繁杂性。
导言如下:
(0)预准备
(1)抽取公共页
(2)点击高亮
(0)预准备
准备工作我曾经在Spring Boot实战——登录页中说过,其实步骤差不多,就是首先导入资源文件,我这次导入了两个公共页,并对其html代码进行部分修改,一个设置为主页(dashboard.html),另一个设置为副页(list.html)。项目目录结构如下:

其中我将公共部分放入了bar.html,这个我稍后会说。
除此之外,项目还要导入thymeleaf的依赖,导入bootstrap 的依赖,在html代码中加入thymeleaf的语法提示,这些我在登录页的实战中都有说,大家可以去看看。
下面展示两个html页面的公共部分的代码,核心部分代码因功能不同而做自行修改(*单纯代码是不会有页面渲染,还要加入css,js,图片才行):
<body>
<nav class="navbar navbar-dark sticky-top bg-dark flex-md-nowrap p-0">
<a class="navbar-brand col-sm-3 col-md-2 mr-0" href="http://getbootstrap.com/docs/4.0/examples/dashboard/#">Company name</a>
<input class="form-control form-control-dark w-100" type="text" placeholder="Search" aria-label="Search">
<ul class="navbar-nav px-3">
<li class="nav-item text-nowrap">
<a class="nav-link" href="http://getbootstrap.com/docs/4.0/examples/dashboard/#">Sign out</a>
</li>
</ul>
</nav>
<div class="container-fluid">
<div class="row">
<nav class="col-md-2 d-none d-md-block bg-light sidebar">
<div class="sidebar-sticky">
<ul class="nav flex-column">
<li class="nav-item">
<a class="nav-link active" href="http://getbootstrap.com/docs/4.0/examples/dashboard/#">
<svg xmlns="http://www.w3.org/2000/svg" width="24" height="24" viewBox="0 0 24 24" fill="none" stroke="currentColor" stroke-width="2" stroke-linecap="round" stroke-linejoin="round" class="feather feather-home">
<path d="M3 9l9-7 9 7v11a2 2 0 0 1-2 2H5a2 2 0 0 1-2-2z"></path>
<polyline points="9 22 9 12 15 12 15 22"></polyline>
</svg>
主页 <span class="sr-only">(current)</span>
</a>
</li>
<li class="nav-item">
<a class="nav-link" href="http://getbootstrap.com/docs/4.0/examples/dashboard/#">
<svg xmlns="http://www.w3.org/2000/svg" width="24" height="24" viewBox="0 0 24 24" fill="none" stroke="currentColor" stroke-width="2" stroke-linecap="round" stroke-linejoin="round" class="feather feather-users">
<path d="M17 21v-2a4 4 0 0 0-4-4H5a4 4 0 0 0-4 4v2"></path>
<circle cx="9" cy="7" r="4"></circle>
<path d="M23 21v-2a4 4 0 0 0-3-3.87"></path>
<path d="M16 3.13a4 4 0 0 1 0 7.75"></path>
</svg>
员工管理
</a>
</ul>
</div>
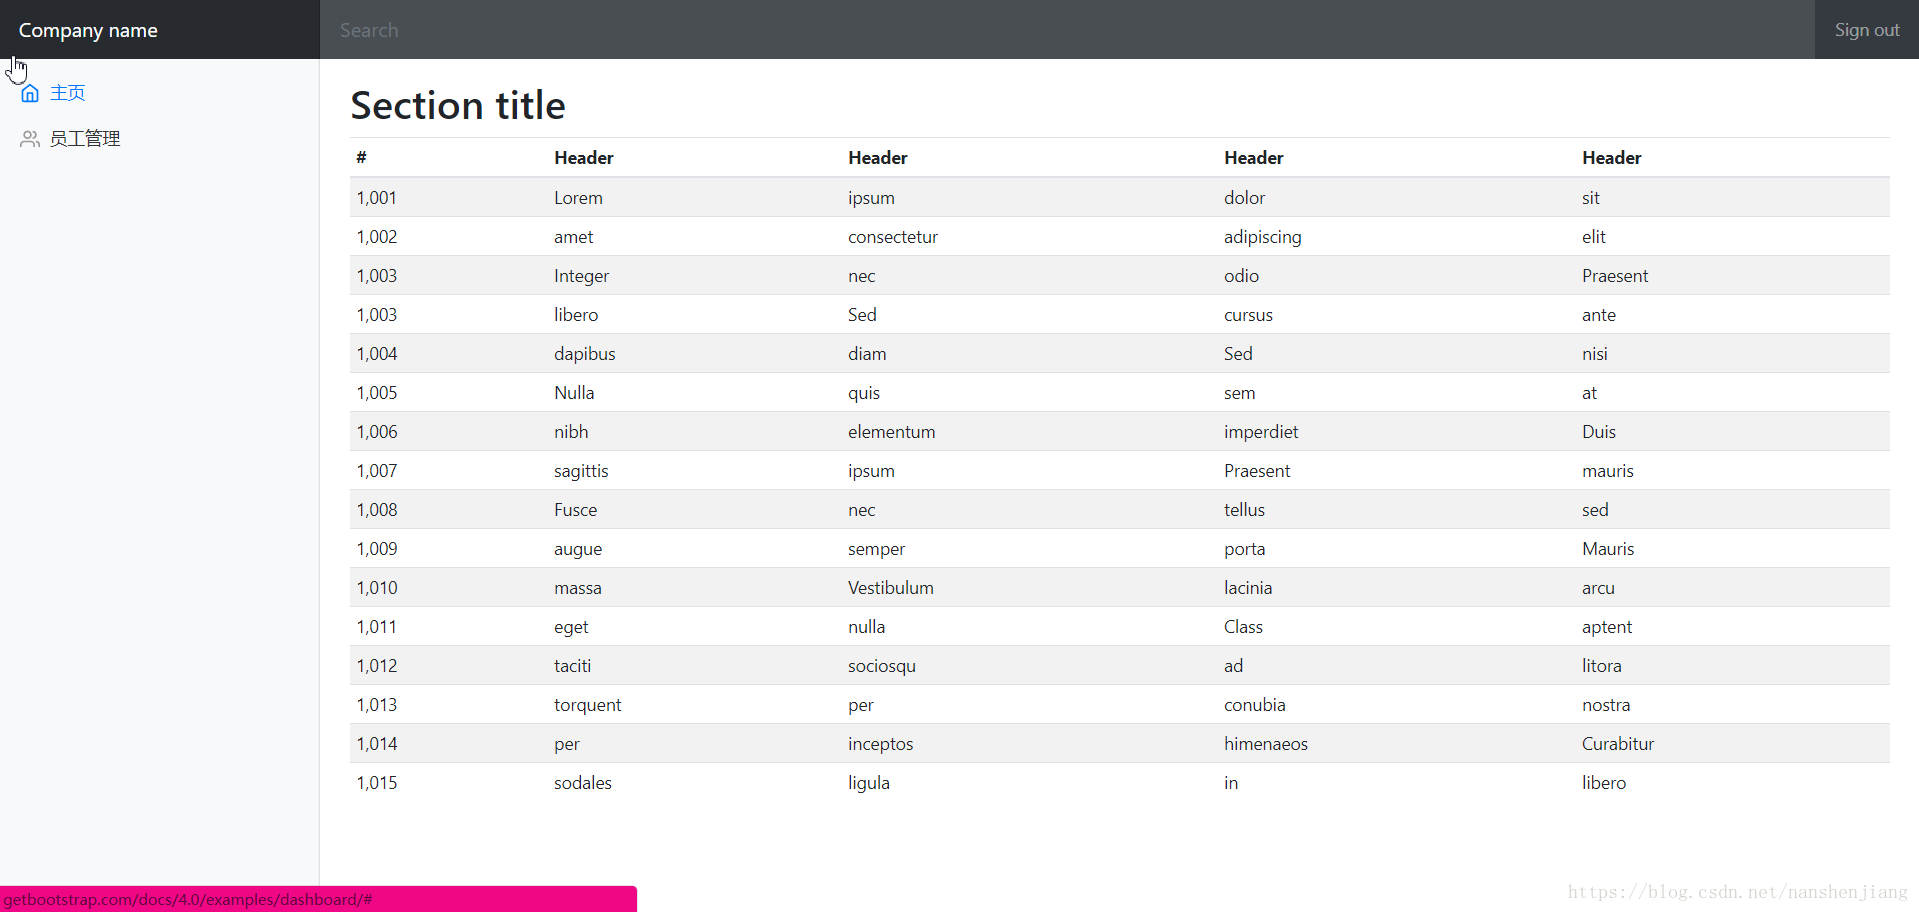
</nav>而完整代码运行效果如下:
dashboard.html:

list.html:
这时候我们准备就完成了,我们首先要做的就是页面可以登录,这时候我们需要编辑controller,而编辑之前我们需要对旁边的主页和员工管理页面进行部分修改:
而我们观察html中有两段是有关两个按钮的a标签,a标签中有href进行链接(先dashboard.html再list.html):
<a class="nav-link active" href="http://getbootstrap.com/docs/4.0/examples/dashboard/#"><a class="nav-link" href="http://getbootstrap.com/docs/4.0/examples/dashboard/#">
我们使用thymeleaf进行修改:
<a class="nav-link active" href="#" th:href="@{/dashboard}"><a class="nav-link" href="#" th:href="@{/emp}">
这时候我们编辑controller:
@Controller
public class MyController {

    //dashboard.html作为主页面
    @RequestMapping({"/","/dashboard"})
    public String dashboard(){
        return "dashboard";
    }

    //通过按钮“员工管理”跳转,通过get请求获取“/emp”
    @GetMapping("/emp")
    public String dashboardtolist(){
        //返回的是emp目录下的list.html
        //而thymeleaf默认拼串,所以前面静态资源文件夹不用存在
        return "emp/list";
    }

    //通过按钮“主页”跳转,通过get请求获取“/dashboard”
    @GetMapping("/dashboard")
    public String backdashboard(){
        return "dashboard";
    }

}
(1)公共页抽取
抽取公共部分我们首先需要知道公共部分是那些,所以我们需要在浏览器中打开页面通过开发者工具(F12打开),使用开发者工具观察公共部分是哪些:

找到公共部分,及它们对应的代码,这时候在IDEA中对公共部分抽取出来放在新建的一个html文件(bar.html)中
这时候我们就需要使用的thymeleaf中对公共部分的操作了:
(1)抽取公共片段 (将公共部分抽取出来)
<div th:fragment="copy">
    公共部分代码
</div>
(2)引入公共片段 (在原先html代码中插入)
<div th:insert="~{footer :: copy}">

</div>
其中:
~{templatename::selector}:模板名::选择器
~{templatename::fragmentname}:模板名::片段名
(3)默认效果:
insert的公共片段在div标签中
如果使用th:insert等属性进行引入,可以不用写~{};
行内写法可以加上:[[~{}]];[(~{})];
而除了insert的引入方式,还有三种引入公共片段的th属性:
th:insert:将公共片段整个插入到声明引入的元素中;

th:replace:将声明引入的元素替换为公共片段;

th:include:将被引入的片段的内容包含进这个标签中;
它们对应的效果分别为:
<!--insert的效果-->
<div>
  <footer>
     公共部分
  </footer>
</div>
<!--replace的效果-->
<footer>
公共部分
</footer> <!--include效果-->
<div>
公共部分
</div>
而我们也需要对刚刚发现的顶部公共部分和左边公共部分进行修改:
顶部部分代码:
<!--顶部公共区域-->
<nav class="navbar navbar-dark sticky-top bg-dark flex-md-nowrap p-0" >
    <a class="navbar-brand col-sm-3 col-md-2 mr-0" href="http://getbootstrap.com/docs/4.0/examples/dashboard/#">Company name</a>
    <input class="form-control form-control-dark w-100" type="text" placeholder="Search" aria-label="Search">
    <ul class="navbar-nav px-3">
        <li class="nav-item text-nowrap">
            <a class="nav-link" href="http://getbootstrap.com/docs/4.0/examples/dashboard/#">Sign out</a>
        </li>
    </ul>
</nav>
左边部分代码:
<!--左边公共区域-->
<nav class="col-md-2 d-none d-md-block bg-light sidebar" >
    <div class="sidebar-sticky">
        <ul class="nav flex-column">
            <li class="nav-item">
                <a class="nav-link active"  href="#" th:href="@{/dashboard}">
                    <svg xmlns="http://www.w3.org/2000/svg" width="24" height="24" viewBox="0 0 24 24" fill="none" stroke="currentColor" stroke-width="2" stroke-linecap="round" stroke-linejoin="round" class="feather feather-home">
                        <path d="M3 9l9-7 9 7v11a2 2 0 0 1-2 2H5a2 2 0 0 1-2-2z"></path>
                        <polyline points="9 22 9 12 15 12 15 22"></polyline>
                    </svg>
                    主页 <span class="sr-only">(current)</span>
                </a>
            </li>
            <li class="nav-item">
                <a class="nav-link"  href="#" th:href="@{/emp}">
                    <svg xmlns="http://www.w3.org/2000/svg" width="24" height="24" viewBox="0 0 24 24" fill="none" stroke="currentColor" stroke-width="2" stroke-linecap="round" stroke-linejoin="round" class="feather feather-users">
                        <path d="M17 21v-2a4 4 0 0 0-4-4H5a4 4 0 0 0-4 4v2"></path>
                        <circle cx="9" cy="7" r="4"></circle>
                        <path d="M23 21v-2a4 4 0 0 0-3-3.87"></path>
                        <path d="M16 3.13a4 4 0 0 1 0 7.75"></path>
                    </svg>
                    员工列表
                </a>
            </li>
        </ul>
    </div>
</nav>
其中要修改的部分分别为:
<nav class="navbar navbar-dark sticky-top bg-dark flex-md-nowrap p-0" ><nav class="col-md-2 d-none d-md-block bg-light sidebar" >修改后分别为:
<nav class="navbar navbar-dark sticky-top bg-dark flex-md-nowrap p-0" th:fragment="topbar"><nav class="col-md-2 d-none d-md-block bg-light sidebar" th:fragment="sidebar">
这时候需要在dashboard.html和list.html中进行公共部分的添加,而我们使用添加的方式就使用replace:
顶部则需要添加:
<div th:replace="common/bar::topbar"></div>左边栏需要添加:
<div th:replace="common/bar::sidebar"></div>
现在运行代码即可成功!
(2)点击高亮
我们观察页面发现左边栏部分有两个按钮“主页”和“页面管理”,它们现在仅是“主页”会高亮,而我们需要按不同按钮不同按钮高亮如何做,下面我们就来介绍thymeleaf的做法:
首先我们都要给这两个按钮引入变量,由变量的值来确定按钮的高亮,而高亮十分简单,即引入“active”即可:
<a class="nav-link active" href="#" th:href="@{/dashboard}">
a标签中的class路径中添加active即可高亮。
则我们需要修改主页按钮修改为(在公共页面bar.html中修改):
<a class="nav-link active" th:class="${activeUri=='main'}?'nav-link active':'nav-link'" href="#" th:href="@{/dashboard}">页面管理修改为:
<a class="nav-link" th:class="${activeUri=='emp'}?'nav-link active':'nav-link'" href="#" th:href="@{/emp}">使用thymeleaf的条件运算符进行赋值
而我们在不同页面的html代码中由各自的需求进行修改:
比如在dashboard.html中我们需要“主页”高亮,则在主页的按钮中进行修改:
<div th:replace="common/bar::sidebar(activeUri='main')"></div>通过()进行赋值。
同理,我们在list.html页面中需要“页面管理”高亮,则需要在页面管理按钮中修改为:
<div th:replace="common/bar::sidebar(activeUri='emp')"></div>
这时候运行程序即可成功!!
各个页面最终公共部分修改为:
bar.html:
<body>
    <!--顶部公共区域-->
    <nav class="navbar navbar-dark sticky-top bg-dark flex-md-nowrap p-0" th:fragment="topbar">
        <a class="navbar-brand col-sm-3 col-md-2 mr-0" href="http://getbootstrap.com/docs/4.0/examples/dashboard/#">Company name</a>
        <input class="form-control form-control-dark w-100" type="text" placeholder="Search" aria-label="Search">
        <ul class="navbar-nav px-3">
            <li class="nav-item text-nowrap">
                <a class="nav-link" href="http://getbootstrap.com/docs/4.0/examples/dashboard/#">Sign out</a>
            </li>
        </ul>
    </nav>


    <!--左边公共区域-->
    <nav class="col-md-2 d-none d-md-block bg-light sidebar" th:fragment="sidebar">
        <div class="sidebar-sticky">
            <ul class="nav flex-column">
                <li class="nav-item">
                    <a class="nav-link active"
                       th:class="${activeUri=='main'}?'nav-link active':'nav-link'"
                       href="#" th:href="@{/dashboard}">
                        <svg xmlns="http://www.w3.org/2000/svg" width="24" height="24" viewBox="0 0 24 24" fill="none" stroke="currentColor" stroke-width="2" stroke-linecap="round" stroke-linejoin="round" class="feather feather-home">
                            <path d="M3 9l9-7 9 7v11a2 2 0 0 1-2 2H5a2 2 0 0 1-2-2z"></path>
                            <polyline points="9 22 9 12 15 12 15 22"></polyline>
                        </svg>
                        主页 <span class="sr-only">(current)</span>
                    </a>
                </li>
                <li class="nav-item">
                    <a class="nav-link"
                       th:class="${activeUri=='emp'}?'nav-link active':'nav-link'"
                       href="#" th:href="@{/emp}">
                        <svg xmlns="http://www.w3.org/2000/svg" width="24" height="24" viewBox="0 0 24 24" fill="none" stroke="currentColor" stroke-width="2" stroke-linecap="round" stroke-linejoin="round" class="feather feather-users">
                            <path d="M17 21v-2a4 4 0 0 0-4-4H5a4 4 0 0 0-4 4v2"></path>
                            <circle cx="9" cy="7" r="4"></circle>
                            <path d="M23 21v-2a4 4 0 0 0-3-3.87"></path>
                            <path d="M16 3.13a4 4 0 0 1 0 7.75"></path>
                        </svg>
                        员工列表
                    </a>
                </li>
            </ul>
        </div>
    </nav>
</body>
dashboard.html:
<body>
<!--顶部公共区域-->
<div th:replace="common/bar::topbar"></div>

   <div class="container-fluid">
      <div class="row">

         <!--左边公共区域-->
         <div th:replace="common/bar::sidebar(activeUri='main')"></div>
list.html:
<body>
<!--顶部公共区域-->
<div th:replace="common/bar::topbar"></div>

   <div class="container-fluid">
      <div class="row">

         <!--左边公共区域-->
         <div th:replace="common/bar::sidebar(activeUri='emp')"></div>