安装shadowsocks
安装之前建议更新一下源 国内比较的源(阿里源,中科大,北大,清华)都是比较不错的源网上都有 不多说
在命令行里:
sudo apt-get install python-gevent python-pip
sudo apt-get update
sudo pip install shadowsocks
然后就是配置你的shadowsocks.json文件,在sudo gedit /etc/shadowsocks.json
{
"server": "your server ip",
"server_port": 15216,
"local_address": "127.0.0.1",
"local_port": 1080,
"password": "your password",
"method": "aes-256-cfb",
"fast_open": true,
"workers": 1
}
保存过后就可以 启动shadowsocks
sudo sslocal -c /etc/shadowsocks.json
配置完成后 为了每次上google 不用输入sudo sslocal -c /etc/shadowsocks.json
这是在sudo gedit /etc/rc.local 文件中在 exit 0 前面添加这行命令
sudo sslocal -c /etc/shadowssocks.json
安装Privoxy
sudo apt-get install privoxy
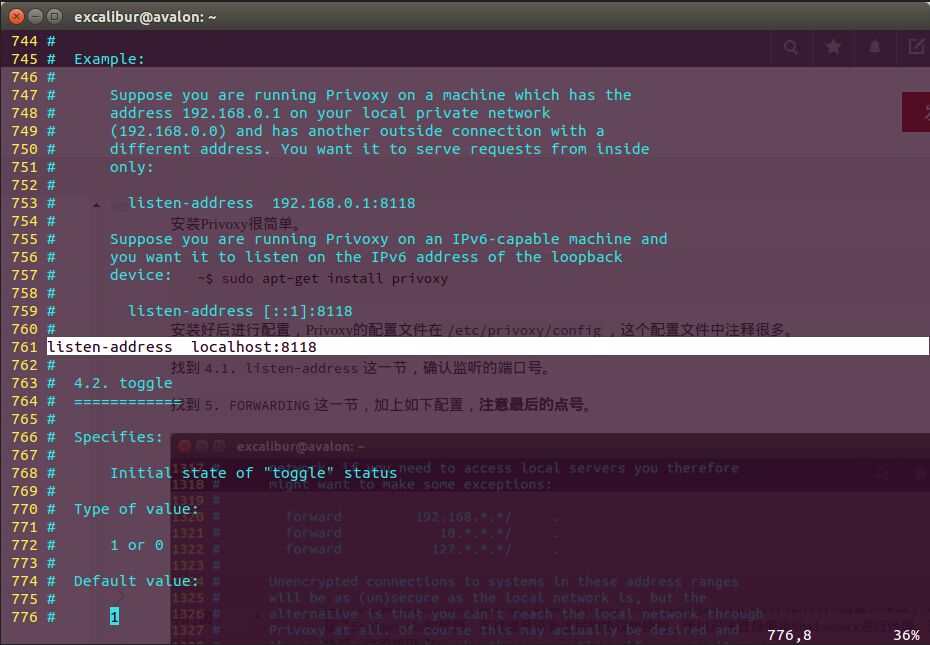
安装好后进行配置,Privoxy的配置文件在/etc/privoxy/config,这个配置文件中注释很多。
找到4.1. listen-address这一节,确认监听的端口号。
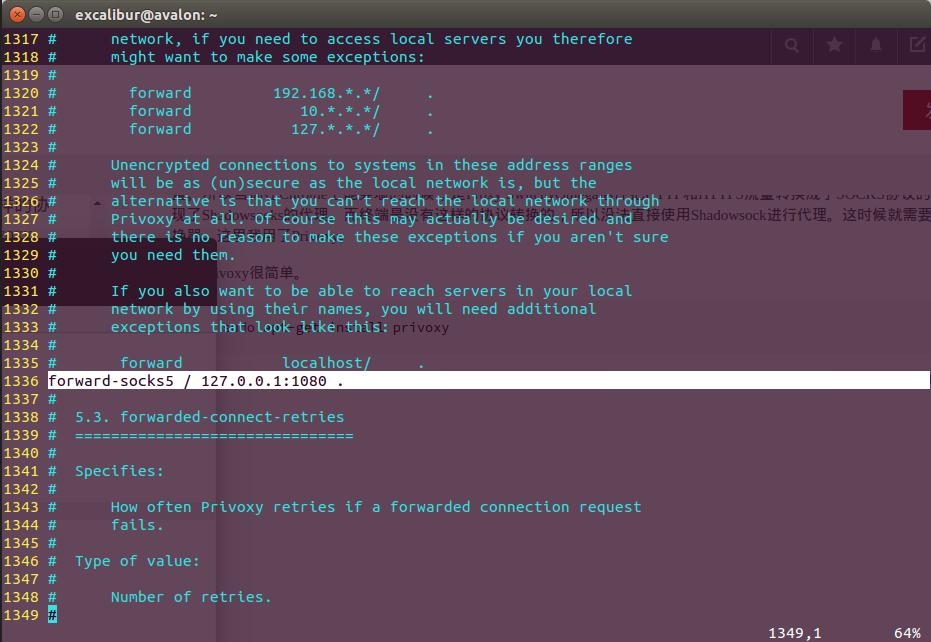
找到5.2. forward-socks4, forward-socks4a, forward-socks5 and forward-socks5t这一节,加上如下配置,注意最后的点号。
有关Privoxy的配置就结束了,重启一下Privoxy。
~$ sudo /etc/init.d/privoxy restart
接着配置一下终端的环境,需要如下两句。
~$ export http_proxy="127.0.0.1:8118"
~$ export https_proxy="127.0.0.1:8118"
然后就是在浏览器中配置了FireFox为类
在Firefox浏览器插件中搜索SwitchOmega,安装。

添加到firefox
-
配置Proxy(代理)选项
- 点击左侧边框中的”proxy(代理)”选项,
- 将“protocol(协议)”设置为“SOCKS5”,
- “Server(服务器)”设置为“127.0.0.1”(与sslocal中本地服务器ip地址相一致,默认为“127.0.0.1”),
- “Port(端口号)”设置为“1080”(与sslocal中本地端口号相一致,默认为“1080”)
- 点击左侧边框“Apply change(应用修改)”,保存配置。

-
配置自动切换选项
- 勾选“Rule list rules(规则表)”,将其“Profile(属性)”设置为“proxy(代理)”;
- 将“Rule List Format(规则表格式)”设置为“AutoProxy”
- 在“Rule List URL(规则表URL处)”填写:
https://raw.githubusercontent.com/gfwlist/gfwlist/master/gfwlist.txt; - 点击“Download Profile Now(立即下载规则表)”。
- 点击左侧边框“Apply change(应用修改)”保存设置。

-
至此,SwitchOmega的配置已经完成。在浏览器右上角SwitchOmega图标处点击,选择“auto switch(自动切换)”,便可以拥抱谷歌了
-
然后就可以测试了ok