废话不多说,直接上过程。
1. pom.xml添加必要的依赖
                <dependency>
			<groupId>io.springfox</groupId>
			<artifactId>springfox-swagger2</artifactId>
			<version>2.2.2</version>
		</dependency>
		<dependency>
			<groupId>io.springfox</groupId>
			<artifactId>springfox-swagger-ui</artifactId>
			<version>2.2.2</version>
		</dependency>
2.swagger2的配置类
@Configuration
public class Swagger2 {

	@Bean
	public Docket createRestApi(){
		 return new Docket(DocumentationType.SWAGGER_2)
	                .apiInfo(apiInfo())
	                .select()
	                .apis(RequestHandlerSelectors.basePackage("com"))//扫描com路径下的api文档
	                .paths(PathSelectors.any())//路径判断
	                .build();
	}

	 private ApiInfo apiInfo() {
	        return new ApiInfoBuilder()
	                .title("小程序  开发规范")//标题
	                .description(" 开发规范详文档细地址--->")//描述
	                .termsOfServiceUrl("")//(不可见)条款地址
	                .version("1.0.0")//版本号
	                .build();
	    }
}
3.springboot入口类Main.java加上注解@EnableSwagger2 表示开启Swagger
@SpringBootApplication
@EnableSwagger2
public class Main {

	public static void main(String[] args) {
		SpringApplication.run(Main.class, args);
	}

}
4.接口文件
@Api(value = "测试controller")
@RestController
@RequestMapping("test")
public class TestController {

	@ApiOperation(value = "测试" , notes = "just test")
	@RequestMapping(value = "hh",method = RequestMethod.GET)
	public String test(){
		return "hello123";
	}

}
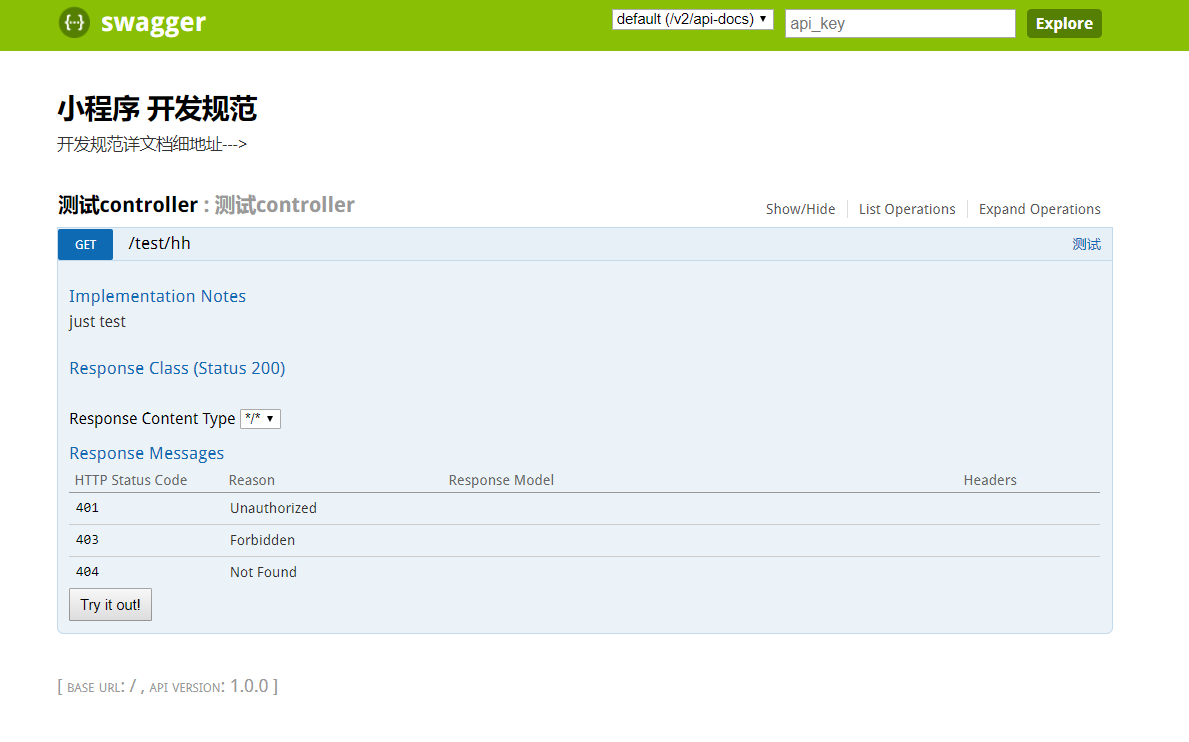
5.访问 http://localhost:9002/swagger-ui.html 就可以看到一下页面
6. 完毕