Swagger是什么
Swagger是一套由OpenAPI规范驱动的工具集,可帮助你设计,构建,记录和使用REST API。
Swagger优势:
-
接口文档自动生成:Swagger可以自动扫描接口和参数注解,生成接口开发文档。在调试过程中,它能够实时更新接口文档并提供在线交互式测试UI,减少了对接口文档维护的工作量。
-
接口文档可视化展示:Swagger UI界面直观美观,能够提高接口协作的效率。可以在文档中直接进行模拟请求,甚至导出为curl等各种语言的代码调用片段,有利于前后端的协作和交流。
-
接口版本管理:使用Swagger可以更加方便地管理API接口的版本,通过Swagger配置支持多版本的API文档同时存在。
-
其他相关功能:Swagger还提供了许多其他有用的功能,例如数据类型定义、路由映射、Mock服务或验证器等,使其不仅仅是一个单纯的API文档生成工具,而是一套完整的API设计与开发工具。
SpringBoot使用注解整合Swagger
- 在pom.xml文件下导入swagger的jar包
        <dependency>
            <groupId>io.springfox</groupId>
            <artifactId>springfox-swagger2</artifactId>
            <version>2.9.2</version>
        </dependency>

        <dependency>
            <groupId>io.springfox</groupId>
            <artifactId>springfox-swagger-ui</artifactId>
            <version>2.9.2</version>
        </dependency>
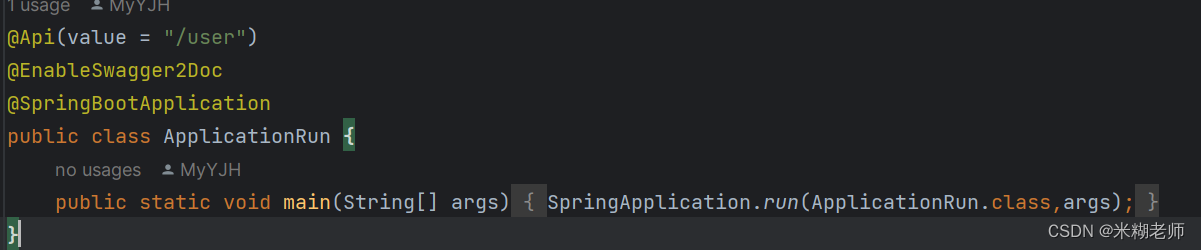
- 在SpringBoot的启动类中加入@EnableSwagger2Doc,开启Swagger注解
- 配置SwaggerConfig配置类,也可在yml文件配置Swagger信息
package com.yjh.config;
import org.springframework.context.annotation.Bean;
import org.springframework.context.annotation.Configuration;
import springfox.documentation.builders.ApiInfoBuilder;
import springfox.documentation.builders.PathSelectors;
import springfox.documentation.builders.RequestHandlerSelectors;
import springfox.documentation.service.ApiInfo;
import springfox.documentation.service.Contact;
import springfox.documentation.spi.DocumentationType;
import springfox.documentation.spring.web.plugins.Docket;
import springfox.documentation.swagger2.annotations.EnableSwagger2;

@Configuration
@EnableSwagger2
public class SwaggerConfig {


    @Bean
    public Docket createRestApi() {


        return new Docket(DocumentationType.SWAGGER_2)
                .apiInfo(apiInfo())
                .select()
                .apis(RequestHandlerSelectors.basePackage("com.example.controller")) // controller所在的包
                .paths(PathSelectors.any())
                .build();
    }

    private ApiInfo apiInfo() {


        return new ApiInfoBuilder()
                .title("Spring Boot中使用Swagger2构建RESTful APIs")
                .description("更多Spring Boot相关文章请关注:http://spring.io/projects/spring-boot")
                .termsOfServiceUrl("http://spring.io/projects/spring-boot")
                // 优先使用yml文件的配置信息
                .contact(new Contact("swagger", "http://spring.io/projects/spring-boot", ""))
                .version("1.0")
                .build();
    }
}
yml配置信息
swagger:
  enabled: true
  title: API文档
  description: Website
  contact:
    name: yjh
    url: 联系网址
    email: 联系人邮箱
  #接口包扫描路径
  base-package: com.yjh.controller
  #需排除的接口路径
  exclude-path: /error/**
-
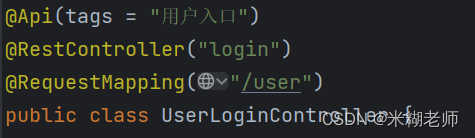
在标记了@contoller或者@RestController的controller层的类加入@Api,其中tags,中文为标签的意思,表示此接口的名称,不写的话,Swagger会使用路径名。除了tags,还有value可选,同样是描述接口名称,vaule是一级分类,通常命名为模块名称或业务名称,tags是二级分类,用于在同一个模块下对API接口进行进一步的划分。
-
启动SpringBoot,访问http://localhost:9090/swagger-ui.html(记得配置端口号),就能看到Swagger2的主页,查看到配置的Api信息,在此完成Swagger的基本配置。
