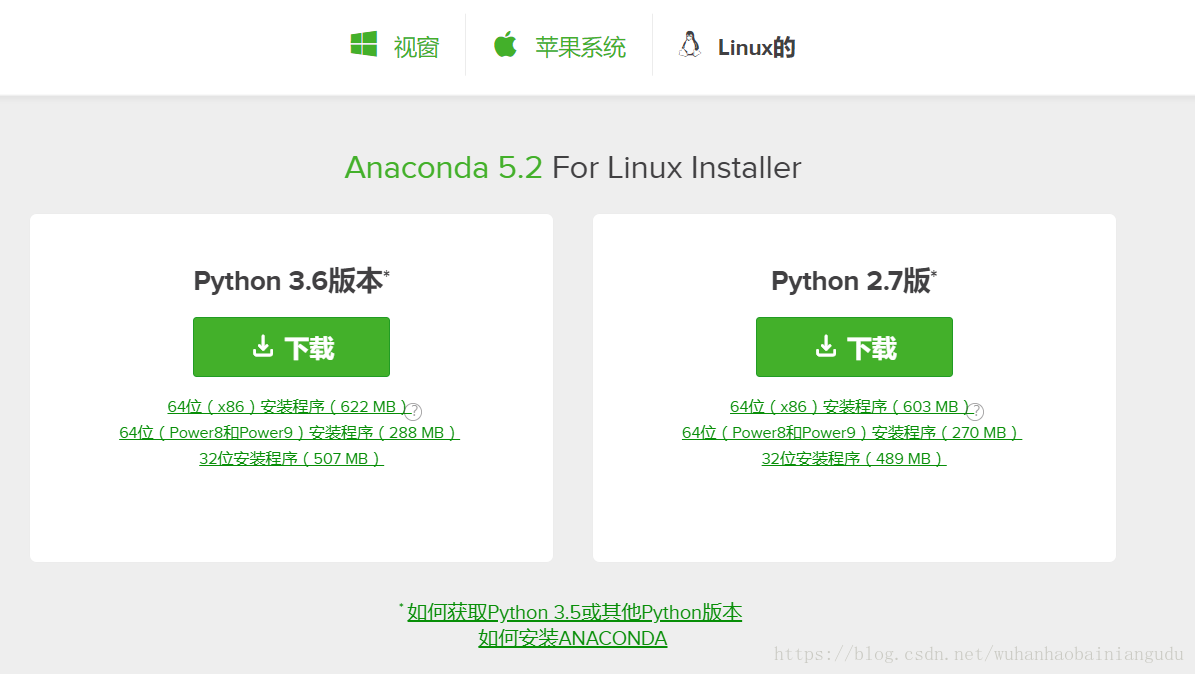
1.下载阿纳康达并安装
官网下载地址:https://www.anaconda.com/download/#linux
下载完毕后,在Teerminal(终端)中到达文件所在位置
whh@ubuntu:~/Desktop$ bash Anaconda3-5.2.0-Linux-x86_64.sh 注意:
bash无论您是否使用Bash shell,都包括该命令。注意:如果未下载到“桌面”目录,请替换~/ Desktop /为下载文件的路径。
注意:选择“以用户身份安装Anaconda ”,除非需要root权限。
一路按回车键,中间记得输入一个是就可以顺利完成安装。
安装程序描述Microsoft VS Code并询问您是否要安装VS Code。输入是否否。如果选择yes,请按照屏幕上的说明完成VS Code安装。建议输入no。
安装程序完成并显示“感谢您安装Anaconda <2或3>!
安装完成后,配置环境路径(到这一步,官网说:“关闭并打开终端窗口以使安装生效,或者输入命令:source~ / .bashrc,其实并不行)
# 将anaconda的bin目录加入PATH,根据版本不同,也可能是~/anaconda3/bin
echo 'export PATH="~/anaconda3/bin:$PATH"' >> ~/.bashrc
# 更新bashrc以立即生效
source ~/.bashrc安装完成后,通过打开Anaconda Navigator(Anaconda附带的程序)来验证它是否安装成功:打开终端窗口,并键入anaconda-navigator。如果Navigator(导航)打开,则表示您已成功安装Anaconda 。
2.安装Tensorflow
2.1创建tensorflow环境
conda create -n tensorflow python=3.6注意:python = 3.6为paython的版本,要跟所要安装的Tensorflow进行对应
如果出现安装不成功的情况,需要把相应已存在的tensorflow文件夹删除:
cd /home/用户名/anaconda3/envs/ rm -r tensorflow/ # 查看tensorflow文件夹是否删除。如果已删除成功,再次运行创建tensorflow环境命令即可 ls
2.2安装Tensorflow
conda install -n tensorflow -c https://conda.anaconda.org/jjhelmus tensorflow2.3启动Tensorflow开发环境
有两种方法,方法一,通过Anaconda启动(非root用户):
# 启动anaconda->home->(Applications on)tensorflow,启动相关开发软件
anaconda-navigator方法二,通过终点启动:
# 激活Tensorflow环境
source activate tensorflow
# 或ipython或Spyder启动开发环境
python 2.4测试
官网上的测试程序。对一个线性数据进行训练的演示(演示)
# 激活Tensorflow环境
source activate tensorflow
# 用vi创建.py文件
vi test.py把代码粘进去:
import tensorflow as tf
import numpy as np
# Create 100 phony x, y data points in NumPy, y = x * 0.1 + 0.3
x_data = np.random.rand(100).astype(np.float32)
y_data = x_data * 0.1 + 0.3
# Try to find values for W and b that compute y_data = W * x_data + b
# (We know that W should be 0.1 and b 0.3, but TensorFlow will
# figure that out for us.)
W = tf.Variable(tf.random_uniform([1], -1.0, 1.0))
b = tf.Variable(tf.zeros([1]))
y = W * x_data + b
# Minimize the mean squared errors.
loss = tf.reduce_mean(tf.square(y - y_data))
optimizer = tf.train.GradientDescentOptimizer(0.5)
train = optimizer.minimize(loss)
# Before starting, initialize the variables. We will 'run' this first.
init = tf.initialize_all_variables()
# Launch the graph.
sess = tf.Session()
sess.run(init)
# Fit the line.
for step in range(201):
sess.run(train)
if step % 20 == 0:
print(step, sess.run(W), sess.run(b))
# Learns best fit is W: [0.1], b: [0.3]用python运行test.py
python test.py
运行效果如下:
(tensorflow) whh@ubuntu:~$ python test.py
WARNING:tensorflow:From /home/whh/anaconda3/envs/tensorflow/lib/python3.6/site-packages/tensorflow/python/util/tf_should_use.py:118: initialize_all_variables (from tensorflow.python.ops.variables) is deprecated and will be removed after 2017-03-02.
Instructions for updating:
Use `tf.global_variables_initializer` instead.
2018-09-02 11:41:06.175335: I tensorflow/core/platform/cpu_feature_guard.cc:141] Your CPU supports instructions that this TensorFlow binary was not compiled to use: SSE4.1 SSE4.2 AVX AVX2 AVX512F FMA
2018-09-02 11:41:06.176242: I tensorflow/core/common_runtime/process_util.cc:69] Creating new thread pool with default inter op setting: 2. Tune using inter_op_parallelism_threads for best performance.
0 [0.14261438] [0.38599837]
20 [0.09890525] [0.300594]
40 [0.09961664] [0.30020803]
60 [0.09986574] [0.30007285]
80 [0.09995298] [0.30002552]
100 [0.09998353] [0.30000895]
120 [0.09999422] [0.30000314]
140 [0.09999798] [0.3000011]
160 [0.09999928] [0.3000004]
180 [0.09999975] [0.30000013]
200 [0.09999985] [0.3000001]使用Anaconda3安装Tensorflow环境成功
2.5退出Tensorflow环境
source deactivate3. CONDA CHEAT SHEET(Conda备忘录 - 部分)
conda info                 # Verify conda is installed, check version number
conda update conda         # Update conda to the current version
conda install PACKAGENAME  # Install a package included in Anaconda
spyder                     # Run a package after install, example Spyder*
conda update PACKAGENAME   # Update any installed program
COMMANDNAME --help         # Command line help
conda install --help       # Command line help
注意:*必须安装并具有可部署的命令,通常是PACKAGENAME