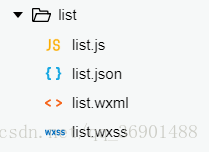
新建list目录,然后新建list页面,自动创建的方法在前面第一章说了
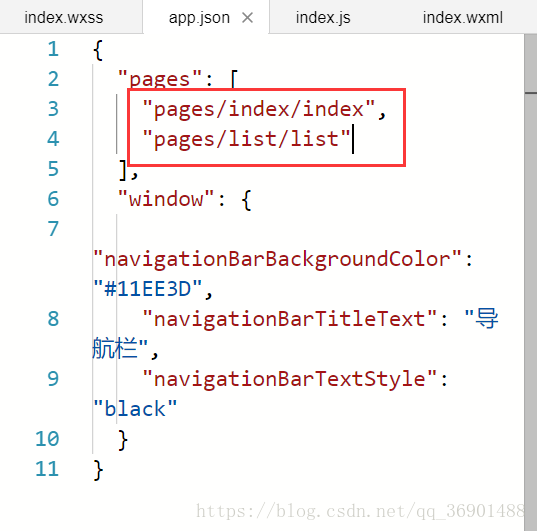
在下面的pages中,会把数组下标为0,也就是第一位当成首页
给首页的按钮加上点击事件:handlerClick
<view style='display:{{isShow?"none":"block"}}' catchtap='handlerClick' class='goStudy'>
    <text>开启小程序之旅</text>
  </view>

</view>在index.js中写事件
 //开启小程序之旅按钮的点击事件
  handlerClick() {
    //点击跳转到list页面
    wx.navigateTo({
      //把app.json中的路径拿过来前面加上 / 就可以了
      url: '/pages/list/list',
    })
  },
这样就能实现跳转了
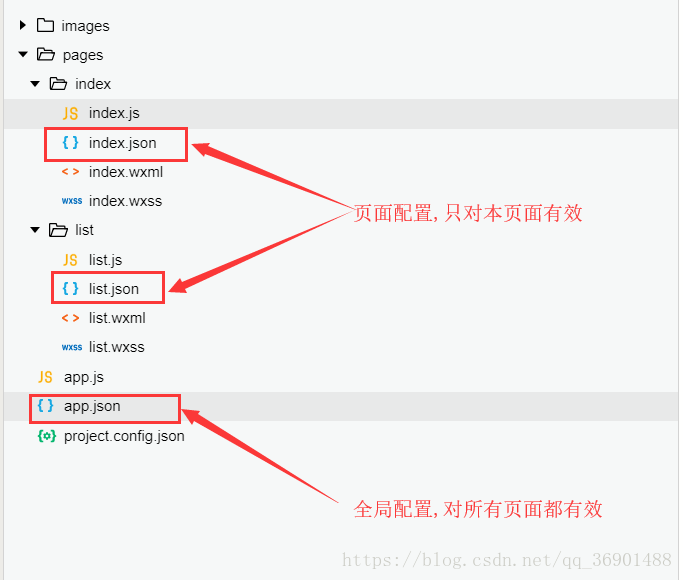
在index.json中写配置可以不用像app.json中那么麻烦,如下就是改变导航栏颜色,不用再在外面包一层window
{
"navigationBarBackgroundColor" : "#FFFF00"
}将list.json中的导航栏改一下:
{
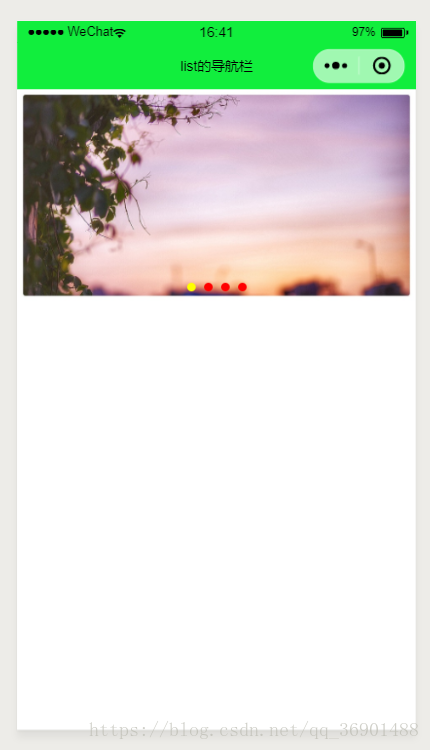
"navigationBarTitleText": "list的导航栏"
}list.wxml
<!--pages/list/list.wxml-->
<view>
  <!--
indicator-dots='true':是否显示面板指示点,默认为false
indicator-color='red':指示点颜色
indicator-active-color='yellow':当前选中的指示点颜色
autoplay='true':是否自动切换
 -->
  <swiper indicator-dots='true' indicator-color='red' indicator-active-color='yellow' autoplay='true'>
    <swiper-item>
      <image src='/images/detail/carousel/1.jpg'></image>
    </swiper-item>
    <swiper-item>
      <image src='/images/detail/carousel/2.jpeg'></image>
    </swiper-item>
    <swiper-item>
      <image src='/images/detail/carousel/3.jpg'></image>
    </swiper-item>
    <swiper-item>
      <image src='/images/detail/carousel/4.png'></image>
    </swiper-item>
  </swiper>
</view>swiper组件可在小程序开发文档的组件中学习
list.wxss
/* pages/list/list.wxss */
swiper{
  width: 100%;
  height: 400rpx;
}
swiper image{
  width: 100%;
  height: 100%;
}
效果图: