一、内容简介
1.树莓派3识别二维码
在树莓派3中使用Python语言编写识别二维码程序。
2.树莓派3与stm32通信
利用USB线连接树莓派3和stm32单片机,将二维码识别结果发送到stm32单片机中。
二、具体过程
硬件配置:树莓派3、树莓派摄像头、stm32单片机
软件配置:树莓派系统为Debian9
(一)树莓派3识别二维码
将树莓派3和外接显示器以及其他外设连接后,便开始进行树莓派开发工作。使用Python图形化界面软件Geany编写二维码识别程序,程序如下:
import numpy as np
import cv2
import zbar
import serial
from PIL import Image

scanner = zbar.ImageScanner()
scanner.parse_config('enable')
font = cv2.FONT_HERSHEY_SIMPLEX

#Read in a picture of a QR-code
image = cv2.imread("/home/pi/python_code/zbar_code/cam_1024_800.jpg")
pil = Image.fromarray(image).convert('L')
width, height = pil.size
raw = pil.tobytes()
zarimage = zbar.Image(width,height,'Y800',raw)
scanner.scan(zarimage)
for symbol in zarimage:
  print 'decoded',symbol.type,'symbol','"%s"'%symbol.data
将程序文件保存为QR_code.py,在Terminal终端中进入到上述程序文件保存目录,执行以下命令运行二维码识别程序,识别成功后将在终端窗口反馈识别结果。
python QR_code.py(二)树莓派3与stm32通信
1.接线方式:USB口接树莓派3,另一端连接stm32单片机USB转TTL模块。
2.树莓派3配置:
在终端窗口执行以下命令查看端口情况。
ls -l /dev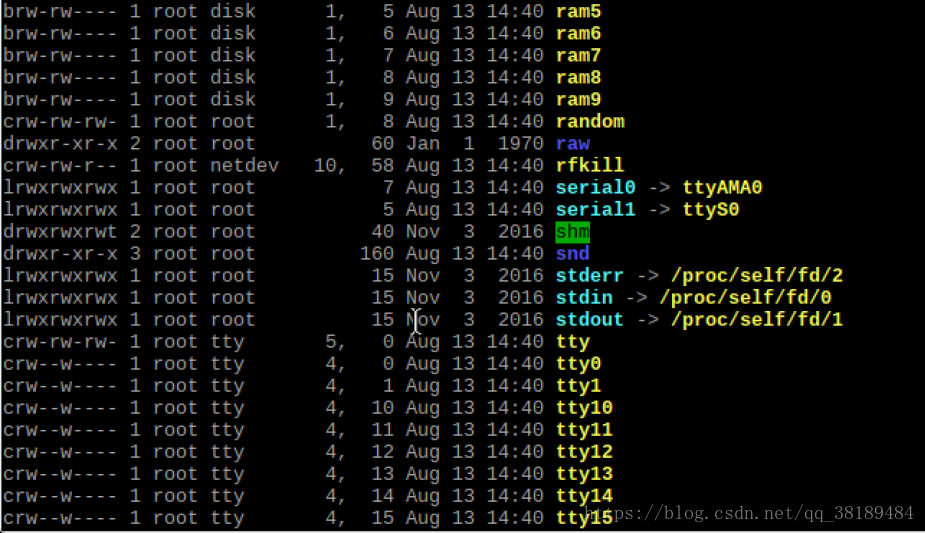
其中ttyAMA0为硬件串口,ttyS0为mini串口,ttyUSB0为USB端口,这里使用ttyUSB0端口进行数据传输。
在上述二维码识别程序的最后加上如下代码,实现数据的发送。
#The first parameter is port setting,and the second parameter is baud rate setting
ser = serial.Serial("/dev/ttyUSB0",115200)
ser.write(symbol.data)
ser.close()
3.stm32单片机配置:
首先需要编写串口初始化程序,如下:(这里配置的是串口2,对应引脚为PA2和PA3)
//串口2初始化配置
void Usart2_Init(u32 bound){
  //GPIO端口设置
  GPIO_InitTypeDef GPIO_InitStructure;
  USART_InitTypeDef USART_InitStructure;
  NVIC_InitTypeDef NVIC_InitStructure;

  RCC_APB1PeriphClockCmd(RCC_APB1Periph_USART2,ENABLE);  //使能USART2,GPIOA时钟
  RCC_APB2PeriphClockCmd(RCC_APB2Periph_GPIOA, ENABLE);

  //USART2_TX   GPIOA.2
  GPIO_InitStructure.GPIO_Pin = GPIO_Pin_2;
  GPIO_InitStructure.GPIO_Speed = GPIO_Speed_50MHz;
  GPIO_InitStructure.GPIO_Mode = GPIO_Mode_AF_PP;	//复用推挽输出
  GPIO_Init(GPIOA, &GPIO_InitStructure);//初始化GPIOA.2

  //USART2_RX	  GPIOA.3
  GPIO_InitStructure.GPIO_Pin = GPIO_Pin_3;
  GPIO_InitStructure.GPIO_Mode = GPIO_Mode_IN_FLOATING;//浮空输入
  GPIO_Init(GPIOA, &GPIO_InitStructure);//初始化GPIOA.3

  //USART2 NVIC配置
  NVIC_InitStructure.NVIC_IRQChannel = USART2_IRQn;
  NVIC_InitStructure.NVIC_IRQChannelPreemptionPriority=3 ;//抢占优先级3
  NVIC_InitStructure.NVIC_IRQChannelSubPriority = 3;		//子优先级3
  NVIC_InitStructure.NVIC_IRQChannelCmd = ENABLE;			//IRQ通道使能
  NVIC_Init(&NVIC_InitStructure);	//根据指定的参数初始化NVIC寄存器

   //USART 初始化设置

  USART_InitStructure.USART_BaudRate = bound;//串口波特率
  USART_InitStructure.USART_WordLength = USART_WordLength_8b;//字长为8位数据格式
  USART_InitStructure.USART_StopBits = USART_StopBits_1;//一个停止位
  USART_InitStructure.USART_Parity = USART_Parity_No;//无奇偶校验位
  //无硬件数据流控制
  USART_InitStructure.USART_HardwareFlowControl = USART_HardwareFlowControl_None;
  USART_InitStructure.USART_Mode = USART_Mode_Rx | USART_Mode_Tx;	//收发模式

  USART_Init(USART2, &USART_InitStructure); //初始化串口2
  USART_ITConfig(USART2, USART_IT_RXNE, ENABLE);//开启串口接收中断
  USART_Cmd(USART2, ENABLE);                    //使能串口2

}
然后编写串口中断程序来接收数据,代码如下:
int flag=-1;
u8 result[50];

void USART2_IRQHandler(void)
{
	u8 res;
	if(USART_GetITStatus(USART2,USART_IT_RXNE))
	{
		flag++;
		res= USART_ReceiveData(USART2);
		result[flag]=res;
		if(flag>=49)
			flag=-1;
	}
}
4.测试:
连接好树莓派3和stm32单片机后,在树莓派3终端窗口用命令方式运行程序,就可以将二维码识别结果发送到stm32单片机了。
三、结束语
若文章中有不对的地方,欢迎大家批评指正。希望能够在树莓派的学习过程中不断进步。