前言: 这两天听到最多的就是“假疫苗“事件了,唉唉~~ 真的是为了利益可以不管不顾一切啊,这可能也是当今社会的一个现象,悲哀!! 说是有台风啥的,在家一个人默默地待了两天,一个人的时候总喜欢胡思乱想,甚至会花上一整天的时间思考完整个人生,有时候真希望自己能够活得天真或者自私点,这样就不会有太多烦恼了.
bb了一会进入今天的主题哈,入坑前端也有一段时间了,从android的(data-binding、eventbus、rxjava)、rn的redux、然后vue的vuex,以前也就是用用,没太大感觉,每个框架都是大同小异,最终的目的也就是是全局状态的管理,redux跟android的data-binding啥的小伙伴有时间自己去研究哈,正好最近一直在接触vue,所以就从vuex开刀了~~
先附上vuex的官网地址和github地址:
https://vuex.vuejs.org/zh/installation.html
https://github.com/vuejs/vuex
至于vuex是什么?然后vuex的基本用法?我就不说了哈,官网比我说的好~~ 哈哈哈
我们用vue-cli创建一个简单的vue工程:
vue init webpack VuexDemo然后安装vuex
yarn add vuex 最后修改工程的HelloWorld.vue,然后添加按钮+-:
<template>
  <div class="hello">
    <div class="opt-container">
      <div class="opt opt-increase" @click="increase">+</div>
      <span class="opt">{{count}}</span>
      <div class="opt opt-decrease" @click="decrease">-</div>
    </div>
  </div>
</template>

<script>
  export default {
    name: 'HelloWorld',
    data() {
      return {
        count: 0
      }
    },
    methods: {
      increase() {
        this.count++;
      },
      decrease() {
        this.count--;
      }
    }
  }
</script>

<!-- Add "scoped" attribute to limit CSS to this component only -->
<style scoped>
  .opt-container {
    font-size: 0px;
  }

  .opt {
    display: inline-block;
    text-align: center;
    height: 40px;
    width: 40px;
    border-radius: 20px;
    background-color: #efefef;
    line-height: 40px;
    user-select: none;
    font-size: 20px;
    margin: 0 10px;
  }
</style>
最后运行工程:

哈哈~走到这一步,想必只要接触过vue的童鞋都没问题,好啦~~ 我们现在就把我们的count变量抽取到vuex里面去.小伙伴跟着我一起往下走哈~~
首先我们创建一个store文件夹,然后返回store对象:
/**
 * @author YASIN
 * @version [React-Native Ocj V01, 2018/7/22]
 * @date 17/2/23
 * @description index
 */
import Vue from 'vue';
import Vuex from 'vuex';

Vue.use(Vuex);
let state = {
  count: 0
};
const actions = {
  increase({commit}) {
    commit('increase');
  },
  decrease({commit}) {
    commit('decrease');
  }
};
const mutations = {
  increase(state) {
    this.state.count++;
  },
  decrease(state) {
    this.state.count--;
  }
};
export default new Vuex.Store({
  state,
  actions,
  mutations
});
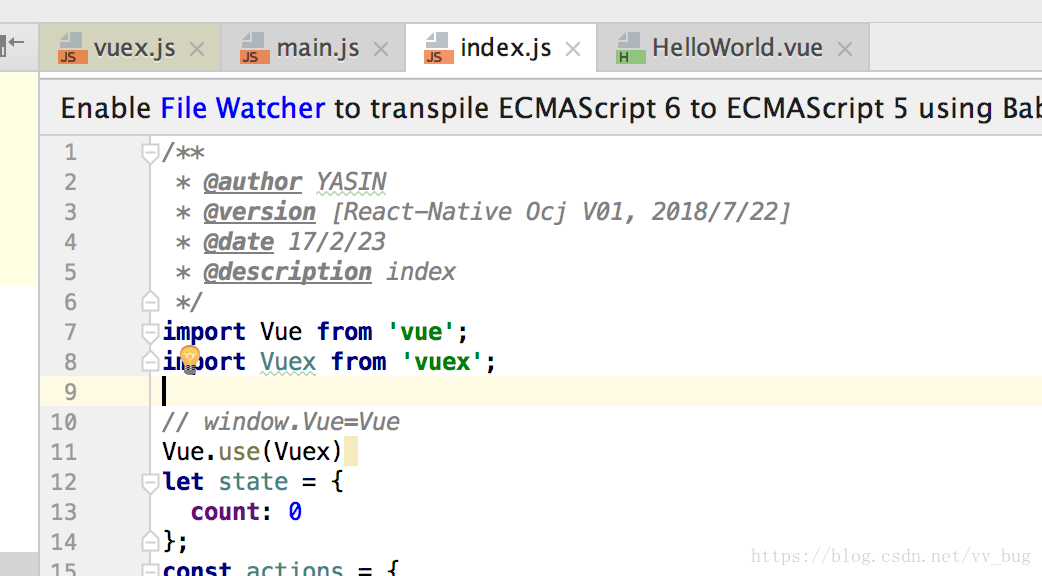
然后修改我们的main.js文件,把store引入到vue组件中:
// The Vue build version to load with the `import` command
// (runtime-only or standalone) has been set in webpack.base.conf with an alias.
import Vue from 'vue'
import App from './App'
import router from './router'
import store from './store'

Vue.config.productionTip = false

/* eslint-disable no-new */
new Vue({
  el: '#app',
  router,
  store,
  components: {App},
  template: '<App/>'
})
最后我们在我们的组件中把count跟store中的count绑定,然后添加increase跟decrease方法:
<template>
  <div class="hello">
    <div class="opt-container">
      <div class="opt opt-increase" @click="increase">+</div>
      <span class="opt">{{count}}</span>
      <div class="opt opt-decrease" @click="decrease">-</div>
    </div>
  </div>
</template>

<script>
  export default {
    name: 'HelloWorld',
    computed: {
      count() {
        return this.$store.state.count
      }
    },
    methods: {
      increase() {
        this.$store.dispatch('increase');
      },
      decrease() {
        this.$store.dispatch('decrease');
      }
    }
  }
</script>

<!-- Add "scoped" attribute to limit CSS to this component only -->
<style scoped>
  .opt-container {
    font-size: 0px;
  }

  .opt {
    display: inline-block;
    text-align: center;
    height: 40px;
    width: 40px;
    border-radius: 20px;
    background-color: #efefef;
    line-height: 40px;
    user-select: none;
    font-size: 20px;
    margin: 0 10px;
    vertical-align: middle;
  }
</style>
好啦!! 一个简单的vuexdemo就是是完成了,效果我就不演示了,跟我们一开始截屏是一样的,所以现在不管是在项目哪个地方,我们只需要执行
this.$store.dispatch('decrease');
this.$store.dispatch('increase');
都能改变demo页面中的count值.
好啦~ 我们先看看我们的store文件:
Vue.use(Vuex);
let state = {
  count: 0
};
const actions = {
  ...
};
const mutations = {
  ...
};
export default new Vuex.Store({
  state,
  actions,
  mutations
});
可以看到我们在代码一开始执行了:
Vue.use(Vuex);官网也说了:
// 如果在模块化构建系统中,请确保在开头调用了 Vue.use(Vuex)我们都知道,当执行Vue.use(xx)方法后,Vue会执行xx的install方法,并会传递当前vue对象给第一个参数,所以:
我们看看vuex源码中干了什么,我们找到vuex源码的install方法:
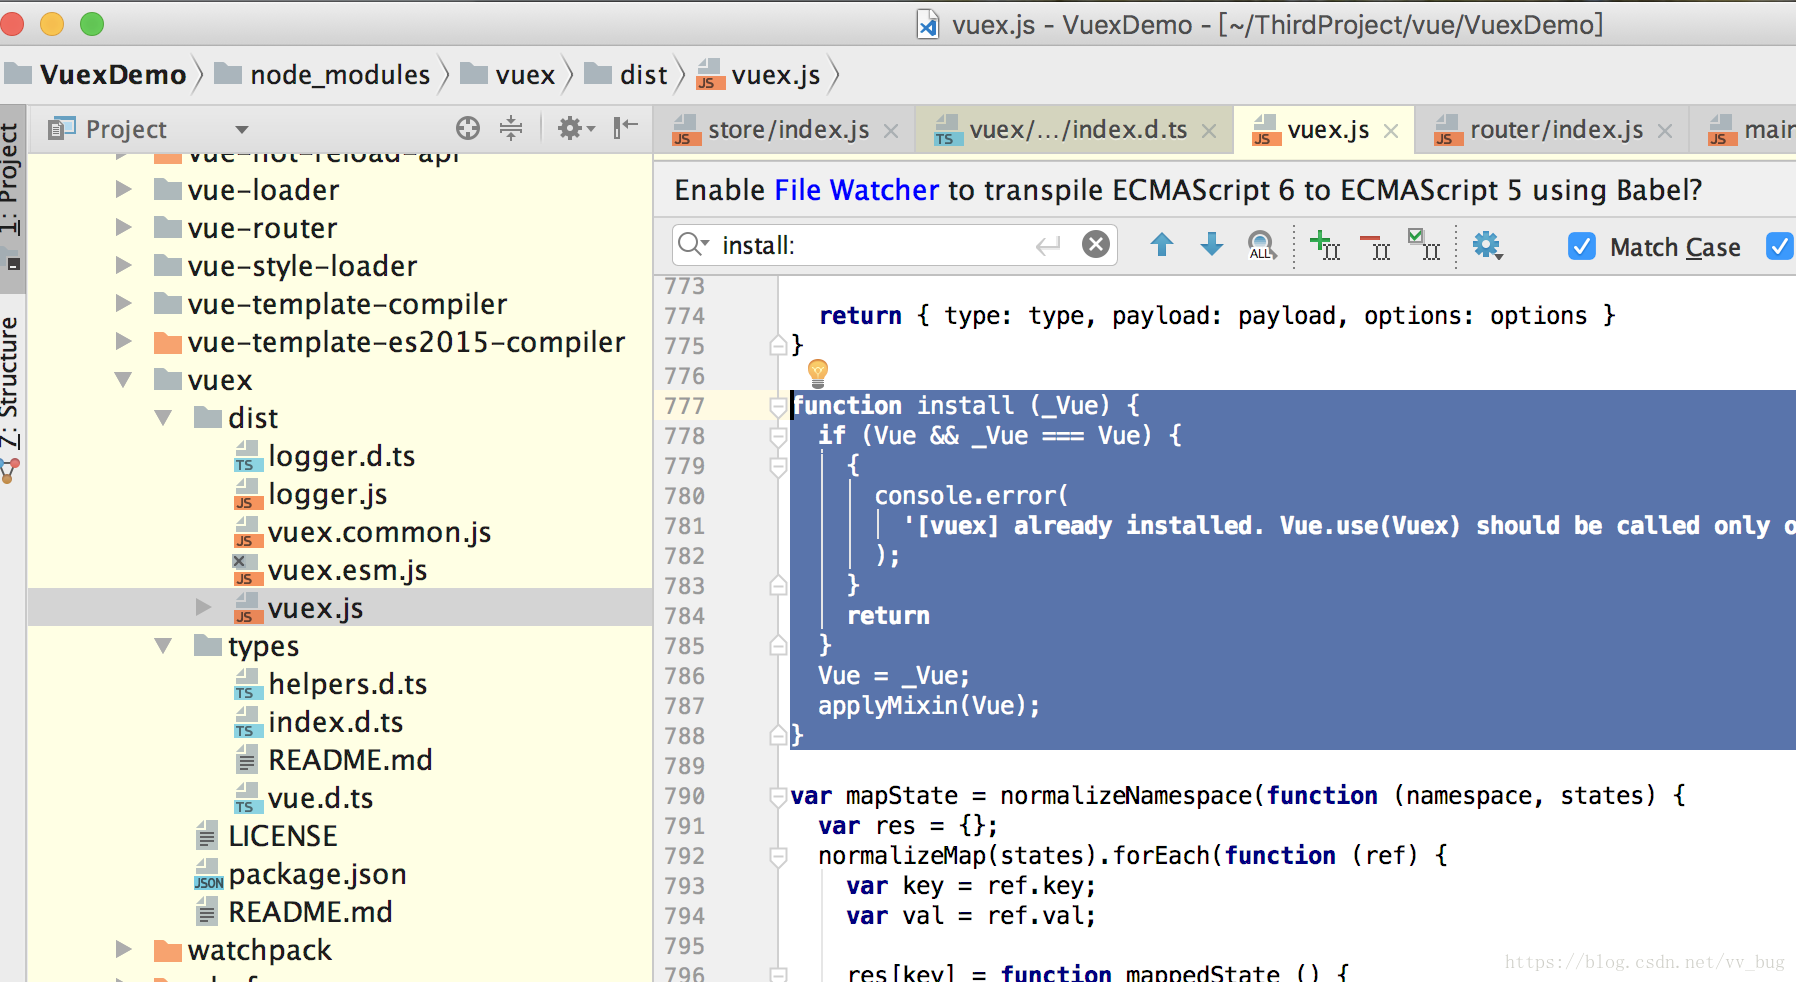
function install (_Vue) {
  if (Vue && _Vue === Vue) {
    {
      console.error(
        '[vuex] already installed. Vue.use(Vuex) should be called only once.'
      );
    }
    return
  }
  Vue = _Vue;
  applyMixin(Vue);
}
继续往下~
var applyMixin = function (Vue) {
  var version = Number(Vue.version.split('.')[0]);

  if (version >= 2) {
    Vue.mixin({ beforeCreate: vuexInit });
  } else {
    // override init and inject vuex init procedure
    // for 1.x backwards compatibility.
    var _init = Vue.prototype._init;
    Vue.prototype._init = function (options) {
      if ( options === void 0 ) options = {};

      options.init = options.init
        ? [vuexInit].concat(options.init)
        : vuexInit;
      _init.call(this, options);
    };
  }
我们用的vue版本是Vue.version = ‘2.5.16’;所以继续往下
Vue.mixin({ beforeCreate: vuexInit });所以当用的了Vue.use(vuex),当我们组件加载的时候,就会触发组件的beforeCreate生命周期方法,然后就会走vuexInit方法:
function vuexInit () {
    //获取当前组件的vue对象
    var options = this.$options;
    // store injection
    if (options.store) {
    //如果当前vue对象是否包含store对象,则把当前store对象赋给this.$store属性
      this.$store = typeof options.store === 'function'
        ? options.store()
        : options.store;
    } else if (options.parent && options.parent.$store) {
    //如果父组件包含了store对象,那么就把父控件的store对象给当前vue组件
      this.$store = options.parent.$store;
    }
  }
看到了这是不是有点明白了,就是为了让全局用一个store对象,然后通过组件的$store拿到当前store对象,所以Vue.use(vuex)还是很重要的.
好啦~~ 看完了Vue.use(vuex)后,我们找到vuex的Store对象,首先找到Store的构造方法:
var Store = function Store (options) {
  var this$1 = this;
  if ( options === void 0 ) options = {};

  // Auto install if it is not done yet and `window` has `Vue`.
  // To allow users to avoid auto-installation in some cases,
  // this code should be placed here. See #731
  if (!Vue && typeof window !== 'undefined' && window.Vue) {
    install(window.Vue);
  }

  {
    assert(Vue, "must call Vue.use(Vuex) before creating a store instance.");
    assert(typeof Promise !== 'undefined', "vuex requires a Promise polyfill in this browser.");
    assert(this instanceof Store, "Store must be called with the new operator.");
  }

  var plugins = options.plugins; if ( plugins === void 0 ) plugins = [];
  var strict = options.strict; if ( strict === void 0 ) strict = false;

  var state = options.state; if ( state === void 0 ) state = {};
  if (typeof state === 'function') {
    state = state() || {};
  }

  // store internal state
  this._committing = false;
  this._actions = Object.create(null);
  this._actionSubscribers = [];
  this._mutations = Object.create(null);
  this._wrappedGetters = Object.create(null);
  this._modules = new ModuleCollection(options);
  this._modulesNamespaceMap = Object.create(null);
  this._subscribers = [];
  this._watcherVM = new Vue();

  // bind commit and dispatch to self
  var store = this;
  var ref = this;
  var dispatch = ref.dispatch;
  var commit = ref.commit;
  this.dispatch = function boundDispatch (type, payload) {
    return dispatch.call(store, type, payload)
  };
  this.commit = function boundCommit (type, payload, options) {
    return commit.call(store, type, payload, options)
  };

  // strict mode
  this.strict = strict;

  // init root module.
  // this also recursively registers all sub-modules
  // and collects all module getters inside this._wrappedGetters
  installModule(this, state, [], this._modules.root);

  // initialize the store vm, which is responsible for the reactivity
  // (also registers _wrappedGetters as computed properties)
  resetStoreVM(this, state);

  // apply plugins
  plugins.forEach(function (plugin) { return plugin(this$1); });

  if (Vue.config.devtools) {
    devtoolPlugin(this);
  }
};
代码不是很多,我们首先看到:
 if (!Vue && typeof window !== 'undefined' && window.Vue) {
    install(window.Vue);
  }
也就是当我们没有使用Vue.use的时候,如果window对象中有Vue对象,也会执行跟Vue.use一样的操作:
我们先简单的说一下vuex的原理哈,主要看构造函数的这一行代码:
  // initialize the store vm, which is responsible for the reactivity
  // (also registers _wrappedGetters as computed properties)
  resetStoreVM(this, state);
字面上可以看出,就是注册一个store的vm对象,那么vm对象到底是什么呢?我们继续往下:
function resetStoreVM (store, state, hot) {
  var oldVm = store._vm;

  // bind store public getters
  store.getters = {};
  var wrappedGetters = store._wrappedGetters;
  var computed = {};
  forEachValue(wrappedGetters, function (fn, key) {
    // use computed to leverage its lazy-caching mechanism
    computed[key] = function () { return fn(store); };
    Object.defineProperty(store.getters, key, {
      get: function () { return store._vm[key]; },
      enumerable: true // for local getters
    });
  });

  // use a Vue instance to store the state tree
  // suppress warnings just in case the user has added
  // some funky global mixins
  var silent = Vue.config.silent;
  Vue.config.silent = true;
  store._vm = new Vue({
    data: {
      $$state: state
    },
    computed: computed
  });
  Vue.config.silent = silent;

  // enable strict mode for new vm
  if (store.strict) {
    enableStrictMode(store);
  }

  if (oldVm) {
    if (hot) {
      // dispatch changes in all subscribed watchers
      // to force getter re-evaluation for hot reloading.
      store._withCommit(function () {
        oldVm._data.$$state = null;
      });
    }
    Vue.nextTick(function () { return oldVm.$destroy(); });
  }
}
先忽略其它代码,我们看到这么一段:
 store._vm = new Vue({
    data: {
      $$state: state
    },
    computed: computed
  });
好吧,小伙伴是不是明白了,其实就是创建了Vue对象,然后把我们创建在store的state对象给了data的$$state属性,在vue中我们知道,data对象是响应式的,所以当我们发出一个action后,然后走到mutations,改变state的值,从而改变组件中绑定的值变换.
有点晚了,今天就先到这了,之后我会从vuex的dispatch—>mutations—>state的过程,带着源码一步一步走,最后再把actions的钩子函数等等把vuex的源码全部走一遍.
好啦~~ 大牛勿喷,下节见啦!!!!