获取图像像素指针
Mat.ptr<uchar>(int i=0) /*获取像素矩阵的指针,索引i表示第几行,从0开始计行数。*/
const uchar*  current = myImage.ptr<uchar>(row );/*获得当前行指针*/
p(row, col) = current[col] /*获取当前像素点P(row, col)的像素值*/
像素范围处理saturate_cast<uchar>,防止溢出
saturate_cast<uchar> (x<0),返回0;
saturate_cast<uchar> (x>255),返回255;
saturate_cast<uchar> (x>=0 && x<=255),返回x;
该函数的功能:确保RGB值的范围在0~255之间
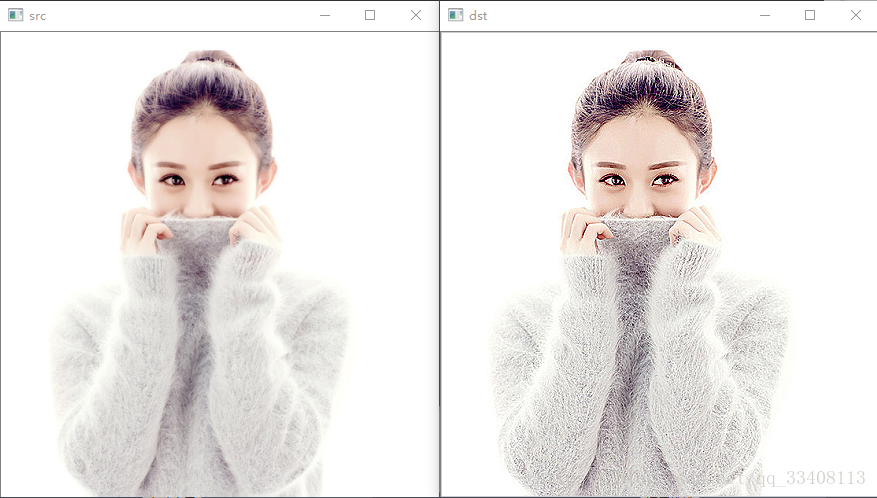
掩膜操作实现图像对比度的调整
红色是中心像素,从上到下,从左到右对每个像素做同样的处理操作,得到最终结果就是对比度提高之后的输出图像Mat对象。
示例:
#include <opencv2\opencv.hpp>
#include <iostream>
#include <cmath>
using namespace cv;
using namespace std;

int main(void)
{
	Mat src, dst;
	src = imread("F:/test.png");
	if (!src.data) {
		cout << "open picture error!!" << endl;
	}
	CV_Assert(src.depth() == CV_8U);
	imshow("src", src);
	int cols = (src.cols - 1) * src.channels();
	int rows = src.rows;
	int offsets = src.channels();
	dst = Mat(src.size(), src.type());
	for (int row = 1; row < (rows - 1); row++) {
		const uchar* pre = src.ptr<uchar>(row - 1);
		const uchar* cur = src.ptr<uchar>(row);
		const uchar* next = src.ptr<uchar>(row + 1);
		uchar* output = dst.ptr<uchar>(row);
		for (int col = offsets; col < cols; col++) {
			output[col] = saturate_cast<uchar>(5 * cur[col] - (cur[col - offsets] + cur[col + offsets] + pre[col] + next[col]));
		}
	}
	imshow("dst", dst);
	waitKey(0);
	return 0;
}
运行结果
函数filter2D
示例
#include <opencv2\opencv.hpp>
#include <iostream>
#include <cmath>
using namespace cv;
using namespace std;

int main(void)
{
	Mat src, dst;
	src = imread("F:/test.png");
	if (!src.data) {
		cout << "open picture error!!" << endl;
	}
	CV_Assert(src.depth() == CV_8U);
	imshow("src", src);
	Mat kernel = (Mat_<char>(3, 3) << 0, -1, 0, -1, 5, -1, 0, -1, 0);
	filter2D(src, dst, src.depth(), kernel);
	imshow("filter2D", dst);
	waitKey(0);
	return 0;
}
运行结果
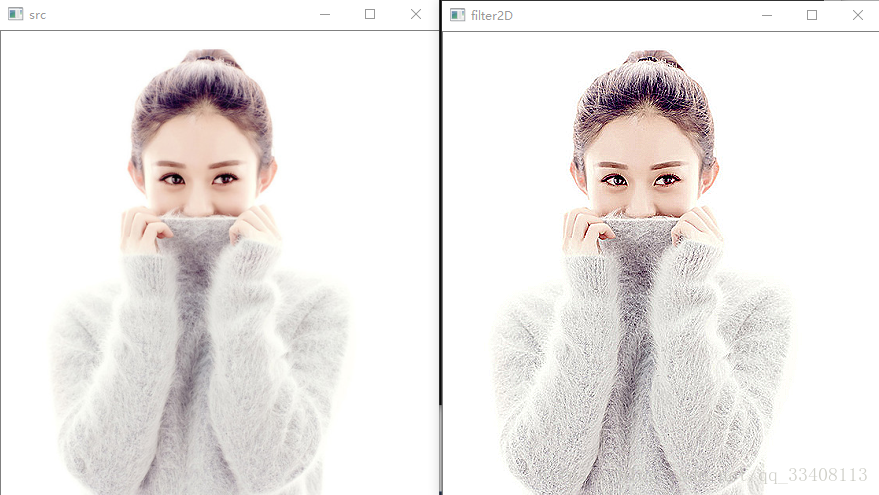
会发现filter2D函数和上面矩阵运算的效果一样。所以今后就不用那么长的代码来实现对比度的提高啦。