In this article, I am going to explain ,"How to Upload Images to the server using Cordova File Transfer Plugin and Asp.Net core Web API".
Requirements
- Web API (you can use local IIS servers to host your API)
- Cordova Camera Plugin (cordova-plugin-camera)
- Cordova File Transfer Plugin (cordova-plugin-filetransfer)
Steps
1. Build Asp.net core Web API.
2. Camera Plugin to use mobile camera.
3. Upload Images using File transfer plugin.
SERVER SIDE:
Follow the link below to built Image Upload REST API Using ASP.NET Core.
Follow the link to Host ASP.NET Core Web API on IIS.
MOBILE APP:
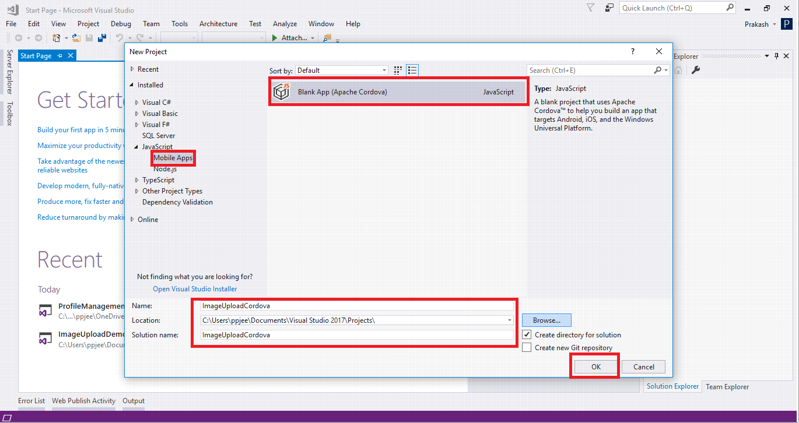
Create New project on Visual Studio.
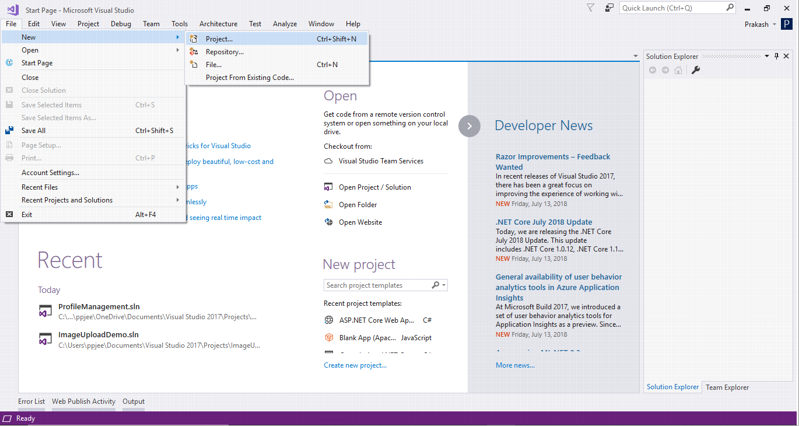
- Select JavaScript
- Select Mobile Apps
- Select Blank APP (Cordova APP)
- Provide Project Name
- Select Location that you want to store your project.
- Click on OK
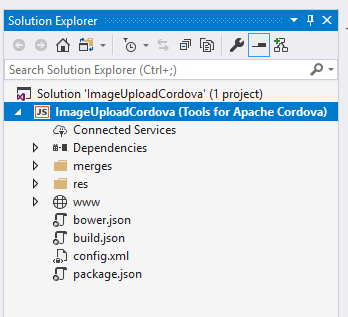
- Our Project looks like this.
Adding Plugin:
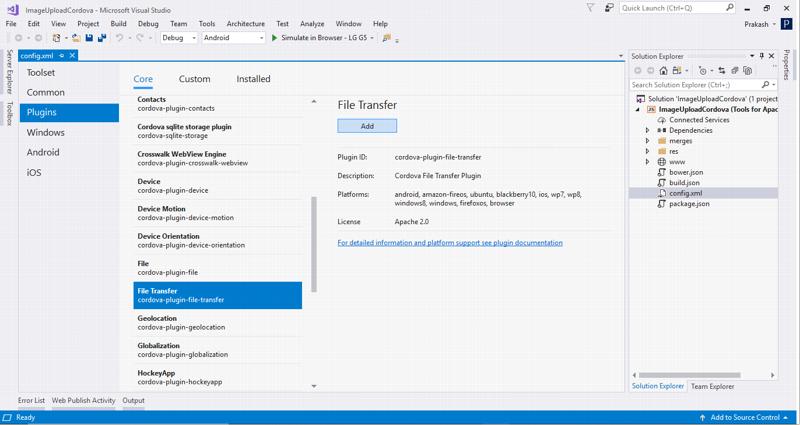
- Open config.xml
- Go to Plugin.
- Click on Camera. (cordova-plugin-camera)
- Click on Add.
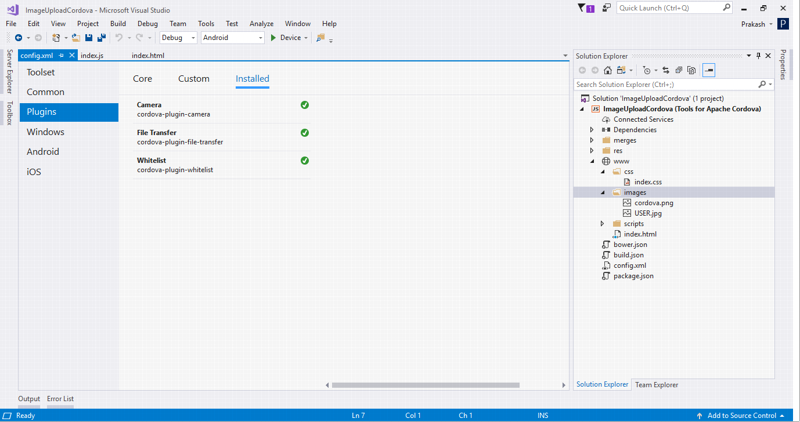
- Similarly Add File Transfer Plugin(cordova-plugin-file-transfer)
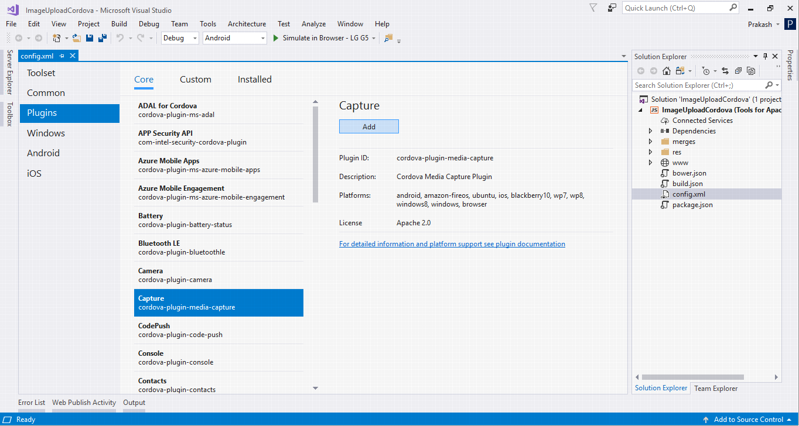
- You can see that our installed plugin is on the installed tab.
Now open your index.html and add following div.
<div class="row">
      <div class="profile-header-container">
         <div class="profile-header-img">
             <div id="image">
                 <img class='img-circle' width='120' height='120' src='images/USER.jpg' />
             </div>
             <div class="rank-label-container">
                 <input type="button" value="Update Profile Picture" id="GetImage">
             </div>
         </div>
      </div>
</div>- USER.jpg is a dummy image.

- Remove all the content of index.css and add following style
body, html {
    height: 100%;
    background-repeat: no-repeat;
    background-image: linear-gradient(rgb(104, 145, 162), rgb(12, 97, 33));
}
/**
 * Profile image component
 */
.profile-header-container {
    margin: 0 auto;
    text-align: center;
}

.profile-header-img {
    padding: 54px;
}

    .profile-header-img > img.img-circle {
        width: 120px;
        height: 120px;
        border: 2px solid #51D2B7;
    }

.profile-header {
    margin-top: 43px;
}

/**
 * Ranking component
 */
.rank-label-container {
    margin-top: -19px;
    /* z-index: 1000; */
    text-align: center;
}

.label.label-default.rank-label {
    background-color: rgb(81, 210, 183);
    padding: 5px 10px 5px 10px;
    border-radius: 27px;
}
- final Index.htm willl look like:
<!DOCTYPE html>
<html>
<head>
    <meta http-equiv="Content-Security-Policy" content="default-src 'self' data: gap: https://ssl.gstatic.com 'unsafe-eval'; style-src 'self' 'unsafe-inline'; media-src *">
    <meta http-equiv="content-type" content="text/html; charset=UTF-8" />
    <meta name="format-detection" content="telephone=no">
    <meta name="msapplication-tap-highlight" content="no">
    <meta name="viewport" content="user-scalable=no, initial-scale=1, maximum-scale=1, minimum-scale=1, width=device-width">
    <link rel="stylesheet" type="text/css" href="css/index.css">
    <title>ImageUploadCordova</title>
</head>
<body>
    <div class="row">
        <div class="profile-header-container">
            <div class="profile-header-img">
                <div id="image">
                    <img class='img-circle' width='120' height='120' src='images/USER.jpg' />
                </div>
                <div class="rank-label-container">
                    <input type="button" value="Update Profile Picture" id="GetImage">
                </div>
            </div>
        </div>
    </div>
    <script type="text/javascript" src="cordova.js"></script>
    <script type="text/javascript" src="scripts/platformOverrides.js"></script>
    <script type="text/javascript" src="scripts/index.js"></script>
</body>
</html>- final Index.js look like:
(function () {
"use strict";
document.addEventListener( 'deviceready', onDeviceReady.bind( this ), false );
function onDeviceReady() {
document.getElementById("GetImage").addEventListener("click", GetImage);
};
})();
function GetImage() {
navigator.camera.getPicture(function (imageUri) {
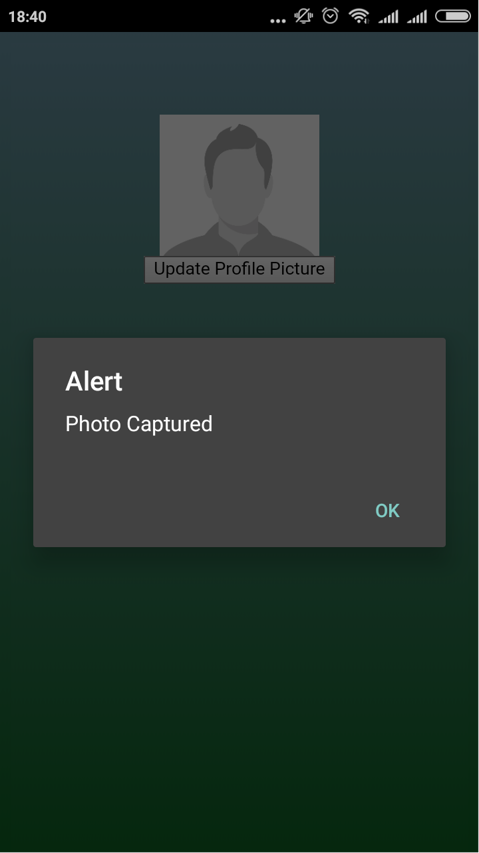
var CapturePhoto = document.getElementById("image");
alert("Photo Captured");
CapturePhoto.innerHTML = "<img class='img-circle' width='120' height='120' src='" + imageUri + "' />'";
uploadPhoto(imageUri);
}, null, null);
}
function uploadPhoto(imageURI) {
var options = new FileUploadOptions();
options.fileKey = "files";
options.fileName = imageURI.substr(imageURI.lastIndexOf('/') + 1);
options.mimeType = "image/jpeg";
console.log(options.fileName);
var ft = new FileTransfer();
ft.upload(imageURI, "http://192.168.1.66:8084/api/image", function (result) {
console.log(JSON.stringify(result));
alert(JSON.stringify(result));
}, function (error) {
console.log(JSON.stringify(error));
alert(JSON.stringify(result));
}, options);
}In Index.js, you can see two methods firstly, GetImage for capturing image from Camera and secondly, UploadImage for uploading image to our web api. http://192.168.1.66:8084 is my local IIS server address.
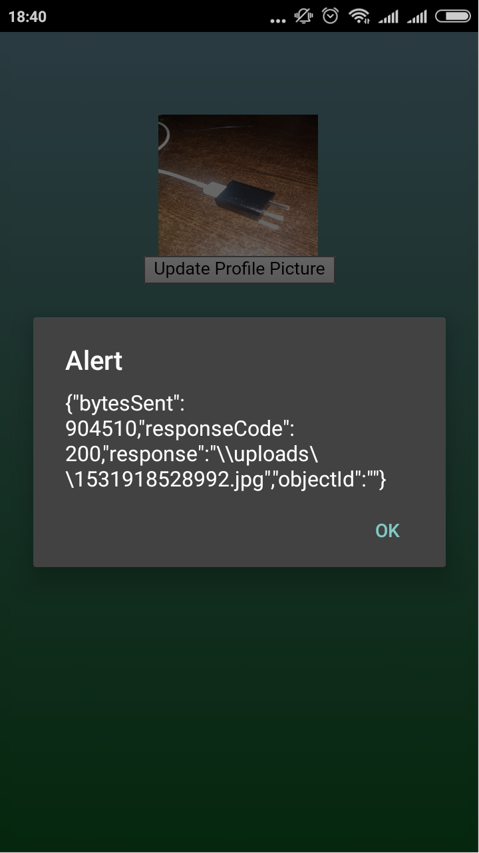
Output:

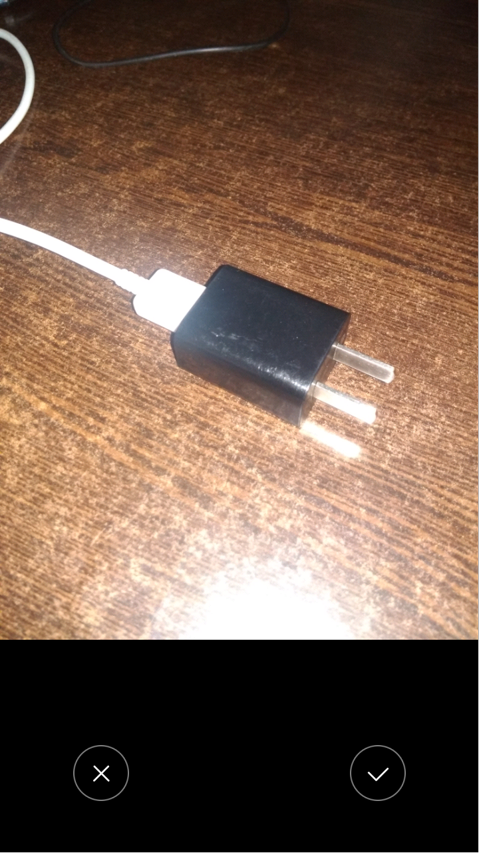
- Tap on Upload Profile Picture.
- Choose camera
- Take a picture.
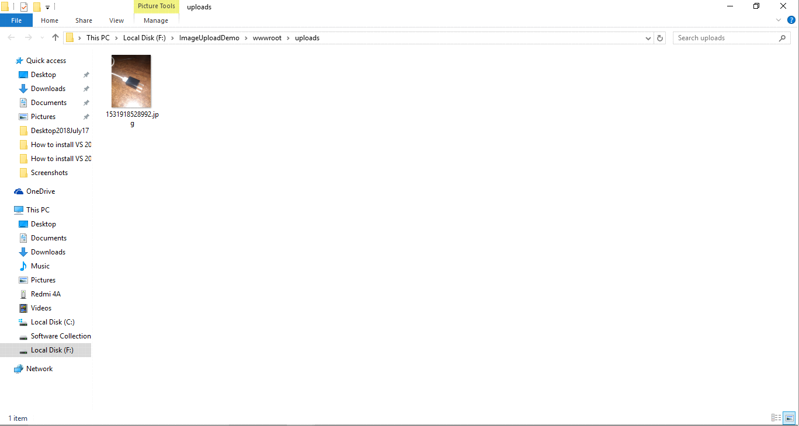
Server Side Output:
- Open your IIS.
- Right click on your webAPI and click on Explore.

-
Finally, image is uploaded on Server Folder.
Summary:
In this article, we learned how to Upload Image using Cordova Camera plugin and File Transfer Plugin with ASP.Net core web API on Server Side.