文章目录
一、学习目标
- 熟练使用按钮和图像按钮
- 熟练使用图像视图显示图片
二、概括
- 安卓应用中,按钮一般用于用户点击确认某项功能,当然也可以用图像按钮。显示图片,我们经常使用图像视图(ImageView)。一个界面最好能图文并茂,给用户较好的体验。
三、讲解
(一)按钮控件
1、继承关系图
- Button是TextView的子类
2、常用属性
| 属性 | 含义 |
|---|---|
| text | 文本内容 |
| textSize | 文本字号,单位:sp |
| textColor | 文本颜色,#ff0000 - 红色 |
| background | 背景颜色或背景图片 |
| layout_height | 高度,单位:dp (wrap_content, match_parent) |
| layout_weight | 宽度,单位:dp (wrap_content, match_parent) |
| onClick | 单击事件(用于绑定事件处理方法) |
(二)图像视图
1、继承关系图
- ImageView是View的子类
2、常用属性
| 属性 | 含义 |
|---|---|
| layout_height | 高度,单位:dp (wrap_content, match_parent) |
| layout_weight | 宽度,单位:dp (wrap_content, match_parent) |
| src | 源(用于设置图片源) |
| background | 背景(用于设置背景图片) |
| scaleType | 缩放类型(fitXY) |
| tint | 蒙版 |
(三)图像按钮
1、继承关系图
- ImageButton是ImageView的子类
2、常用属性
| 属性 | 含义 |
|---|---|
| layout_height | 高度,单位:dp (wrap_content, match_parent) |
| layout_weight | 宽度,单位:dp (wrap_content, match_parent) |
| src | 源(用于设置图片源) |
| background | 背景(用于设置背景图片) |
(四)教学案例:通过按钮缩放图片
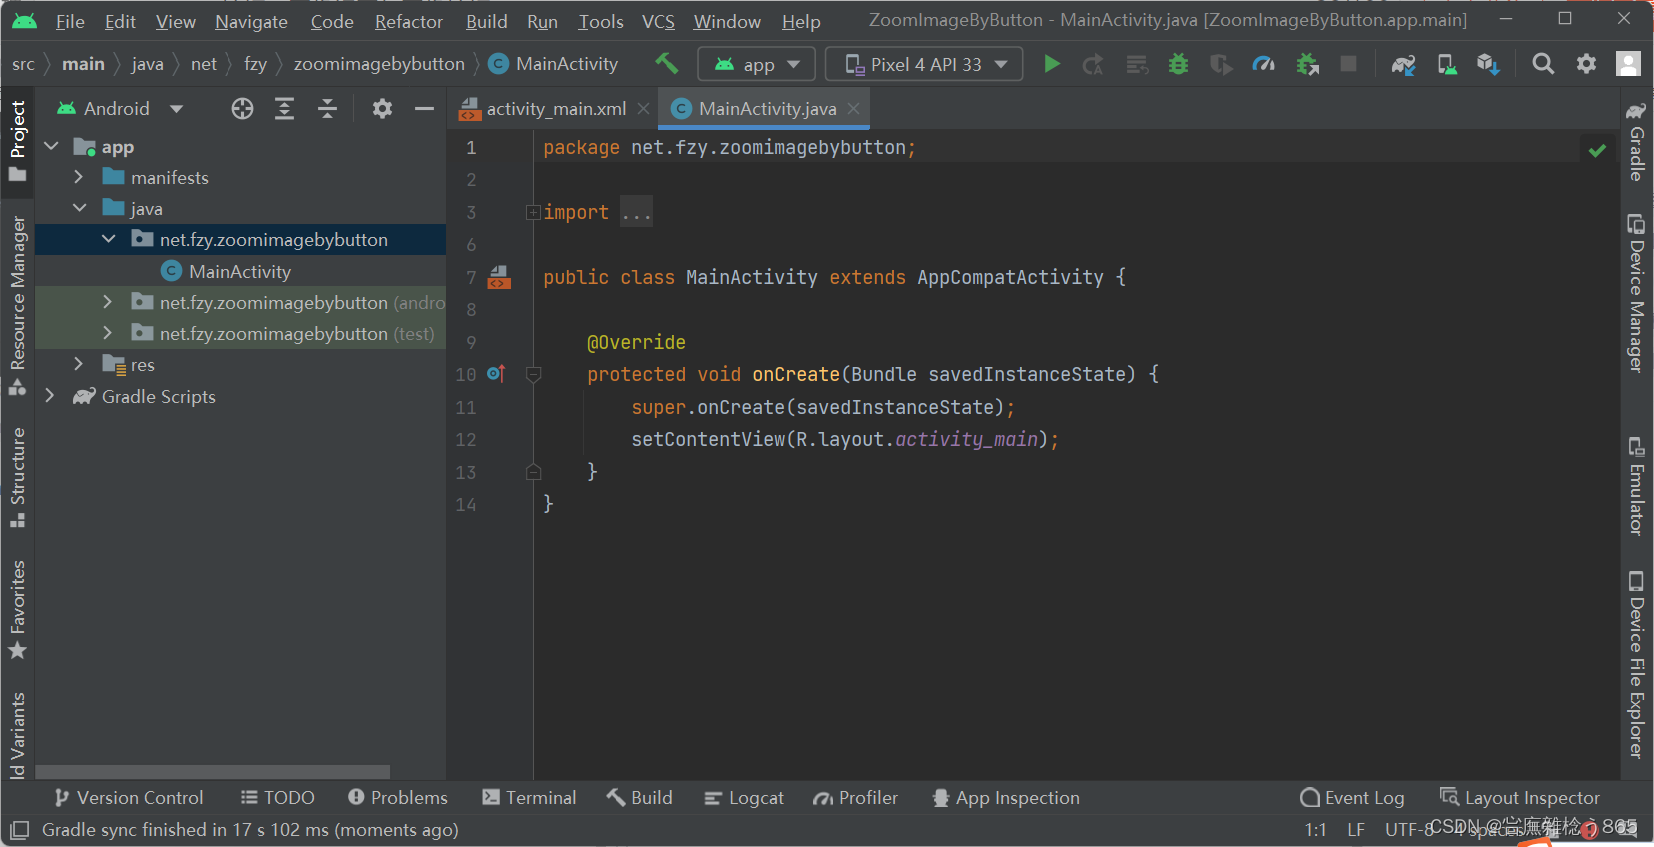
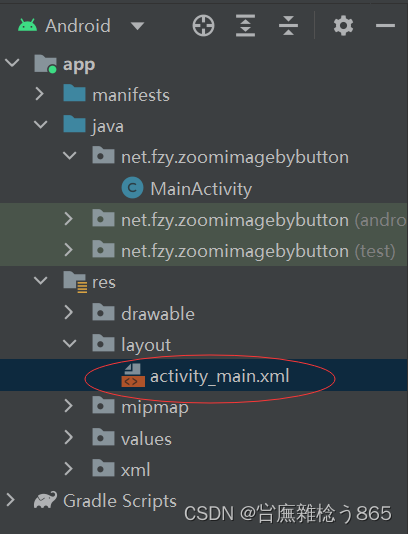
1、创建安卓应用
- 基于Empty Activity模板创建安卓应用 - ZoomImageByButton

- 单击【Finish】按钮
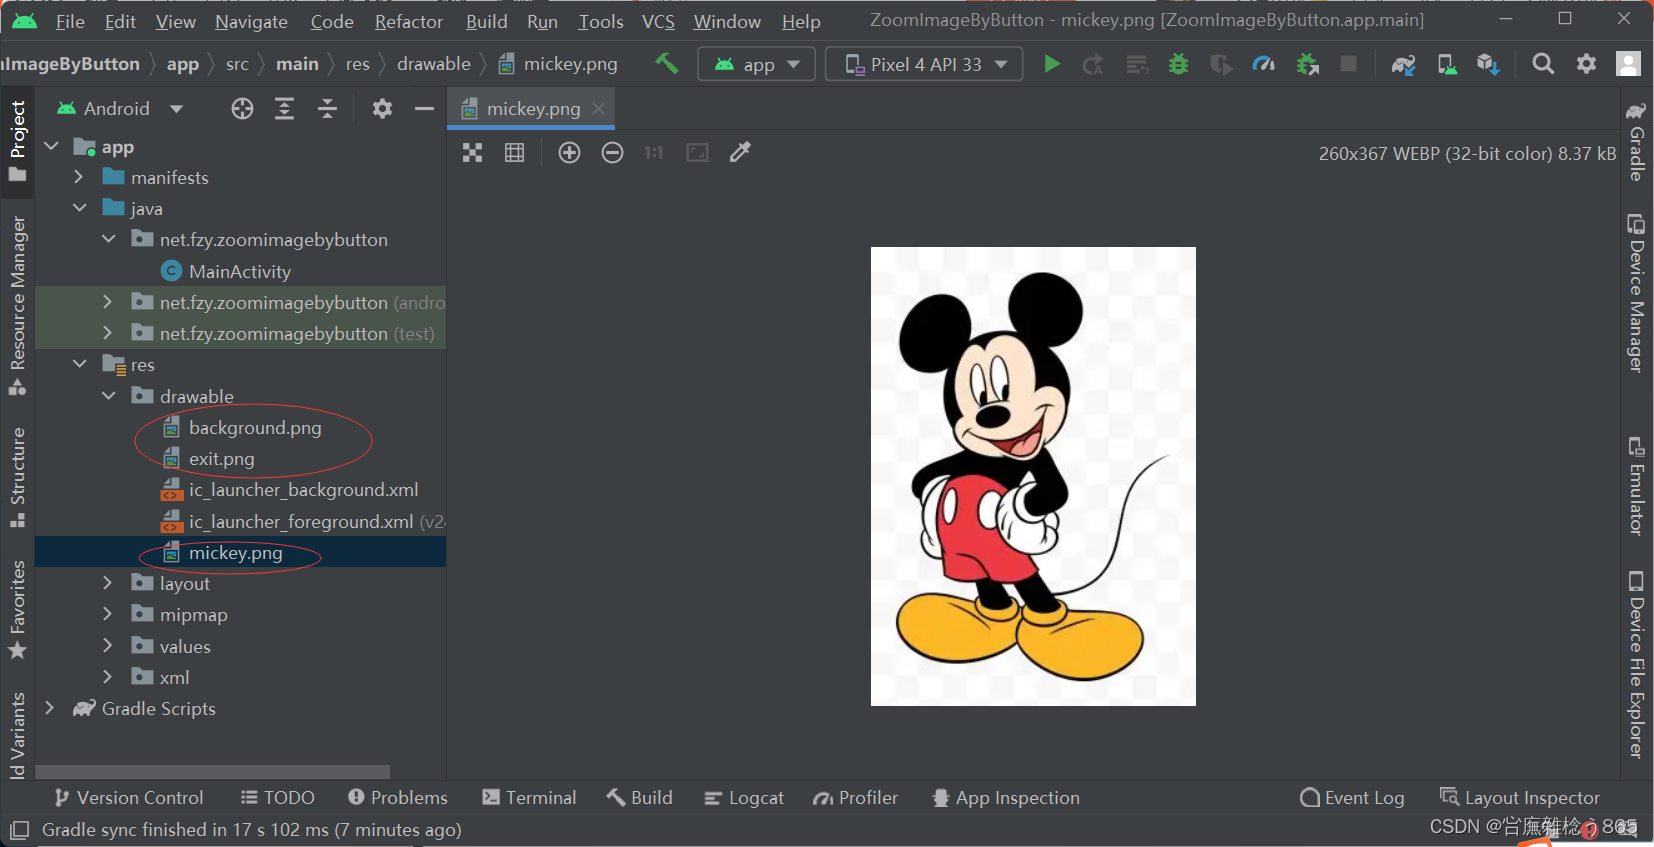
2、准备图片素材
- 将三张图片拷贝到drawable目录
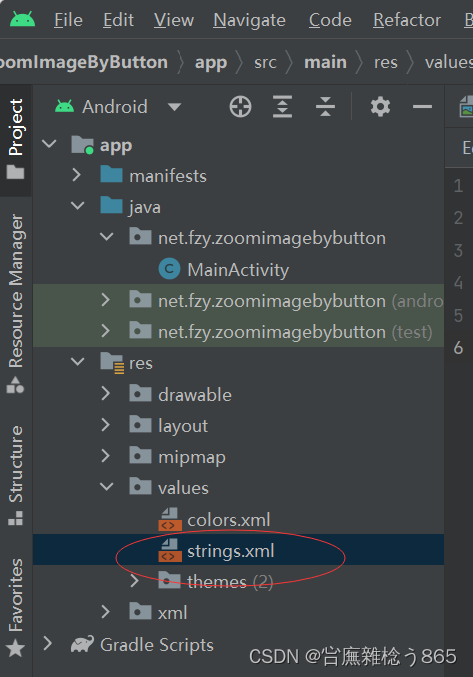
3、字符串资源文件
- 字符串资源文件 - strings.xml
<resources>
    <string name="app_name">通过按钮缩放图片</string>
    <string name="enlarge_image">放大图片</string>
    <string name="shrink_image">缩小图片</string>
</resources>
4、主布局资源文件
-
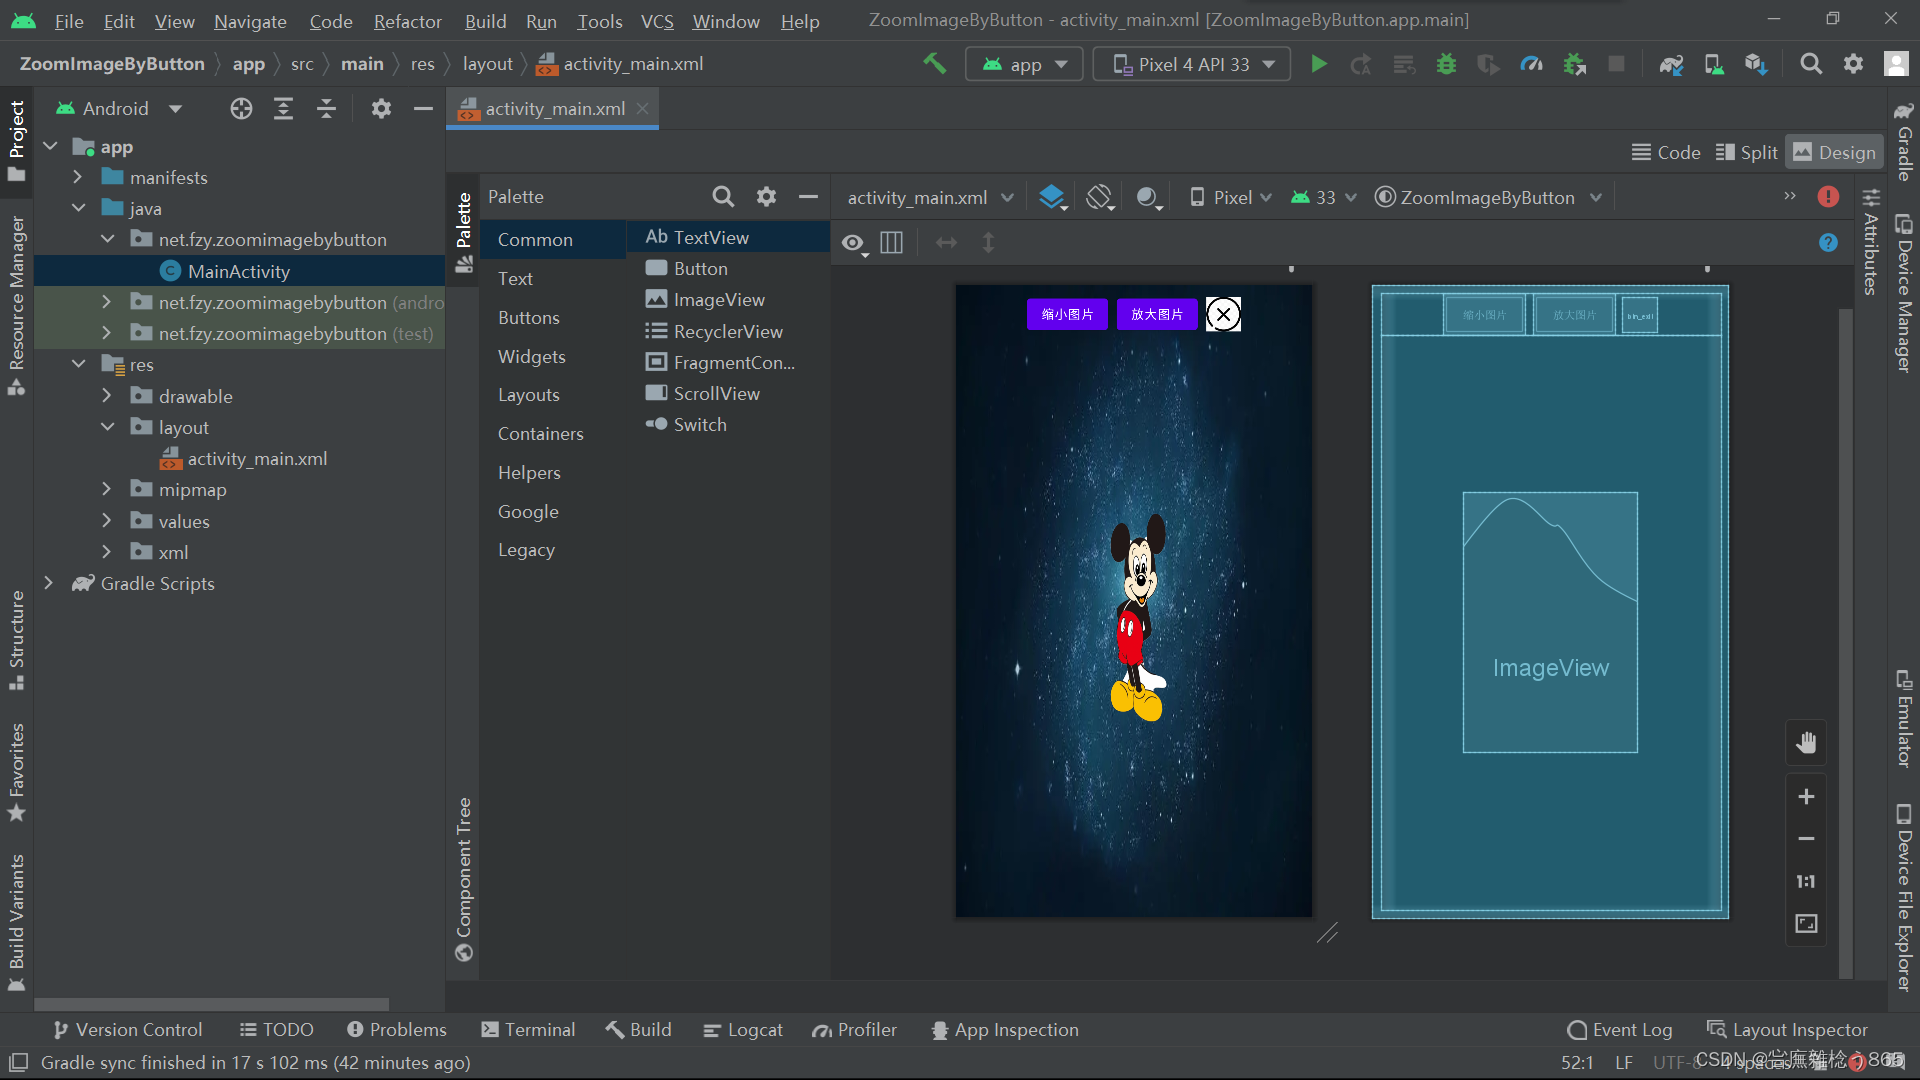
主布局资源文件 - activity_main.xml
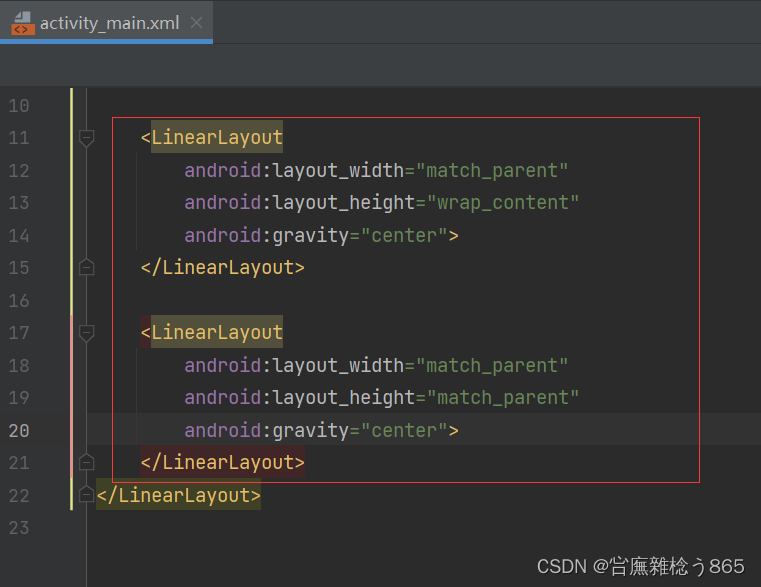
-
将默认的约束布局改成线性布局,设置相关属性

-
添加两个线性布局
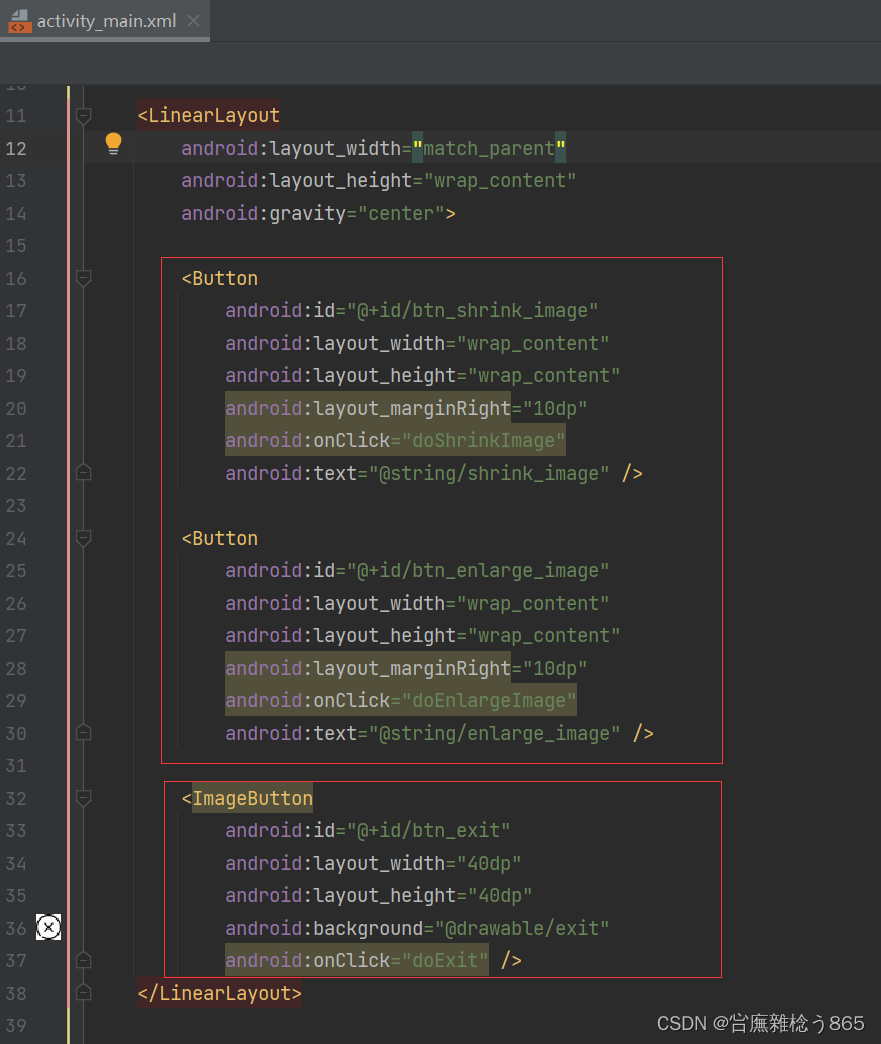
-
在第一个子线性布局里添加两个按钮和一个图像按钮
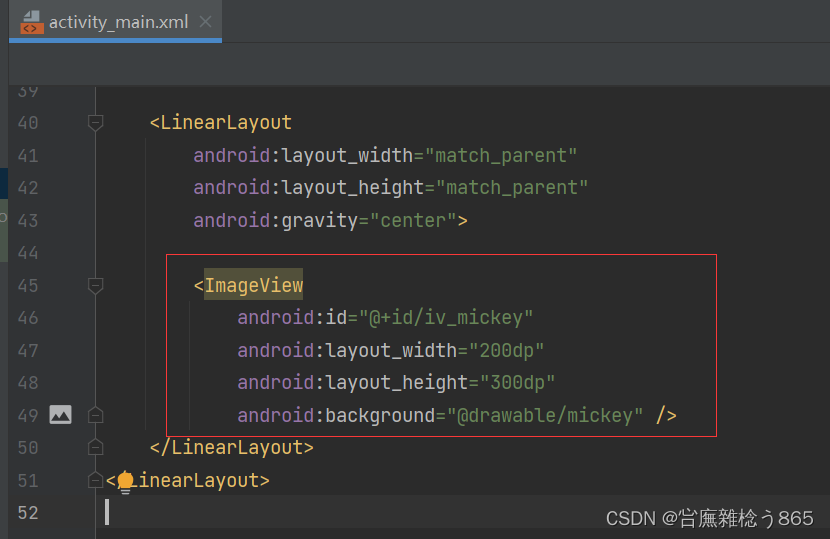
-
在第二个子线性布局里添加一个图像控件,显示米老鼠
-
查看完整代码
<?xml version="1.0" encoding="utf-8"?>
<LinearLayout xmlns:android="http://schemas.android.com/apk/res/android"
    xmlns:tools="http://schemas.android.com/tools"
    android:layout_width="match_parent"
    android:layout_height="match_parent"
    android:background="@drawable/background"
    android:orientation="vertical"
    android:padding="10dp"
    tools:context=".MainActivity">

    <LinearLayout
        android:layout_width="match_parent"
        android:layout_height="wrap_content"
        android:gravity="center">

        <Button
            android:id="@+id/btn_shrink_image"
            android:layout_width="wrap_content"
            android:layout_height="wrap_content"
            android:layout_marginRight="10dp"
            android:onClick="doShrinkImage"
            android:text="@string/shrink_image" />

        <Button
            android:id="@+id/btn_enlarge_image"
            android:layout_width="wrap_content"
            android:layout_height="wrap_content"
            android:layout_marginRight="10dp"
            android:onClick="doEnlargeImage"
            android:text="@string/enlarge_image" />

        <ImageButton
            android:id="@+id/btn_exit"
            android:layout_width="40dp"
            android:layout_height="40dp"
            android:background="@drawable/exit"
            android:onClick="doExit" />
    </LinearLayout>

    <LinearLayout
        android:layout_width="match_parent"
        android:layout_height="match_parent"
        android:gravity="center">

        <ImageView
            android:id="@+id/iv_mickey"
            android:layout_width="200dp"
            android:layout_height="300dp"
            android:background="@drawable/mickey" />
    </LinearLayout>
</LinearLayout>
- 查看预览效果
5、主界面类实现功能
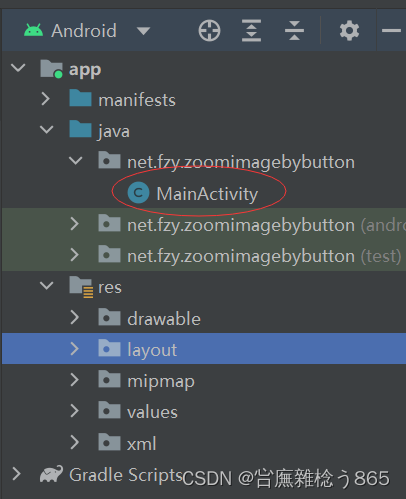
- 主界面类 - MainActivity
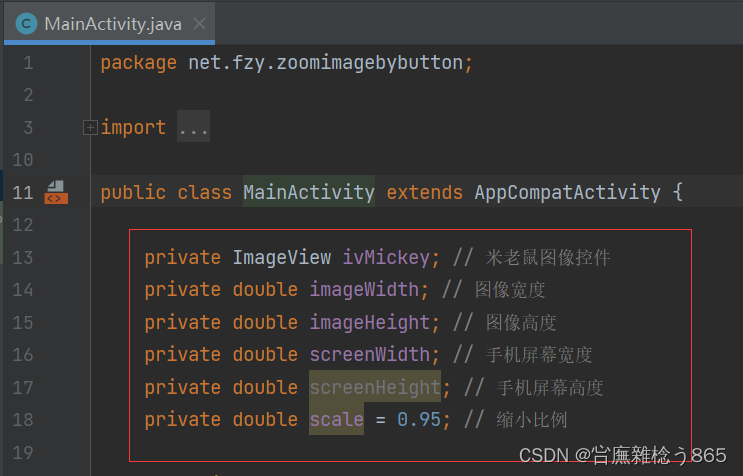
- 声明变量
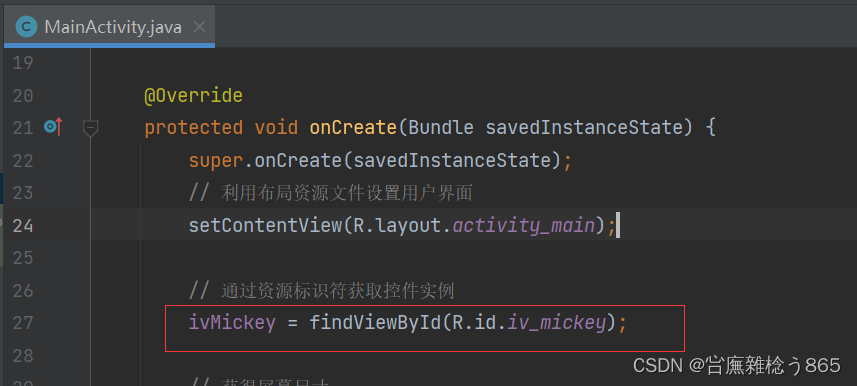
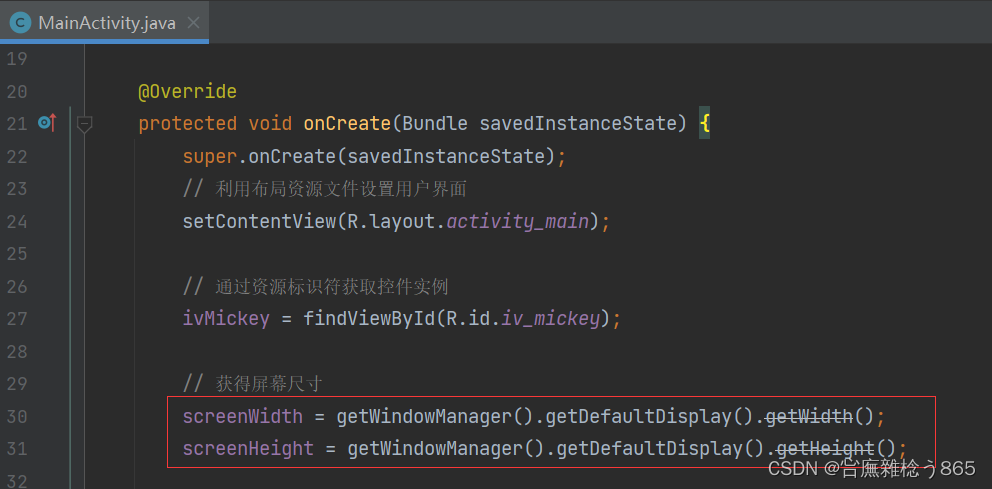
- 通过资源标识符获取控件实例
- 获得屏幕尺寸
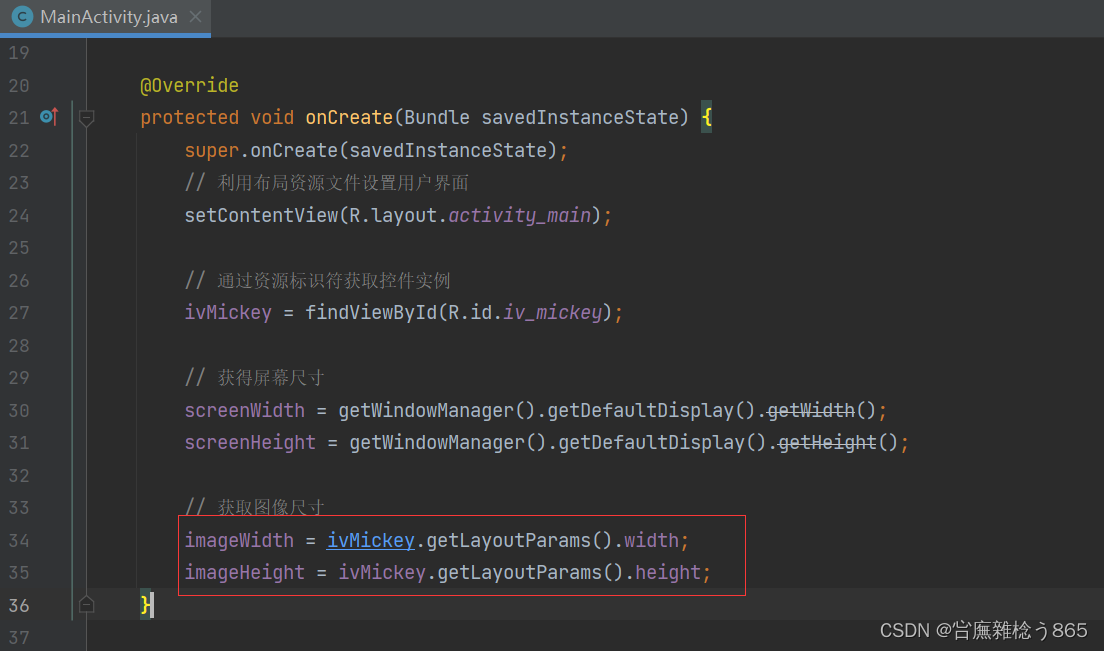
- 获取图像尺寸
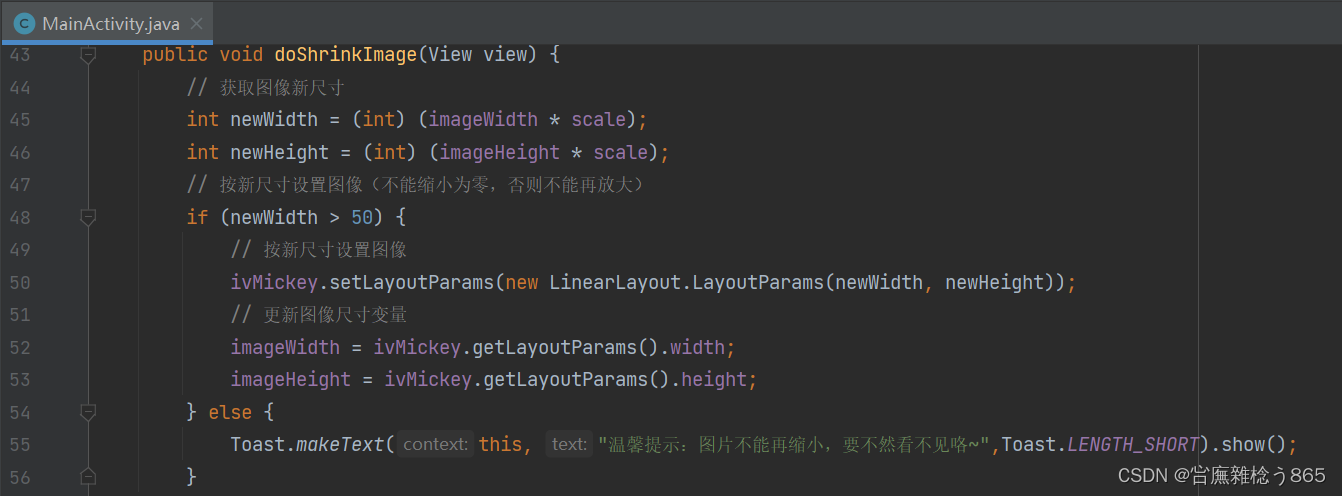
- 编写【缩小图片】按钮单击事件处理方法
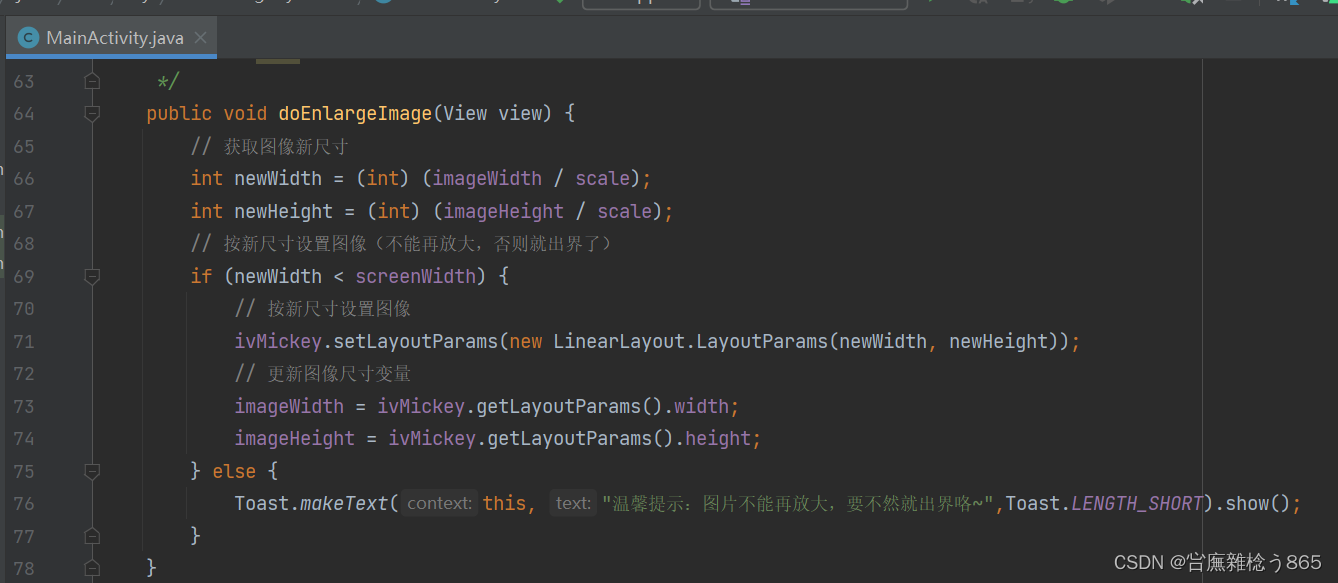
- 编写【放大图片】按钮单击事件处理方法
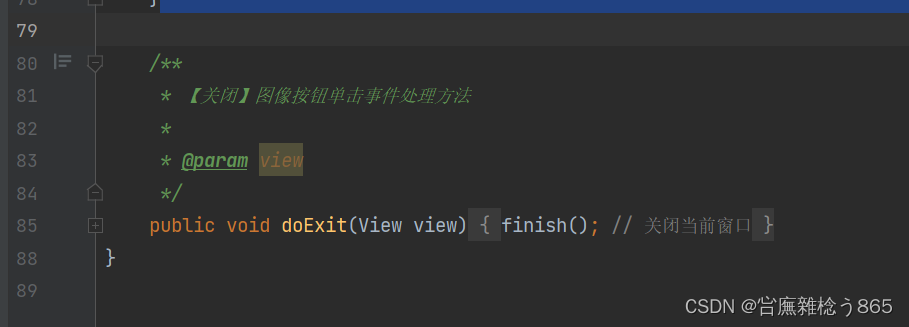
- 编写【关闭】图像按钮单击事件处理方法
package net.fzy.zoomimagebybutton;

import androidx.appcompat.app.AppCompatActivity;

import android.os.Bundle;
import android.view.View;
import android.widget.ImageView;
import android.widget.LinearLayout;
import android.widget.Toast;

public class MainActivity extends AppCompatActivity {


    private ImageView ivMickey; // 米老鼠图像控件
    private double imageWidth; // 图像宽度
    private double imageHeight; // 图像高度
    private double screenWidth; // 手机屏幕宽度
    private double screenHeight; // 手机屏幕高度
    private double scale = 0.95; // 缩小比例

    @Override
    protected void onCreate(Bundle savedInstanceState) {


        super.onCreate(savedInstanceState);
        // 利用布局资源文件设置用户界面
        setContentView(R.layout.activity_main);

        // 通过资源标识符获取控件实例
        ivMickey = findViewById(R.id.iv_mickey);

        // 获得屏幕尺寸
        screenWidth = getWindowManager().getDefaultDisplay().getWidth();
        screenHeight = getWindowManager().getDefaultDisplay().getHeight();

        // 获取图像尺寸
        imageWidth = ivMickey.getLayoutParams().width;
        imageHeight = ivMickey.getLayoutParams().height;
    }

    /**
     * 【缩小图片】按钮单击事件处理方法
     *
     * @param view
     */
    public void doShrinkImage(View view) {


        // 获取图像新尺寸
        int newWidth = (int) (imageWidth * scale);
        int newHeight = (int) (imageHeight * scale);
        // 按新尺寸设置图像(不能缩小为零,否则不能再放大)
        if (newWidth > 50) {


            // 按新尺寸设置图像
            ivMickey.setLayoutParams(new LinearLayout.LayoutParams(newWidth, newHeight));
            // 更新图像尺寸变量
            imageWidth = ivMickey.getLayoutParams().width;
            imageHeight = ivMickey.getLayoutParams().height;
        } else {


            Toast.makeText(this, "温馨提示:图片不能再缩小,要不然看不见咯~",Toast.LENGTH_SHORT).show();
        }
    }

    /**
     * 【放大图片】按钮单击事件处理方法
     *
     * @param view
     */
    public void doEnlargeImage(View view) {


        // 获取图像新尺寸
        int newWidth = (int) (imageWidth / scale);
        int newHeight = (int) (imageHeight / scale);
        // 按新尺寸设置图像(不能再放大,否则就出界了)
        if (newWidth < screenWidth) {


            // 按新尺寸设置图像
            ivMickey.setLayoutParams(new LinearLayout.LayoutParams(newWidth, newHeight));
            // 更新图像尺寸变量
            imageWidth = ivMickey.getLayoutParams().width;
            imageHeight = ivMickey.getLayoutParams().height;
        } else {


            Toast.makeText(this, "温馨提示:图片不能再放大,要不然就出界咯~",Toast.LENGTH_SHORT).show();
        }
    }

    /**
     * 【关闭】图像按钮单击事件处理方法
     *
     * @param view
     */
    public void doExit(View view) {


        finish(); // 关闭当前窗口
    }
}
6、启动应用,查看效果
- 通过三个按钮来操作

- 录屏演示操作