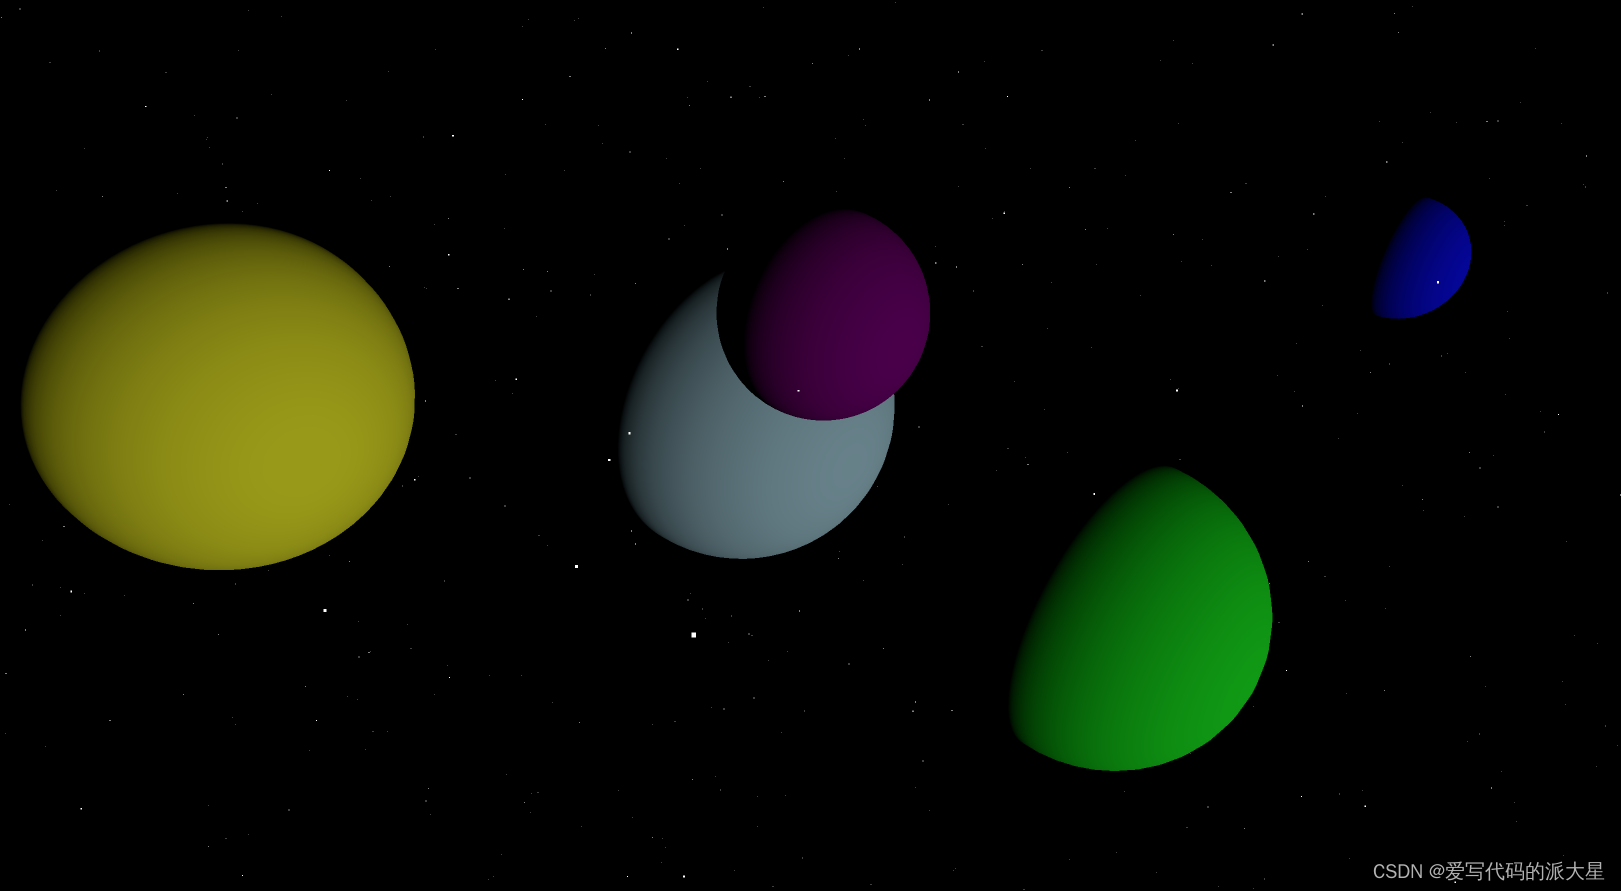
2023.9.12今天我学习了vue2+three.js实现一个好看的动态效果:
 首先是安装:
npm install three
相关代码如下:
<!--3d宇宙效果-->
<template>
  <div>
    <div id="content" />
  </div>
</template>
<script>
import * as THREE from 'three'

export default {
  data() {
    return {
      scene: null,
      camera: null,
      renderer: null,
      mesh: null,
      light: null,
      stars: null,
      mesh3: null
    }
  },
  mounted() {
    this.init()
    this.animate()
  },
  methods: {
    init() {
      // 创建场景
      this.createScene()
      //创建照相机
      this.createCamera()
      // 创建渲染器
      this.createRenderer()
      // 创建物体
      this.createMesh()
      // 创建星空
      this.createStars()
      //触发
      this.render()
    },
    // 创建场景
    createScene() {
      this.scene = new THREE.Scene()
      this.light = new THREE.DirectionalLight(0xffffff, 1)
      this.light.position.set(100, 100, 100)
      this.scene.add(this.light)
    },
    createStars() {
      const geometry = new THREE.BufferGeometry()
      const positions = []
      for (let i = 0; i < 10000; i++) {
        const x = THREE.MathUtils.randFloatSpread(2000)
        const y = THREE.MathUtils.randFloatSpread(2000)
        const z = THREE.MathUtils.randFloatSpread(2000)
        positions.push(x, y, z)
      }
      geometry.setAttribute('position', new THREE.Float32BufferAttribute(positions, 3))
      const material = new THREE.PointsMaterial({color: 0xffffff})
      this.stars = new THREE.Points(geometry, material)
      this.scene.add(this.stars)
    },
    // 创建相机
    createCamera() {
      this.camera = new THREE.PerspectiveCamera(45, window.innerWidth / window.innerHeight, 0.1, 1000)
      this.camera.position.set(200, 200, 200)
      this.camera.lookAt(this.scene.position) // 设置相机方向(指向的场景对象)
    },
    // 创建渲染器
    createRenderer() {
      this.renderer = new THREE.WebGLRenderer()
      this.renderer.setSize(window.innerWidth, window.innerHeight)
      this.renderer.setClearColor(new THREE.Color(0x000000))
      document.getElementById('content').appendChild(this.renderer.domElement)
    },
    // 创建物体
    createMesh() {
      let geometry1 = new THREE.SphereGeometry(40, 40, 40)
      let material1 = new THREE.MeshLambertMaterial({
        color: 0x00ff00
      })
      this.mesh = new THREE.Mesh(geometry1, material1)
      this.mesh.position.set(0, 0, 0)
      this.scene.add(this.mesh)

      let geometry2 = new THREE.SphereGeometry(50, 50, 50)
      let material2 = new THREE.MeshLambertMaterial({
        color: 0xADD8E6
      })
      let mesh2 = new THREE.Mesh(geometry2, material2)
      mesh2.position.set(-40, 0, 0)
      this.scene.add(mesh2)

      let geometry3 = new THREE.SphereGeometry(30, 50, 50)
      let material3 = new THREE.MeshLambertMaterial({
        color: 0x800080
      })
      this.mesh3 = new THREE.Mesh(geometry3, material3)
      this.mesh3.position.set(160, 0, 0)
      this.scene.add(this.mesh3)

      let geometry4 = new THREE.SphereGeometry(35, 50, 50)
      let material4 = new THREE.MeshLambertMaterial({
        color: 0xFFFF00
      })
      let mesh4 = new THREE.Mesh(geometry4, material4)
      mesh4.position.set(-20, 80, 150)
      this.scene.add(mesh4)

      let geometry5 = new THREE.SphereGeometry(15, 50, 50)
      let material5 = new THREE.MeshLambertMaterial({
        color: 0x0000FF
      })
      let mesh5 = new THREE.Mesh(geometry5, material5)
      mesh5.position.set(120, 80, -80)
      this.scene.add(mesh5)

      this.render()
    },
    // 触发
    render() {
      this.renderer.render(this.scene, this.camera)
    },
    animate() {
      // 计算时间差
      const time = Date.now() * 0.001
      // 根据时间变化更新球体和光源的位置
      this.mesh.position.set(100 * Math.cos(time), 100 * Math.sin(time), 0)
      this.mesh3.position.set(0, 50 * Math.cos(time), 100 * Math.sin(time))
      this.light.position.set(50 * Math.cos(time), 50 * Math.sin(time), 0)
      // 触发渲染
      this.render()
      // 不断循环调用 animate 函数
      requestAnimationFrame(this.animate)
    },
  }
}
</script>