一、下载
1.docker
docker pull openzipkin/zipkin
docker run -d -p 9411:9411 openzipkin/zipkin
访问地址:http://localhost:9411
注意:localhost 为你的实际ip
2.windows
二.启动依赖
 <dependency>
        <groupId>org.springframework.cloud</groupId>
        <artifactId>spring-cloud-starter-sleuth</artifactId>

    </dependency>

<dependency>
    <groupId>org.springframework.cloud</groupId>
    <artifactId>spring-cloud-starter-zipkin</artifactId>
</dependency>
SpringCloud配置文件中设置:
 Spring:
  zipkin:
    base-url: http://localhost:9411
三.访问微服务
http://localhost:8080/jobHunting/listJobHunting/sendEmail
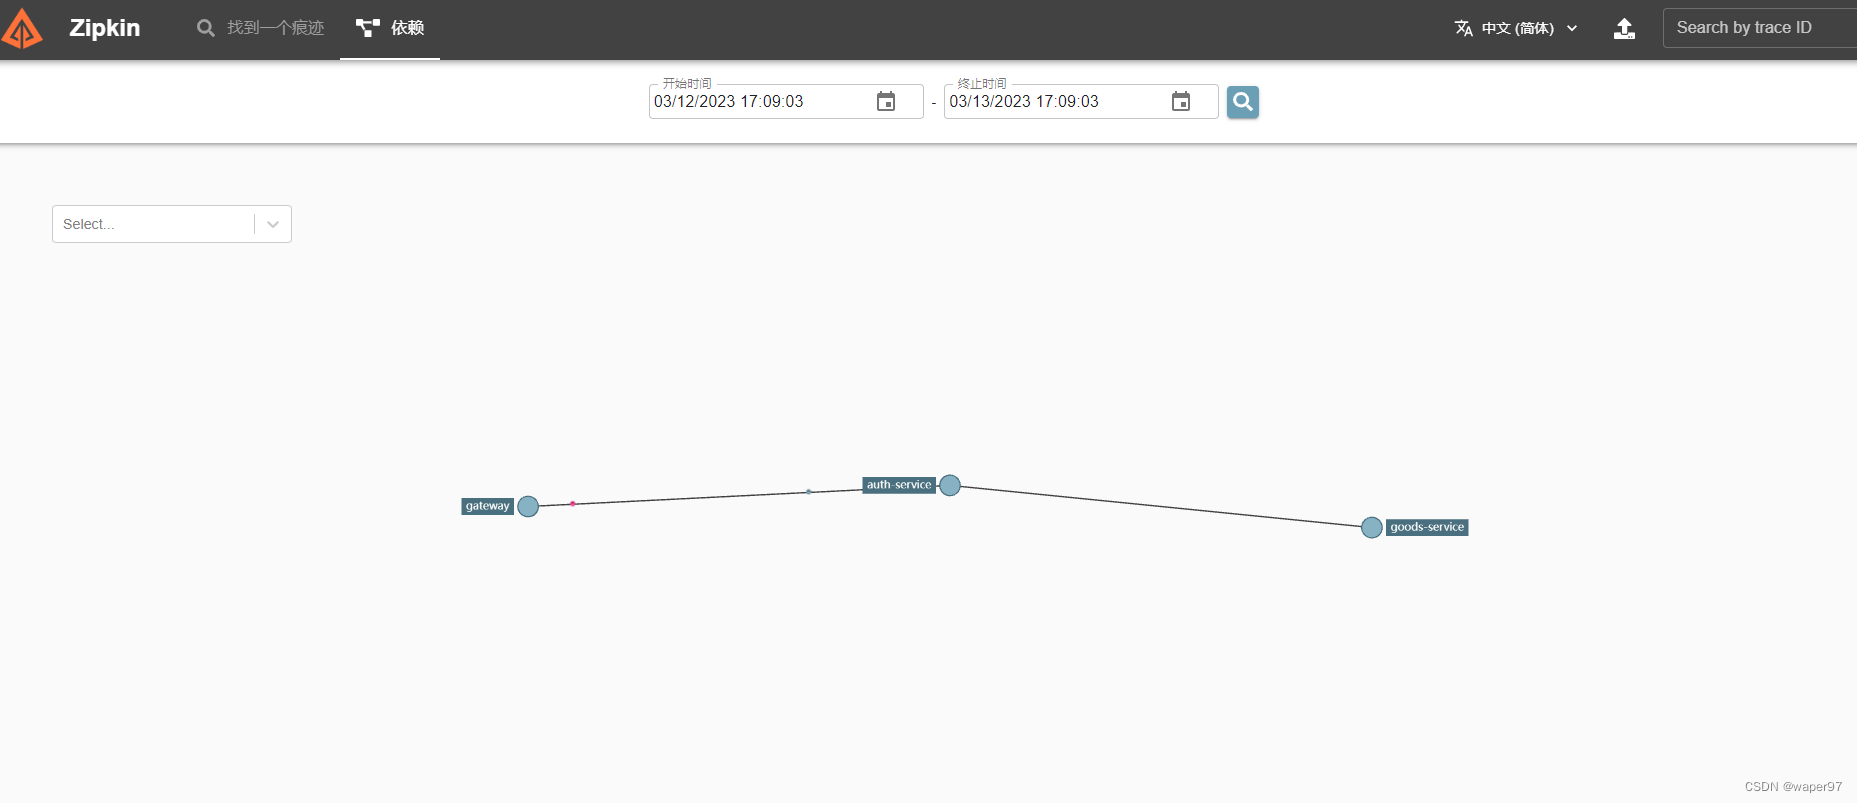
http://localhost:7777/auth-service/user/insertGoodsByFeign 此接口是gateway–>auth-service +openfeign —>GoodsService
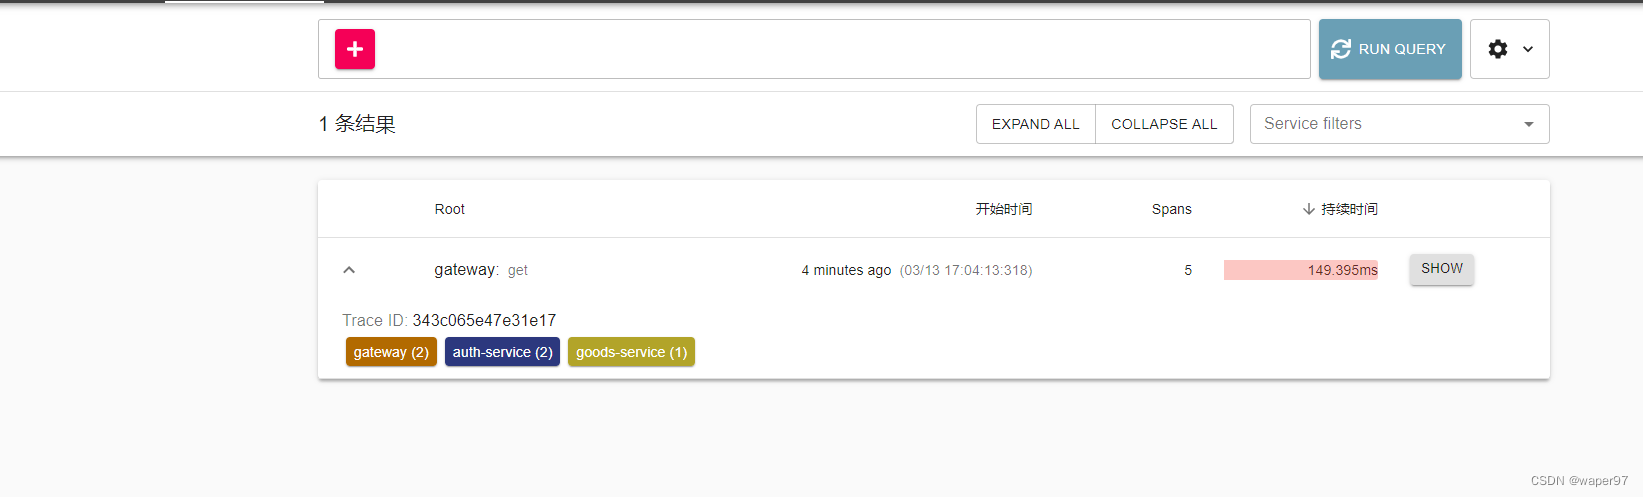
四.访问zipkin的UI界面,观察效果

五.ZipKin数据持久化
docker run --name zipkin -d -p 9412:9411 -e MYSQL_USER=root -e MYSQL_PASS=123456 -e MYSQL_HOST=192.168.170.130 -e STORAGE_TYPE=mysql -e MYSQL_DB=zipkin -e MYSQL_TCP_PORT=3306 openzipkin/zipkin:2.21.7
此处报错,尚未解决
Provider org.mariadb.jdbc.internal.com.send.authentication.SendGssApiAuthPacket could not be instantiated