github上的项目都存储在仓库中,本篇文章编写了一个程序可自动获取这些项目的具体信息,并将信息可视化展示出来。
1.使用API调用请求数据并处理API响应
直接在浏览器中输入https://api.github.com/search/repositories?q=language:python&sort=stars
通过API调用来请求github库中的python项目,并将这些项目按星级排序,得的:
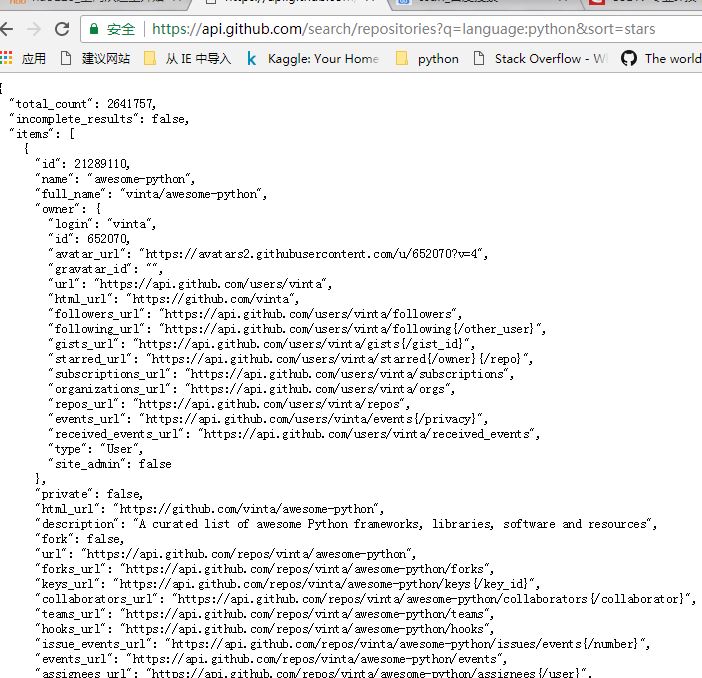
可以看到这些项目以字典的形式存在,目前共有2641757个项目,但是可读性不好,且没有响应信息。python 有专门处理api响应的模块requests。可以将API请求的信息存储在一个变量中,如果请求成功,则返回200.
2.输出这些项目的信息并可视化
通过遍历存储了这些信息的变量,选择性地输出有价值的信息,并调用pygal中的Bar来创建直方图。
具体代码如下:
import requests
import pygal
import re
from pygal.style import LightColorizedStyle as LCS,LightenStyle as LS
#执行API调用并存储响应
url="https://api.github.com/search/repositories?q=language:python&sort=stars"
r=requests.get(url)
print("Status code:",r.status_code)
#将API响应存储在一个变量中
response_dict=r.json()
print("Total repositories:",response_dict['total_count'])
#探索有关仓库的信息
repo_dicts=response_dict['items']
print("Repositories returned:%d\n\n"%len(repo_dicts))
for repo_dict in repo_dicts:
    if repo_dict['name']=='requests':
        pass
    else:
        print('\nName:',repo_dict['name'])
        print('Owner:',repo_dict['owner']['login'])
        print('Stars:',repo_dict['stargazers_count'])
        print('Repository:',repo_dict['html_url'])
        print('Description:',repo_dict['description'])
names,plot_dicts=[],[]
for repo_dict in repo_dicts:
    names.append(repo_dict['name'])
    plot_dict={
        'value':repo_dict['stargazers_count'],
        'label':str(repo_dict['description']),
        'xlink':repo_dict['html_url']
        }
    plot_dicts.append(plot_dict)
my_style=LS('#333366',base_style=LCS)
chart=pygal.Bar(style=my_style,x_label_rotation=45,show_legend=False)
chart.title='Most-Starred Python Projects on GitHub'
chart.x_labels=names
chart.add('',plot_dicts)
chart.render_to_file('python_repos2.svg')
输出为:
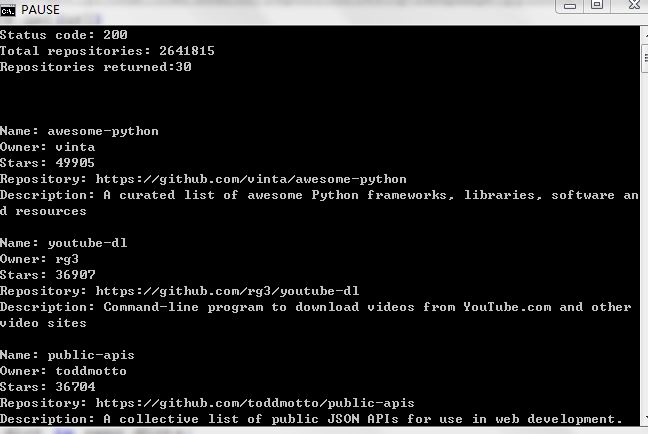
由上图看到Status code值为200,说明请求成功。Total repositories含义为github上共有2641815个项目。
Repositories returned为30,说明最受欢迎的python项目为30个。我选取了Name(姓名),Owner(作者),Stars(获星数),Repository(项目地址),Description(项目描述)作为有价值的信息进行输出。然后将这30个项目的受欢迎程度(即Stars的多少)用图表显示出来。
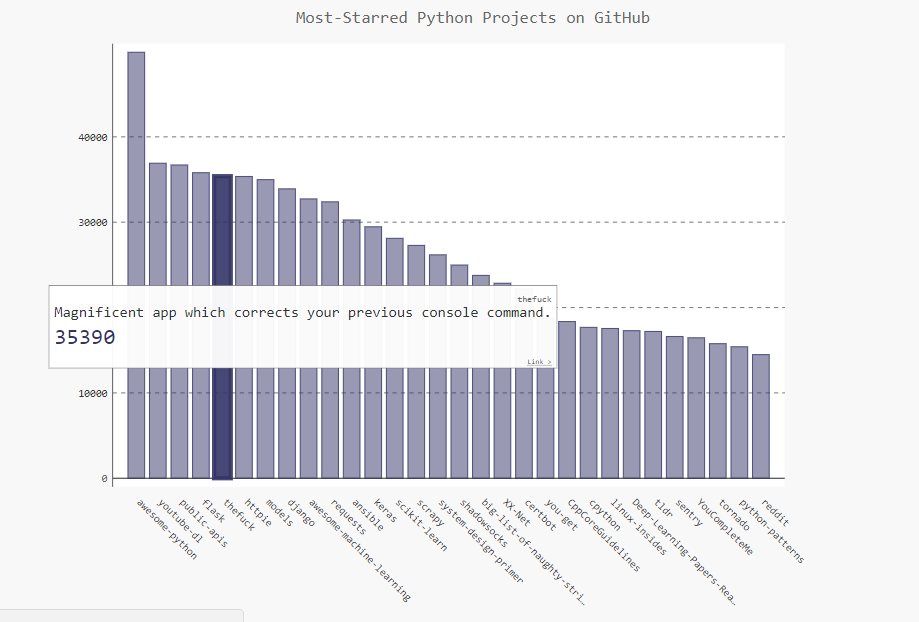
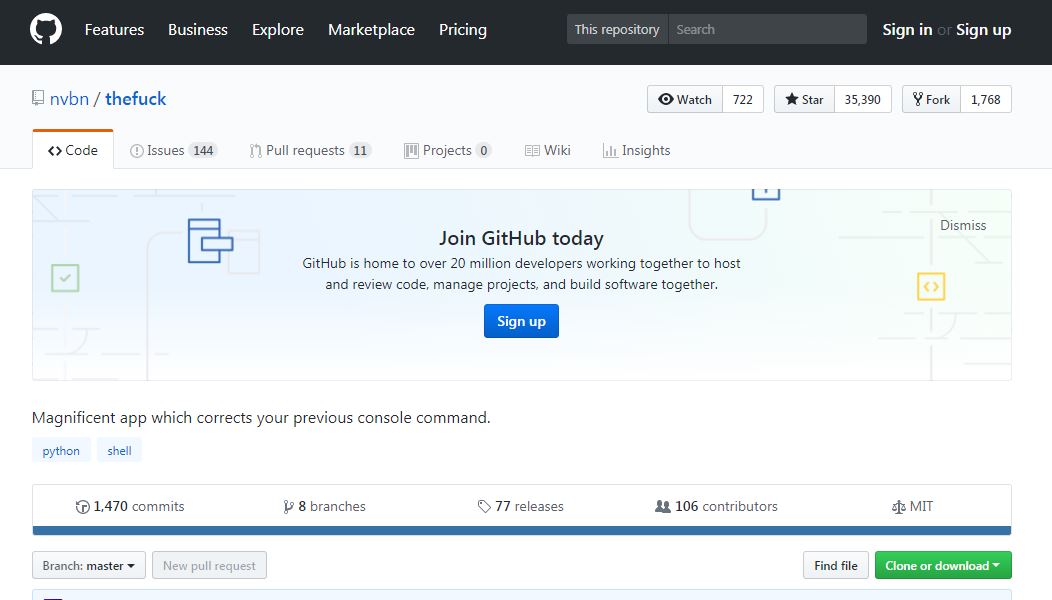
当鼠标指向某一项目时,会显示出该项目的描述信息和获星数(stars的值),同时我还添加了超链接,当单击这个项目时,会链接到该项目在github上的位置。如上图,我单击了第5个项目,页面就跳转了下图
另外,在输出各项目信息的时候,有个叫做requests的项目,项目描述里用到了表情图,所以输出时不能识别,所以我把这个项目给跳过了。还有输出的图形我都存储为svg格式了,这种图具有交互功能,但是博客里上传不了,所以本篇文章里我就截图给演示了。