如果不想看文字可以看下面的视频
发布自己代码到maven中央仓库!
第一步去sonatype注册登录,并发布issue
https://issues.sonatype.org/secure/Dashboard.jspa => 去这个网站注册登录,用户名和密码会在后面发布jar包到中央仓库上用的到。
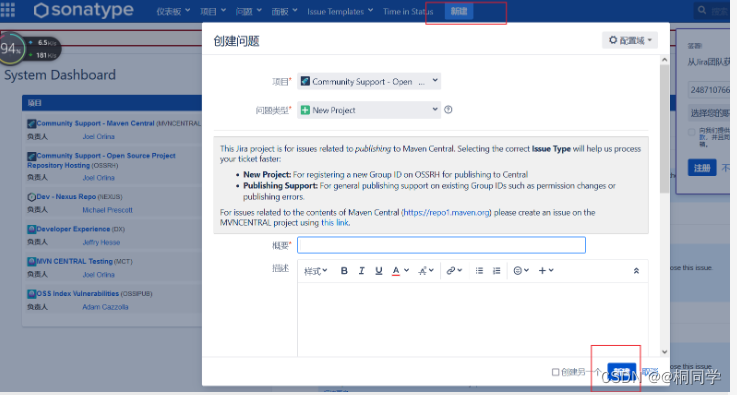
具体如何填写
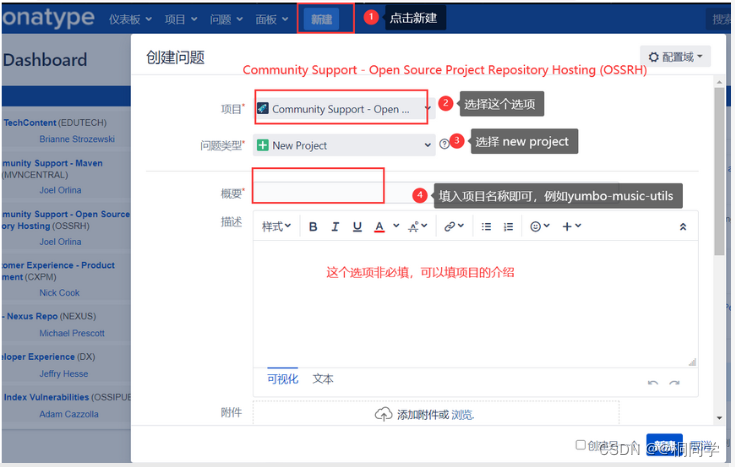
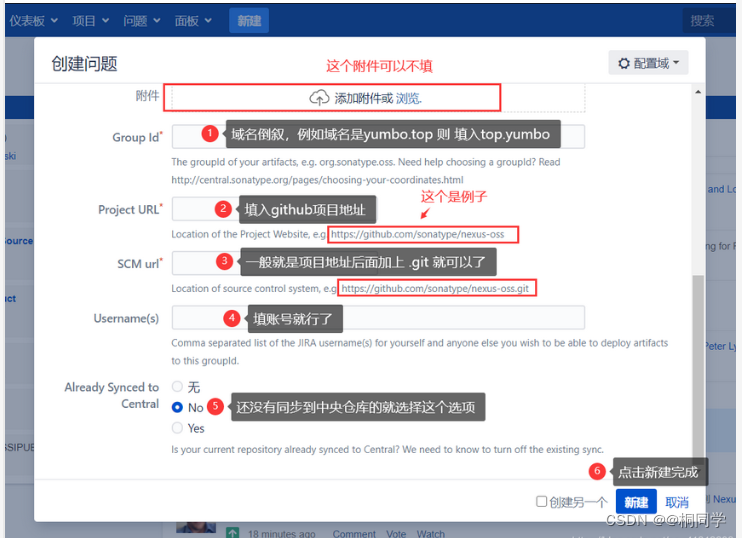
这里域名这块我建议大家如果为了图方便就可以用gitee或者是github的就可以
不一定非要是github,我这里就是使用的是Gitee的仓库
!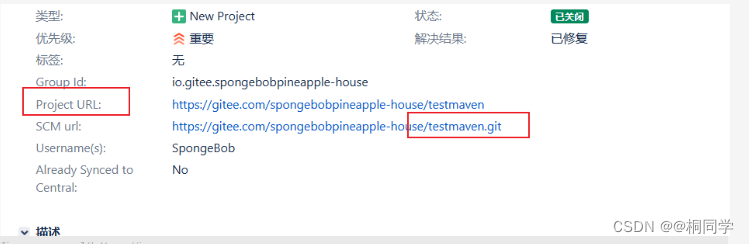
第二步创建issue等待管理员回复
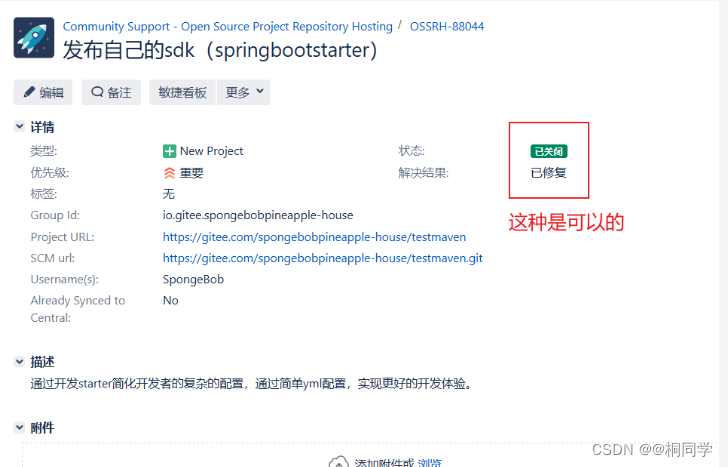
其中他会在你发布完问题之后回复你
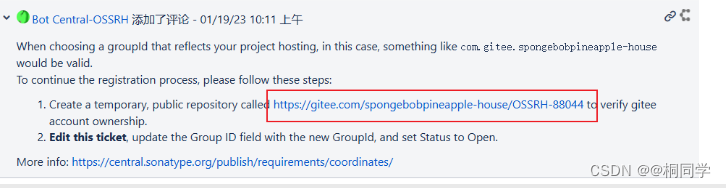
就是说你需要在你的gitee建立一个这样的仓库以此来证明你是仓库的拥有者。
我们找他说的去做就行,这里注意一下这个仓库要是公开的。不然不能访问到。
第三步安装好gpg 创建公钥和私钥
下载一下(可能会有点慢)
https://www.gpg4win.org/download.html
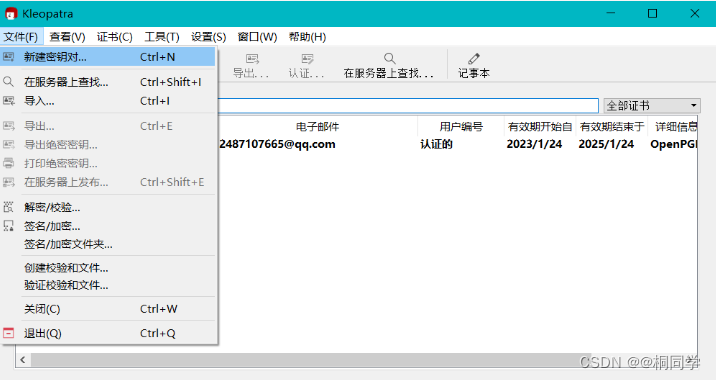
打开这个安装好的软件
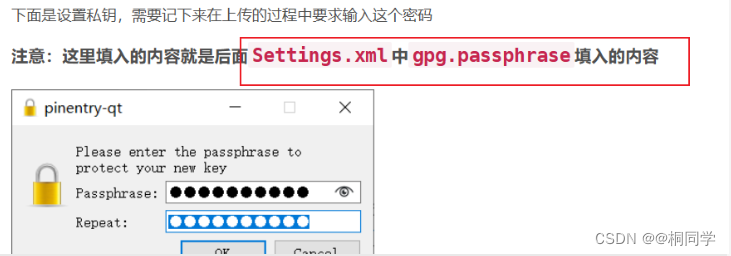
你可以选择图像界面化的方式创建公钥和私钥
!

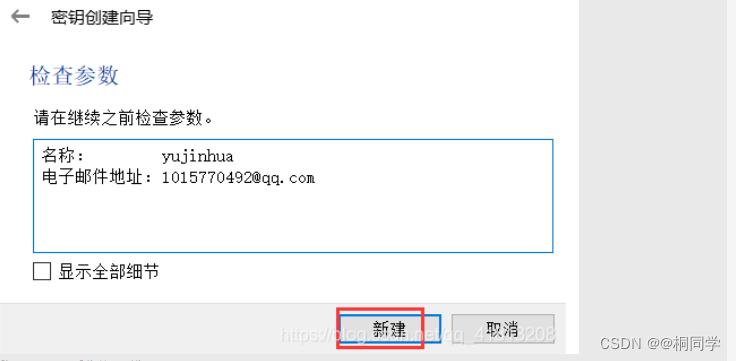
下面注意一下 要把你写的这个密码要记住一下。
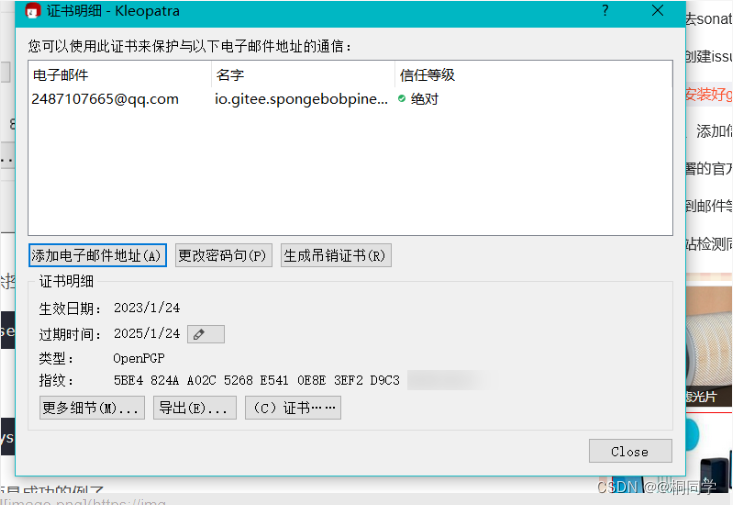
上传密钥id
上传到服务器
gpg --keyserver hkp://keyserver.ubuntu.com:11371 --send-keys 你自己的密钥(去重空格)

检查是否上传成功情况
gpg --keyserver hkp://keyserver.ubuntu.com:11371 --recv-keys 你自己的密钥(去除空格)

第四步修改自己的pom和settings信息
pom文件修改
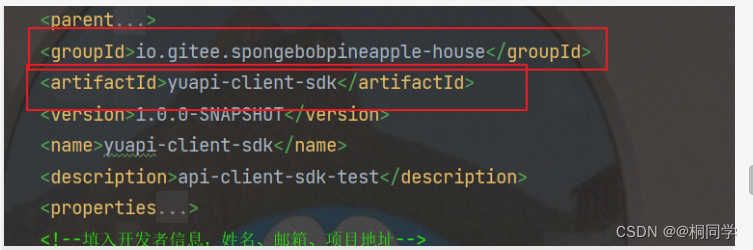
1.这里的信息要和你当时发布问题填的要一样。

   <properties>
        <java.version>1.8</java.version>
        <projectUrl>https://gitee.com/spongebobpineapple-house/testmaven.git</projectUrl>
        <serverId>ossrh</serverId><!-- 服务id 也就是setting.xml中的servers.server.id -->
    </properties>
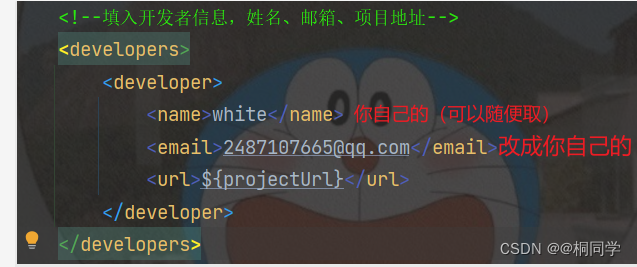
  <!--填入开发者信息,姓名、邮箱、项目地址-->
    <developers>
        <developer>
            <name>white</name>
            <email>2487107665@qq.com</email>
            <url>${

    projectUrl}</url>
        </developer>
    </developers>
4.下面的全部复制我的不要改!!!!
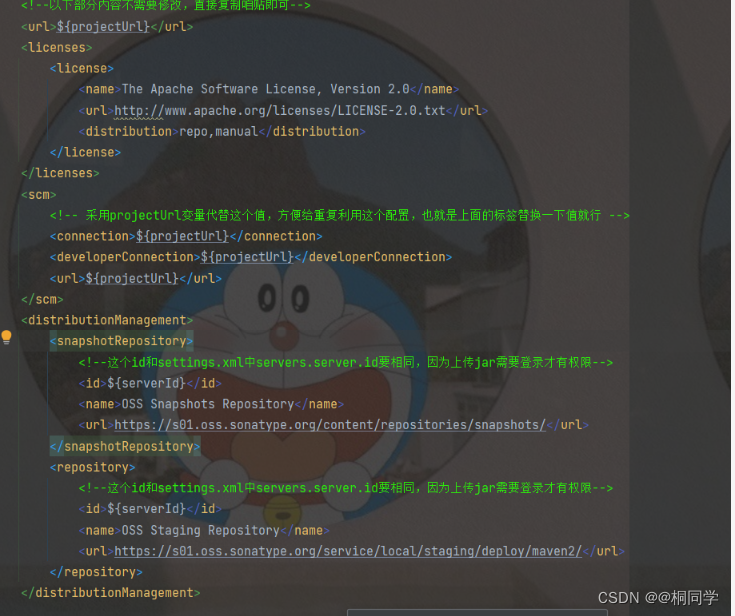
    <!--以下部分内容不需要修改,直接复制咱贴即可-->
    <url>${

    projectUrl}</url>
    <licenses>
        <license>
            <name>The Apache Software License, Version 2.0</name>
            <url>http://www.apache.org/licenses/LICENSE-2.0.txt</url>
            <distribution>repo,manual</distribution>
        </license>
    </licenses>
    <scm>
        <!-- 采用projectUrl变量代替这个值,方便给重复利用这个配置,也就是上面的标签替换一下值就行 -->
        <connection>${

    projectUrl}</connection>
        <developerConnection>${

    projectUrl}</developerConnection>
        <url>${

    projectUrl}</url>
    </scm>
    <distributionManagement>
        <snapshotRepository>
            <!--这个id和settings.xml中servers.server.id要相同,因为上传jar需要登录才有权限-->
            <id>${

    serverId}</id>
            <name>OSS Snapshots Repository</name>
            <url>https://s01.oss.sonatype.org/content/repositories/snapshots/</url>
        </snapshotRepository>
        <repository>
            <!--这个id和settings.xml中servers.server.id要相同,因为上传jar需要登录才有权限-->
            <id>${

    serverId}</id>
            <name>OSS Staging Repository</name>
            <url>https://s01.oss.sonatype.org/service/local/staging/deploy/maven2/</url>
        </repository>
    </distributionManagement>
5.直接复制我的就行
    <build>
        <plugins>
            <!-- 编译插件,设置源码以及编译的jdk版本 -->
            <plugin>
                <groupId>org.apache.maven.plugins</groupId>
                <artifactId>maven-compiler-plugin</artifactId>
                <configuration>
                    <source>8</source>
                    <target>8</target>
                </configuration>
            </plugin>
            <!--打包源码的插件-->
            <plugin>
                <groupId>org.apache.maven.plugins</groupId>
                <artifactId>maven-source-plugin</artifactId>
                <version>2.2.1</version>
                <executions>
                    <execution>
                        <id>attach-sources</id>
                        <goals>
                            <goal>jar-no-fork</goal>
                        </goals>
                    </execution>
                </executions>
            </plugin>
            <!-- Javadoc 文档生成插件-->
            <plugin>
                <groupId>org.apache.maven.plugins</groupId>
                <artifactId>maven-javadoc-plugin</artifactId>
                <version>2.9.1</version>
                <configuration>
                    <!-- 忽略生成文档中的错误 -->
                    <additionalparam>-Xdoclint:none</additionalparam>
                    <aggregate>true</aggregate>
                    <charset>UTF-8</charset><!-- utf-8读取文件 -->
                    <encoding>UTF-8</encoding><!-- utf-8进行编码代码 -->
                    <docencoding>UTF-8</docencoding><!-- utf-8进行编码文档 -->
                </configuration>
                <executions>
                    <execution>
                        <id>attach-javadocs</id>
                        <goals>
                            <goal>jar</goal>
                        </goals>
                    </execution>
                </executions>
            </plugin>
            <!--公钥私钥插件,也就是上传需要进行验证用户名和密码过程中需要用到的插件-->
            <plugin>
                <groupId>org.apache.maven.plugins</groupId>
                <artifactId>maven-gpg-plugin</artifactId>
                <version>1.5</version>
                <executions>
                    <execution>
                        <id>sign-artifacts</id>
                        <phase>verify</phase>
                        <goals>
                            <goal>sign</goal>
                        </goals>
                    </execution>
                </executions>
            </plugin>
            <!--部署插件-->
            <plugin>
                <groupId>org.sonatype.plugins</groupId>
                <artifactId>nexus-staging-maven-plugin</artifactId>
                <version>1.6.7</version>
                <extensions>true</extensions>
                <configuration>
                    <serverId>${

    serverId}</serverId>
                    <nexusUrl>https://s01.oss.sonatype.org/</nexusUrl>
                    <autoReleaseAfterClose>true</autoReleaseAfterClose>
                </configuration>
            </plugin>
        </plugins>
    </build>
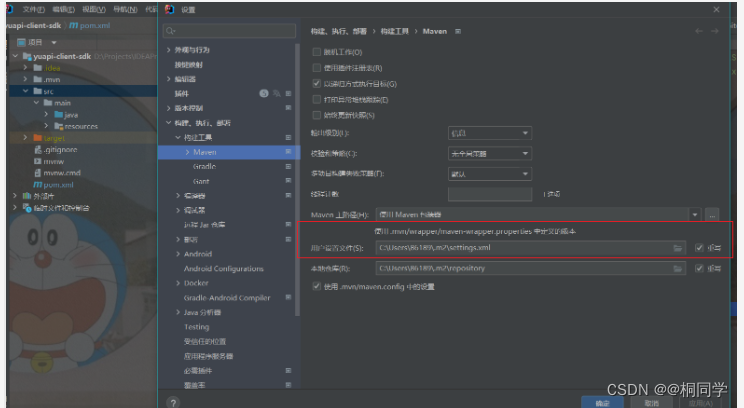
xml文件的修改
1.找到你的xml文件的位置
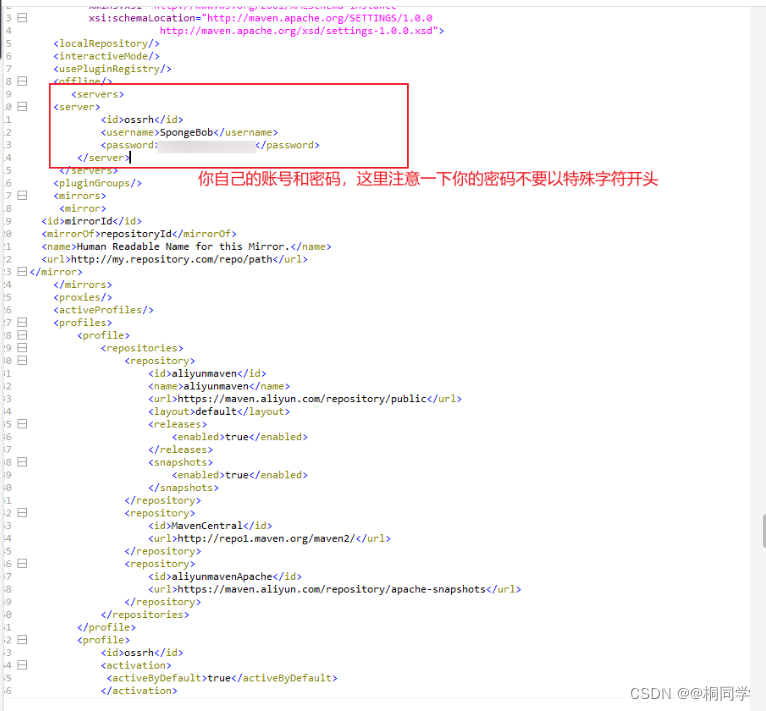
       <servers>
	<server>
            <id>ossrh</id>
            <username>SpongeBob</username>
            <password>(你自己的)</password>
        </server>
     </servers>
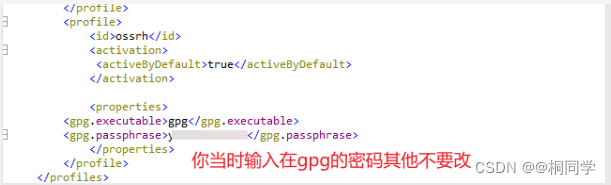
       <profile>
			<id>ossrh</id>
			<activation>
			 <activeByDefault>true</activeByDefault>
			</activation>

			<properties>
		<gpg.executable>gpg</gpg.executable>
		<gpg.passphrase>(你自己的)</gpg.passphrase>
			</properties>
		</profile>
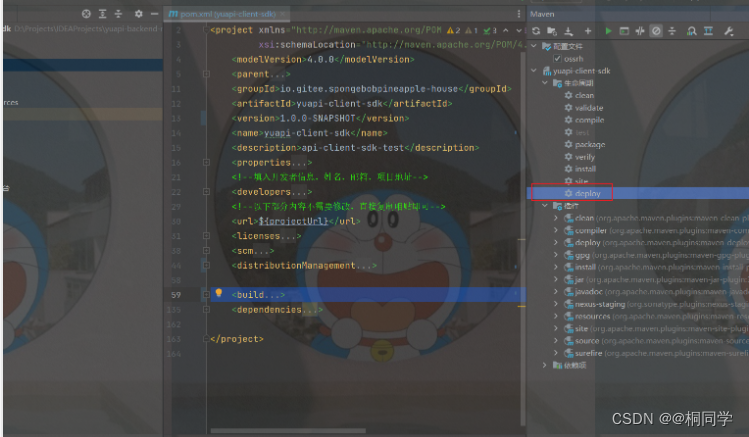
6.利用idea自带的工具进行部署
打包过程中会出现让你输入当时你设置的密码

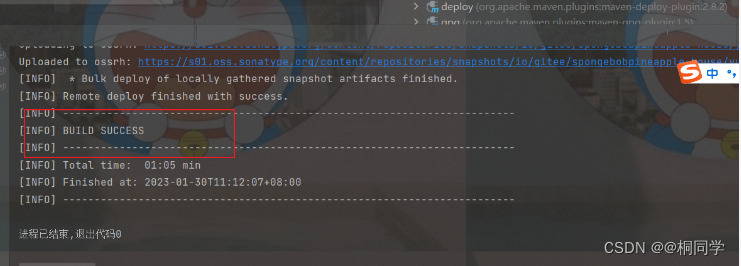
这样表示成功
打开下面这个链接
https://s01.oss.sonatype.org/#welcome
然后登陆(账号密码就是你一开始登陆的那个账号密码)
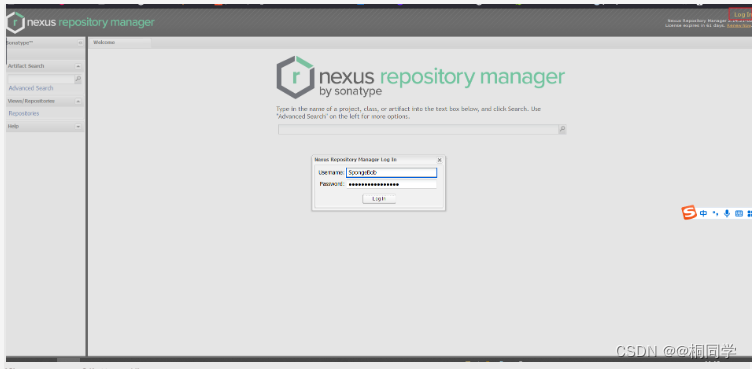
然后在下面界面搜到你的仓库
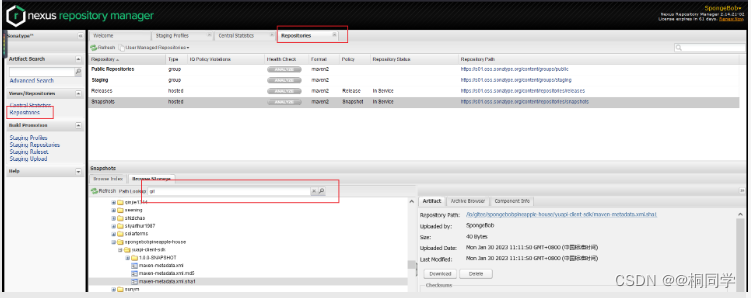
到此你已经上传到自己的私服仓库
如果想发布到自己的仓库到maven仓库还需要发布Realease版本
大家可以参考这个博客(写的不错主要看他发布过程就行)
https://blog.csdn.net/weixin_45688268/article/details/126696835
最后发布release版本之后你们就可以在maven仓库搜到了
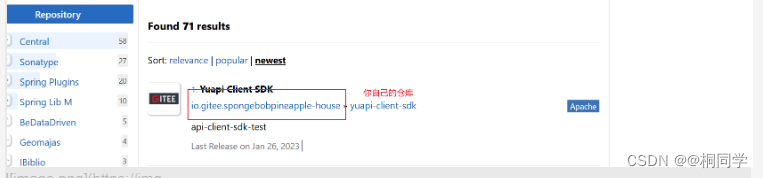
自己使用
或者可以先搜索一下
这里找到你的上传
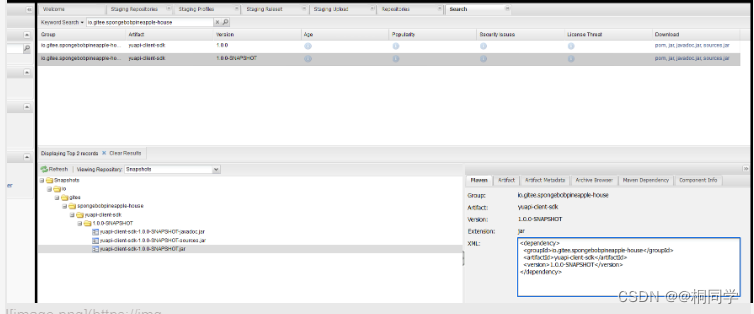
里面有maven仓库地址
我们把这个坐标拿下来之后就可以发给你的朋友使用了此时。