上传自己的依赖到maven仓库 -- 保姆级复盘
1、准备工作
1.1、安装Git
回顾此前的安装教程:https://blog.csdn.net/qq_52495761/article/details/135400783
1.2、将需要上传的代码先上传到Gitee中
1.2.1、上传步骤
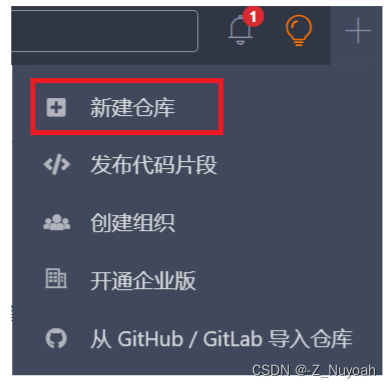
1、在Gitee中创建一个空仓库
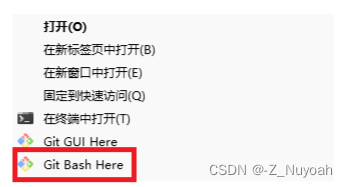
2、找到你需要上传的代码的根目录,点击鼠标右键找到Git Bash Here
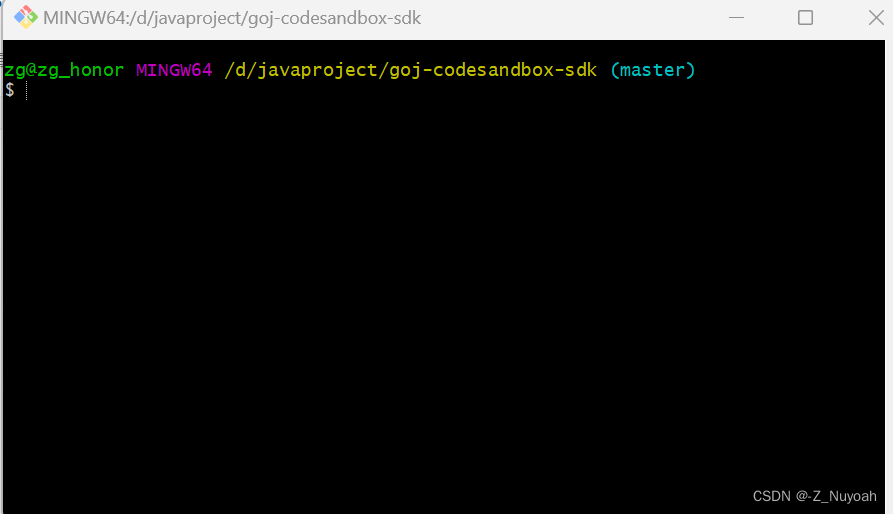
3、进入命令Git Bash Here界面
4、具体上传步骤Bash如下:
1|git init
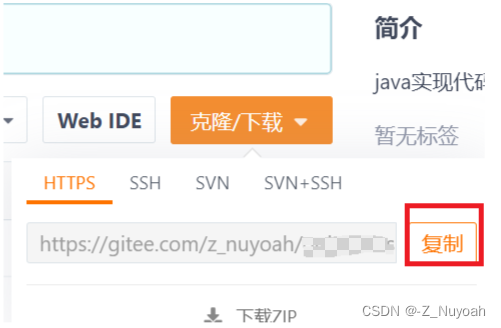
2|git remote add origin 你所创建的仓库地址
你所创建的仓库地址
3|git pull origin master

4|git add .

5|git commit -m "描述"

6|git push origin master
正常通过以上的步骤再打开Gitee,刷新一下就能看见你所提交的代码
如果你需要将已经上传的,但是又修改过的再次上传,只需要执行4,5,6即可
1.2.2、如果出现以下错误(主要原因是gitee中README.md文件和本地不一致,或者不在本地代码目录中)
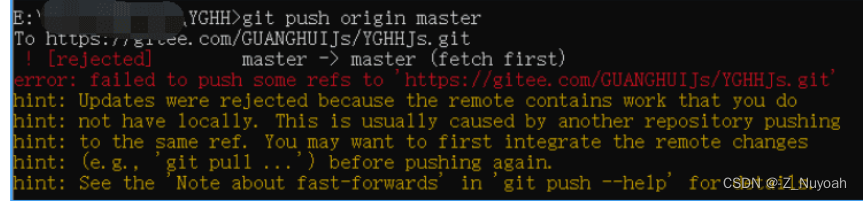
解决
1、如果有README.md,先删除,执行以下命令
git pull --rebase origin master
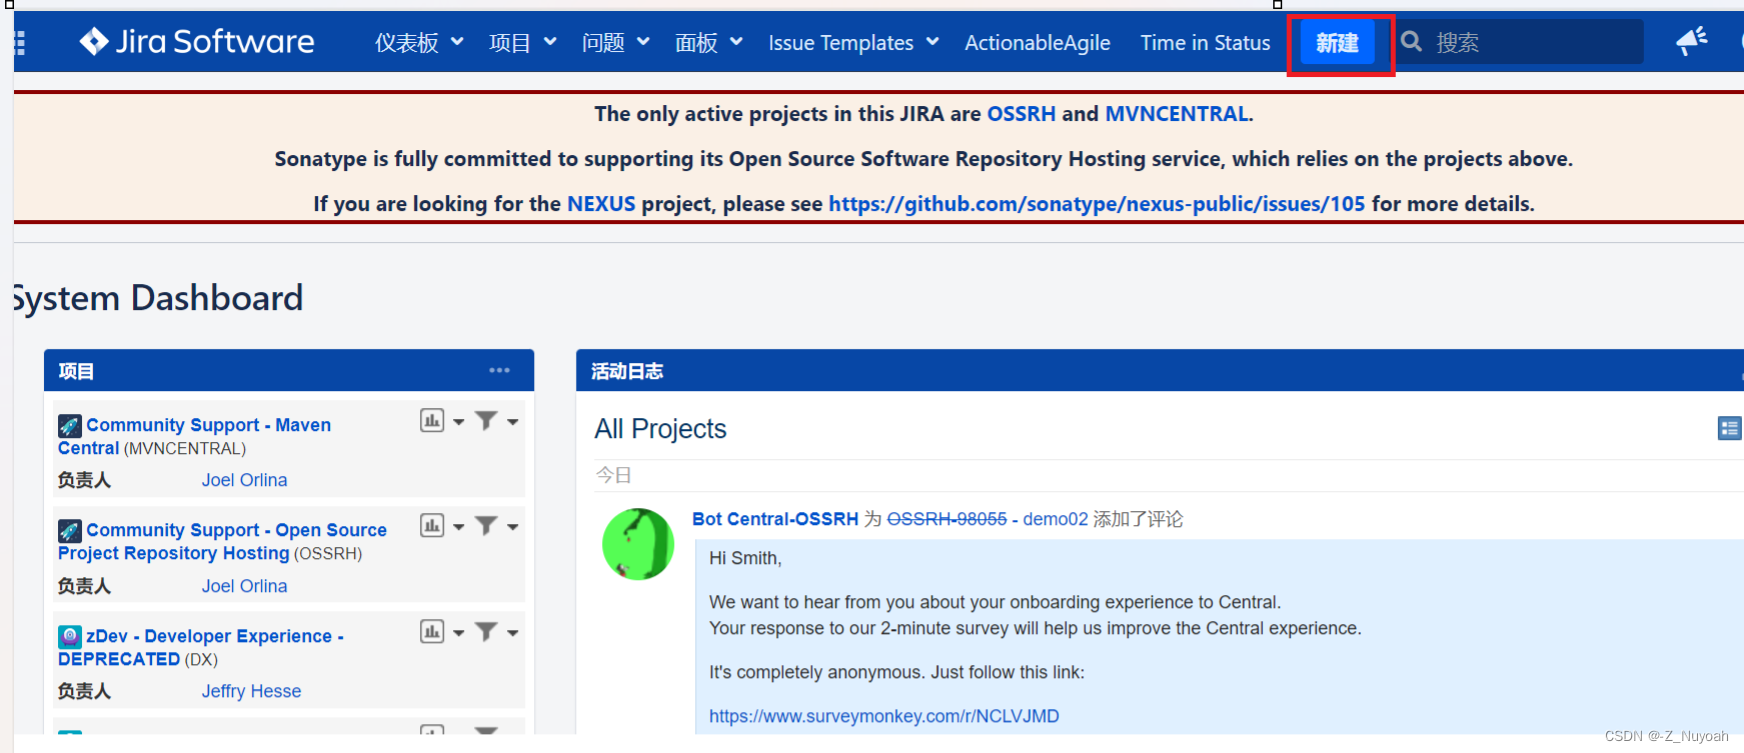
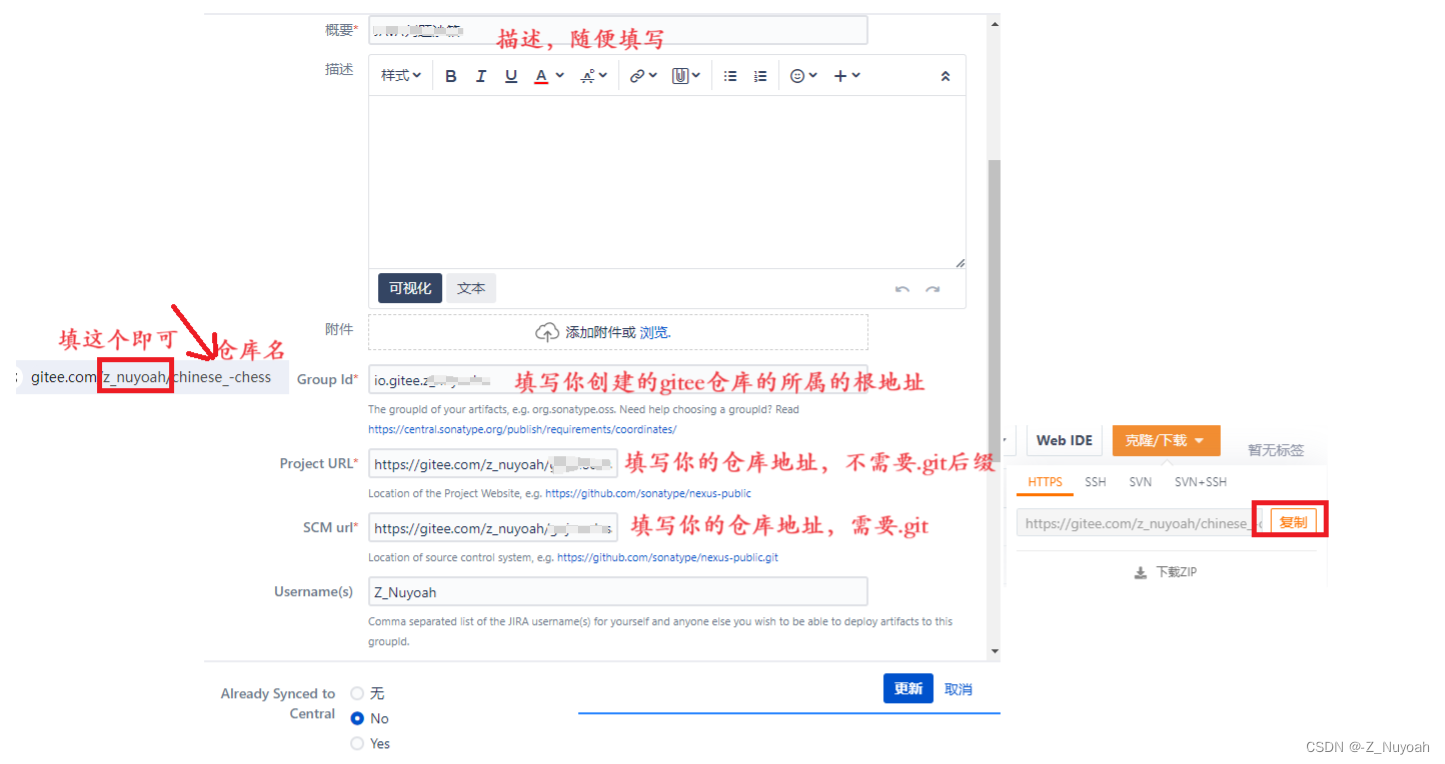
2、sonatype注册登录,并发布issue
https://issues.sonatype.org/secure/Dashboard.jspa
到这个网站注册登录,保存好你的用户名和密码,在后面发布jar包有用。
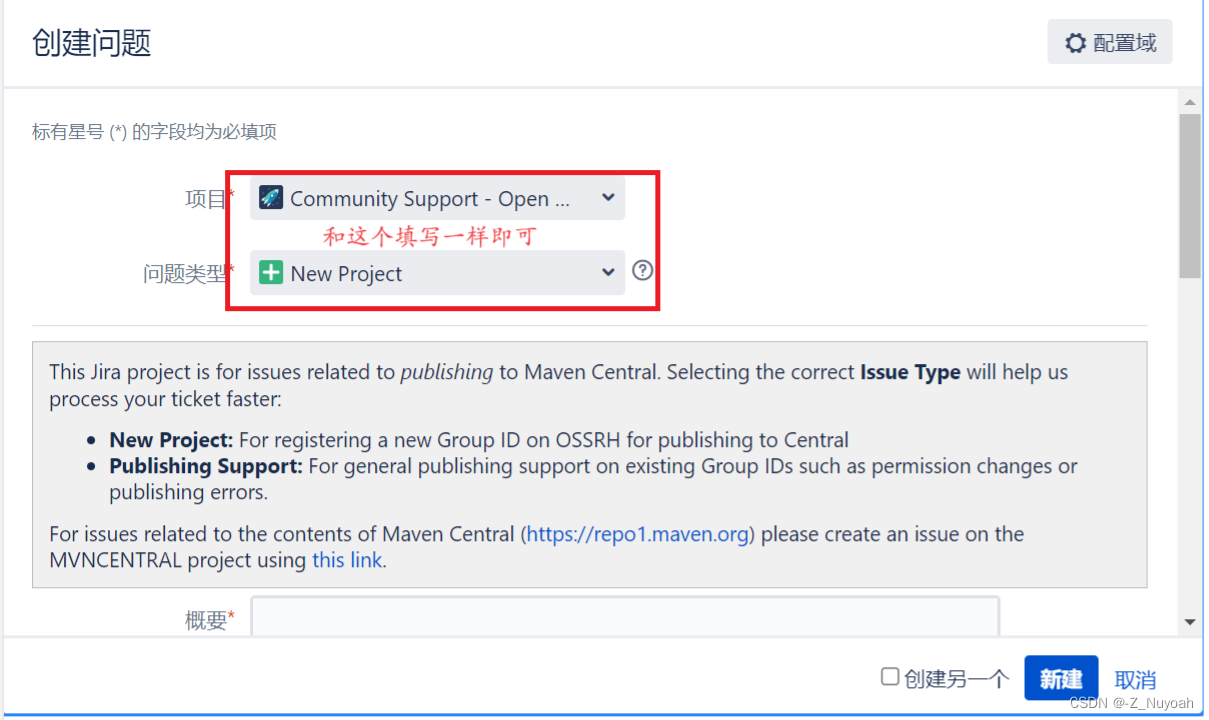
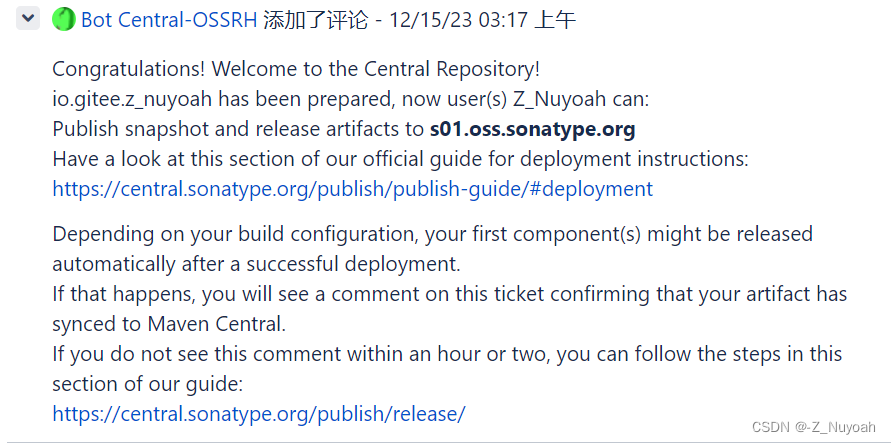
3 、等待管理员回复
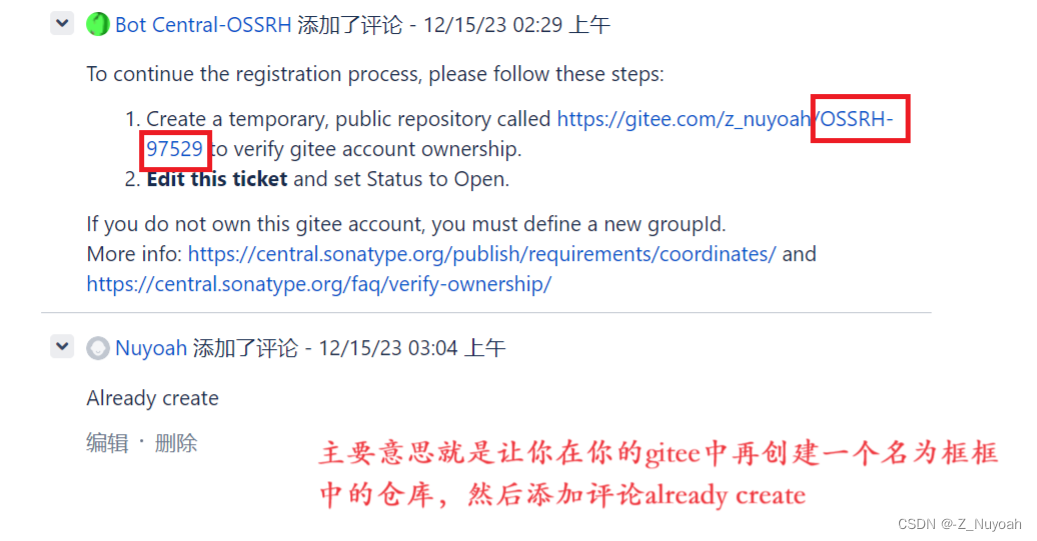
当回复以下内容,说明即可使用了

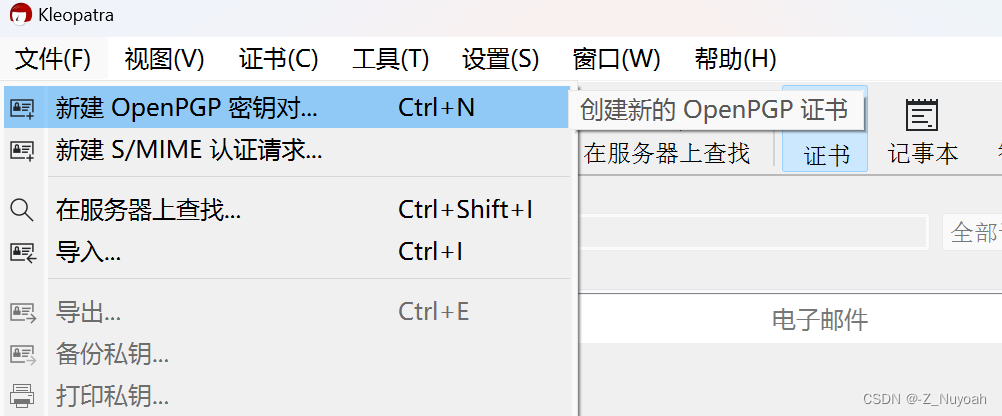
4、安装gpg,用来创建公钥和私钥
1、软件获取
1、下载地址:https://www.gpg4win.org/download.html
2、若觉得下载慢可在此处获取:
链接:https://pan.baidu.com/s/1HTRpilCSZCaX3K0T746PXg?pwd=kdom
提取码:kdom
2、打开安装好的软件,按照以下步骤创建

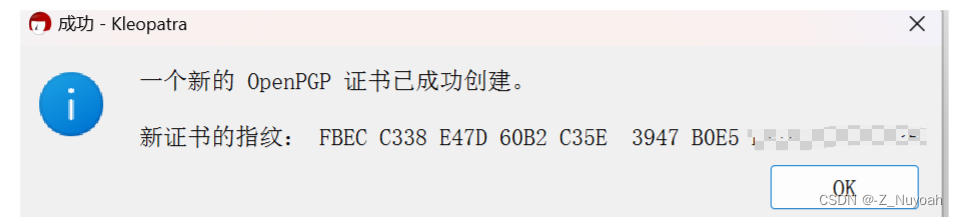

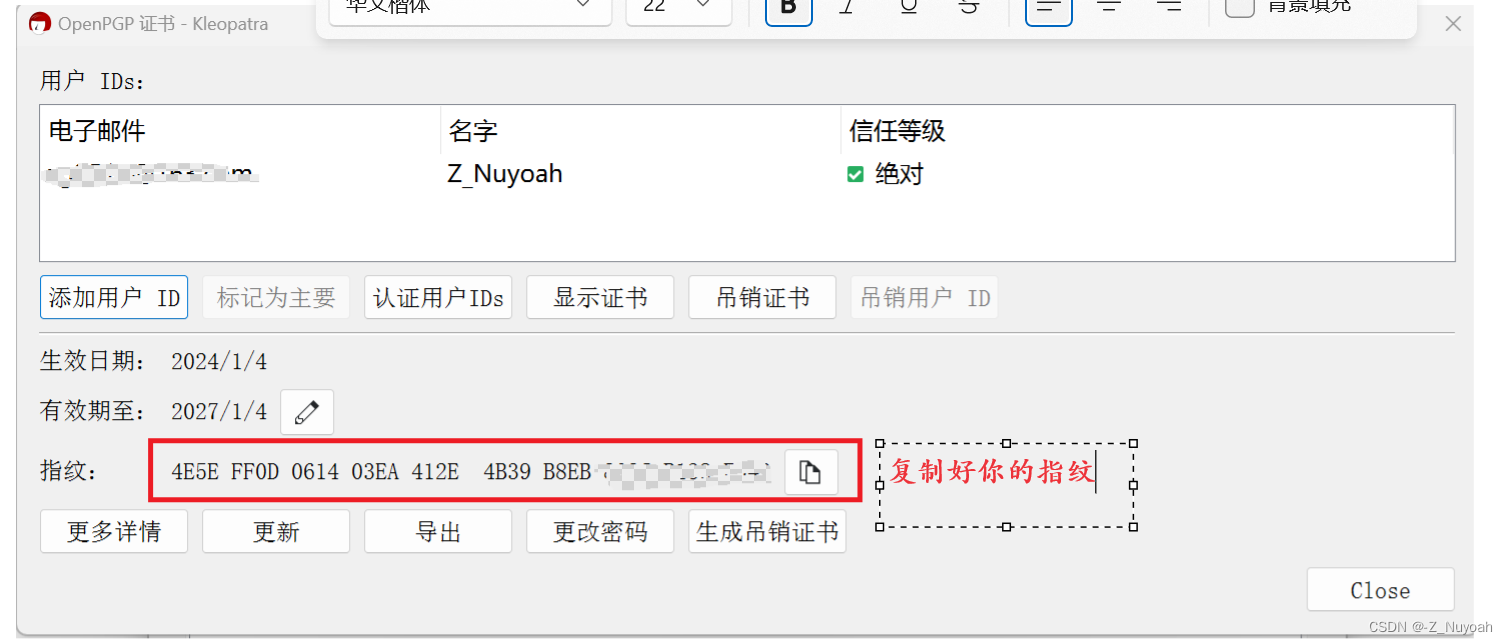
3、打开powershell,上传密钥id,上传到服务器
//上传
gpg --keyserver hkp://keyserver.ubuntu.com:11371 --send-keys 你自己的密钥(去重空格)

//检验
gpg --keyserver hkp://keyserver.ubuntu.com:11371 --recv-keys 你自己的密钥(去重空格)

4、修改你上传代码的pom文件和setting.xml
1、修改pom文件
这些信息要与你当时发布问题填的要一样
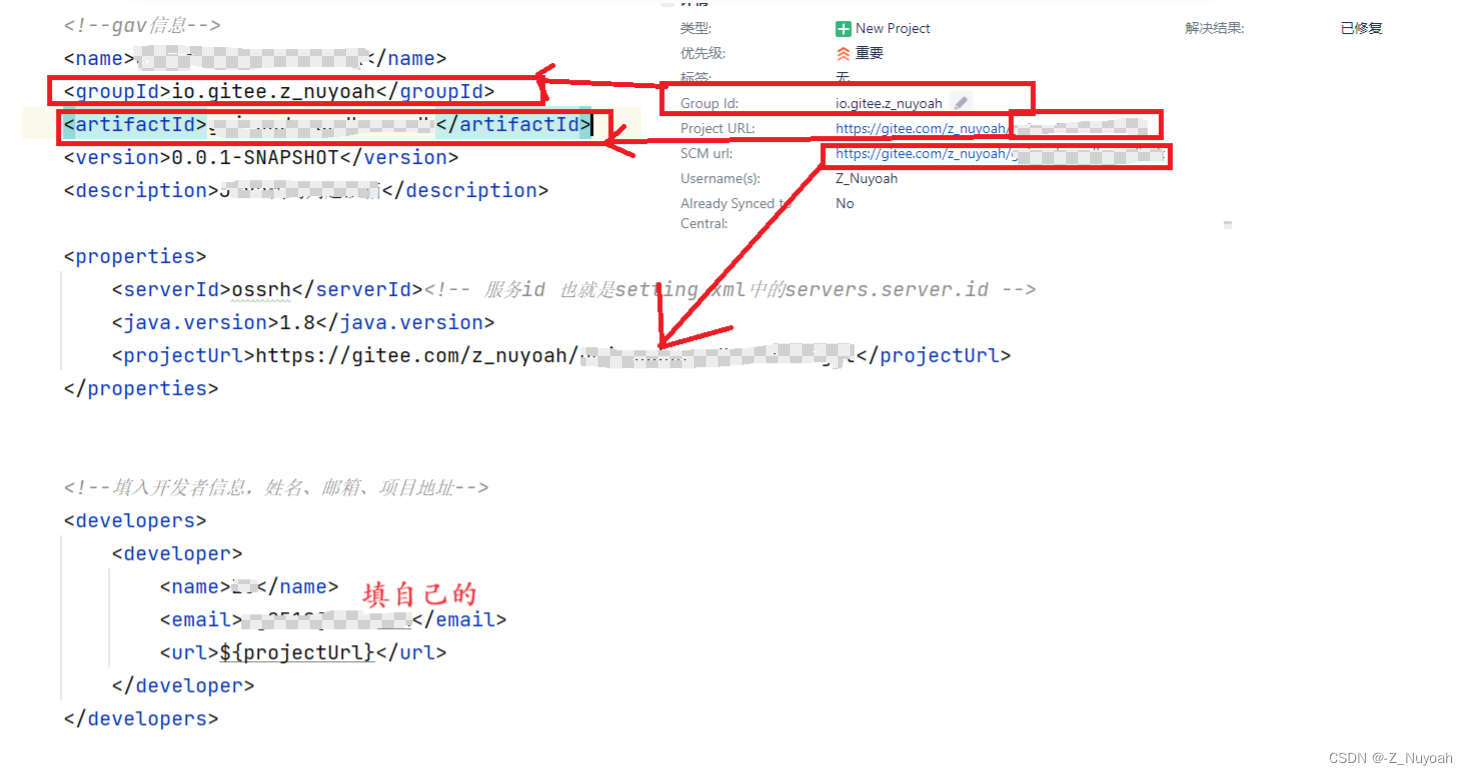
<!--gav信息-->
    <name>自定义名</name>
    <groupId>你自己的</groupId>
    <artifactId>你自己的</artifactId>
    <version>0.0.1-SNAPSHOT</version>
    <description>描述</description>

    <properties>
        <serverId>ossrh</serverId><!-- 服务id 也就是setting.xml中的servers.server.id -->
        <java.version>1.8</java.version>
        <projectUrl>你自己的</projectUrl>
    </properties>


    <!--填入开发者信息,姓名、邮箱、项目地址-->
    <developers>
        <developer>
            <name></name>
            <email></email>
            <url>${projectUrl}</url>
        </developer>
    </developers>
2、修改setting.xml
1、找到你的setting.xml文件位置

2、打开setting.xml
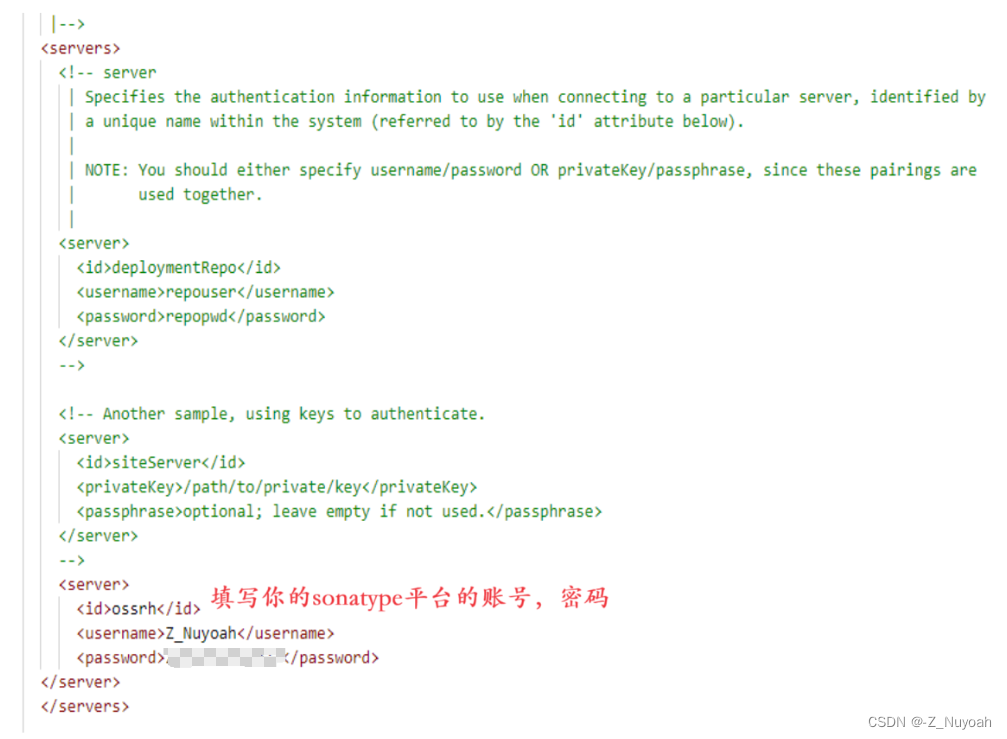
<servers>
    <server>
      <id>ossrh</id>
      <username>你自己的</username>
      <password>你自己的</password>
	</server>
  </servers>

<profile>
	  <id>ossrh</id>
      <activation>
        <activeByDefault>true</activeByDefault>
      </activation>
      <properties>
      	<gpg.executable>gpg</gpg.executable>
        <gpg.passphrase>你自己的</gpg.passphrase>
        <gpg.homedir>${user.home}/gnupg</gpg.homedir>
        <maven.compiler.source>1.8</maven.compiler.source>
        <maven.compiler.target>1.8</maven.compiler.target>
        <maven.compiler.compilerVersion>1.8</maven.compiler.compilerVersion>
      </properties>
    </profile>
3、以下部分不需要修改,但有一部分需要注意
 <!--以下部分内容不需要修改,直接复制咱贴即可-->
    <url>${projectUrl}</url>
    <licenses>
        <license>
            <name>The Apache Software License, Version 2.0</name>
            <url>http://www.apache.org/licenses/LICENSE-2.0.txt</url>
            <distribution>repo,manual</distribution>
        </license>
    </licenses>
    <scm>
        <!-- 采用projectUrl变量代替这个值,方便给重复利用这个配置,也就是上面的标签替换一下值就行 -->
        <connection>${projectUrl}</connection>
        <developerConnection>${projectUrl}</developerConnection>
        <url>${projectUrl}</url>
    </scm>
    <distributionManagement>
        <snapshotRepository>
            <!--这个id和settings.xml中servers.server.id要相同,因为上传jar需要登录才有权限-->
            <id>${serverId}</id>
            <name>OSS Snapshots Repository</name>
            <url>https://s01.oss.sonatype.org/content/repositories/snapshots/</url>
        </snapshotRepository>
        <repository>
            <!--这个id和settings.xml中servers.server.id要相同,因为上传jar需要登录才有权限-->
            <id>${serverId}</id>
            <name>OSS Staging Repository</name>
            <url>https://s01.oss.sonatype.org/service/local/staging/deploy/maven2/</url>
        </repository>
    </distributionManagement>


    <build>

        <plugins>
            <!-- 编译插件,设置源码以及编译的jdk版本 -->
            <plugin>
                <groupId>org.apache.maven.plugins</groupId>
                <artifactId>maven-compiler-plugin</artifactId>
                <configuration>
                    <source>8</source>
                    <target>8</target>
                </configuration>
            </plugin>
            <!--打包源码的插件-->
            <plugin>
                <groupId>org.apache.maven.plugins</groupId>
                <artifactId>maven-source-plugin</artifactId>
                <version>2.2.1</version>
                <executions>
                    <execution>
                        <id>attach-sources</id>
                        <goals>
                            <goal>jar-no-fork</goal>
                        </goals>
                    </execution>
                </executions>
            </plugin>
            <!-- Javadoc 文档生成插件-->
            <plugin>
                <groupId>org.apache.maven.plugins</groupId>
                <artifactId>maven-javadoc-plugin</artifactId>
                <version>2.9.1</version>
                <configuration>
                    <!-- 忽略生成文档中的错误 -->
                    <additionalparam>-Xdoclint:none</additionalparam>
                    <aggregate>true</aggregate>
                    <charset>UTF-8</charset><!-- utf-8读取文件 -->
                    <encoding>UTF-8</encoding><!-- utf-8进行编码代码 -->
                    <docencoding>UTF-8</docencoding><!-- utf-8进行编码文档 -->
                </configuration>
                <executions>
                    <execution>
                        <id>attach-javadocs</id>
                        <goals>
                            <goal>jar</goal>
                        </goals>
                    </execution>
                </executions>
            </plugin>
            <!--公钥私钥插件,也就是上传需要进行验证用户名和密码过程中需要用到的插件-->
            <plugin>
                <groupId>org.apache.maven.plugins</groupId>
                <artifactId>maven-gpg-plugin</artifactId>
                <version>1.5</version>
                <executions>
                    <execution>
                        <id>sign-artifacts</id>
                        <phase>verify</phase>
                        <goals>
                            <goal>sign</goal>
                        </goals>
                    </execution>
                </executions>
            </plugin>

		<!--部署插件-->
            <plugin>
                <groupId>org.sonatype.plugins</groupId>
                <artifactId>nexus-staging-maven-plugin</artifactId>
                <version>1.6.7</version>
                <extensions>true</extensions>
                <configuration>
                    <serverId>${serverId}</serverId>
                    <nexusUrl>https://s01.oss.sonatype.org/</nexusUrl>
                    <autoReleaseAfterClose>false</autoReleaseAfterClose>
                </configuration>
            </plugin>
        </plugins>
    </build>
注意部分:
            <plugin>
                <groupId>org.apache.maven.plugins</groupId>
                <artifactId>maven-gpg-plugin</artifactId>
                <version>1.5</version>
                <executions>
                    <execution>
                        <id>sign-artifacts</id>
                        <phase>verify</phase>
                        <goals>
                            <goal>sign</goal>
                        </goals>
                    </execution>
                </executions>
            </plugin>
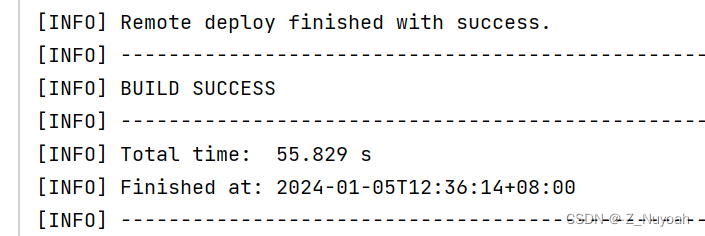
配置完这些下一步是在idea中maven下点击deploy
**1、若点击部署时没有报错,而是直接显示下图内容,则不用看注意部分直接跳过:**
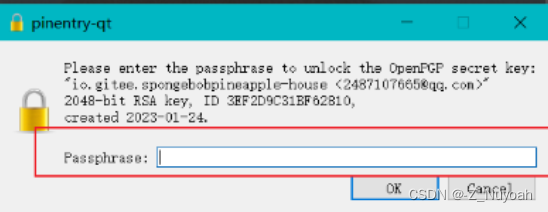
打包时可能会弹出让你输入密码(填的在setting.xml中配置的)
**2、若点击部署时报以下错误:**

**解决方法:**
1、可以将以下部分删除
            <plugin>
                <groupId>org.apache.maven.plugins</groupId>
                <artifactId>maven-gpg-plugin</artifactId>
                <version>1.5</version>
                <executions>
                    <execution>
                        <id>sign-artifacts</id>
                        <phase>verify</phase>
                        <goals>
                            <goal>sign</goal>
                        </goals>
                    </execution>
                </executions>
            </plugin>
2、或者将上面的部分替换成以下内容:
 <plugin>
     <groupId>org.apache.maven.plugins</groupId>
      <artifactId>maven-gpg-plugin</artifactId>
      <version>1.5</version>
      <configuration>
          <skip>true</skip>
      </configuration>
  </plugin>
**两种方法选其一即可**
5、打开下面的链接
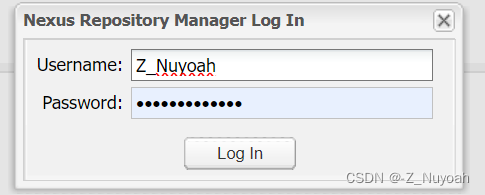
https://s01.oss.sonatype.org/#welcome
登陆(账号密码是sonatype平台注册的)
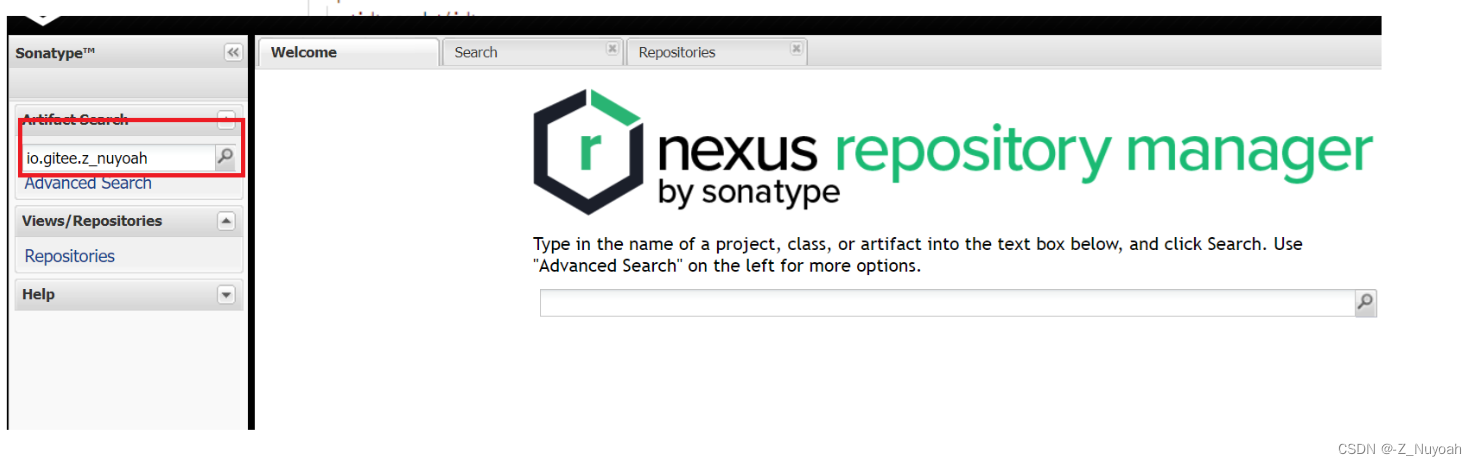
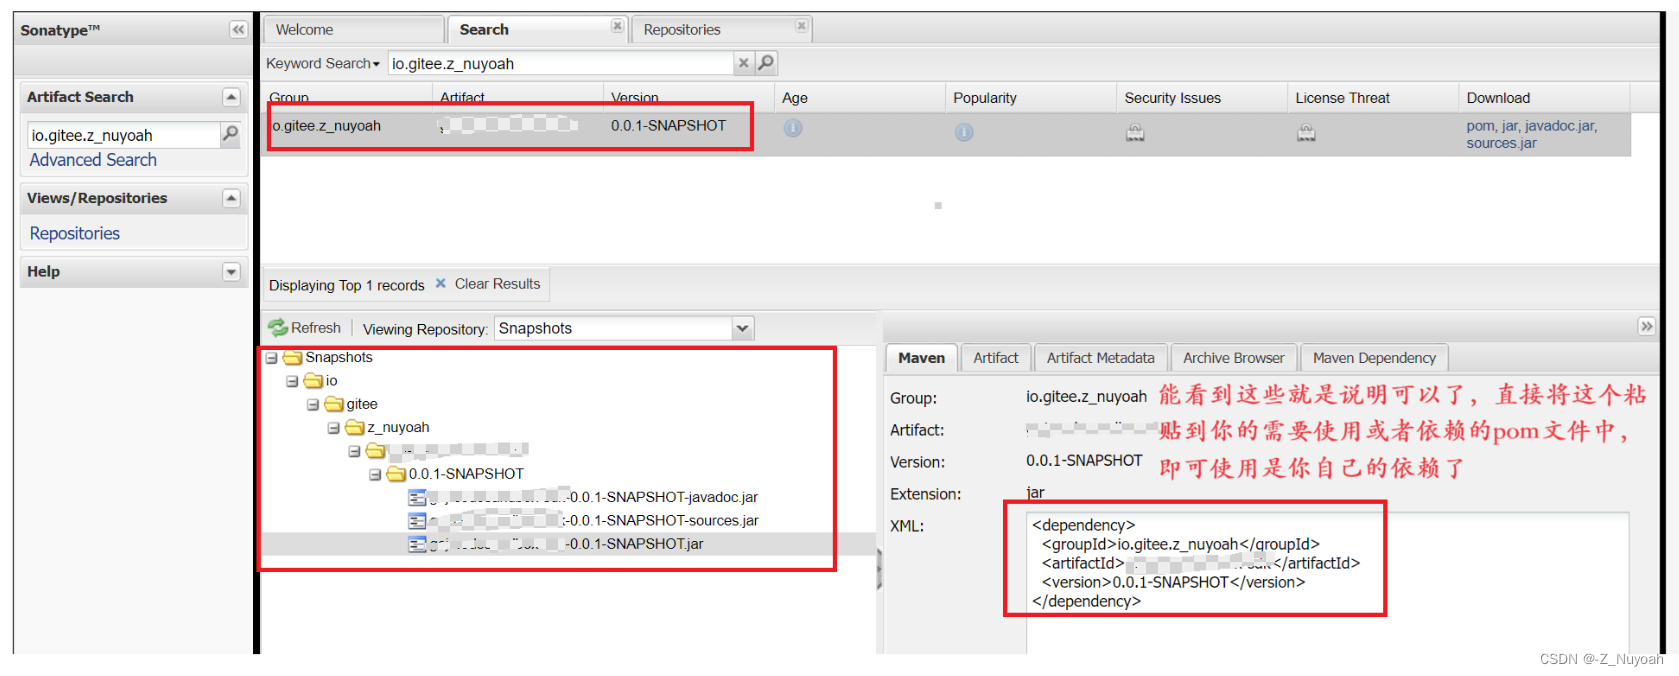
**能看到这些就是可以了,直接将依赖引到,你所需要的pom文件即可使用**
以上只是上传到自己的私服务仓库中,并未发布,个人学习以上足够带来便利,也能给别人,也不一定需要发布。