简单探究Fragment
Fragment是什么
Fragment (碎片)是一种可以嵌入在活动中的UI片段它能让程序更加合理和充分的利用大屏幕的空间,因此平板上应用的非常广泛。Fragment和活动非常相似,同样包含布局,有自己的生命周期。你甚至可以将碎片理解成一个迷你型的活动。
Fragment生命周期
Fragment必须是依存与Activity而存在的,因此Activity的生命周期会直接影响到Fragment的生命周期。官网这张图很好的说明了两者生命周期的关系:

可以看到Fragment比Activity多了几个额外的生命周期回调方法:
onAttach():当Fragment与Activity发生关联时调用。
onCreateView():创建该Fragment的视图
onActivityCreated():当Activity的onCreate方法返回时调用
onDestoryView():与onCreateView想对应,当该Fragment的视图被移除时调用
onDetach():与onAttach相对应,当Fragment与Activity关联被取消时调用
介绍完Fragment,现在我们来讲一讲它的应用
Fragment的应用
Fragment静态加载怎么用
这是使用Fragment最简单的一种方式,把Fragment当成普通的控件,直接写在Activity的布局文件中。
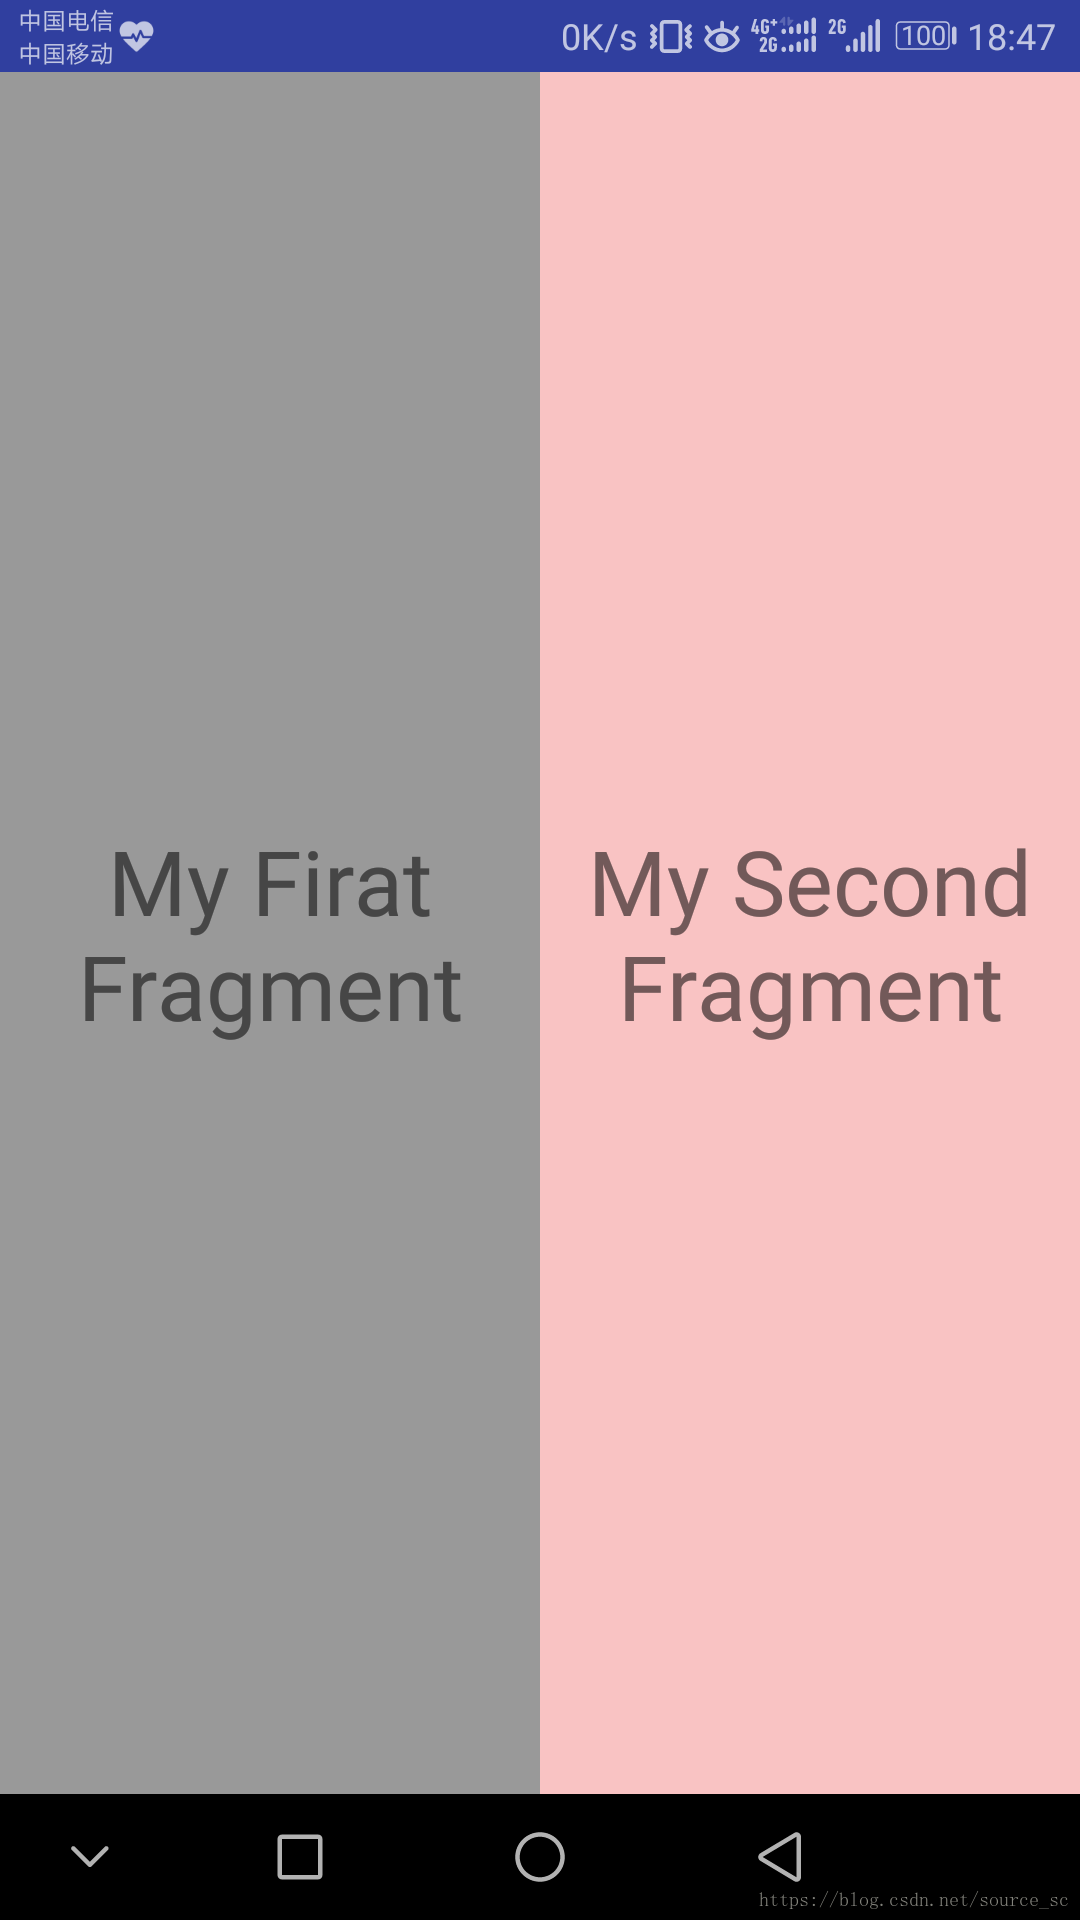
下面展示一个例子(我使用2个Fragment作为Activity的布局):
FirstFragment的布局文件:
<?xml version="1.0" encoding="utf-8"?>
<FrameLayout xmlns:android="http://schemas.android.com/apk/res/android"
    xmlns:tools="http://schemas.android.com/tools"
    android:layout_width="match_parent"
    android:layout_height="match_parent"
    android:background="#999999"
    tools:context=".test.FirstFragment">

    <!-- TODO: Update blank fragment layout -->
    <TextView
        android:layout_width="match_parent"
        android:layout_height="match_parent"
        android:text="My Firat Fragment"
        android:textSize="30dp"
        android:gravity="center"/>

</FrameLayout>
SecondFragment的布局文件:
<?xml version="1.0" encoding="utf-8"?>
<FrameLayout xmlns:android="http://schemas.android.com/apk/res/android"
    xmlns:tools="http://schemas.android.com/tools"
    android:layout_width="match_parent"
    android:layout_height="match_parent"
    android:background="#f9c3c3"
    tools:context=".test.SecondFragment">

    <!-- TODO: Update blank fragment layout -->
    <TextView
        android:layout_width="match_parent"
        android:layout_height="match_parent"
        android:text="My Second Fragment"
        android:textSize="30dp"
        android:gravity="center" />

</FrameLayout>
两个fragment用不同颜色,便于区分
Activity的布局文件:
<?xml version="1.0" encoding="utf-8"?>
<LinearLayout xmlns:android="http://schemas.android.com/apk/res/android"
    xmlns:app="http://schemas.android.com/apk/res-auto"
    xmlns:tools="http://schemas.android.com/tools"
    android:layout_width="match_parent"
    android:layout_height="match_parent"
    android:orientation="horizontal"
    tools:context=".test.TestActivity">

    <fragment
        android:id="@+id/my_first_fragment"
        android:layout_weight="1"
        android:layout_width="match_parent"
        android:layout_height="match_parent"
        android:name="com.example.a17825.paopao.test.FirstFragment"/>
    <fragment
        android:id="@+id/my_second_fragment"
        android:layout_weight="1"
        android:layout_width="match_parent"
        android:layout_height="match_parent"
        android:name="com.example.a17825.paopao.test.SecondFragment"/>
</LinearLayout>
把Fragment当成普通的View一样声明在Activity的布局文件中,然后所有控件的事件处理等代码都由各自的Fragment去处理
这里要注意,fragment一定要写id,不然无法运行,android:name=”“寻找你创建的Fragment文件,下面看看效果图:
Fragment动态加载怎么用
上面已经演示了,最简单的使用Fragment的方式,下面介绍如何动态的添加、更新、以及删除Fragment
在讲Fragment动态加载先看一下Fragment常用的三个类:
android.app.Fragment 主要用于定义Fragment
android.app.FragmentManager 主要用于在Activity中操作Fragment
android.app.FragmentTransaction 保证一些列Fragment操作的原子性,熟悉事务这个词,一定能明白
为了动态使用Fragment,我们修改一下Actvity的布局文件,中间使用一个FrameLayout,下面添加两个按钮:
<?xml version="1.0" encoding="utf-8"?>
<LinearLayout xmlns:android="http://schemas.android.com/apk/res/android"
    xmlns:app="http://schemas.android.com/apk/res-auto"
    xmlns:tools="http://schemas.android.com/tools"
    android:layout_width="match_parent"
    android:layout_height="match_parent"
    android:orientation="vertical"
    tools:context=".test.TestActivity">

    <LinearLayout
        android:layout_width="match_parent"
        android:layout_height="wrap_content"
        android:orientation="horizontal">
        <Button
            android:layout_weight="1"
            android:id="@+id/test_button1"
            android:layout_width="match_parent"
            android:layout_height="wrap_content"
            android:text="First Fragment"
            android:textSize="20dp"/>
        <Button
            android:layout_weight="1"
            android:id="@+id/test_button2"
            android:layout_width="match_parent"
            android:layout_height="wrap_content"
            android:text="First Fragment"
            android:textSize="20dp"/>
    </LinearLayout>
    <FrameLayout
        android:layout_weight="1"
        android:id="@+id/test_fragment"
        android:layout_width="match_parent"
        android:layout_height="match_parent"></FrameLayout>
</LinearLayout>
下面主Activity:
package com.example.a17825.paopao.test;
import android.app.FragmentManager;
import android.app.FragmentTransaction;
import android.support.v7.app.AppCompatActivity;
import android.os.Bundle;
import android.view.View;
import android.widget.Button;
import com.example.a17825.paopao.R;
public class TestActivity extends AppCompatActivity implements View.OnClickListener{
private Button btn1;
private Button btn2;
private FirstFragment firstFragment;
private SecondFragment secondFragment;
private FragmentManager fragmentManager;
private FragmentTransaction fragmentTransaction;
@Override
protected void onCreate(Bundle savedInstanceState) {
super.onCreate(savedInstanceState);
setContentView(R.layout.activity_test);
bindID();
fragmentManager=getFragmentManager();
}
private void bindID() {
btn1=findViewById(R.id.test_button1);
btn2=findViewById(R.id.test_button2);
btn1.setOnClickListener(this);
btn2.setOnClickListener(this);
}
@Override
public void onClick(View v) {
fragmentTransaction=fragmentManager.beginTransaction();
switch (v.getId()){
case R.id.test_button1:
if(firstFragment==null){
firstFragment=new FirstFragment();
}
fragmentTransaction.replace(R.id.test_fragment,firstFragment);
break;
case R.id.test_button2:
if(secondFragment==null){
secondFragment=new SecondFragment();
}
fragmentTransaction.replace(R.id.test_fragment,secondFragment);
break;
default:
break;
}
fragmentTransaction.commit();
}
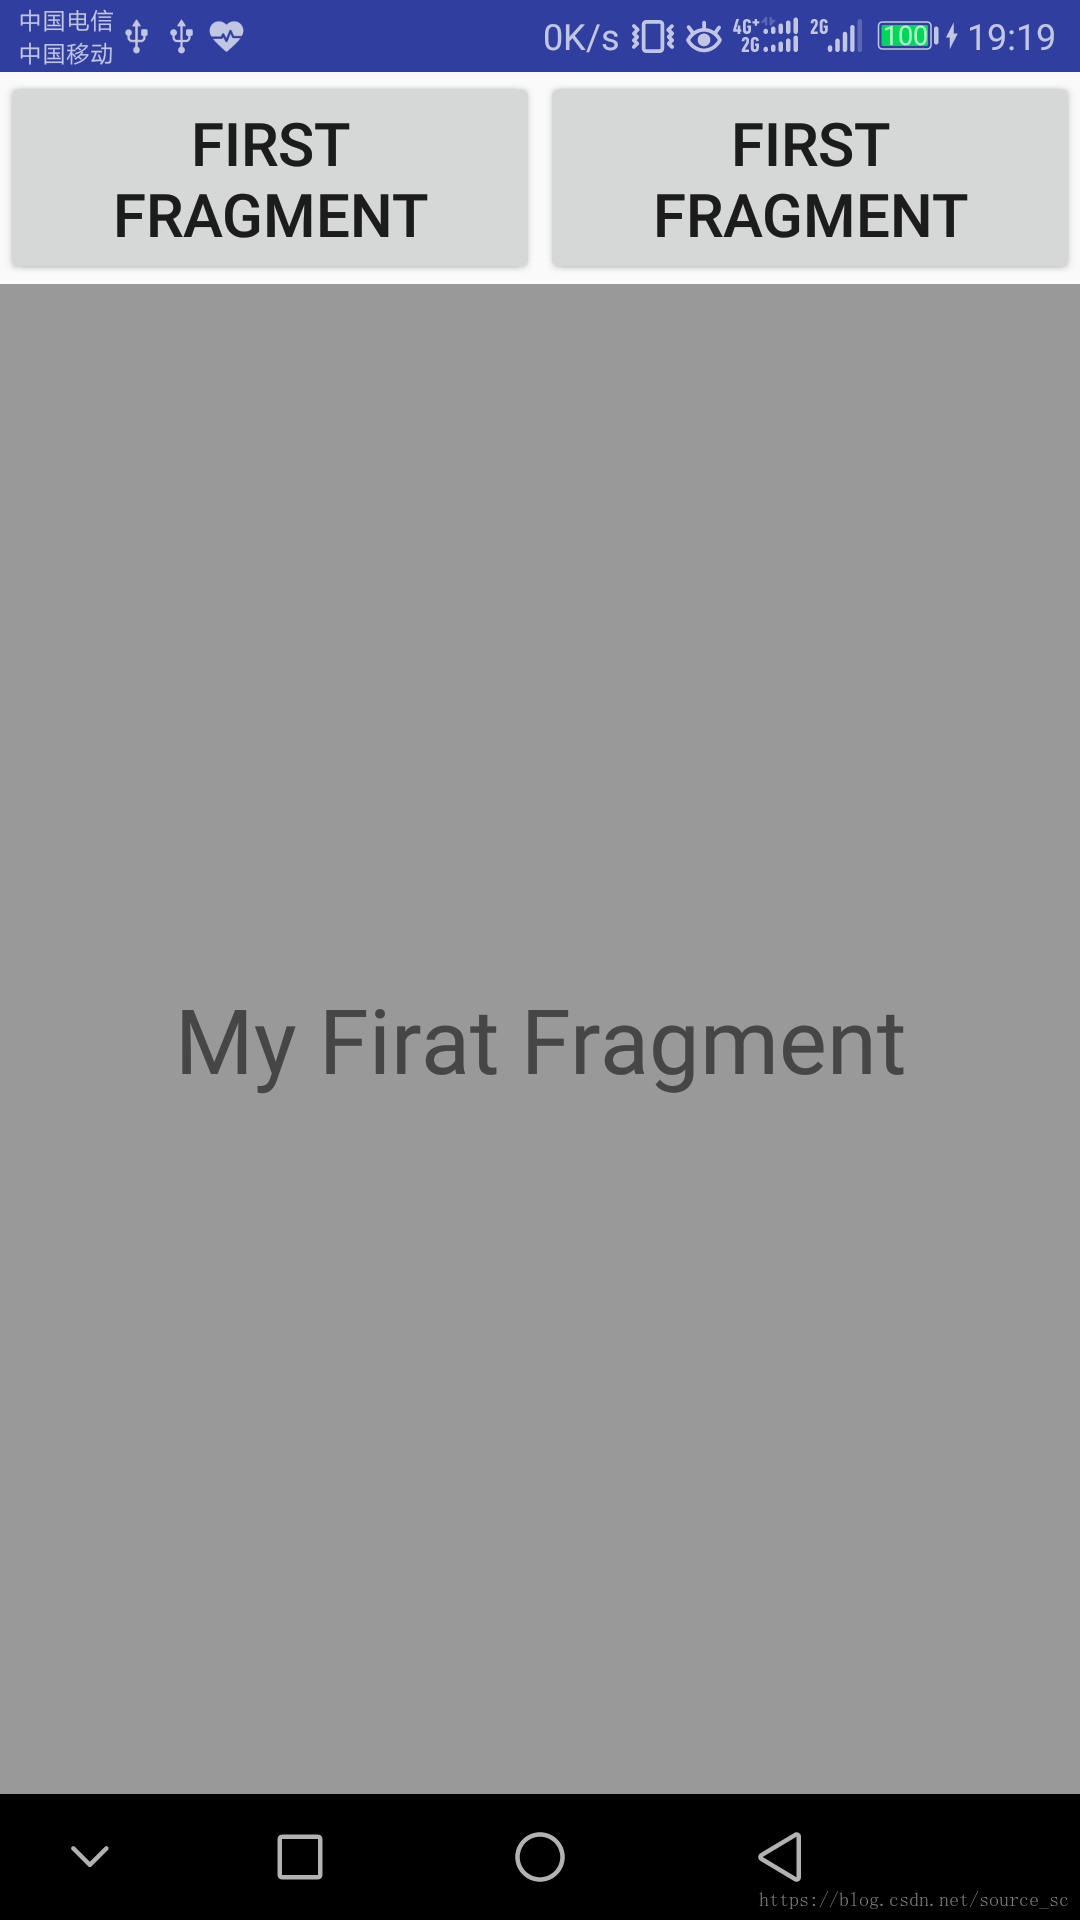
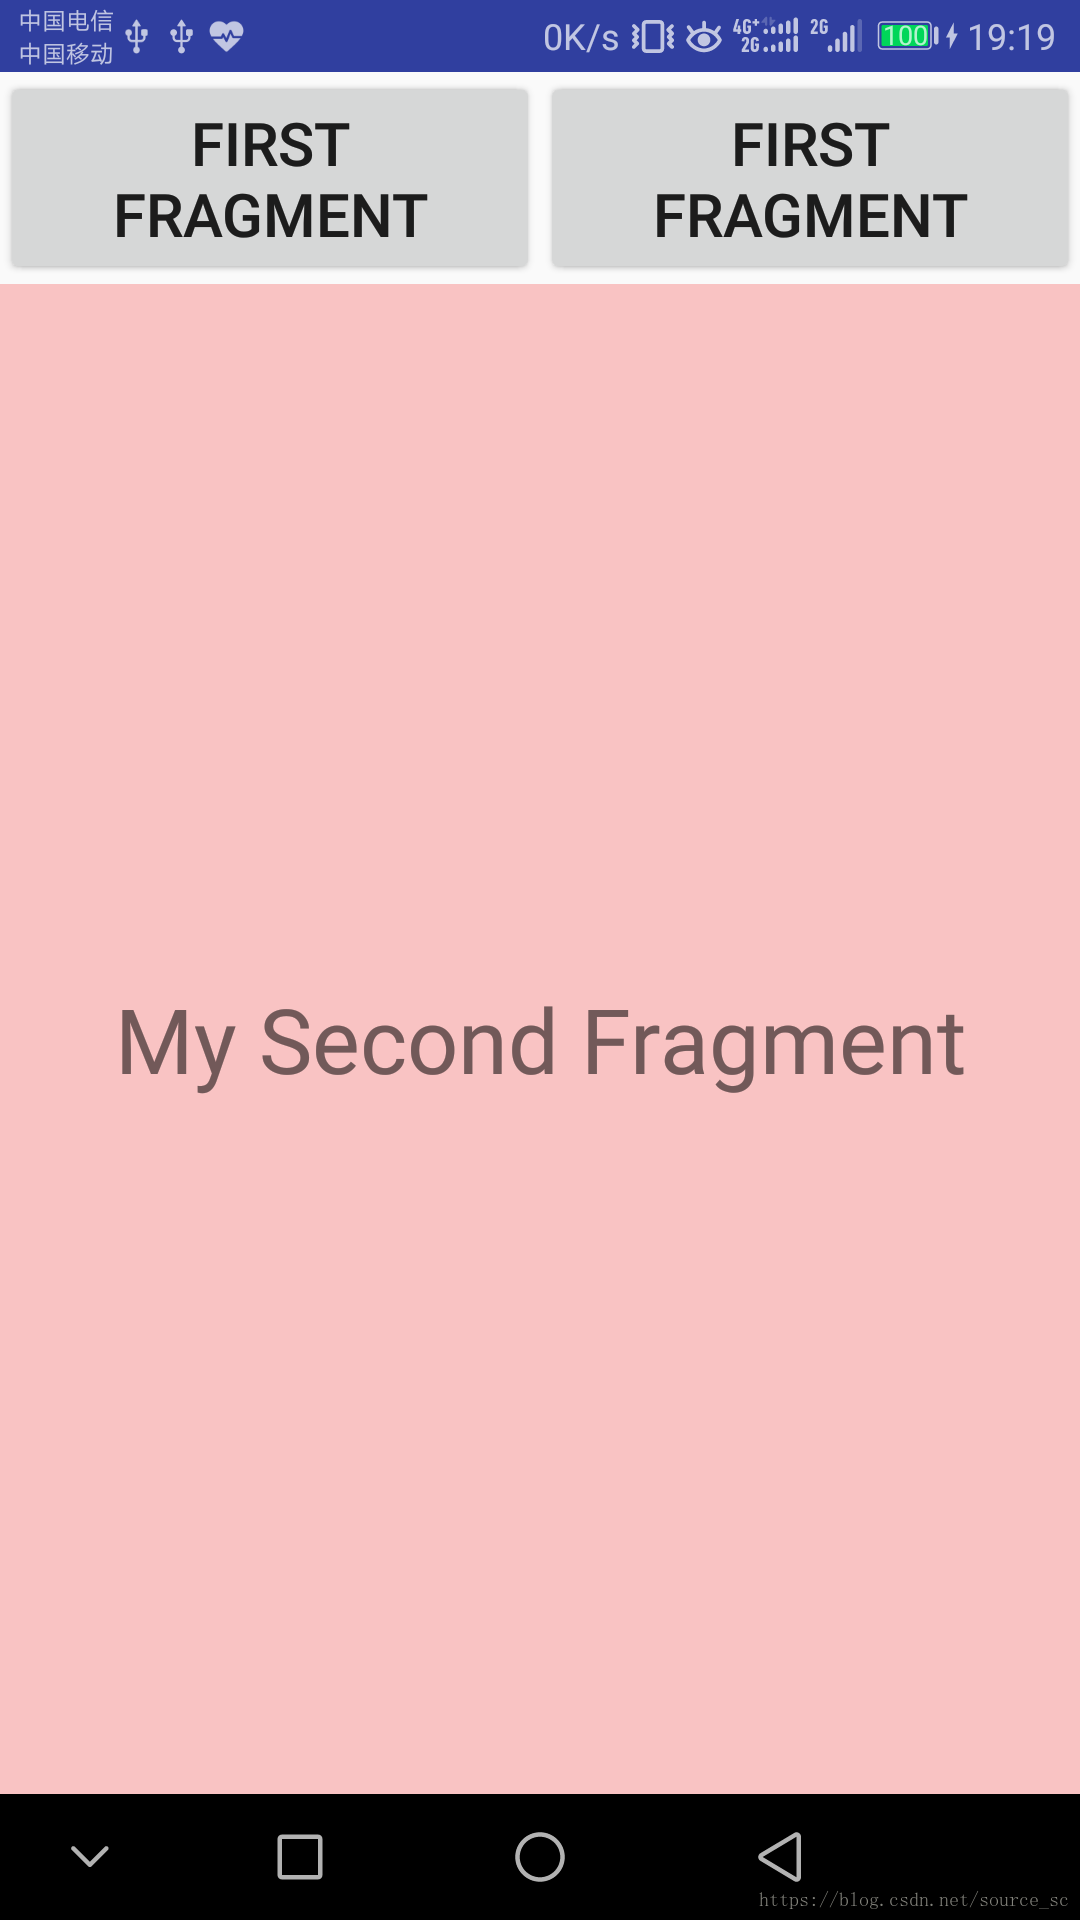
}效果图由于博主无法录制GIF,所以没有,效果简而言之就是,单击按钮fragment会进行相应切换
下面分别是单击按钮1和按钮2的效果图:
ViewPager+Fragment实现页卡滑动
适配器实现——FragmentPagerAdapter
public class FragAdapter extends FragmentPagerAdapter {

    private List<Fragment> fragments;

    public FragAdapter(FragmentManager fm,List<Fragment> fragments) {
        super(fm);
        // TODO Auto-generated constructor stub
        this.fragments=fragments;
    }

    @Override
    public Fragment getItem(int arg0) {
        // TODO Auto-generated method stub
        return mFragments.get(arg0);
    }

    @Override
    public int getCount() {
        // TODO Auto-generated method stub
        return mFragments.size();
    }

}
二个Fragment类
第一个Fragment类:
<?xml version="1.0" encoding="utf-8"?>
<LinearLayout xmlns:android="http://schemas.android.com/apk/res/android"
    android:layout_width="match_parent"
    android:layout_height="match_parent"
    android:background="#ffffff"
    android:orientation="vertical" >

</LinearLayout>
Java代码:
public class Fragment1 extends Fragment {

    @Override
    public View onCreateView(LayoutInflater inflater, ViewGroup container,
            Bundle savedInstanceState) {
        // TODO Auto-generated method stub
        View view=inflater.inflate(R.layout.layout1, container, false);
        return view;
    }

}
第二个Fragment类:
<?xml version="1.0" encoding="utf-8"?>
<LinearLayout xmlns:android="http://schemas.android.com/apk/res/android"
    android:layout_width="match_parent"
    android:layout_height="match_parent"
    android:background="#ffff00"
    android:orientation="vertical" >


</LinearLayout>
java代码:
public class Fragment2 extends Fragment {

    @Override
    public View onCreateView(LayoutInflater inflater, ViewGroup container,
            Bundle savedInstanceState) {
        // TODO Auto-generated method stub
        View view=inflater.inflate(R.layout.layout2, container, false);
        return view;
    }

}
主activity实现
核心代码:
public class MainActivity extends FragmentActivity {

    @Override
    protected void onCreate(Bundle savedInstanceState) {
        super.onCreate(savedInstanceState);
        setContentView(R.layout.activity_main);

        //构造适配器
        List<Fragment> fragments=new ArrayList<Fragment>();
        fragments.add(new Fragment1());
        fragments.add(new Fragment2());
        FragAdapter adapter = new FragAdapter(getSupportFragmentManager(), fragments);

        //设定适配器
        ViewPager vp = (ViewPager)findViewById(R.id.viewpager);
        vp.setAdapter(adapter);
    }

}
Fragment通信
fragment向activity传值:
创建一个fragment,布局文件:
<?xml version="1.0" encoding="utf-8"?>
<FrameLayout xmlns:android="http://schemas.android.com/apk/res/android"
    xmlns:tools="http://schemas.android.com/tools"
    android:layout_width="match_parent"
    android:layout_height="match_parent"
    tools:context=".BlankFragment1">

    <Button
        android:id="@+id/chat_btn"
        android:layout_width="match_parent"
        android:layout_height="wrap_content"
        android:text="联系人"/>
    <TextView
        android:layout_width="match_parent"
        android:layout_height="match_parent"
        android:gravity="center"
        android:textSize="50dp"
        android:text="联系人" />

</FrameLayout>
Java文件中,由于fragment没有findViewById()方法,所以onCreateView()要进行改变:
public View onCreateView(LayoutInflater inflater, ViewGroup container,
                             Bundle savedInstanceState) {
        // Inflate the layout for this fragment
        return inflater.inflate(R.layout.fragment_blank_fragment1, container, false);
    }
改为:
public View onCreateView(LayoutInflater inflater, ViewGroup container,
                             Bundle savedInstanceState) {
        // Inflate the layout for this fragment
       View view=inflater.inflate(R.layout.fragment_blank_fragment1, container, false);
       button=view.findViewById(R.id.chat_btn);
        return view;
    }
给按钮添加单击事件:
button.setOnClickListener(new View.OnClickListener() {
            @Override
            public void onClick(View v) {
            //创建Main3Activity
                Main3Activity main3Activity= (Main3Activity) getActivity();
            }
        });
Activity布局文件添加TextView接受fragment的传值:
<LinearLayout xmlns:android="http://schemas.android.com/apk/res/android"
    xmlns:app="http://schemas.android.com/apk/res-auto"
    xmlns:tools="http://schemas.android.com/tools"
    android:layout_width="match_parent"
    android:layout_height="match_parent"
    android:orientation="vertical"
    tools:context=".Main3Activity">
<TextView
        android:id="@+id/title_tv"
        android:layout_width="match_parent"
        android:layout_height="50dp"
        android:gravity="center"/>
    <fragment
        android:id="@+id/main_fragment"
        android:layout_width="match_parent"
        android:layout_height="match_parent"
        android:name="com.example.a17825.paopao.BlankFragment1"/>
        </LinearLayout>
在Java文件中创建一个方法,设置TextView的内容:
public void modifyTitle(String title) {
title_tv.setText(title);
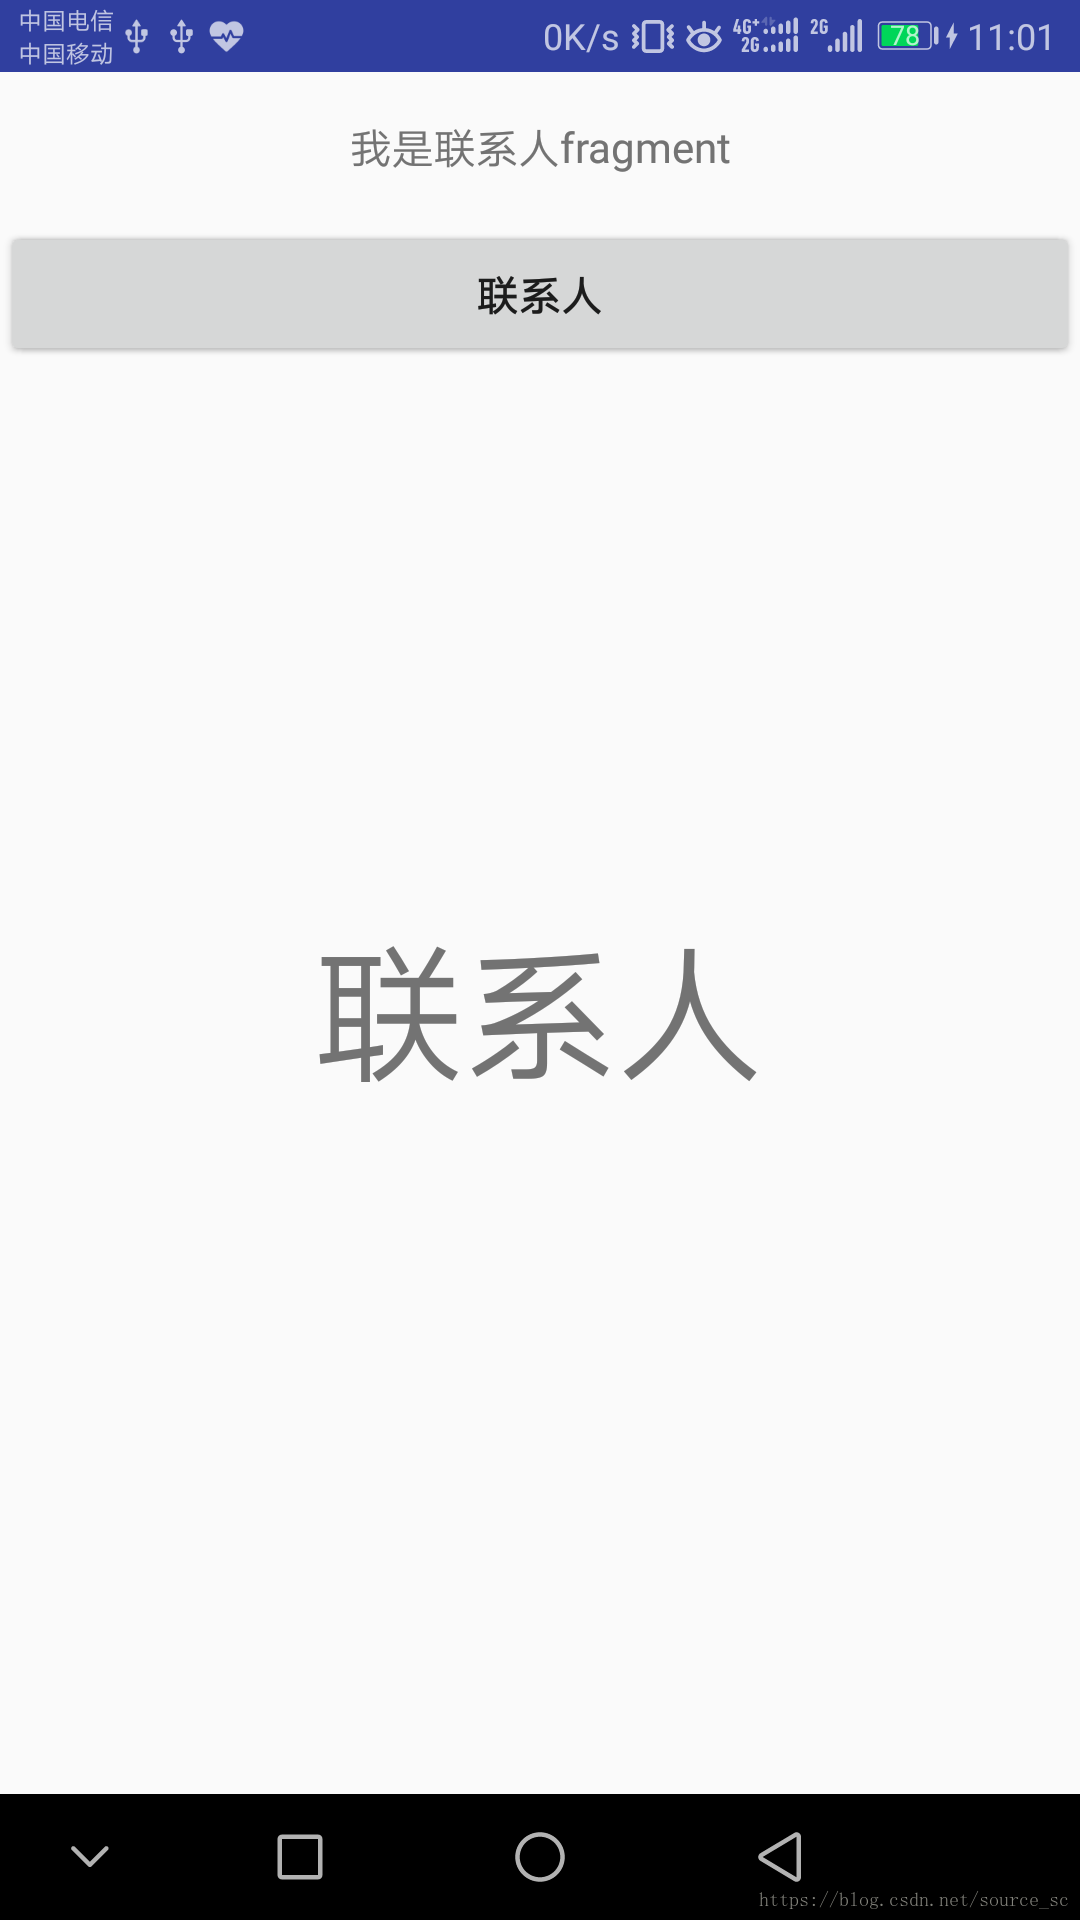
}然后在fragment的Java文件的按钮单击事件中调用该方法:
main3Activity.modifyTitle("我是联系人fragment");运行结果:
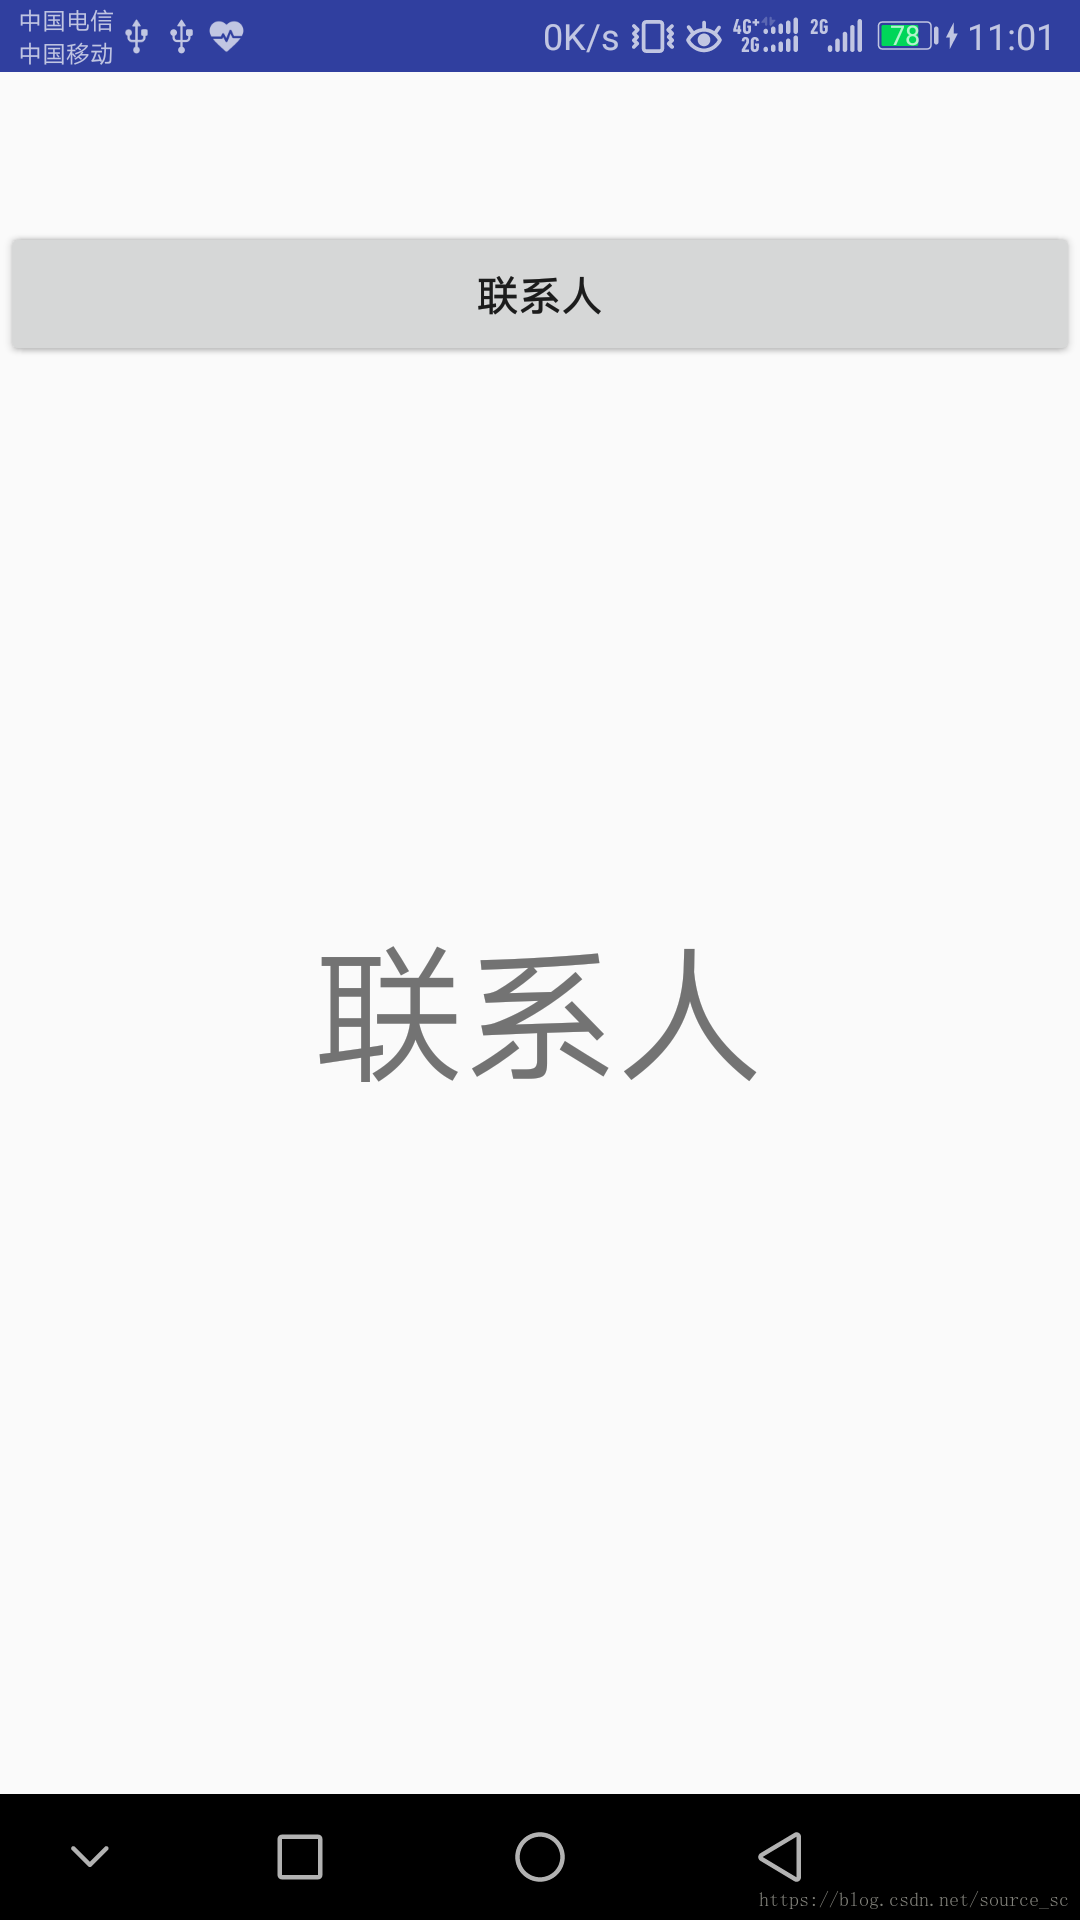
单击按钮:
实现Activity传值Fragment
类似Activity之间的通信intent,这里用Bundle
Activity代码:
Bundle bundle=new Bundle();
        bundle.putString("name","我是Activity");
        oneFragment.setArguments(bundle);
Fragment代码:
Bundle bundle = getArguments();
       String name = bundle.getString("name");
       button.setText(name);