文章目录
1、功能实例
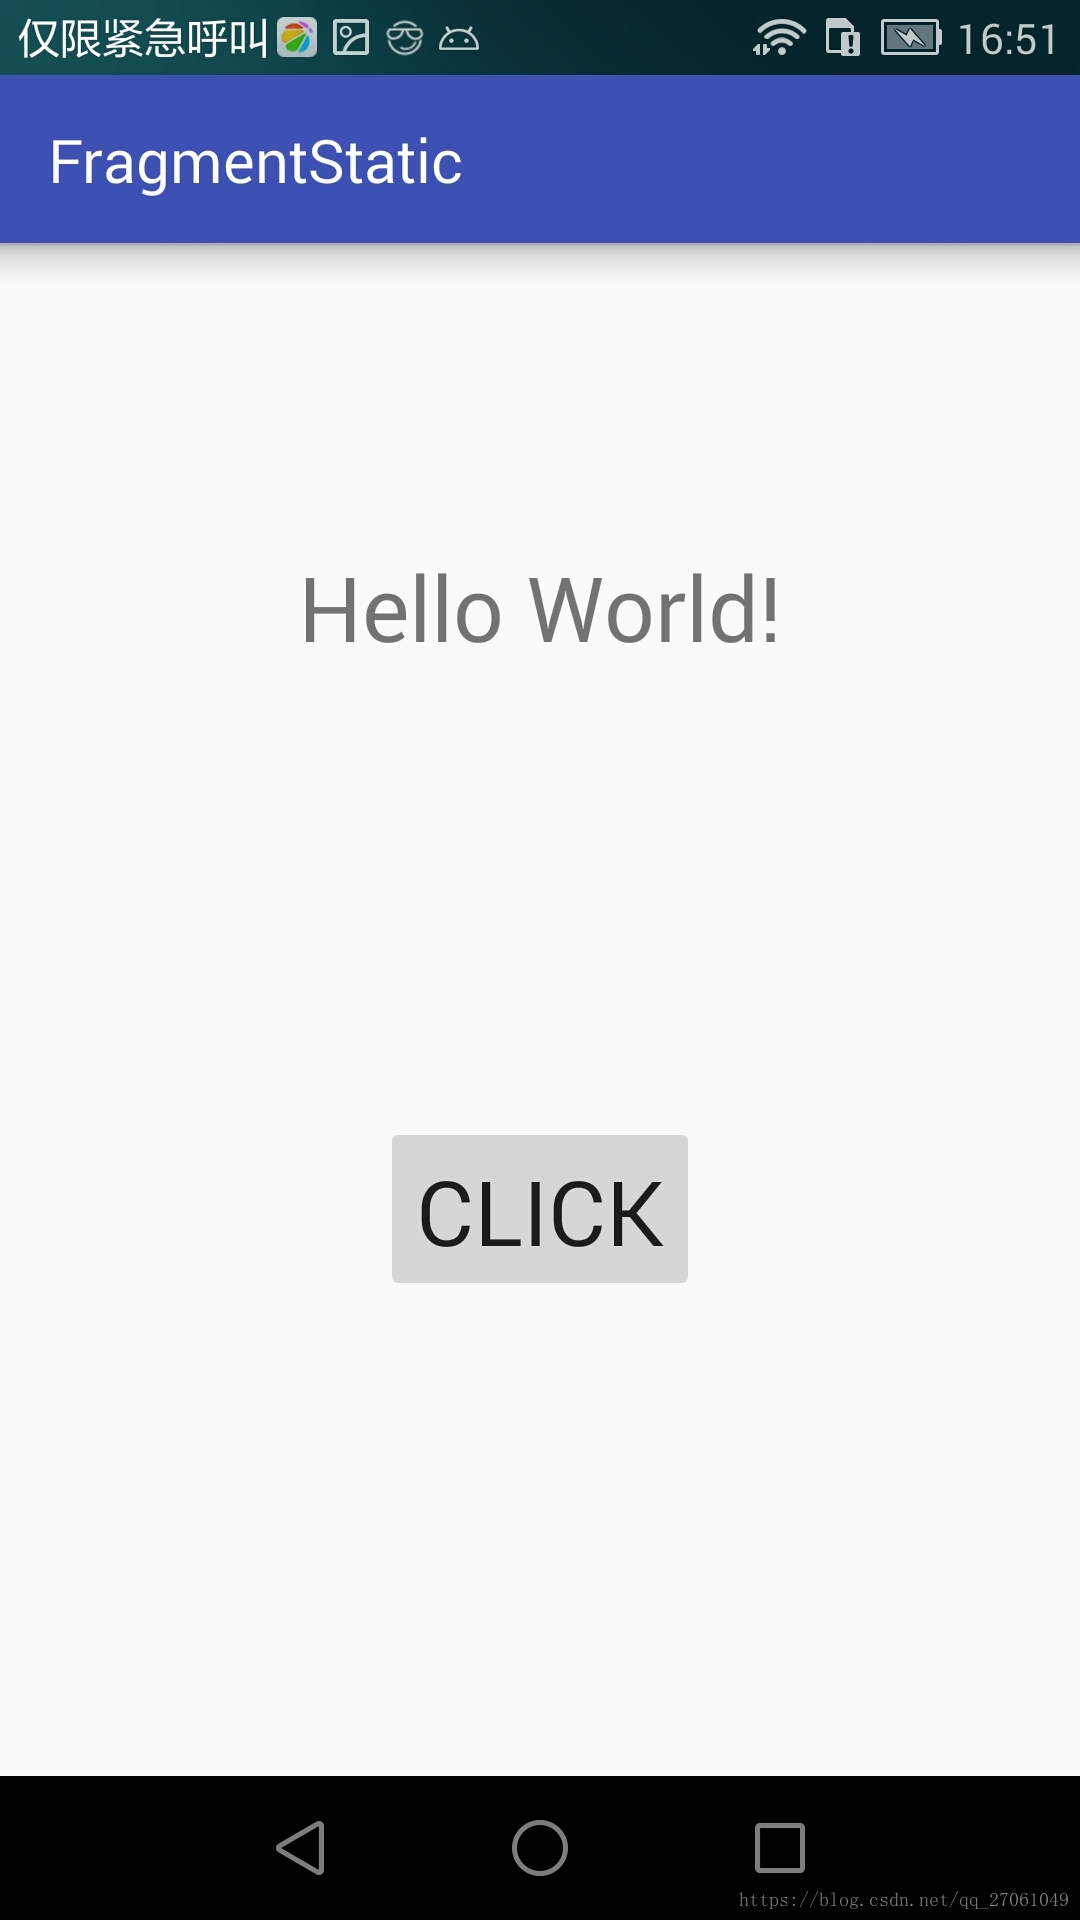
在activity中 将 fragment 作为组件加载
图中 Textview 是一个组件
Button 是一个fragment 组件
它们都是直接在 一个.xml 文件里引用
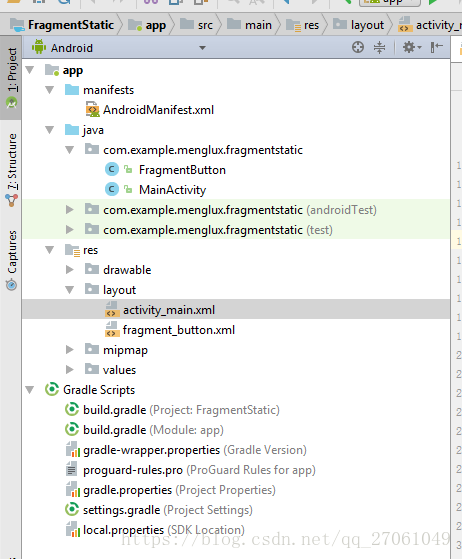
2、代码结构
3、activity_main.xml 文件
<?xml version="1.0" encoding="utf-8"?>
<LinearLayout xmlns:android="http://schemas.android.com/apk/res/android"
    xmlns:app="http://schemas.android.com/apk/res-auto"
    xmlns:tools="http://schemas.android.com/tools"
    android:layout_width="match_parent"
    android:layout_height="match_parent"
    android:orientation="vertical"
    tools:context="com.example.menglux.fragmentstatic.MainActivity">


    <LinearLayout
        android:layout_width="match_parent"
        android:layout_height="wrap_content"
        android:layout_marginTop="100dp"
        android:gravity="center">
        <TextView
            android:id="@+id/text_id"
            android:layout_width="wrap_content"
            android:layout_height="wrap_content"
            android:textSize="30dp"
            android:text="Hello World!" />
    </LinearLayout>

    <fragment
        android:id="@+id/fargment_id"
        android:name="com.example.menglux.fragmentstatic.FragmentButton"
        android:layout_width="wrap_content"
        android:layout_height="wrap_content"
        android:layout_marginTop="50dp"
        android:layout_gravity="center"/>


</LinearLayout>
4、fragment_button.xml
<?xml version="1.0" encoding="utf-8"?>
<LinearLayout xmlns:android="http://schemas.android.com/apk/res/android"
    xmlns:app="http://schemas.android.com/apk/res-auto"
    xmlns:tools="http://schemas.android.com/tools"
    android:layout_width="match_parent"
    android:layout_height="match_parent"
    tools:context="com.example.menglux.fragmentstatic.MainActivity">


    <LinearLayout
        android:layout_width="match_parent"
        android:layout_height="wrap_content"
        android:layout_marginTop="100dp"
        android:gravity="center">
        <Button
            android:id="@+id/button_id"
            android:layout_width="wrap_content"
            android:layout_height="wrap_content"
            android:textSize="30dp"
            android:text="click" />
    </LinearLayout>


</LinearLayout>
5、FragmentButton.java 文件
package com.example.menglux.fragmentstatic;
import android.app.Fragment;
import android.os.Bundle;
import android.support.annotation.Nullable;
import android.support.v7.app.AppCompatActivity;
import android.view.LayoutInflater;
import android.view.View;
import android.view.ViewGroup;
import android.widget.Button;
import android.widget.TextView;
public class FragmentButton extends Fragment implements View.OnClickListener {
private Button button;
private TextView textView;
@Override
public View onCreateView(LayoutInflater inflater, @Nullable ViewGroup container, Bundle savedInstanceState) {
View view=inflater.inflate(R.layout.fragment_button,null);
button = (Button) view.findViewById(R.id.button_id);
button.setOnClickListener(this);
//这里就是把view返回给MainActivity里的方法
return view;
}
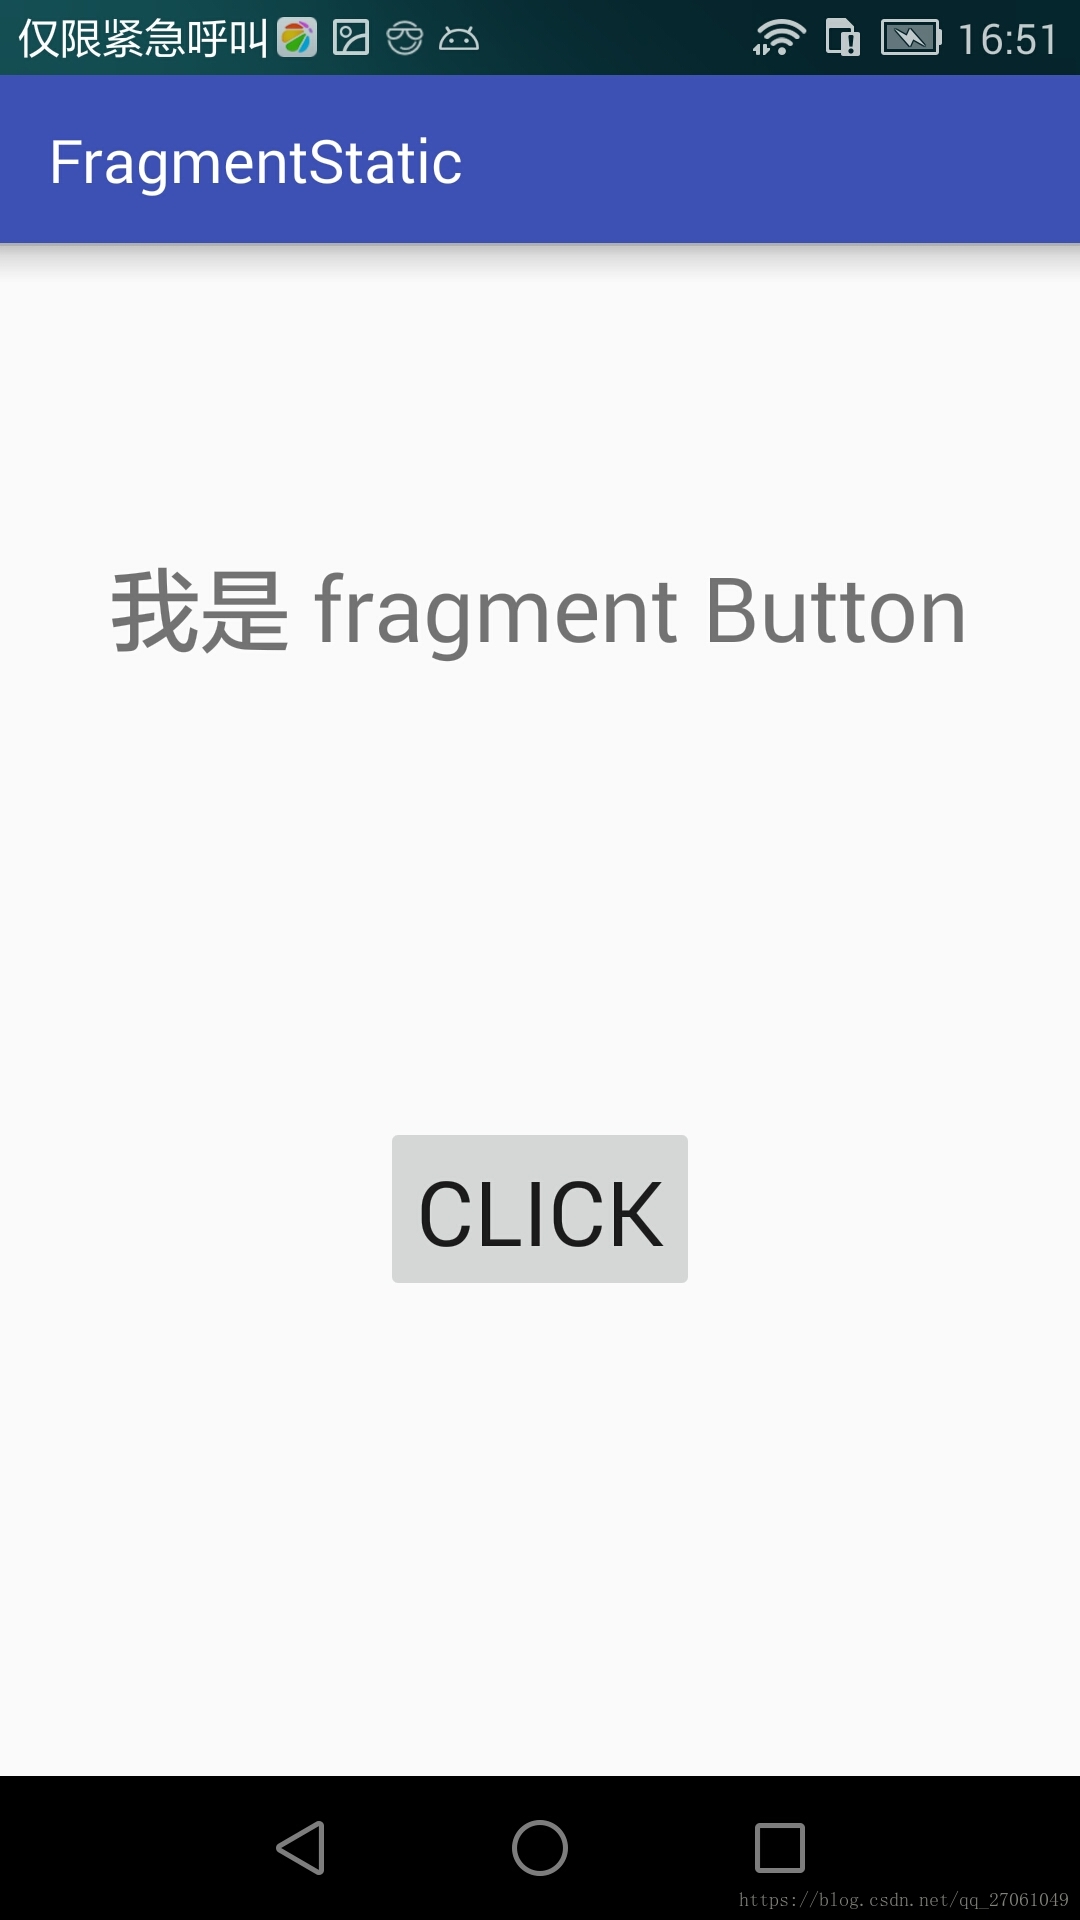
@Override
public void onClick(View v) {
switch(v.getId()){
case R.id.button_id:
//在Fragment中使用Activity中控件的方式
// 在当前的Fragment中调用getActivity方法获取依附着的那个Activity,
// 然后再用获取到的Activity去findViewById拿到你需要的控件对其操作就行了。
AppCompatActivity activity = (AppCompatActivity) getActivity();
textView = (TextView) activity.findViewById(R.id.text_id);
textView.setText("我是 fragment Button");
break;
default:
break;
}
}
}
6、MainActivity.java
package com.example.menglux.fragmentstatic;

import android.support.v7.app.AppCompatActivity;
import android.os.Bundle;

public class MainActivity extends AppCompatActivity {

    @Override
    protected void onCreate(Bundle savedInstanceState) {
        super.onCreate(savedInstanceState);
        setContentView(R.layout.activity_main);
    }
}