文章目录
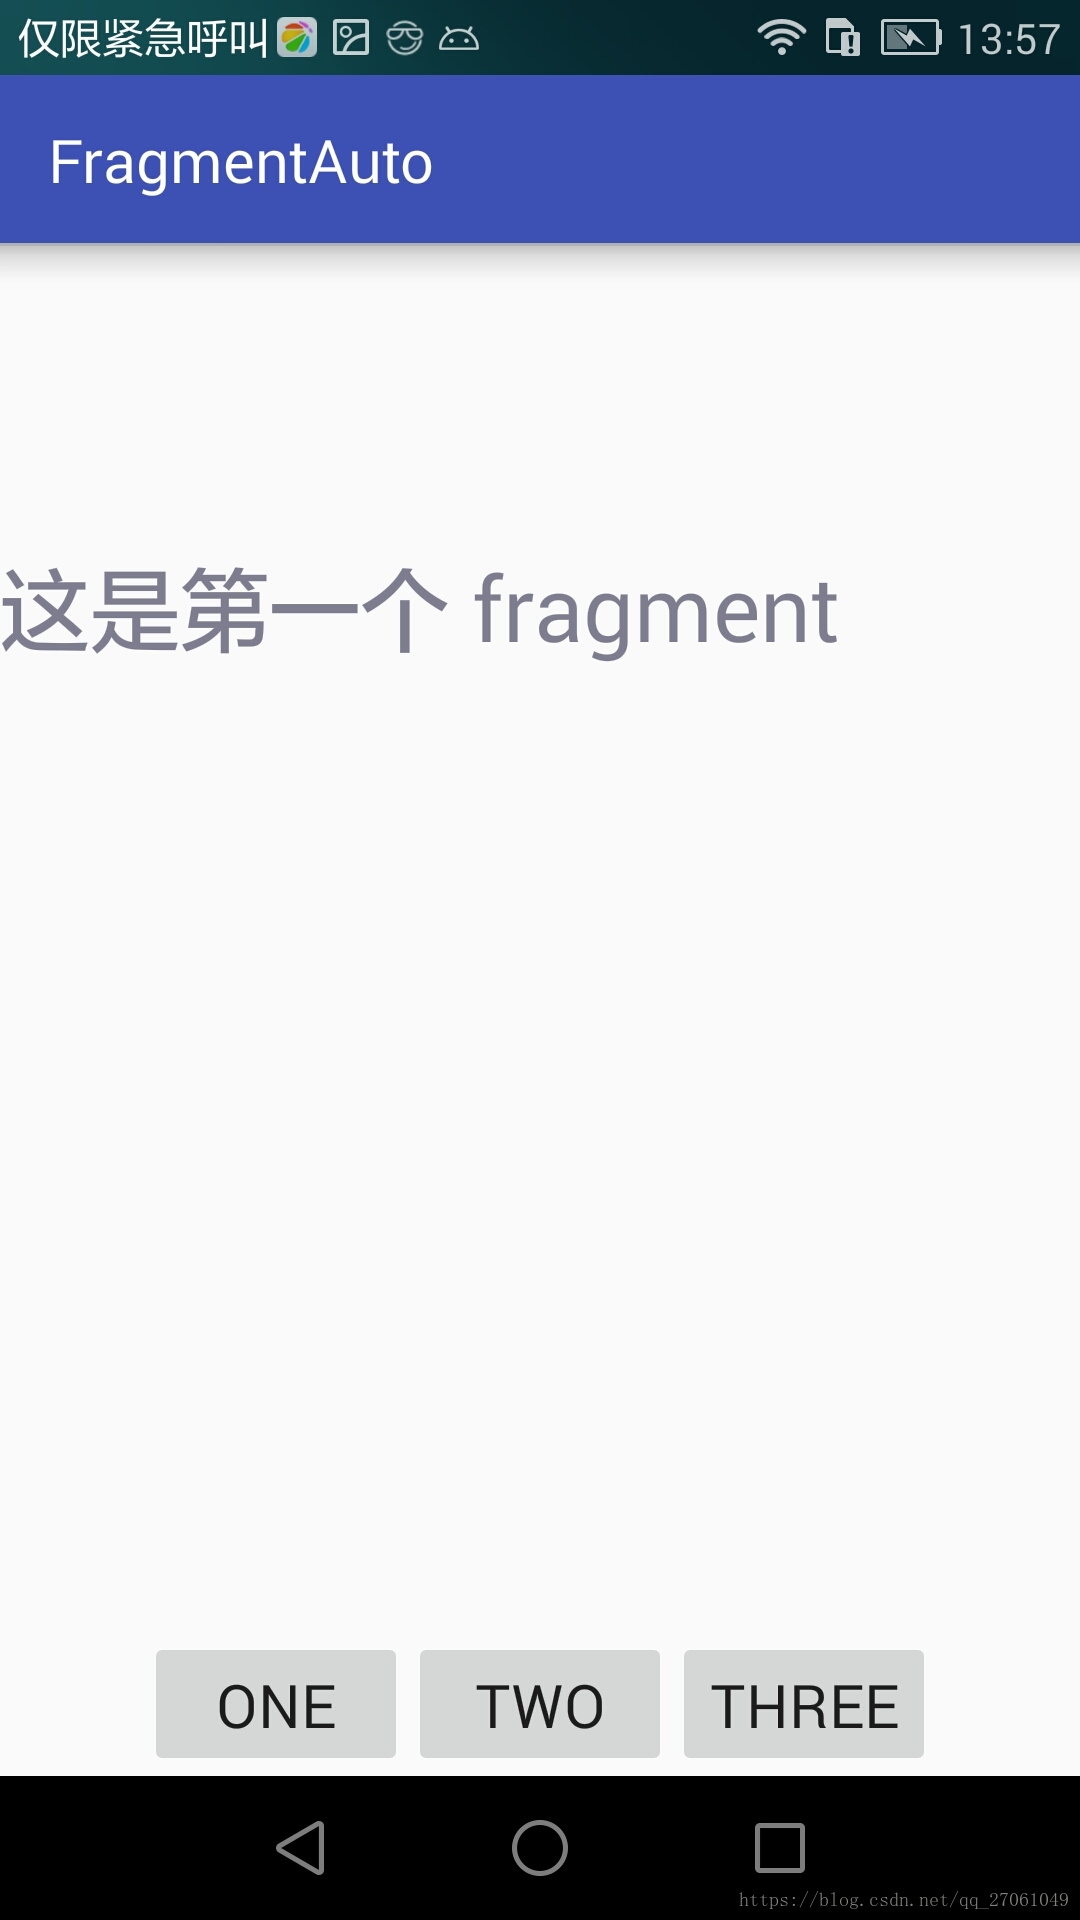
1、实现功能
一个activity 动态加载不同的 Fragment

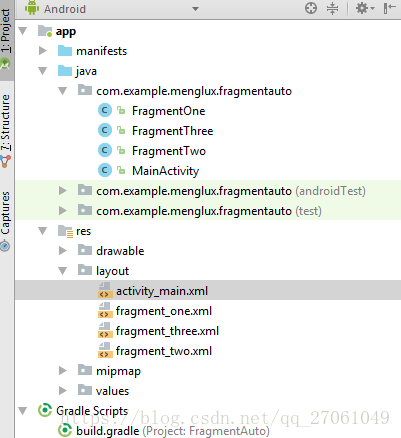
2、代码架构
3、activity_main.xml 文件
<?xml version="1.0" encoding="utf-8"?>
<LinearLayout xmlns:android="http://schemas.android.com/apk/res/android"
    xmlns:app="http://schemas.android.com/apk/res-auto"
    xmlns:tools="http://schemas.android.com/tools"
    android:layout_width="match_parent"
    android:layout_height="match_parent"
    android:orientation="vertical"
    tools:context="com.example.menglux.fragmentauto.MainActivity">

    <LinearLayout
        android:id="@+id/fragment_id"
        android:layout_width="wrap_content"
        android:layout_height="wrap_content"
        android:layout_weight="1"
        android:orientation="horizontal" />

    <LinearLayout
        android:layout_width="wrap_content"
        android:layout_height="wrap_content"
        android:layout_gravity="center"
        android:orientation="horizontal">
        <Button
            android:id="@+id/but_one_id"
            android:layout_width="wrap_content"
            android:layout_height="wrap_content"
            android:text="one"
            android:textSize="20dp"
            />

        <Button
            android:id="@+id/but_two_id"
            android:layout_width="wrap_content"
            android:layout_height="wrap_content"
            android:text="two"
            android:textSize="20dp"
            />

        <Button
            android:id="@+id/but_three_id"
            android:layout_width="wrap_content"
            android:layout_height="wrap_content"
            android:text="Three"
            android:textSize="20dp"
            />

    </LinearLayout>

</LinearLayout>
4、fragment_one.xml 文件
fragment_one.xml
fragment_two.xml
fragment_three.xml
文件相似
<?xml version="1.0" encoding="utf-8"?>
<LinearLayout xmlns:android="http://schemas.android.com/apk/res/android"
    xmlns:app="http://schemas.android.com/apk/res-auto"
    xmlns:tools="http://schemas.android.com/tools"
    android:layout_width="match_parent"
    android:layout_height="match_parent"
    android:orientation="vertical"
    tools:context="com.example.menglux.fragmentauto.MainActivity">

    <LinearLayout
        android:layout_width="wrap_content"
        android:layout_height="wrap_content"
        android:layout_gravity="center"
        android:orientation="vertical"
        android:layout_marginTop="100dp"
       >

        <TextView
            android:id="@+id/text_one_id"
            android:layout_width="wrap_content"
            android:layout_height="wrap_content"
            android:text="这是第一个 fragment"
            android:textSize="30dp"/>

    </LinearLayout>

</LinearLayout>
5、FragmentOne.java 文件
package com.example.menglux.fragmentauto;

import android.annotation.SuppressLint;
import android.app.Fragment;
import android.os.Bundle;
import android.support.annotation.Nullable;
import android.view.LayoutInflater;
import android.view.View;
import android.view.ViewGroup;
import android.widget.TextView;

import static com.example.menglux.fragmentauto.R.color.colorPrimary;

/**
 * Created by menglux on 23/10/2018.
 */

public class FragmentOne  extends Fragment implements View.OnClickListener {
    private TextView textView;

    @Override
    public View onCreateView(LayoutInflater inflater, @Nullable ViewGroup container, Bundle savedInstanceState) {
        View view=inflater.inflate(R.layout.fragment_one,null);

        textView = (TextView) view.findViewById(R.id.text_one_id);
        textView.setOnClickListener(this);

        //这里就是把view返回给MainActivity里的方法
        return view;
    }
    @SuppressLint("ResourceAsColor")
    @Override
    public void onClick(View v) {
        System.out.println("lum_1 点击 fragme_1");
        switch (v.getId()) {
            case  R.id.text_one_id:
                textView.setTextColor(R.color.colorPrimaryDark);  //将字体颜色改变
            break;
                default:
                    break;
        }

    }
}
6、FragmentTwo.java 文件
FragmentThree.java 文件 基本相似
package com.example.menglux.fragmentauto;

import android.annotation.SuppressLint;
import android.app.Fragment;
import android.os.Bundle;
import android.support.annotation.Nullable;
import android.view.LayoutInflater;
import android.view.View;
import android.view.ViewGroup;
import android.widget.TextView;

import static com.example.menglux.fragmentauto.R.color.colorPrimary;

/**
 * Created by menglux on 23/10/2018.
 */

public class FragmentTwo extends Fragment  {
    private TextView textView;

    @Override
    public View onCreateView(LayoutInflater inflater, @Nullable ViewGroup container, Bundle savedInstanceState) {
        View view=inflater.inflate(R.layout.fragment_two,null);

        textView = (TextView) view.findViewById(R.id.text_two_id);

        //这里就是把view返回给MainActivity里的方法
        return view;
    }

}
7、MainActvity.java 文件
package com.example.menglux.fragmentauto;

import android.app.Fragment;
import android.app.FragmentManager;
import android.app.FragmentTransaction;
import android.support.v7.app.AppCompatActivity;
import android.os.Bundle;
import android.view.View;
import android.widget.Button;

public class MainActivity extends AppCompatActivity implements View.OnClickListener {

    private Button buttonOne,buttonTwo,buttonThree;  //三个按钮
    private FragmentManager fragmentManager;  //Fragment 管理器
    private FragmentTransaction fragmentTransaction;  //Fragment 事务处理

    @Override
    protected void onCreate(Bundle savedInstanceState) {
        super.onCreate(savedInstanceState);
        setContentView(R.layout.activity_main);

        initView();

    }

    private void initView() {
        buttonOne = (Button) findViewById(R.id.but_one_id);
        buttonTwo = (Button) findViewById(R.id.but_two_id);
        buttonThree = (Button) findViewById(R.id.but_three_id);

        buttonOne.setOnClickListener(this);
        buttonTwo.setOnClickListener(this);
        buttonThree.setOnClickListener(this);

        fragmentManager = getFragmentManager(); //得到Fragment 管理器对象

        fragmentTransaction = fragmentManager.beginTransaction(); //开始fragmnet 的事务处理
        //初始化一个 fragment
        FragmentOne fragment = new FragmentOne(); //实例化 fragment
        fragmentTransaction.add(R.id.fragment_id, fragment); //fragment_id 是布局中给fragment 占位置的控
        fragmentTransaction.commit(); //提交事务
    }

    @Override
    public void onClick(View v) {
        fragmentTransaction = fragmentManager.beginTransaction(); //开始fragmnet 的事务处理
        switch(v.getId()) {
            case R.id.but_one_id:
                fragmentTransaction.replace(R.id.fragment_id,new FragmentOne());  //加载第一个 fragment
                fragmentTransaction.addToBackStack(null);  //把 fragment one放到 栈队里  跳转后 返回键可返回
                break;
            case R.id.but_two_id:
                fragmentTransaction.replace(R.id.fragment_id,new FragmentTwo());  //加载第二个 fragment
                fragmentTransaction.addToBackStack(null);  //把 fragment two放到 栈队里 跳转后返回键 可返回
                break;
            case R.id.but_three_id:
                fragmentTransaction.replace(R.id.fragment_id,new FragmentThree());  //加载 第三个 fragment
                fragmentTransaction.addToBackStack(null);  //把 fragment three放到 栈队里 跳转后返回键 可返回
                break;
            default:
                break;
        }

        fragmentTransaction.commit();//提交事务
    }
}